Dynamic Field Widget Overview
In this tutorial, you’ll have a glance at the functionality of the Dynamic Field widget from the JetEngine WordPress plugin.
The Dynamic Field widget of the JetEngine plugin helps you to display the content from meta fields. This widget pulls the data from the specified source and displays it using the set style and content settings. Here are the types of meta fields that the Dynamic Field widget can display:
- Text;
- Date;
- Time;
- Datetime;
- Textarea;
- WYSIWYG;
- Switcher;
- Checkbox;
- Iconpicker;
- Media;
- Gallery;
- Radio;
- Repeater;
- Select;
- Number;
- Colorpicker;
- Posts;
- HTML;
- Map.
And now let’s go through the widget’s features.
Dynamic Field Content Section Settings
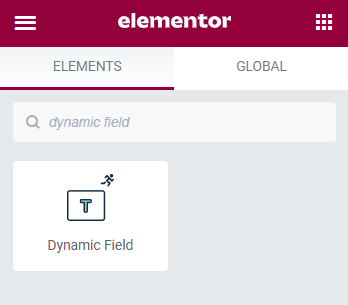
Drag and drop the Dynamic Field widget on the page and let’s look through the content settings.
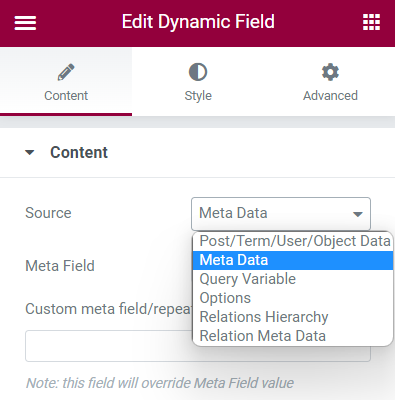
- Source. In the dropdown, you can see a list of available sources from where the data will be pulled out:
- Post/Term/User/Object Data. The content will be pulled from the default meta fields of the post, term, user, or object. The field can be specified in the Object Field select;
- Meta Data. This option will take the content from one of the meta fields created by you using the JetEngine plugin’s functionality. You can select a concrete field in the Meta Field drop-down menu or define it by typing in the Custom meta field/repeater key;
- Query Variable. It can be used to display data on the Search Results page. For that, specify the Variable Name – “s”;
- Options. This variant allows you to choose meta fields created for the Options Page;
- Relation Hierarchy. The data will be taken from the fields of the posts related to the current one. You can choose what type of post to Get and select the type from the From Post Type drop-down list;
- Relation Meta Data. This option takes the data from the meta fields created for relations. We also have a dedicated tutorial about the relations dynamic output.
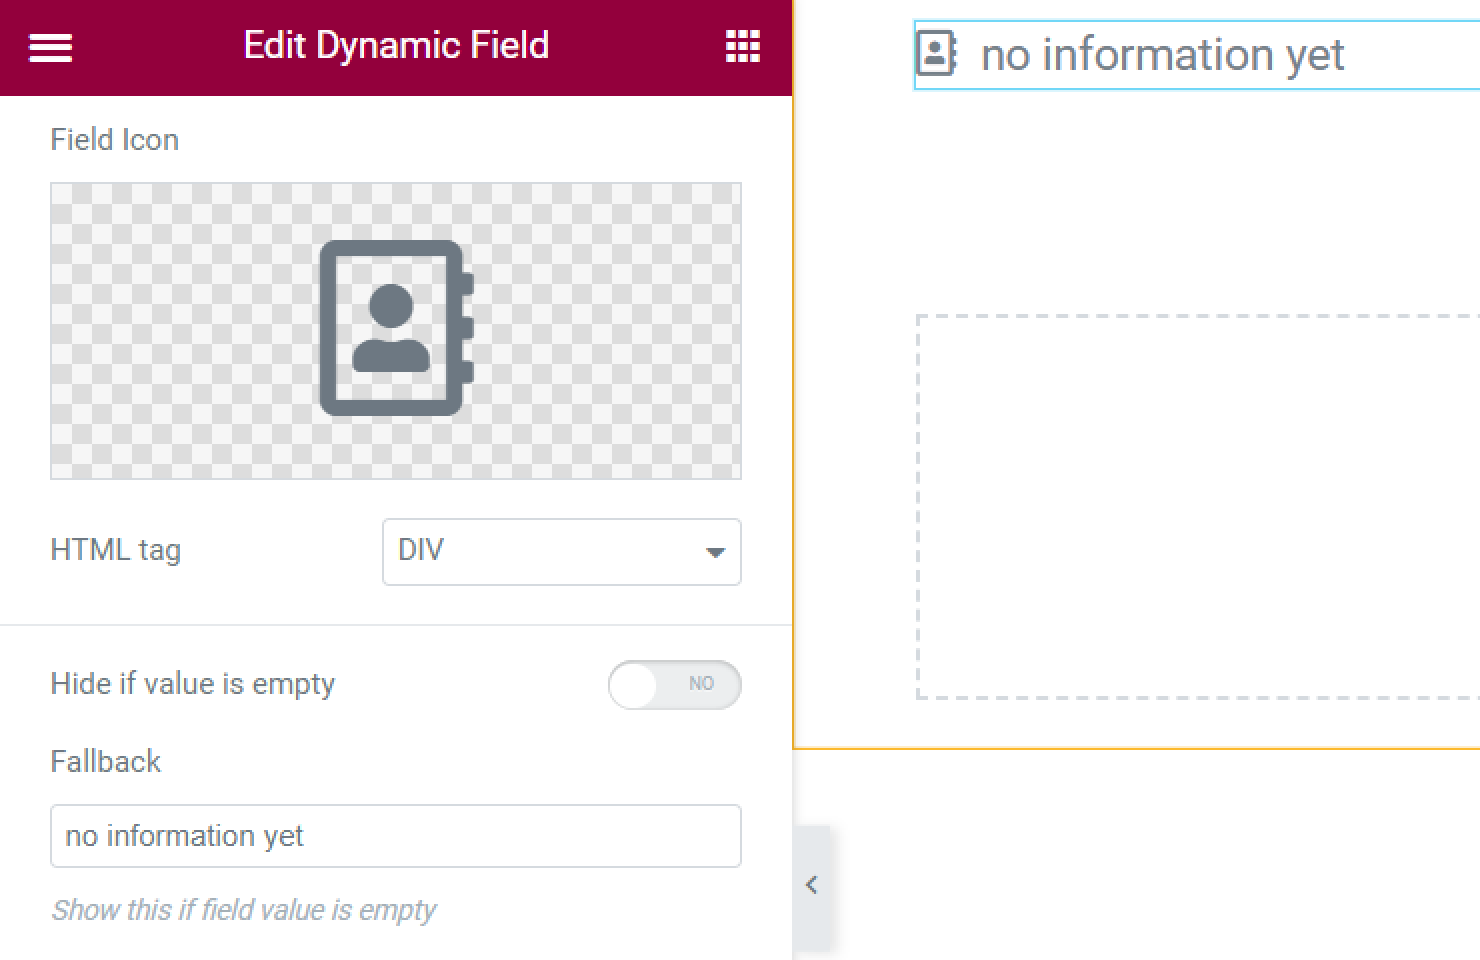
- Field Icon. If you want to add an icon to the field, here you can choose it from the library or download it as an SVG file;
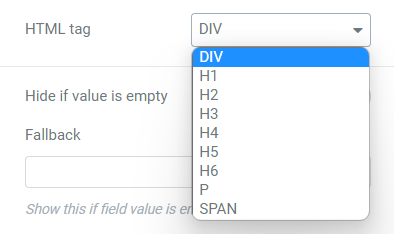
- HTML Tag. This drop-down menu allows you to choose the HTML tags in which the field will be wrapped. DIV is a tag that is used to define containers, H1-H6 turns the field into a headline, P defines the field as a paragraph, and SPAN marks it as an inline part of the document;
- Hide if value is empty. Turn this option on if you want to hide the field if it’s not filled;
- Fallback. If you don’t want to hide the field if it’s empty, in this text area, you can define what text to show to the user instead;
- Filter field output. This one needs extra attention, so we’ll describe it lower;
- Customize field output. Turn this toggle on to add the text before and after the value pulled from the meta field; %s stands for the value that is pulled; just add some content before and after it to add some text before and after the value;
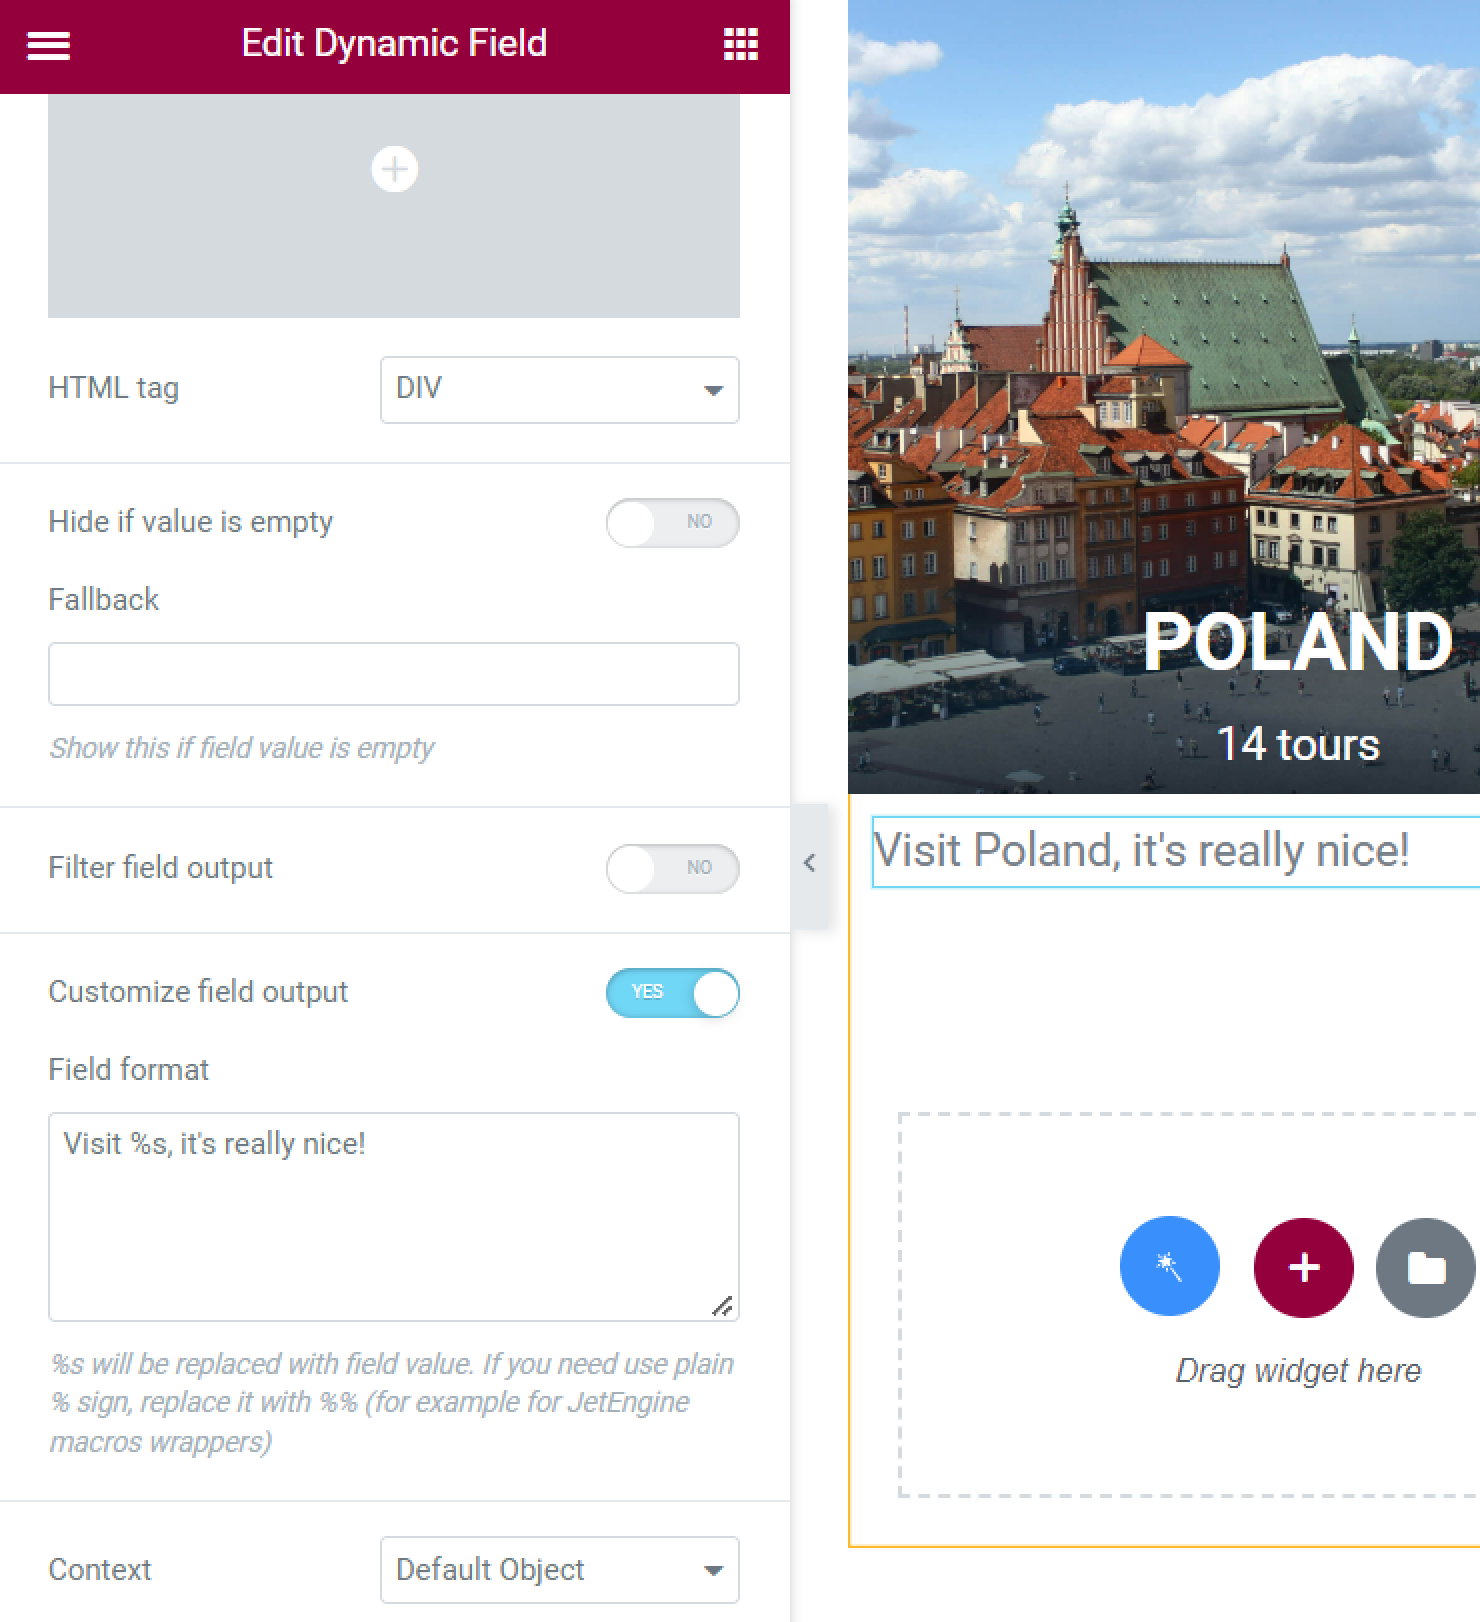
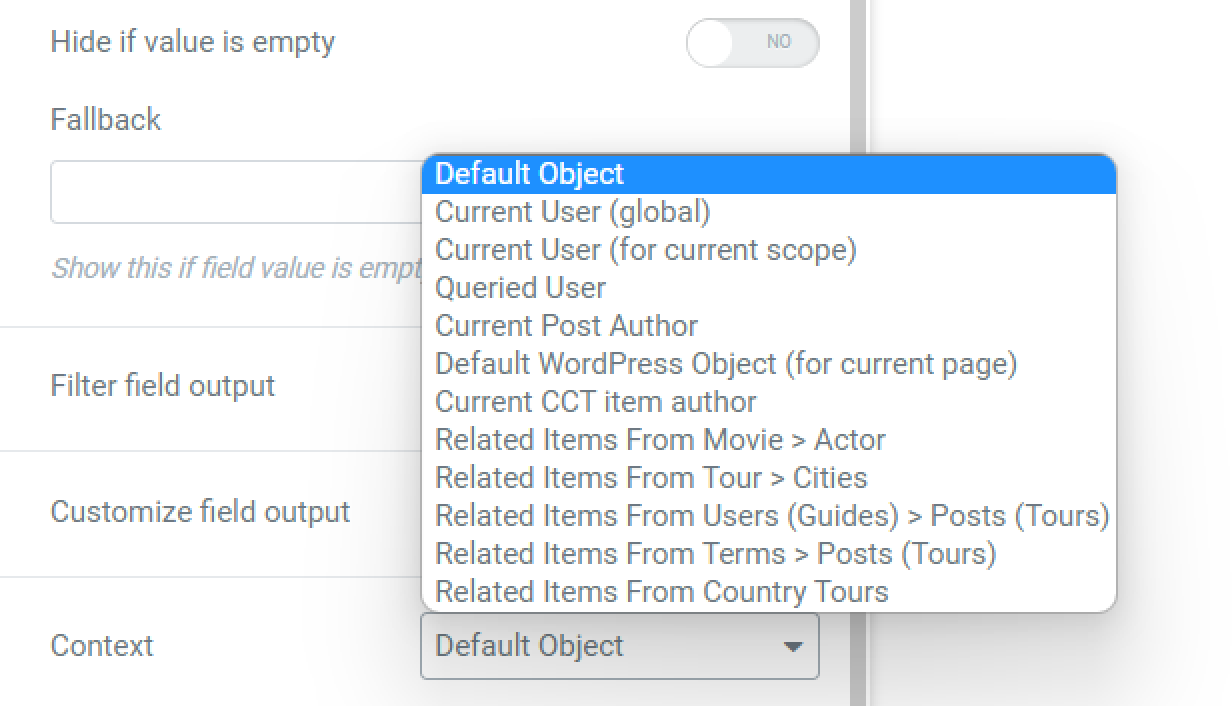
- Context. This field helps specify the field’s source and collaborates with the Source option. According to your settings, there can be such options:
- Default Object. Shows data for the current page or listing template;
- Current User (global). Shows data according to the user for whom the page was created;
- Current User (for current scope). Shows data according to the user, which is currently proceeding. For example, there is a listing of users that shows the posts written by the user after clicking on them. In this case, if you choose the Current User (for current scope) context, it will display the meta field value of the user you have just clicked on, not the logged-in user;
- Queried User. Shows data for the currently logged-in user or the user mentioned in the URL (the user ID is in the URL);
- Current Post Author. It will show the meta field value of the user who is the author of the currently opened post;
- Default WordPress Object (for current page). It always shows the data of a current global object for the current page defined by WordPress. For instance, on a single page/single post, it will always be the current post, even if you go to the listing added to this page;
- Current CCT item author. Shows the data in the meta field of the user who is the author of the currently opened CCT item. It can be used in the Listing Template for CCT to show the information about the CCT item author. To learn more about CCT, proceed to the How to Create a Custom Content Type tutorial;
- Related Items From… Shows the data for the created relation. To learn more, navigate to the Relations Dynamic Output tutorial.
Filter Field Output Overview
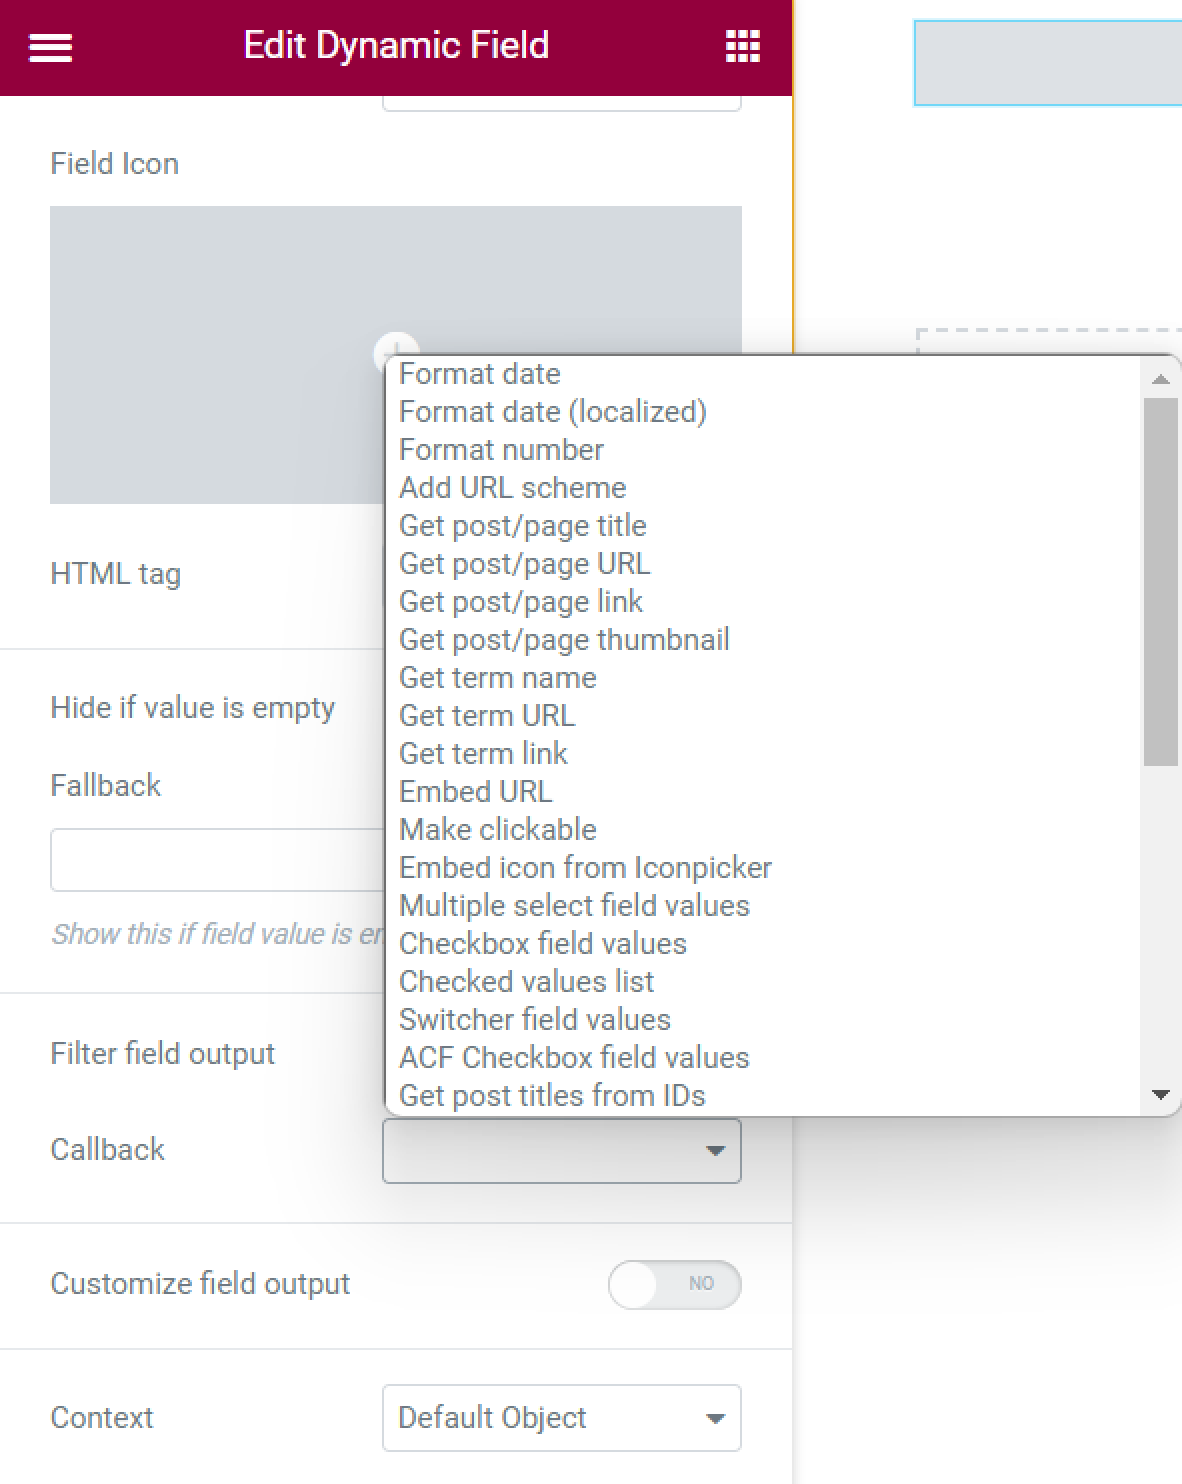
This feature needs a detailed description. Enabling the Filter field output option allows you to display different data types. Dynamic Field widget can be used to show the data from, for example, Сheckbox meta field. To display it correctly, you need to use this filter.
Showcase Date, Time, and Datetime meta fields value as preferred
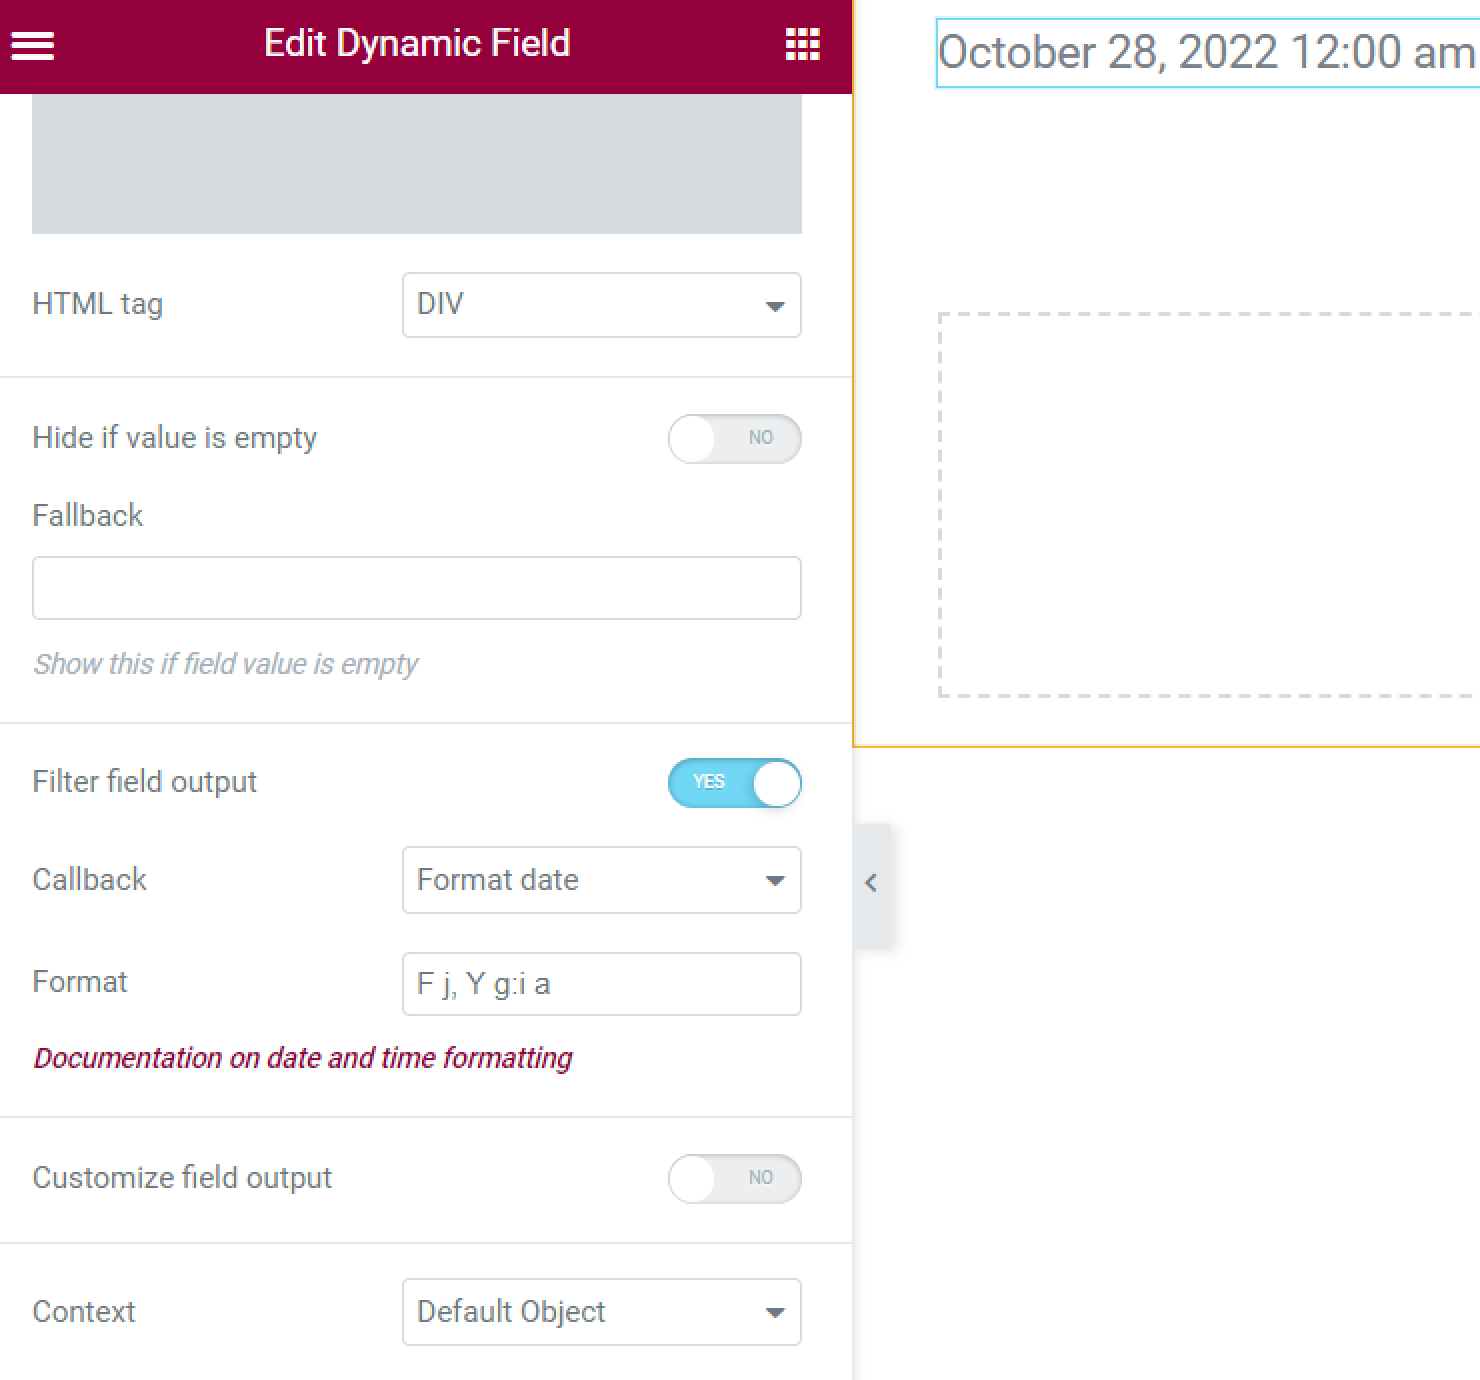
- Use the Format date callback to show the date pulled from the database using Date, Time, or Datetime meta fields. In the Format field, you can set the date’s format;
- Format date (localized) is the same as the previous one but shows the date that is already localized to the language of the website;
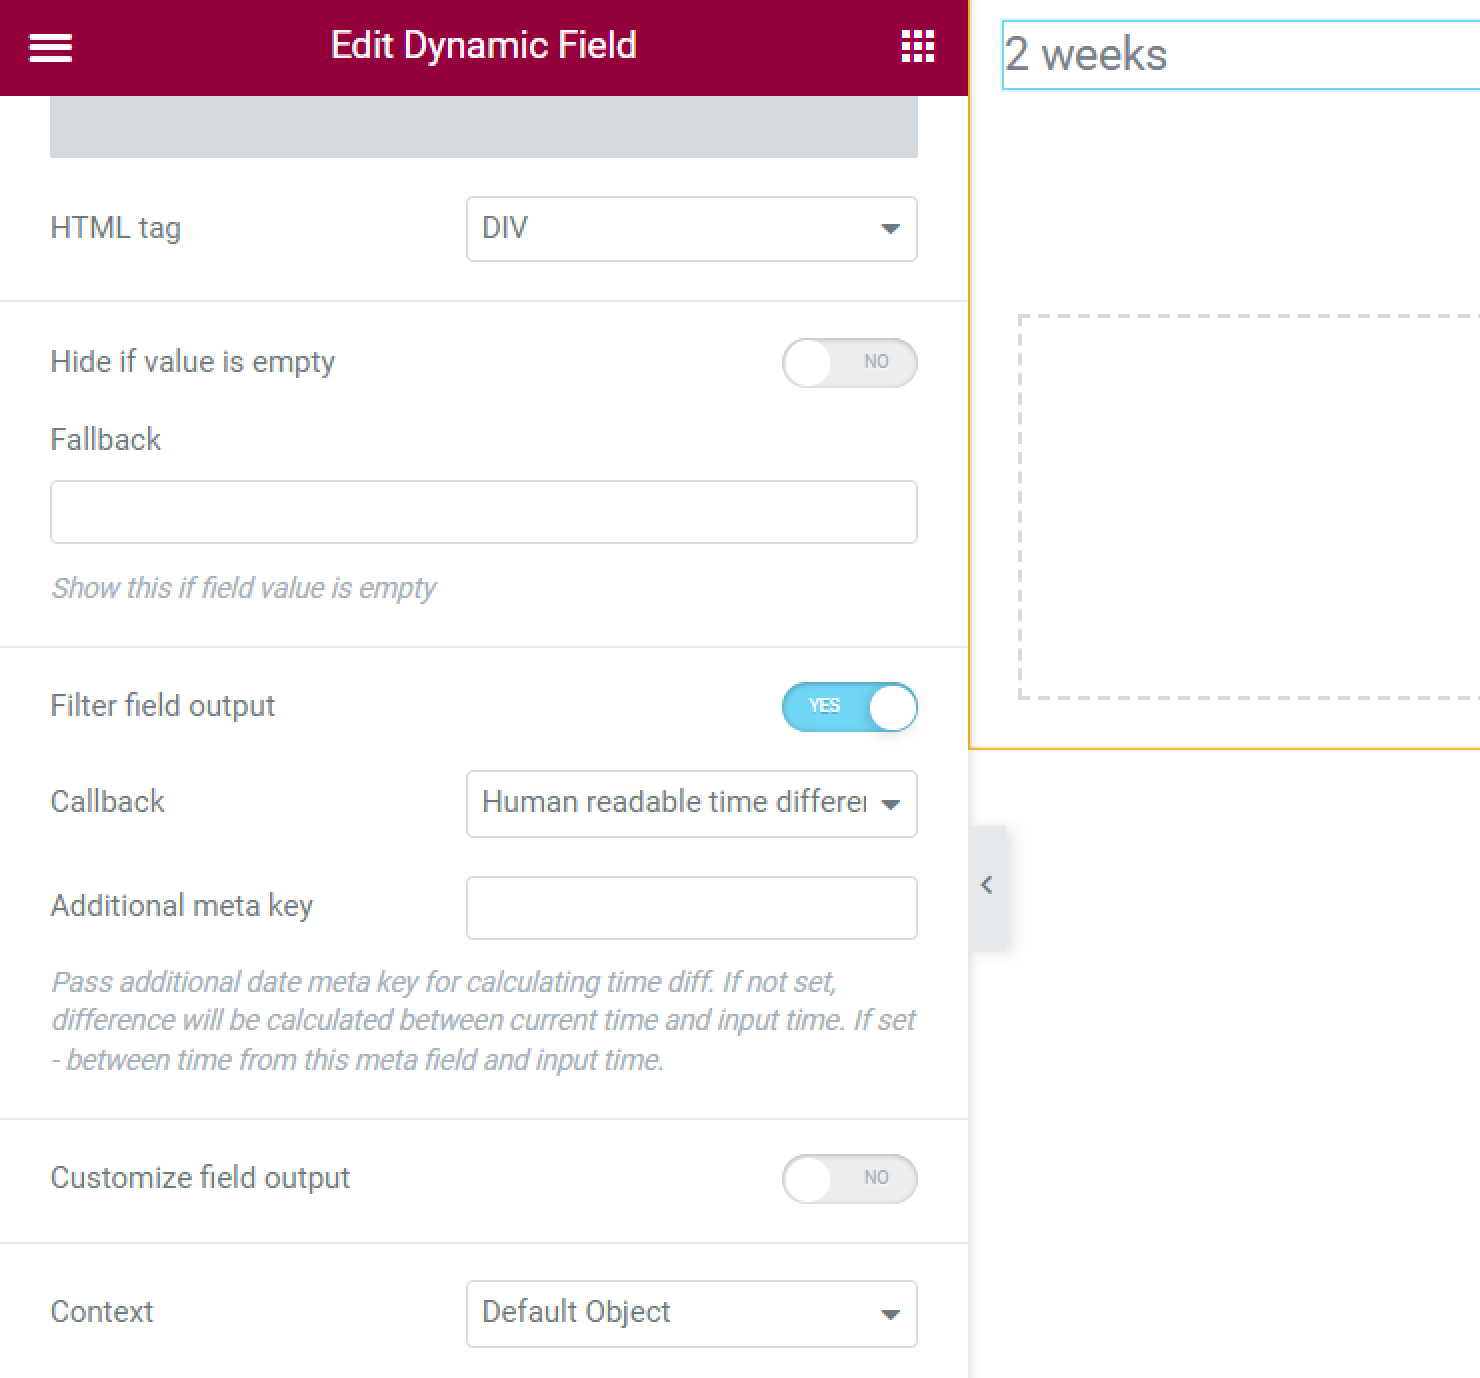
- Human readable time difference. This callback works with the Date and Datetime meta fields. It shows the difference between the date you put into the meta field and the current date. The difference is displayed in days. In the Additional meta key field, you can enter another meta field name, and this callback will show the difference between dates in these two meta fields. For instance, you can display the difference between the start and end date.
Display post and term titles, links, and URLs
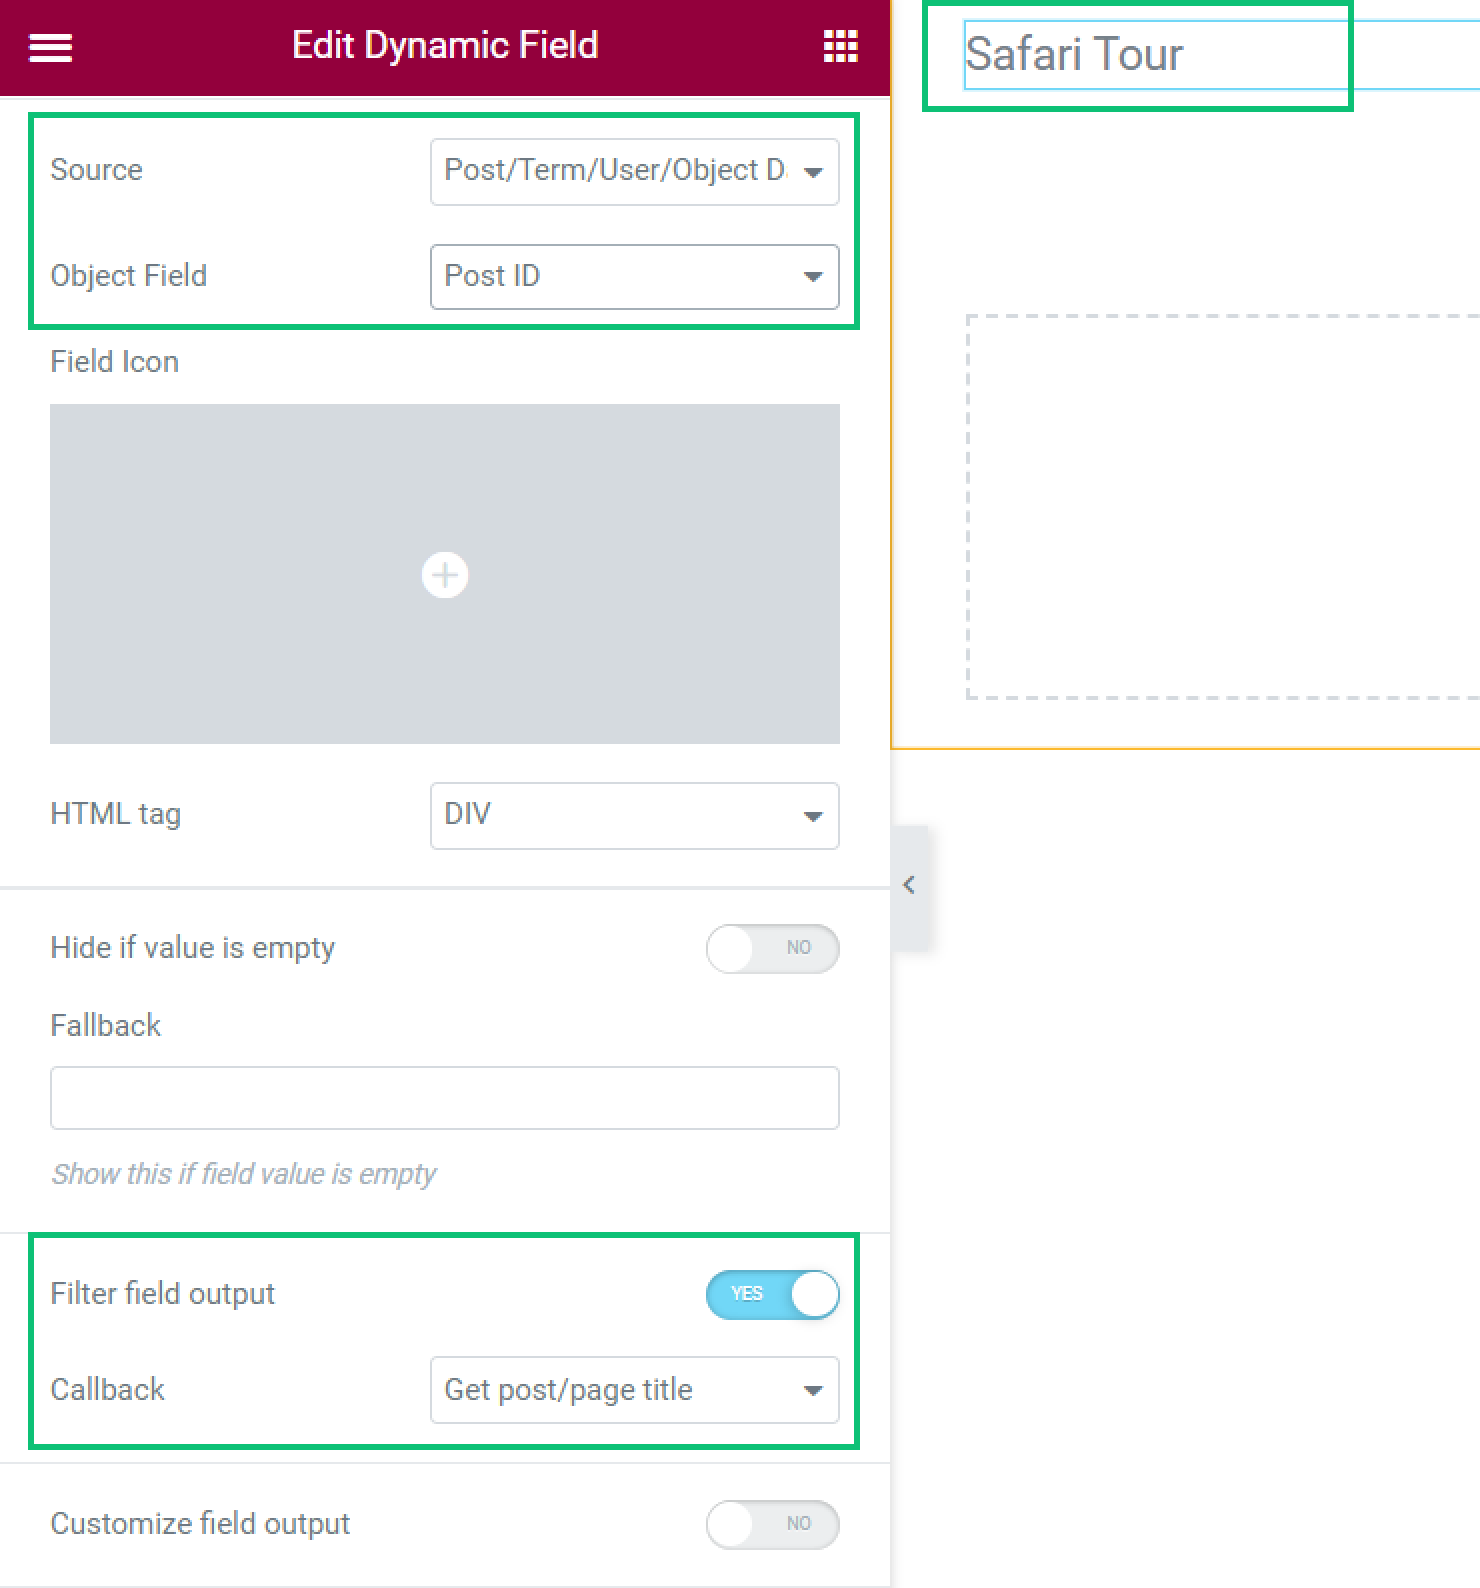
- Get post/page title. If you select the “Post ID” option in Object Field, this callback will display the title of the post or page;
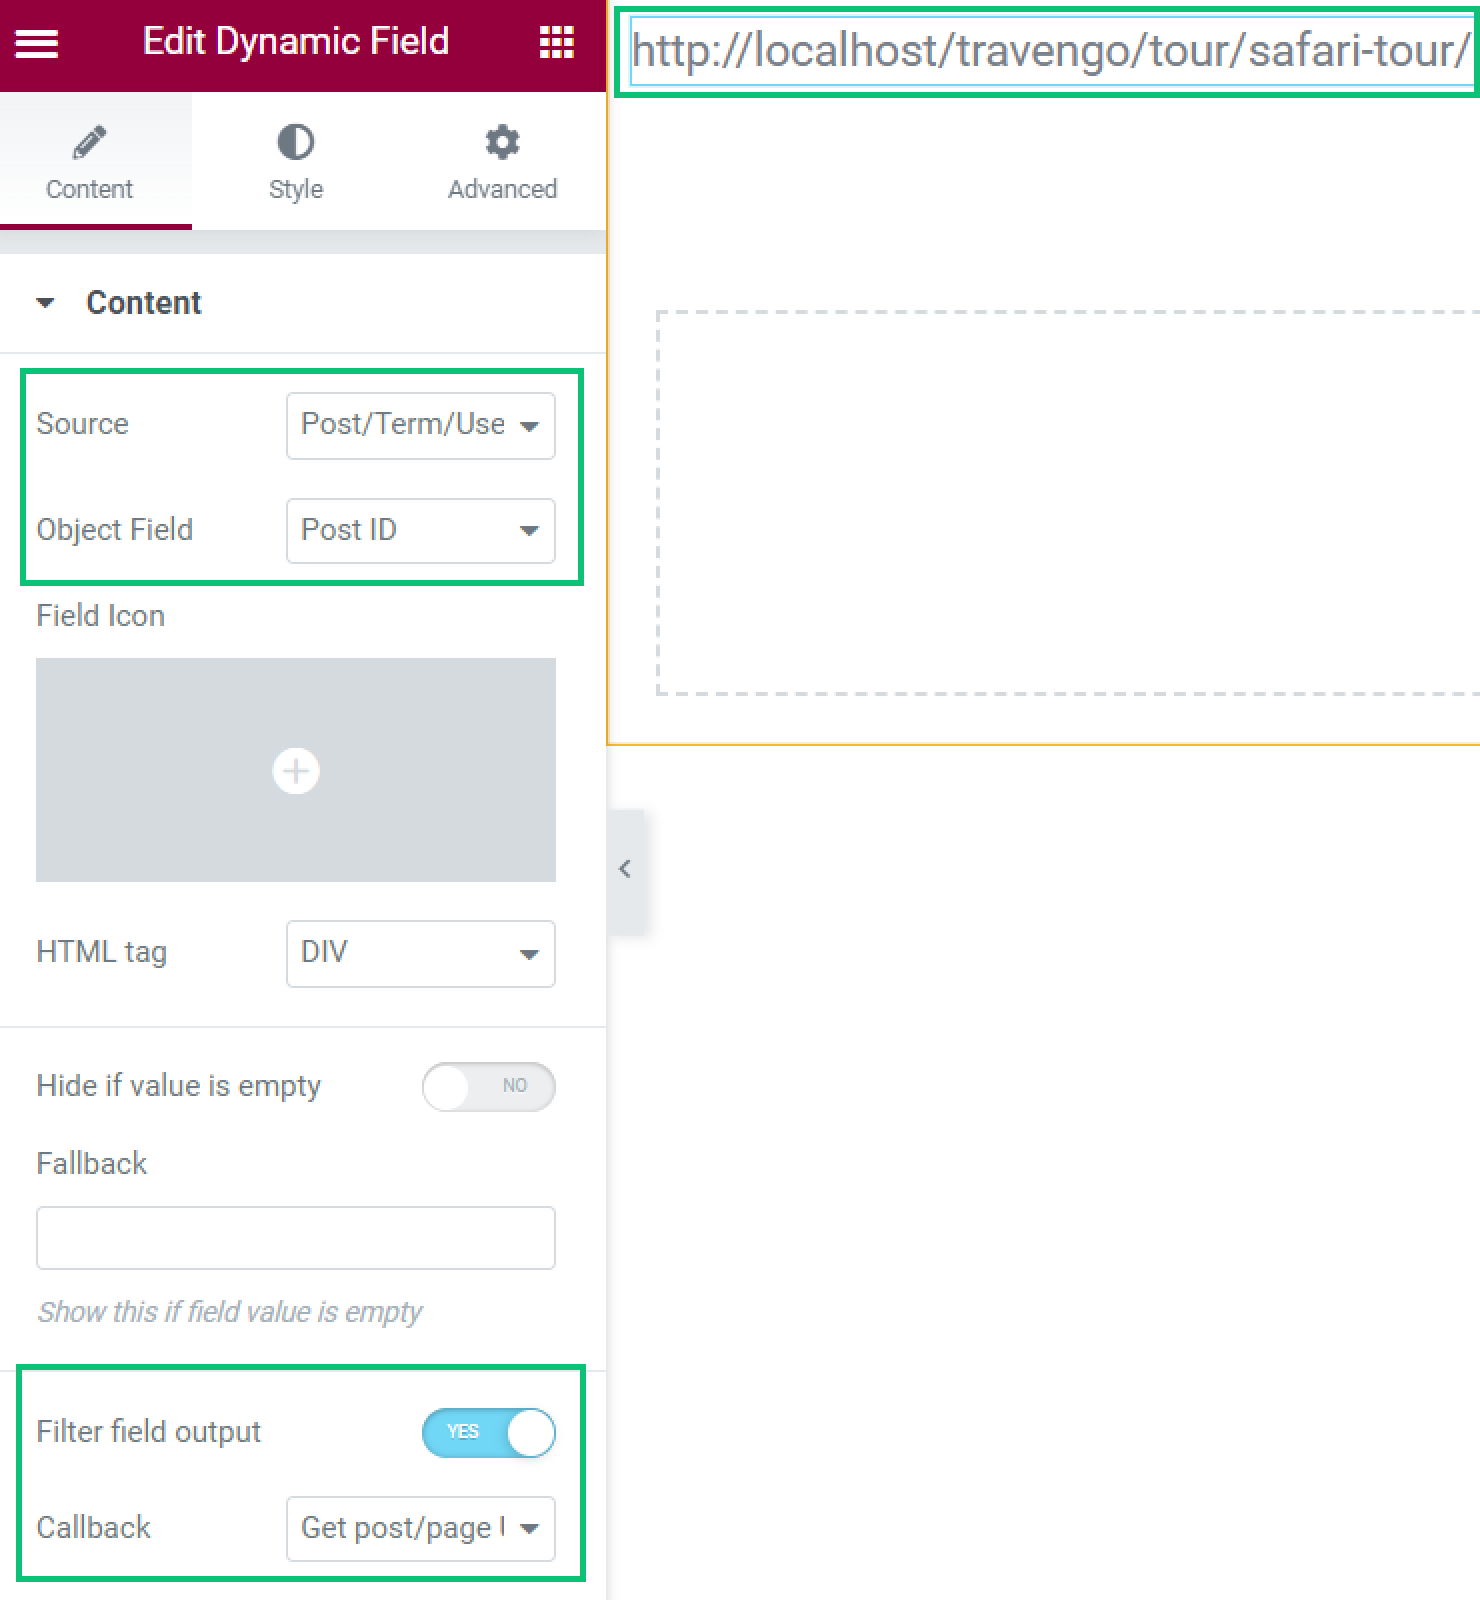
- Get post/page URL. If you choose one of the ID options in the Object Field drop-down menu, this callback will display the post’s URL;
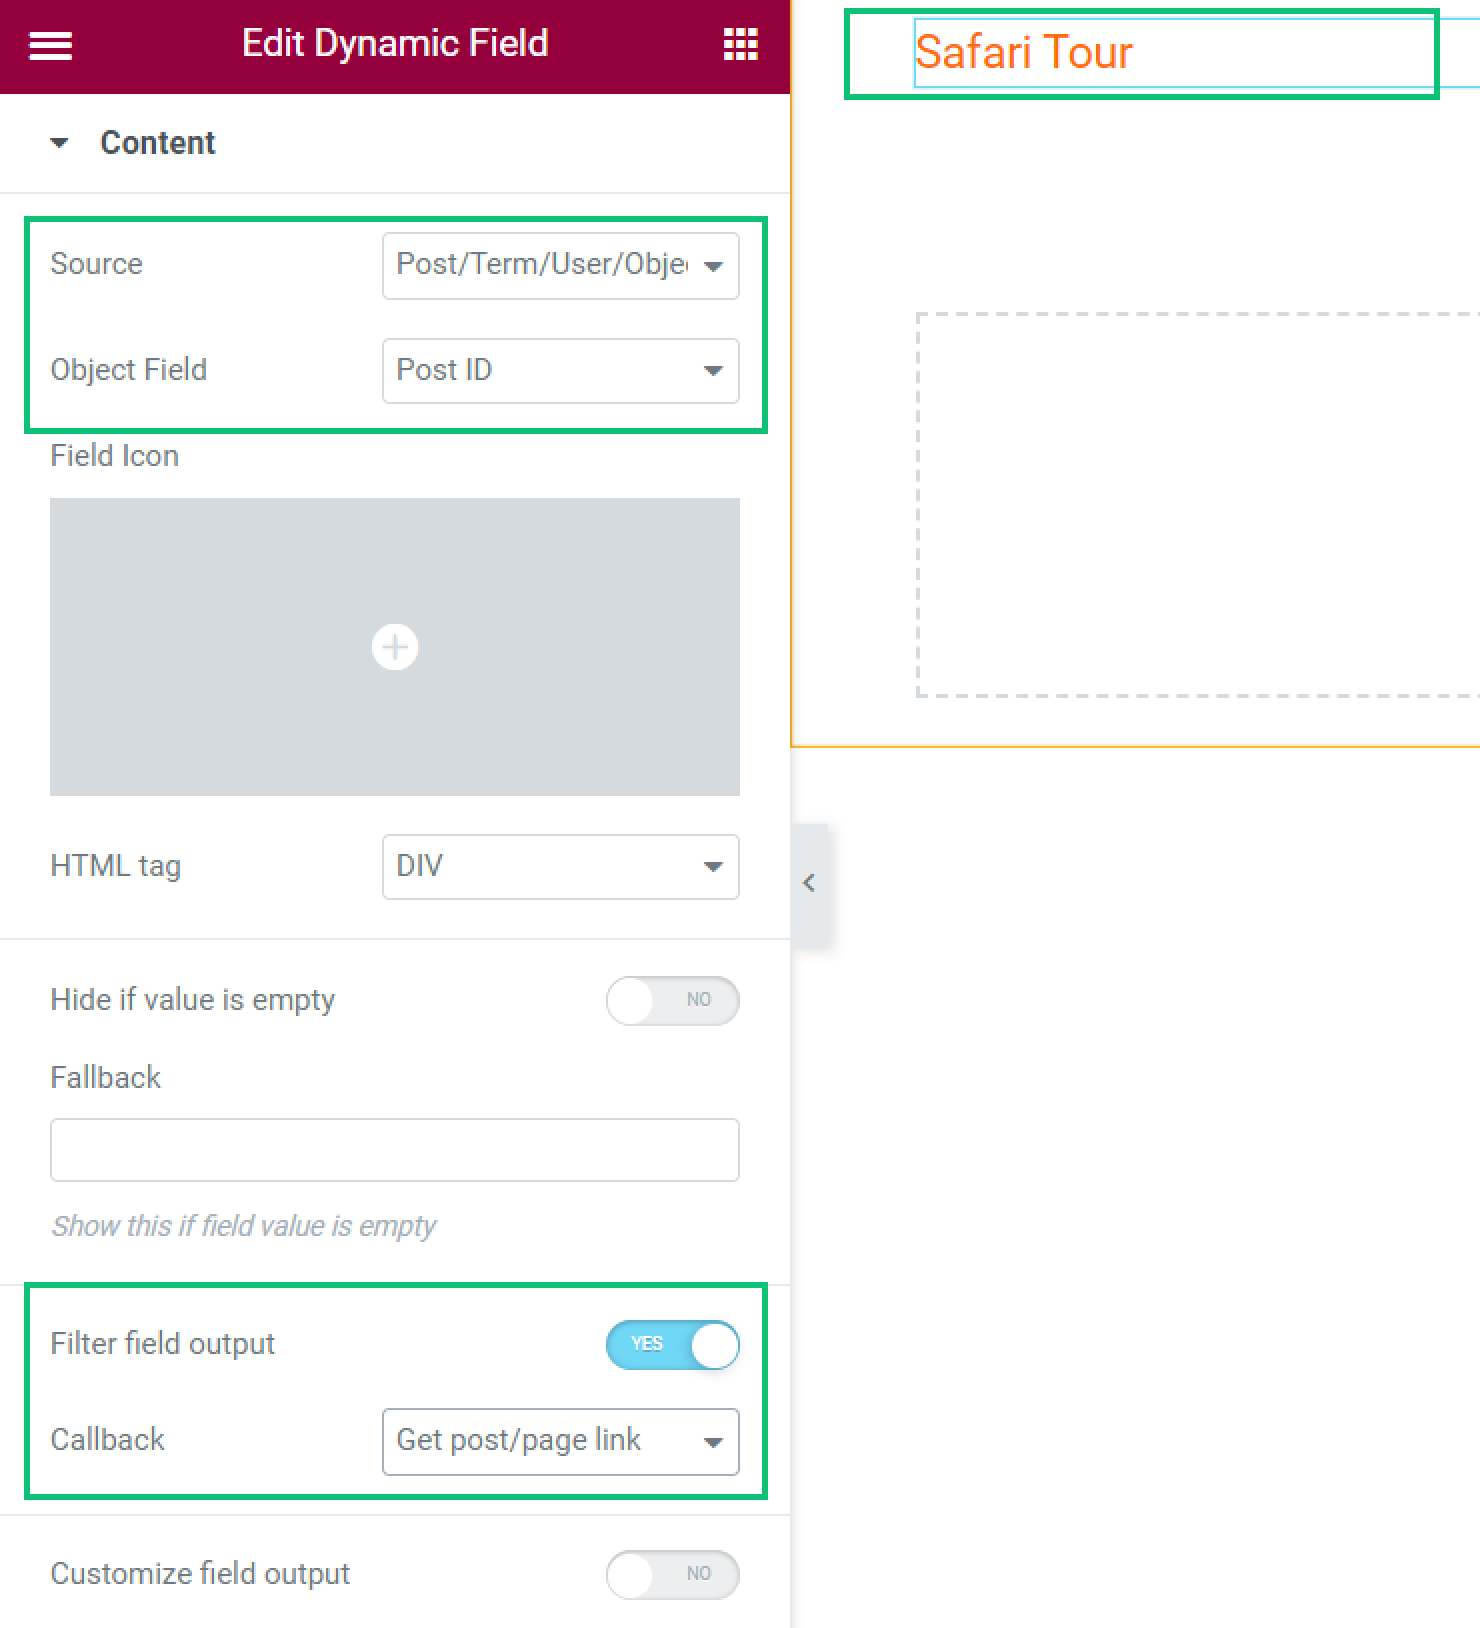
- Get post/page link. This callback will also show the post URL but in the form of a title with a link;
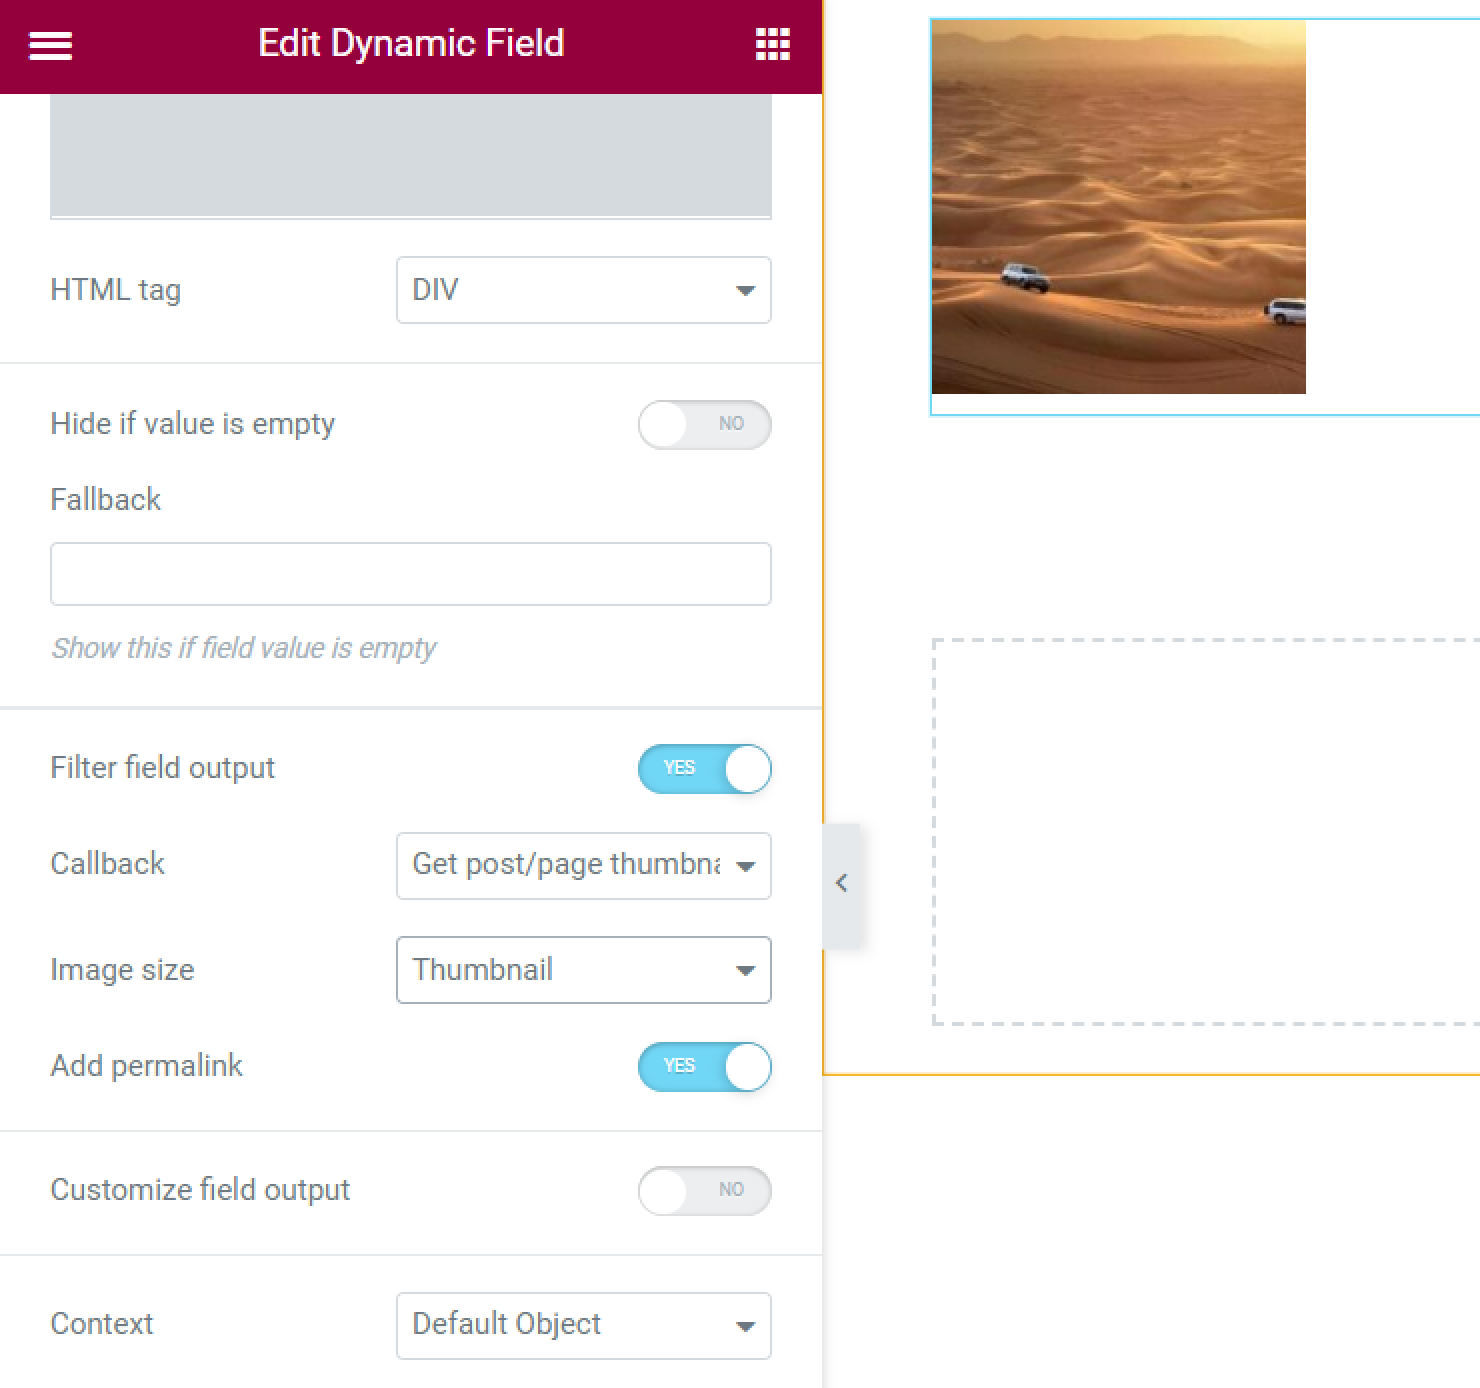
- Get post/page thumbnail. If you select the “Post ID” option in Object Field, this callback will display the featured image of the post or page. You can also set the Image size (Full, Thumbnail, Medium, etc.). If you enable the Add permalink toggle, you can proceed to the post or page by clicking the image;
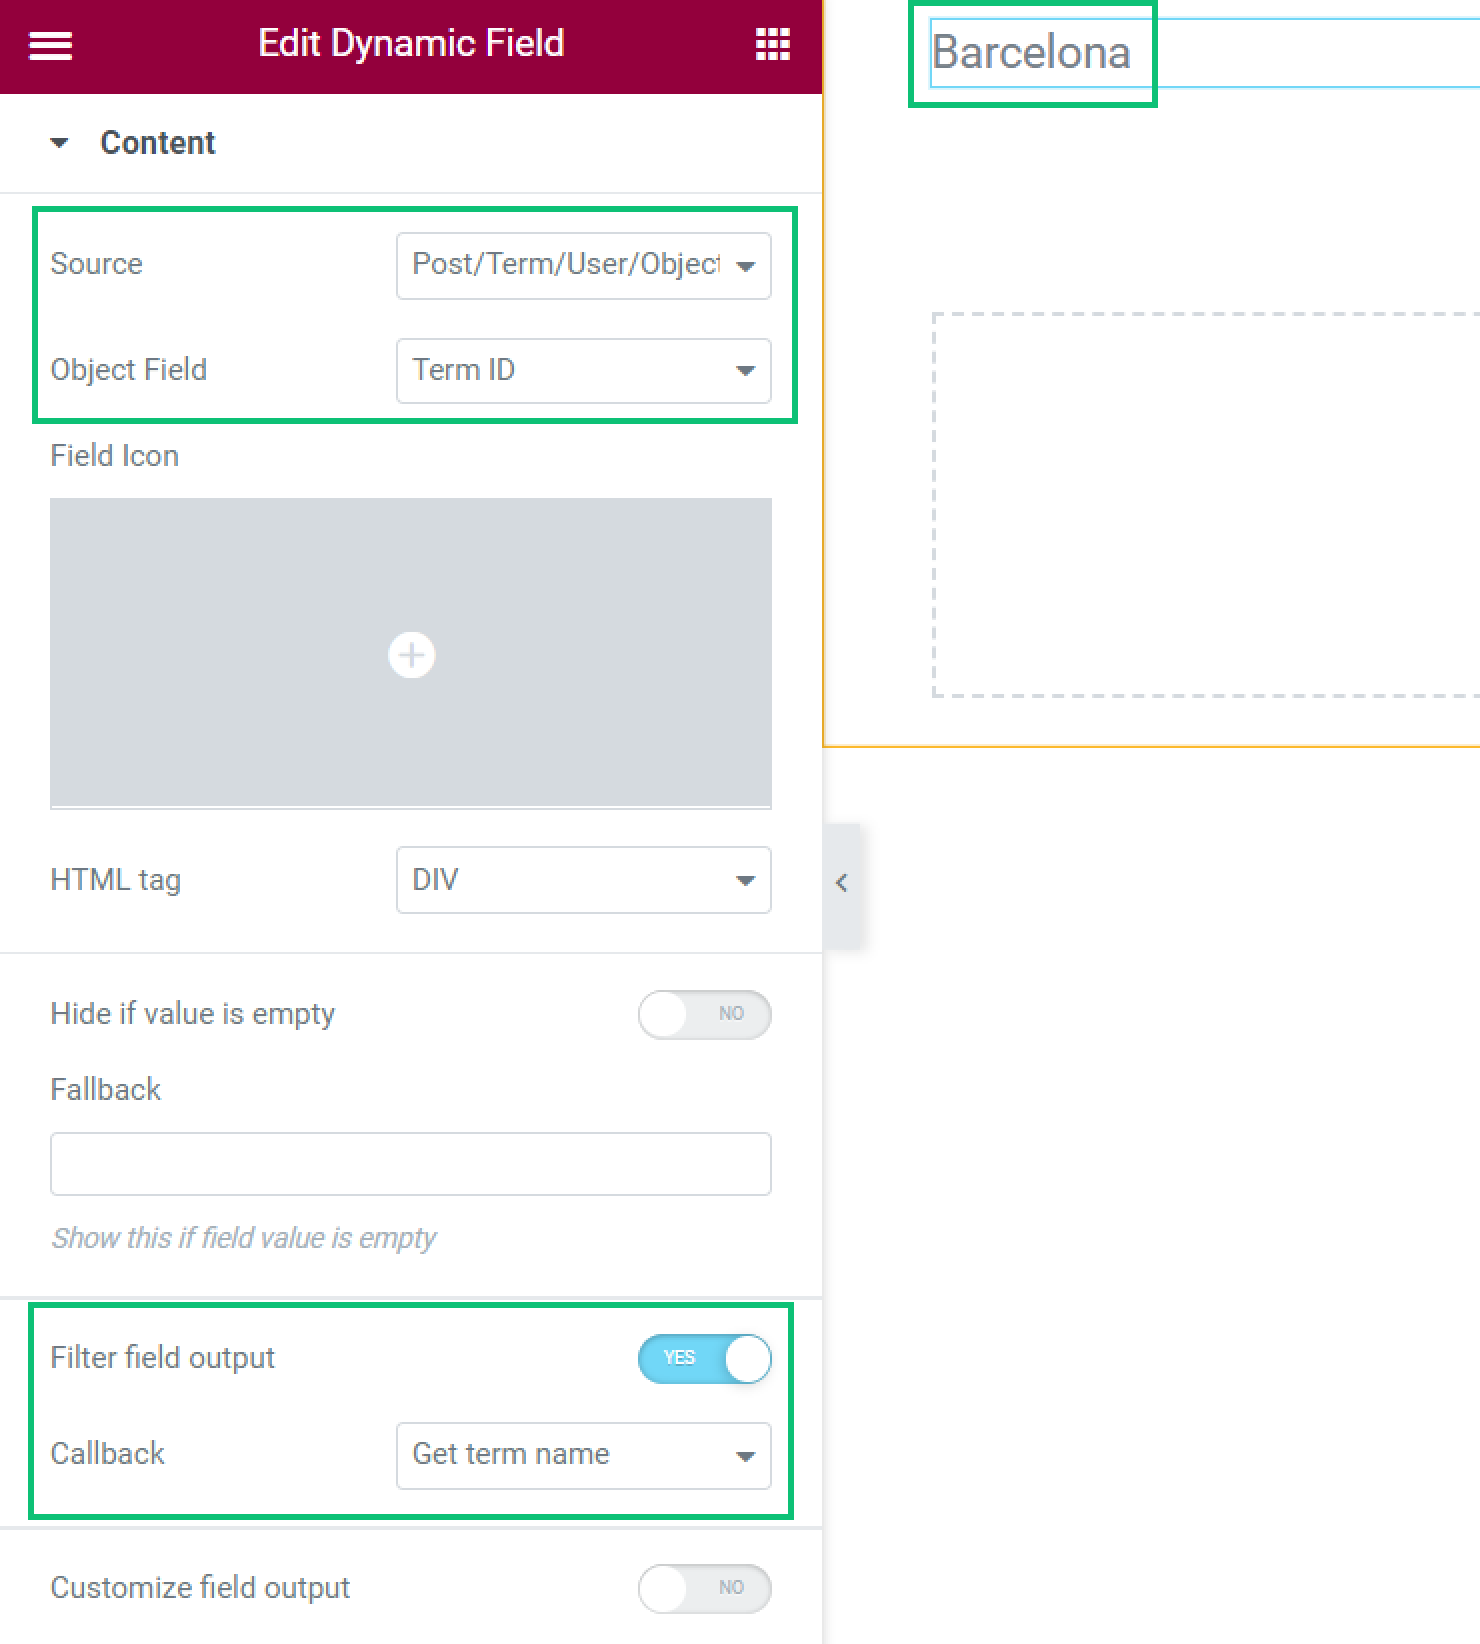
- Get term name. If you select the “Term ID” option in Object Field, this callback will display the title of the term;
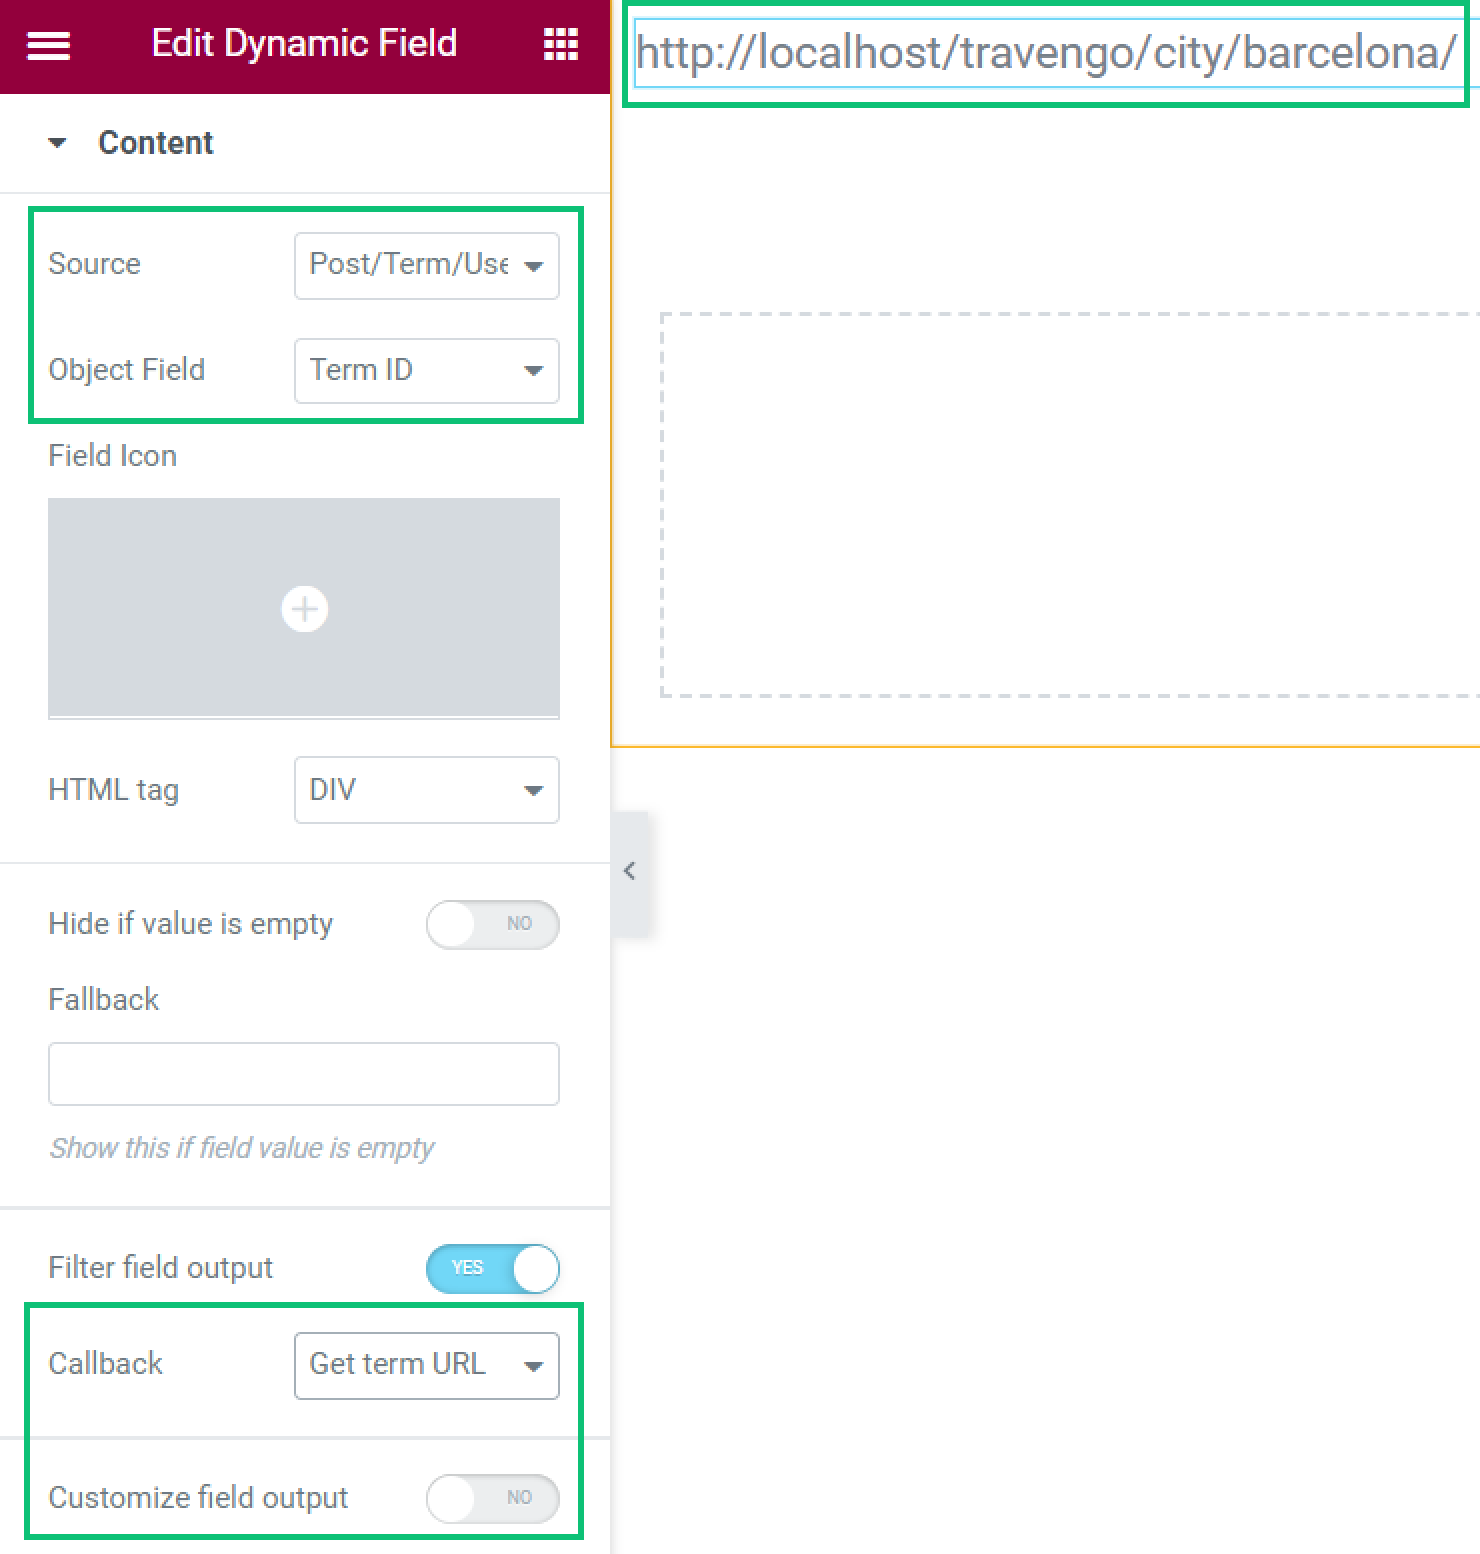
- Get term URL. If you select the “Term ID” option in Object Field, this callback will display the term URL;
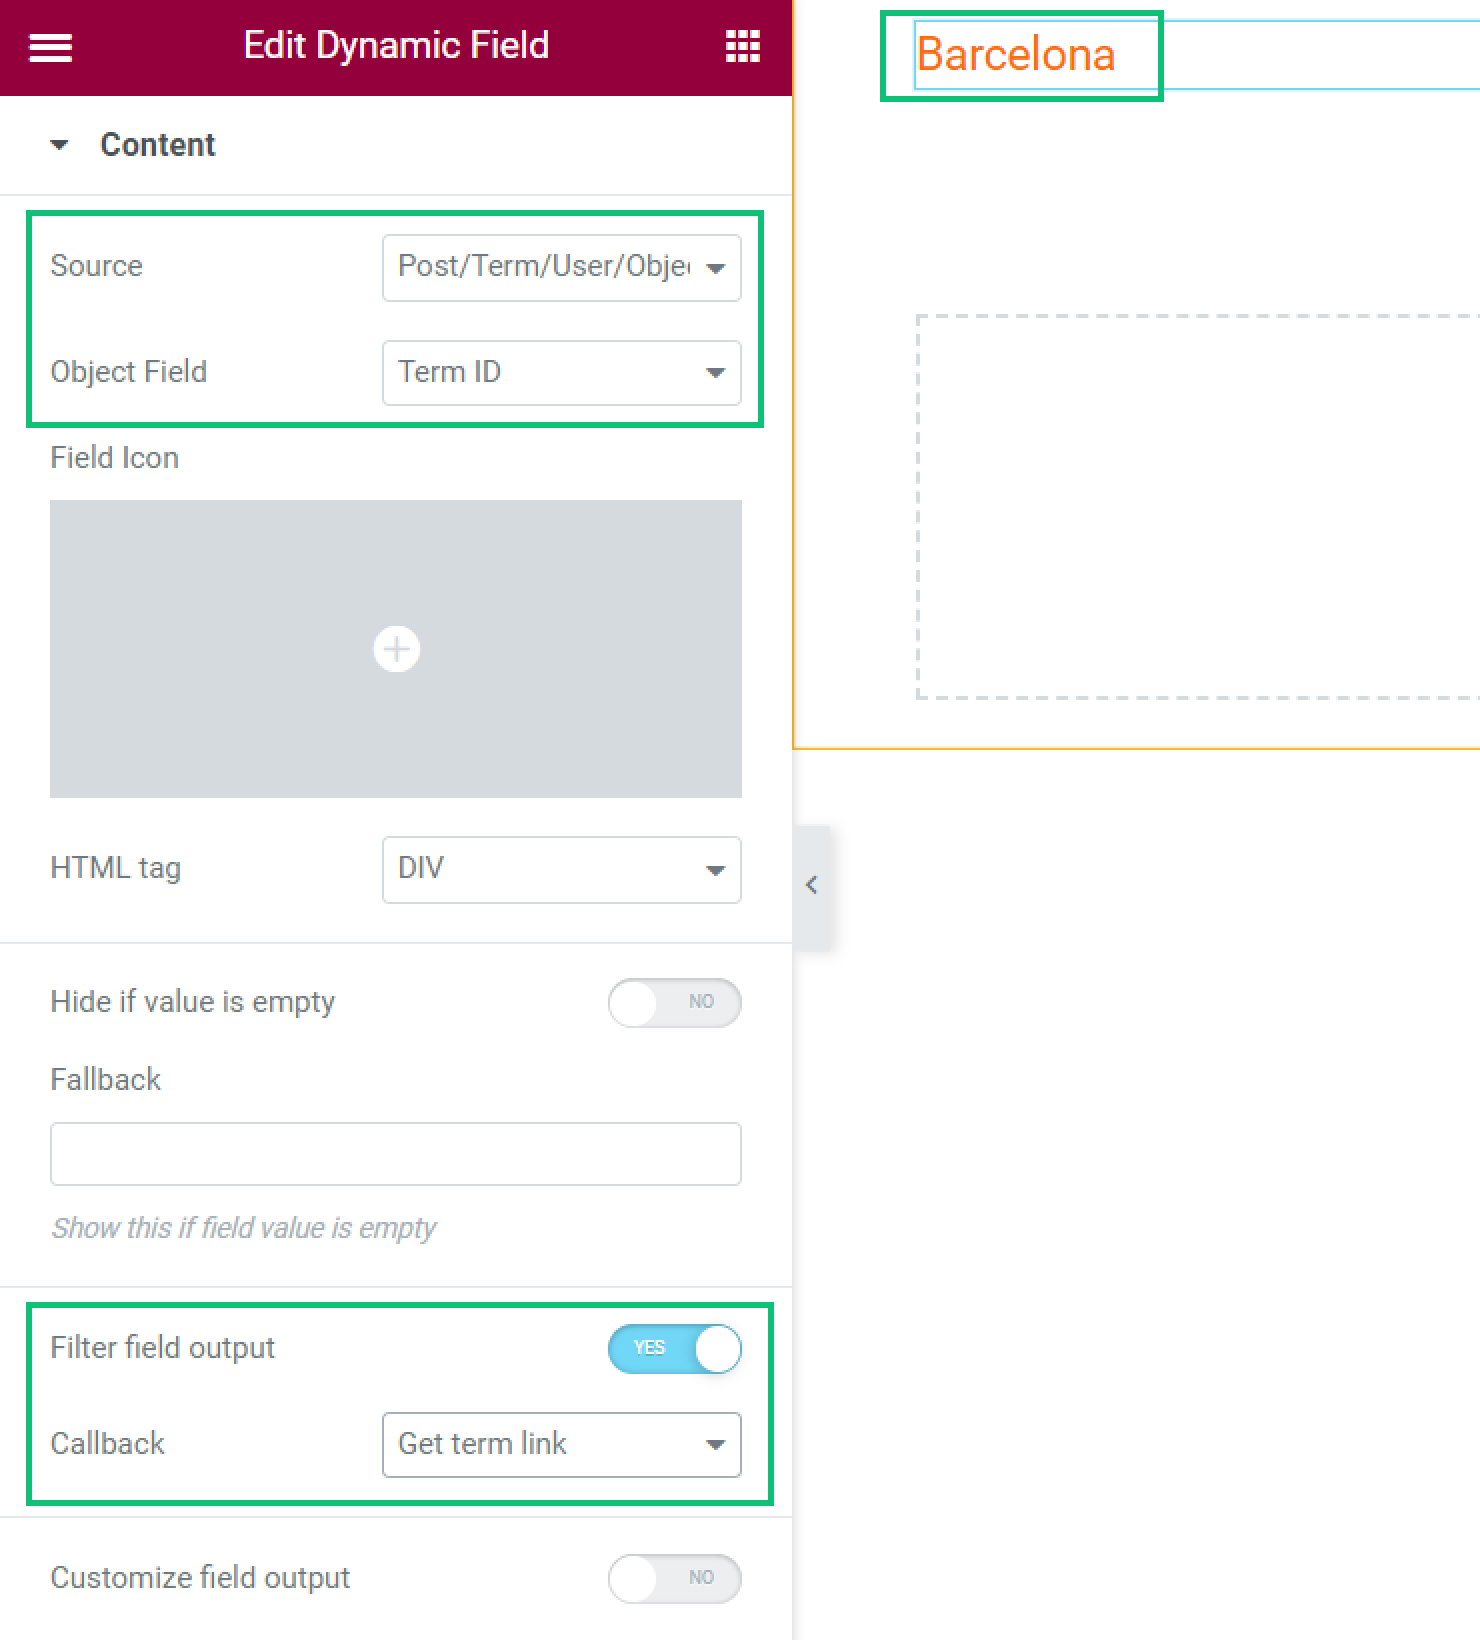
- Get term link. This option can be used only if you select the term or taxonomy ID in the Object Field drop-down menu. In this case, it will display the term name with the link;
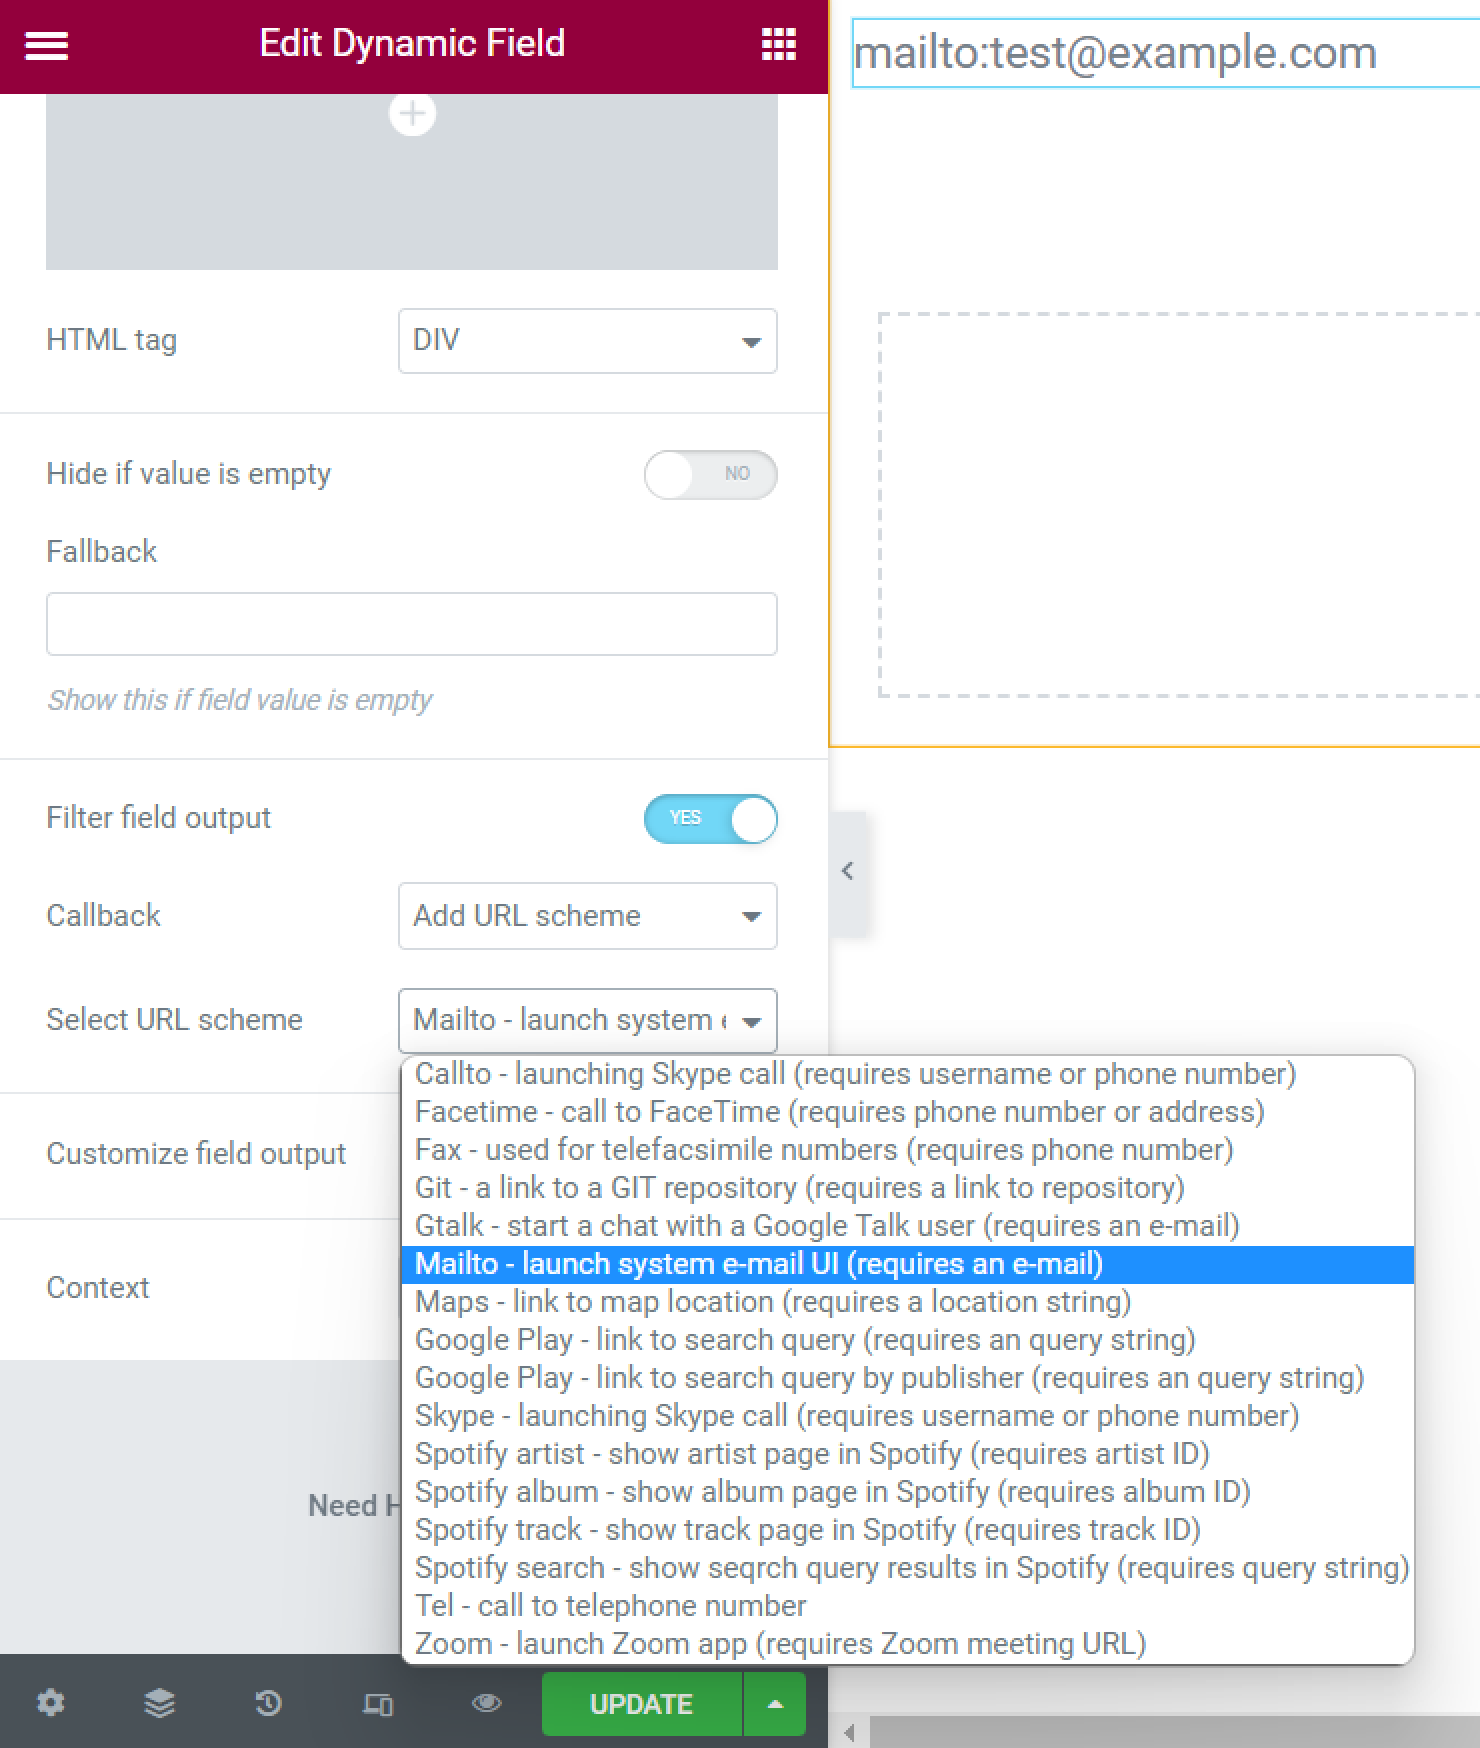
- Add URL scheme. If you need to use a URL scheme, e.g., for email sending, you can use this callback and Select URL scheme;
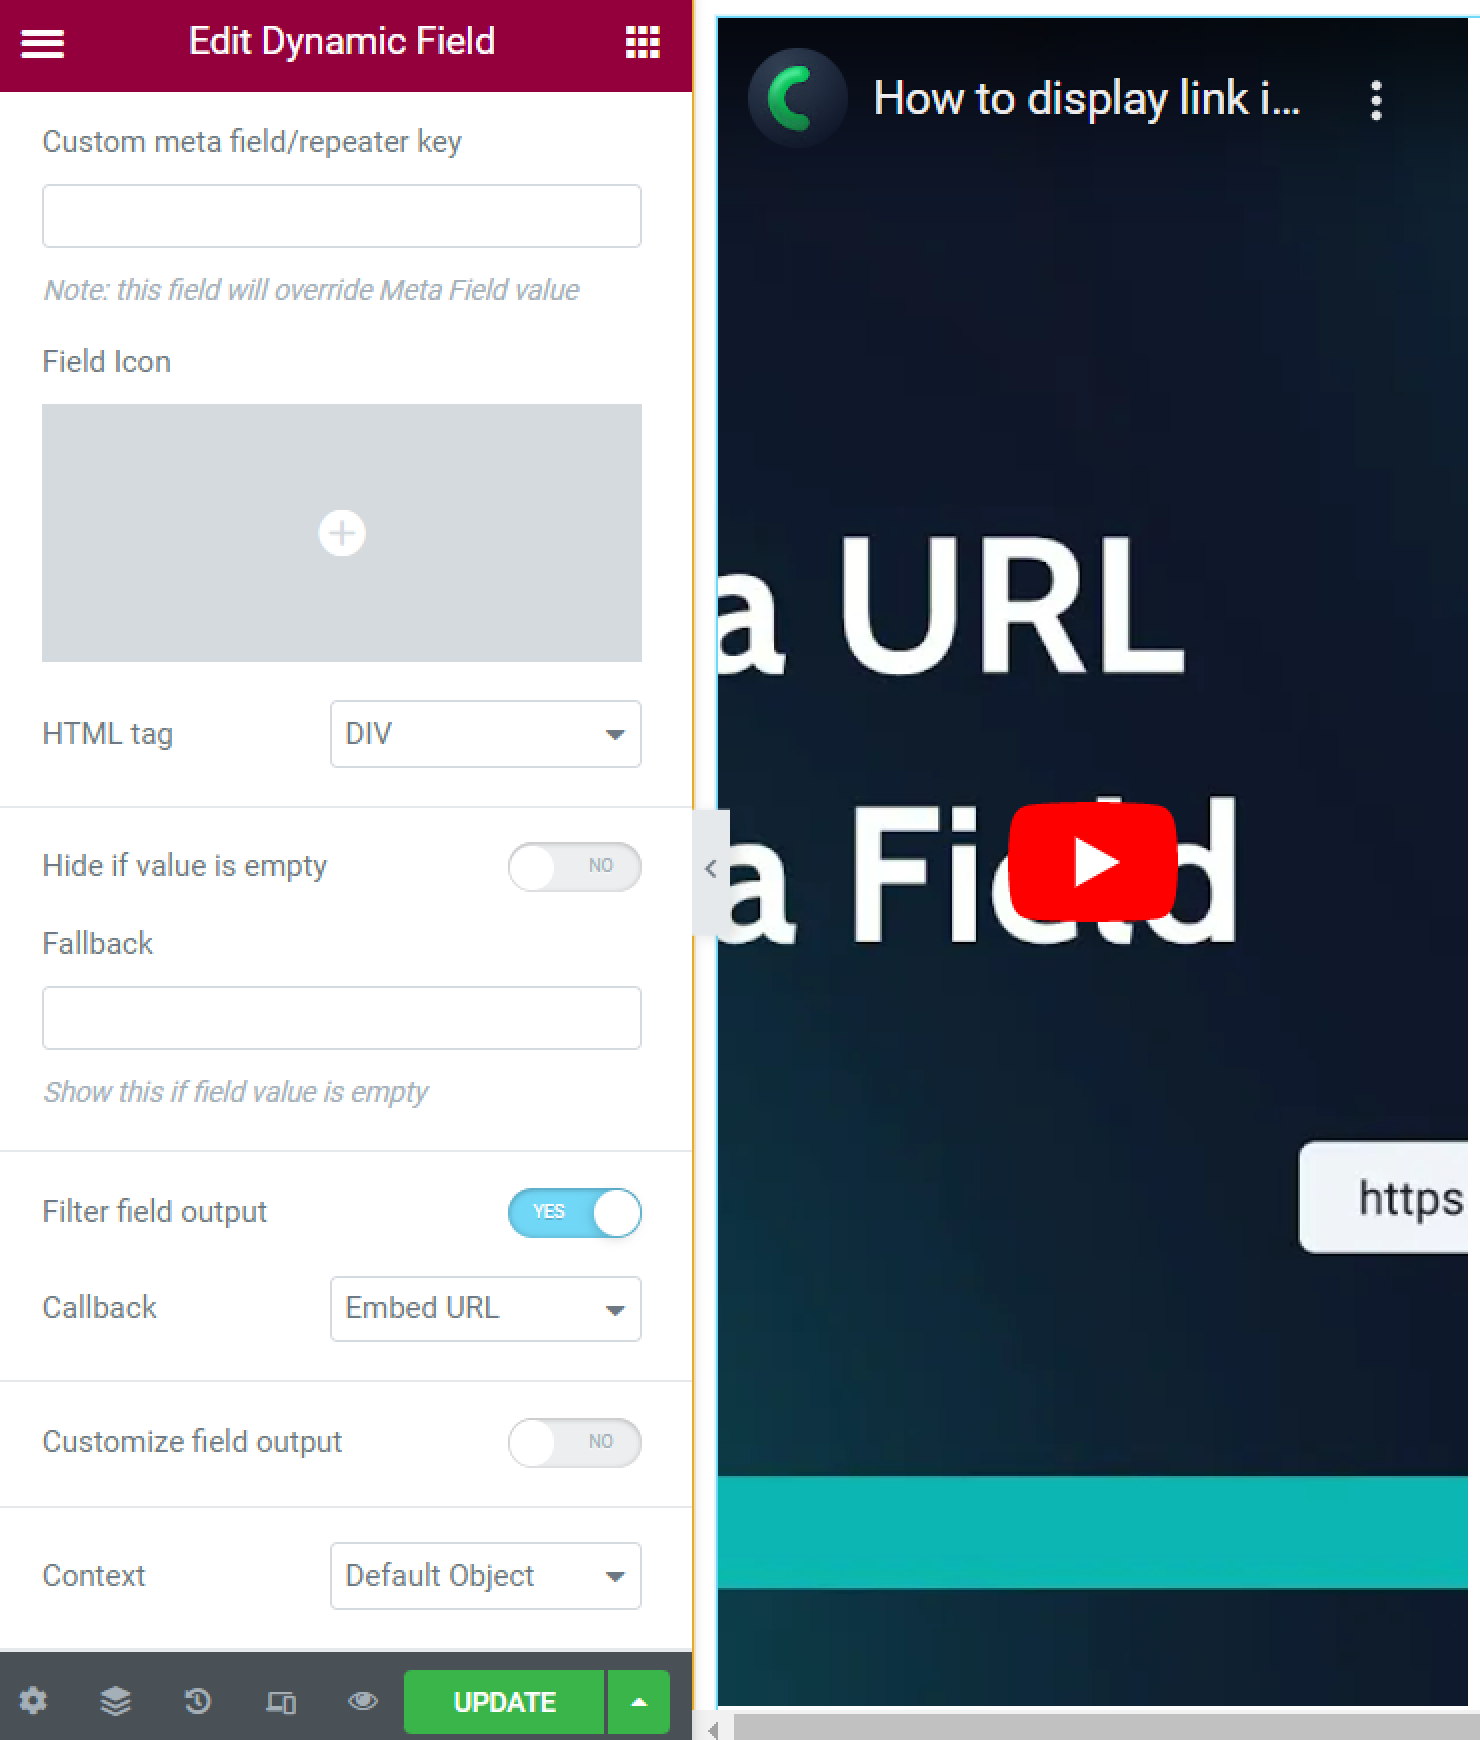
- Embed URL. Use this callback if you have a meta field containing a URL and want to embed it on the page. For example, it will work if you want to embed a video from YouTube. If you want to set different container heights for the displayed video, you can show the video using the HTML code;
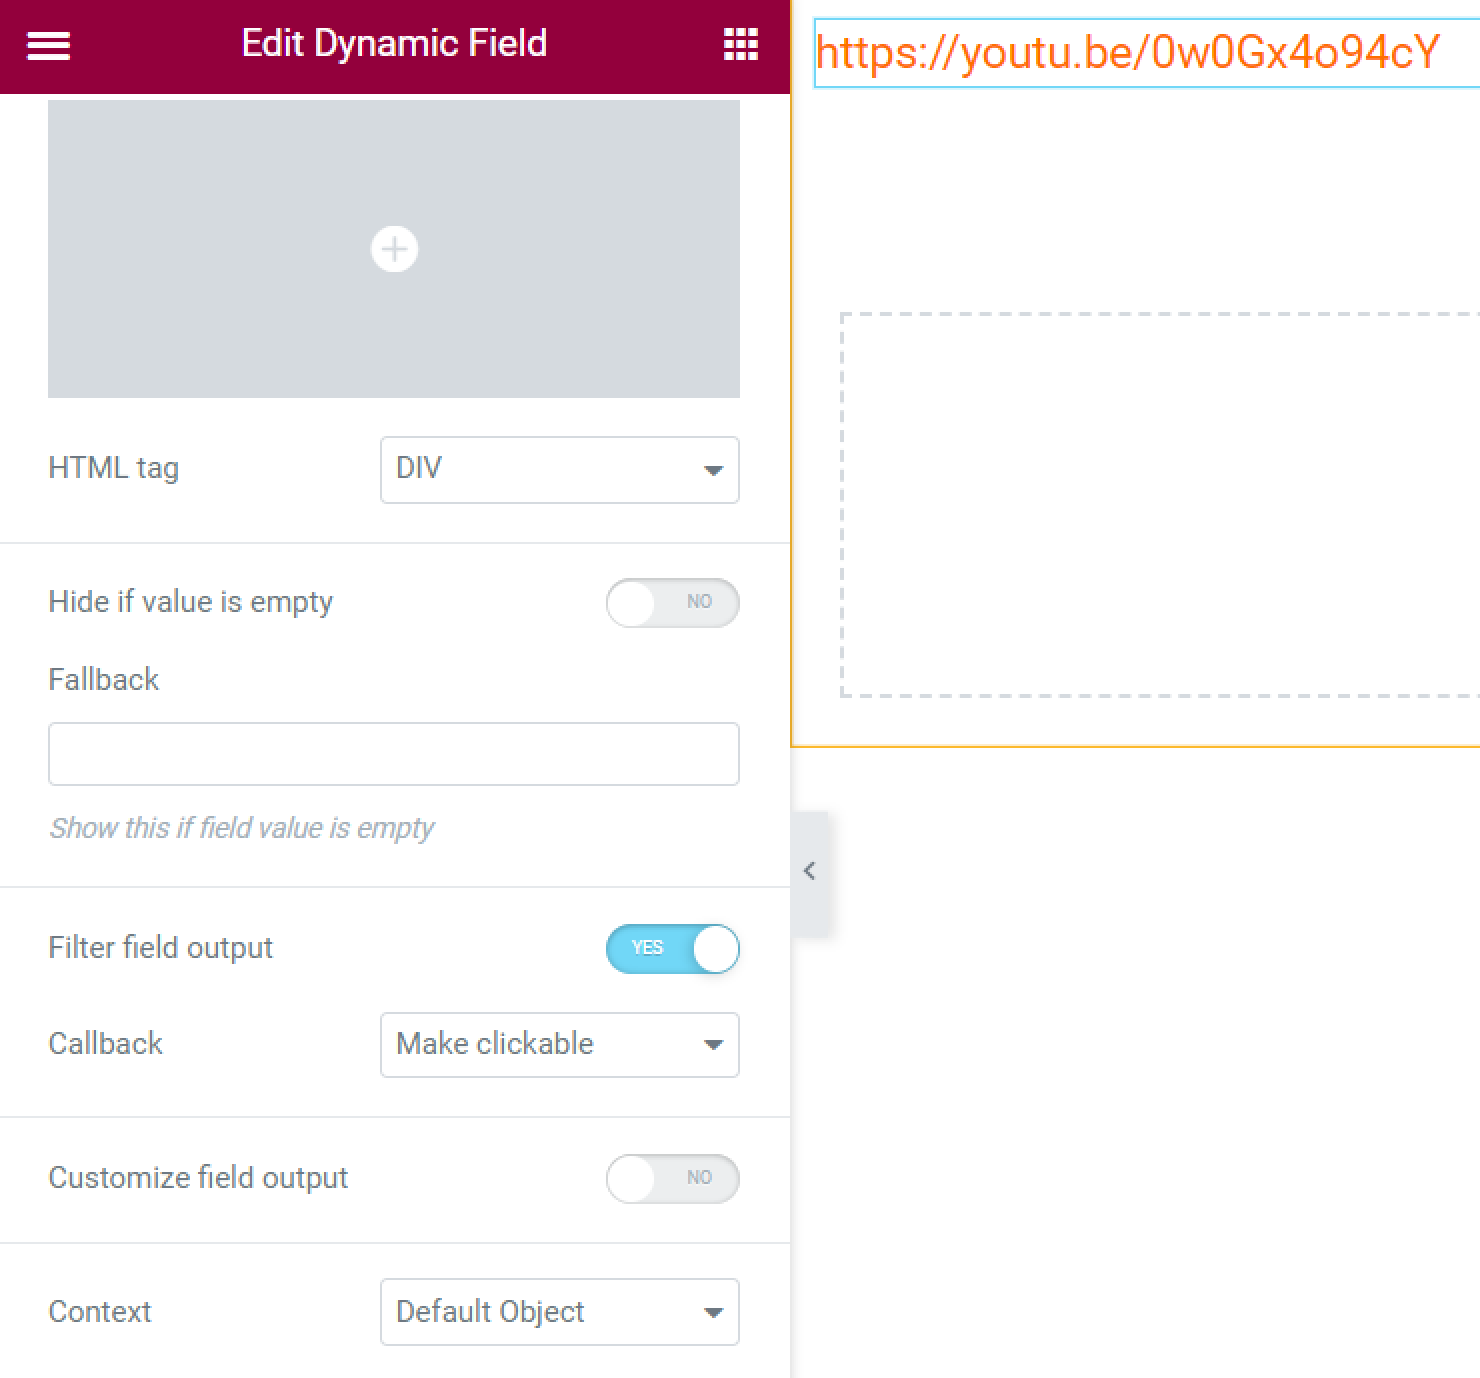
- Make clickable. If you have a field with a URL, it will normally be shown as plain text. And this callback will make it a clickable link.
Format data from the Number meta field
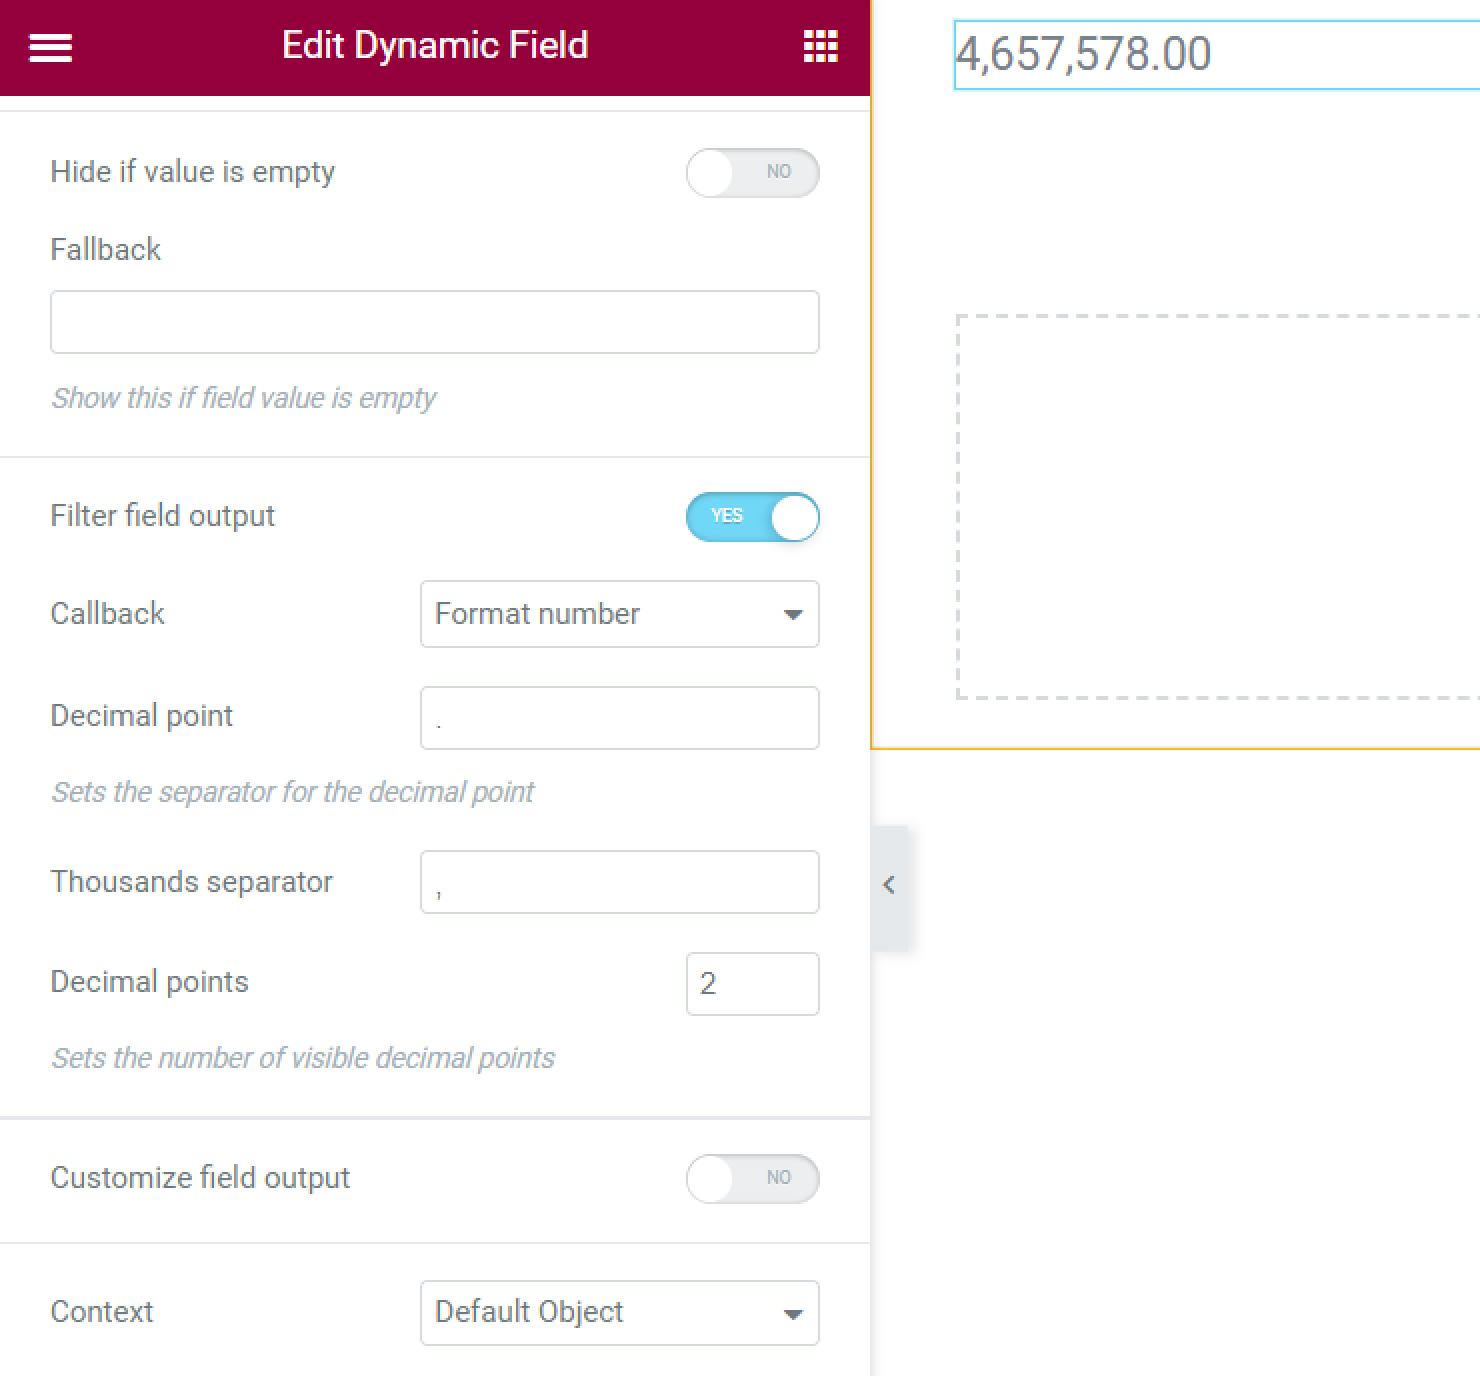
- Format number. If you want to display the data from the Number meta field, you can set its format using this callback. You can choose how the Decimal point and Thousands separator will look like and set how many numbers will be shown after the decimal point;
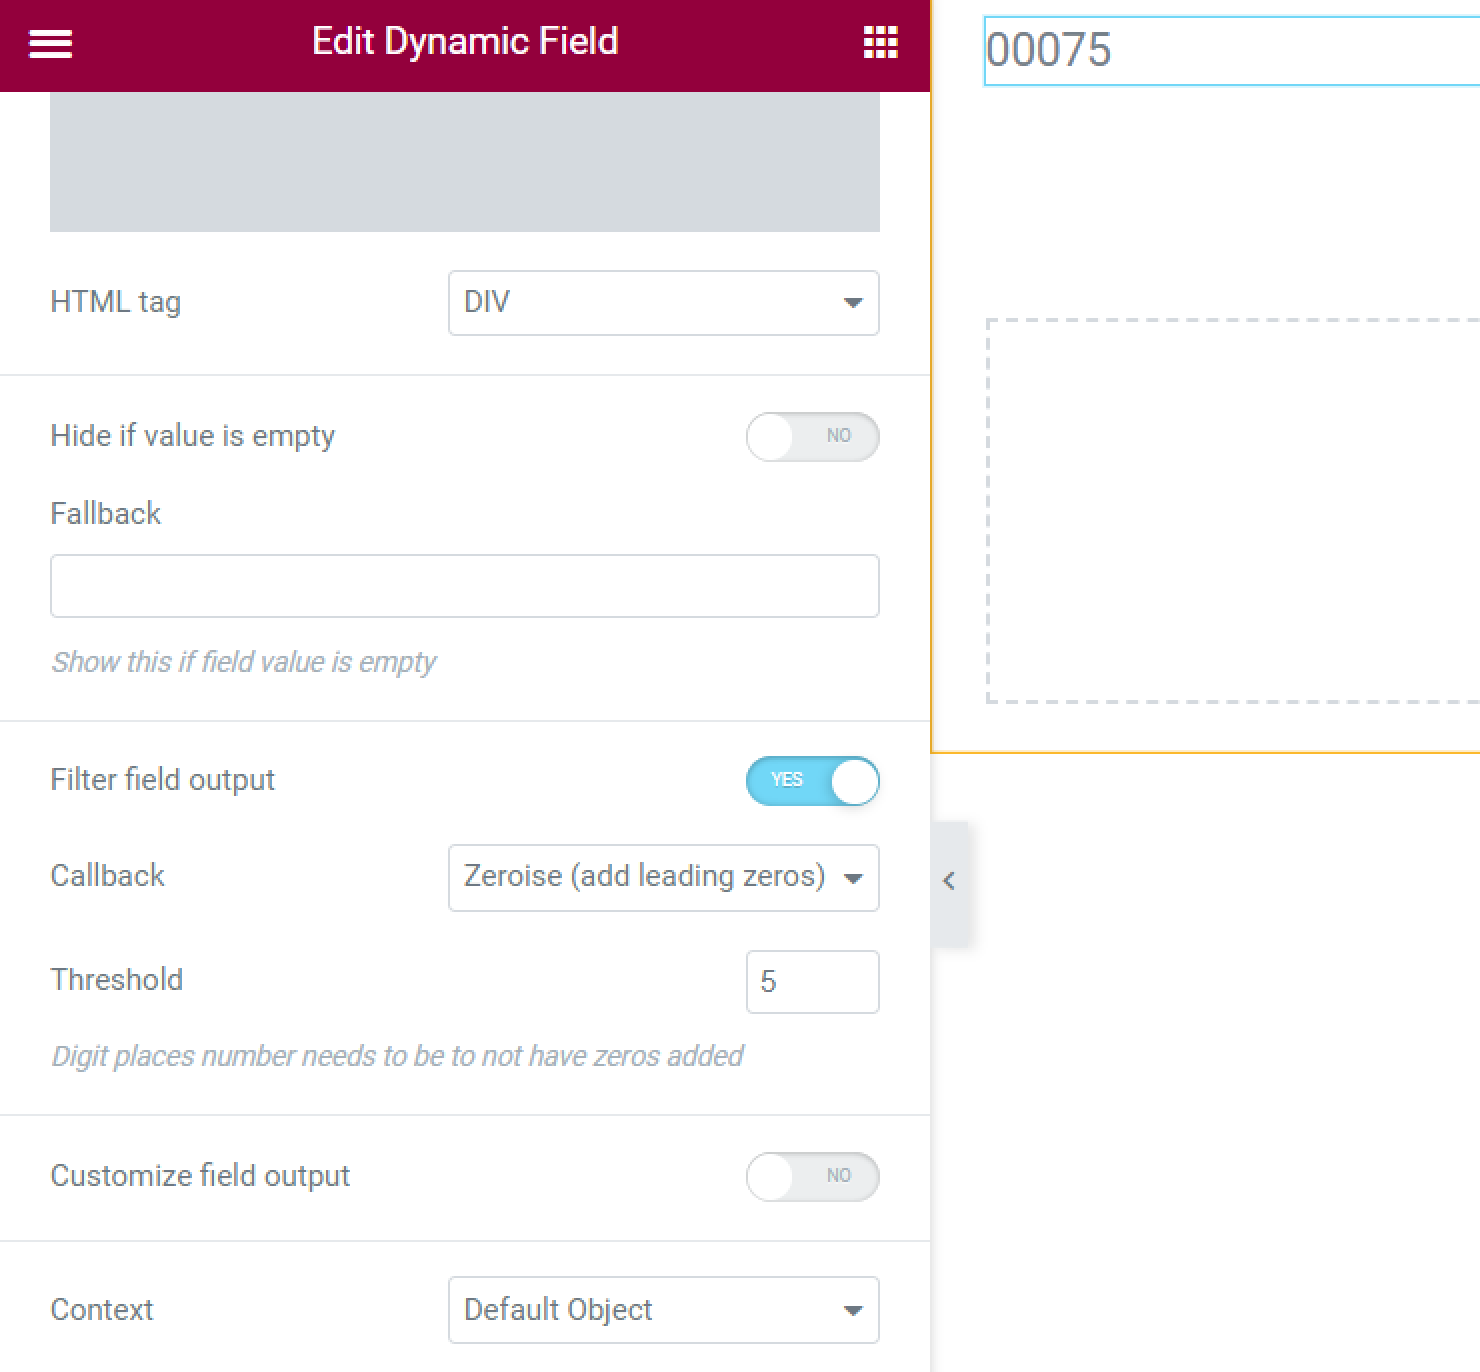
- Zeroise (add leading zeroes). When this callback is enabled, it adds zeroes before the value of the Number meta field. In the Threshold field, you can enter the digit number that must not have added zeros. For example, I set the “5” Threshold, so if the number is two digits, three zeros will be added to it, and if the number is four digits, only one zero will be added;
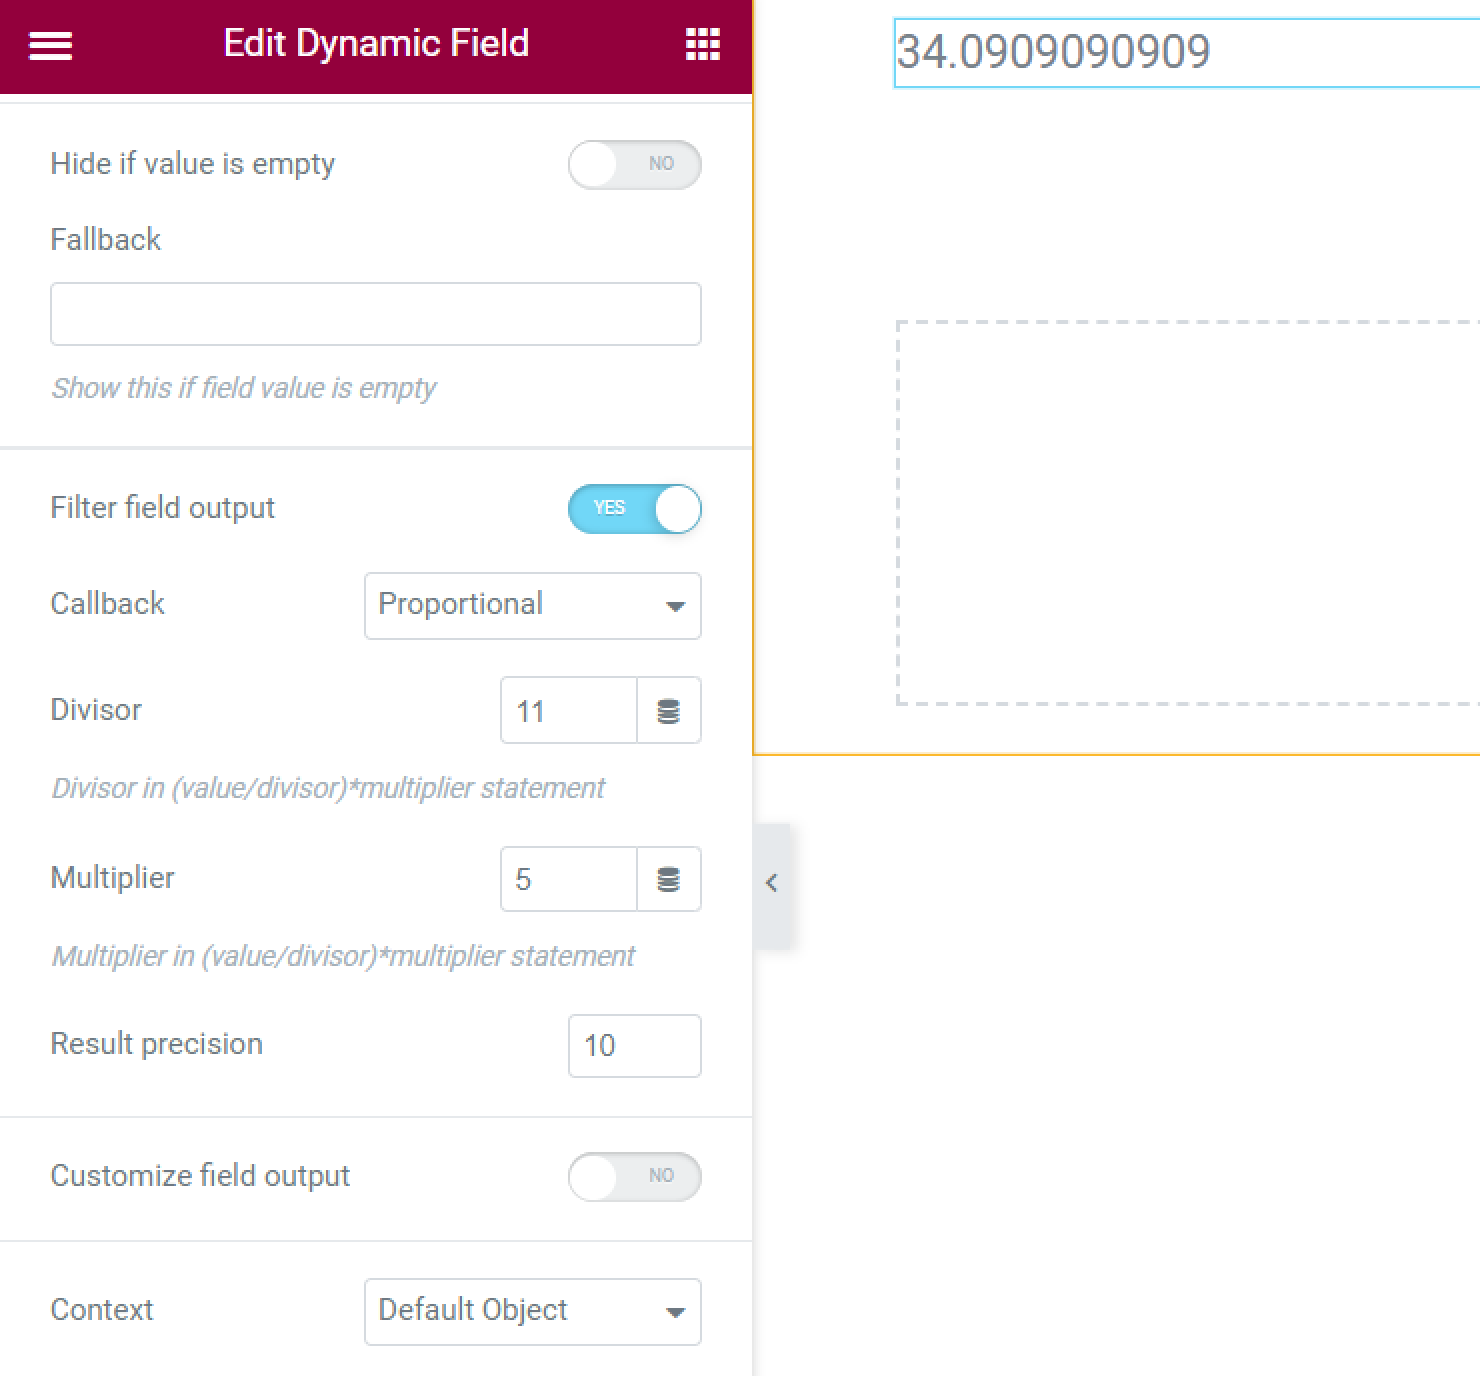
- Proportional. This callback works with the Number field type and calculates the proportion of the field value. In the Divisor field, you can enter the number by which the field value will be divided; in the Multiplier, enter the number by which the field value will be multiplied, and the callback will show the final result. You can also identify in the Result precision field how many decimals can be shown in the result after the separator. If you hit the “Dynamic Tags” button near the Divisor or Multiplier fields, you can select the JetEngine Custom Field with the number value and use it for the proportional calculation;
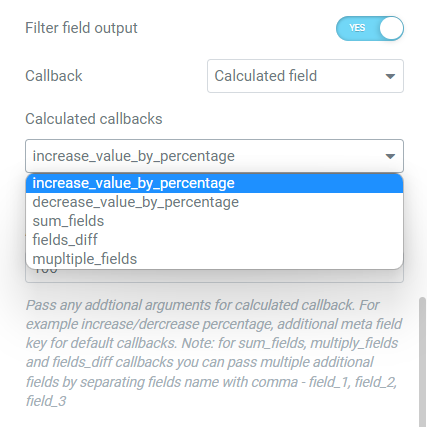
- Calculated field. Perform arithmetic operations with the current field value. To get this callback, proceed to the Free DevTools Kit page, download the Calculated callback add-on and upload it as a plugin to your WordPress website. To learn more about this callback, go to the Calculated Callback Add-on tutorial;
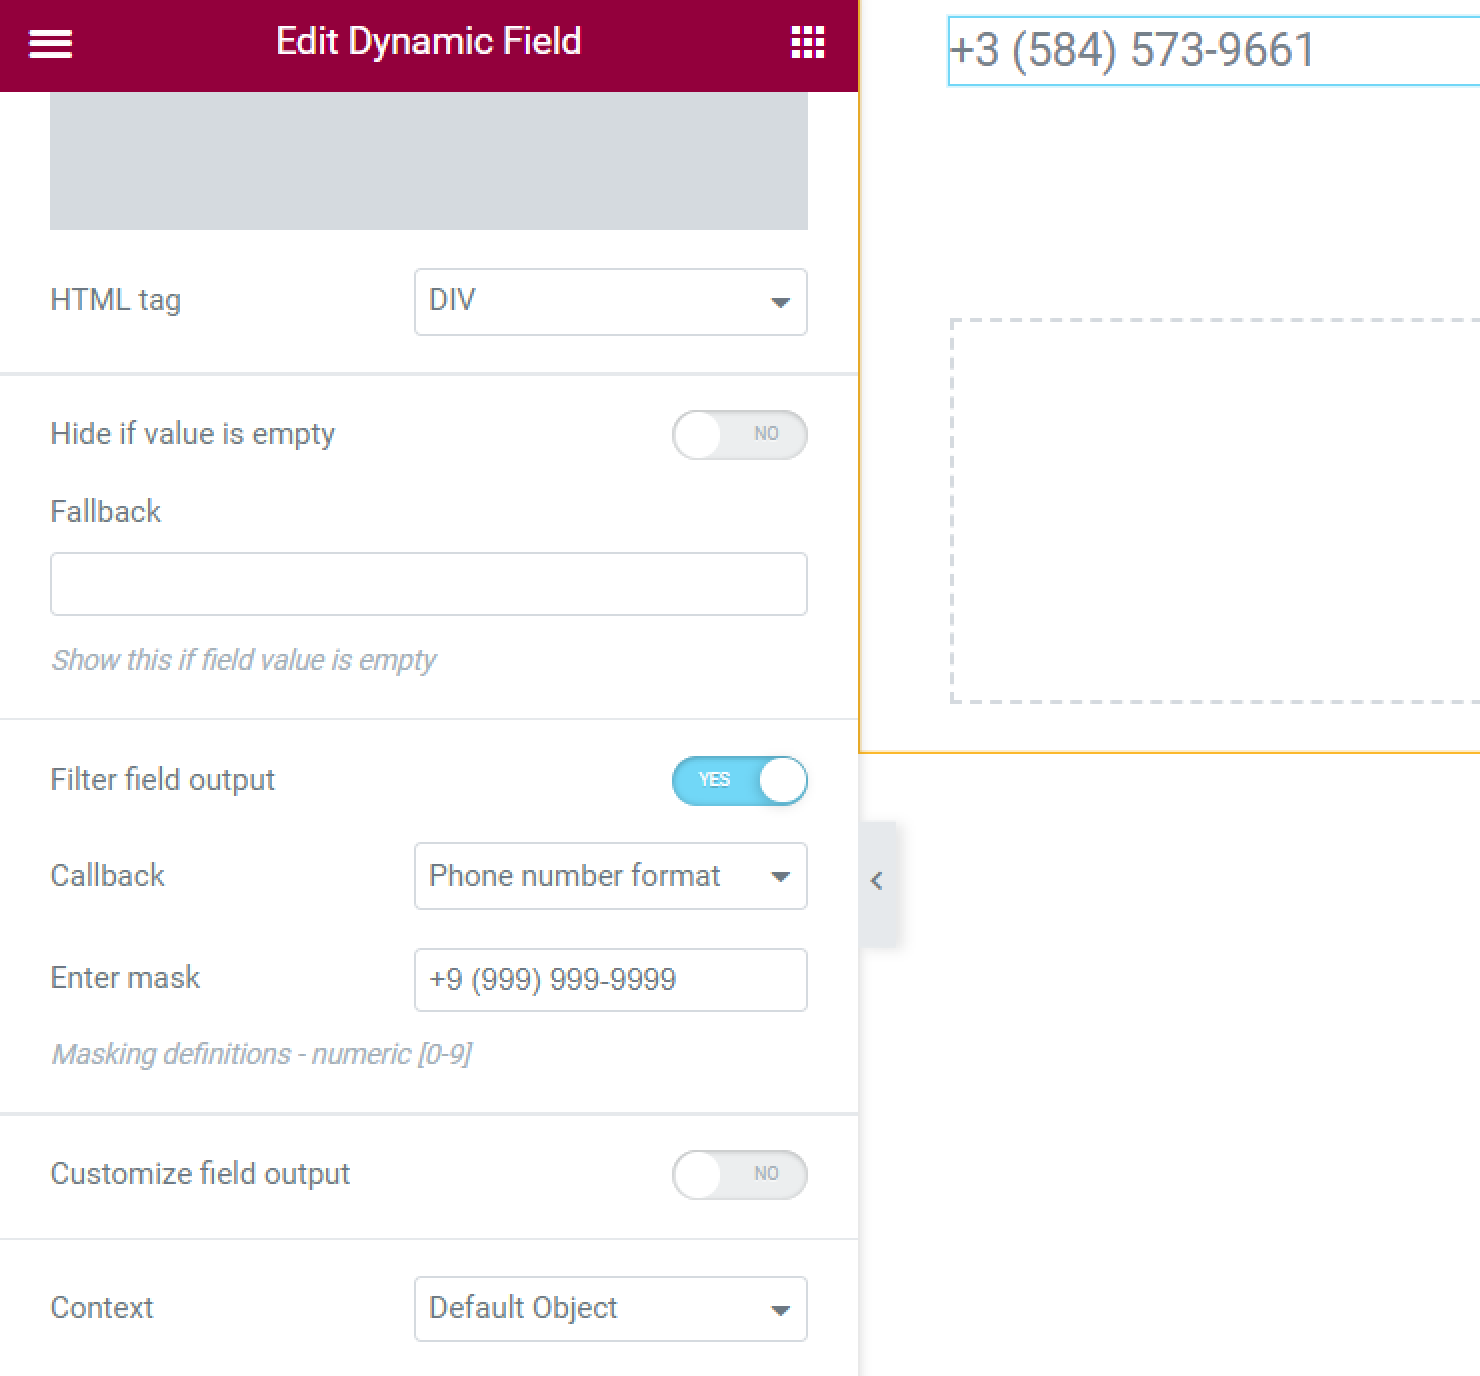
- Phone Number Format. Allows formatting phone and credit card numbers from the Number, Text, or Textarea meta field by applying a mask to a Dynamic Field widget. To get this callback, proceed to the Free DevTools Kit page, download the Phone Number Format add-on and upload it as a plugin to your WordPress website.
Adjust values output from the Select, Radio, and Checkbox meta fields
- Multiple select field values. This one is used for the Select field type and allows you to showcase several selected options. Don’t forget to specify the Delimiter afterward. To be able to select several options in the Select meta field, proceed to JetEngine > Post Types, click to edit the needed one, and enable the Multiple toggle for the Select field;
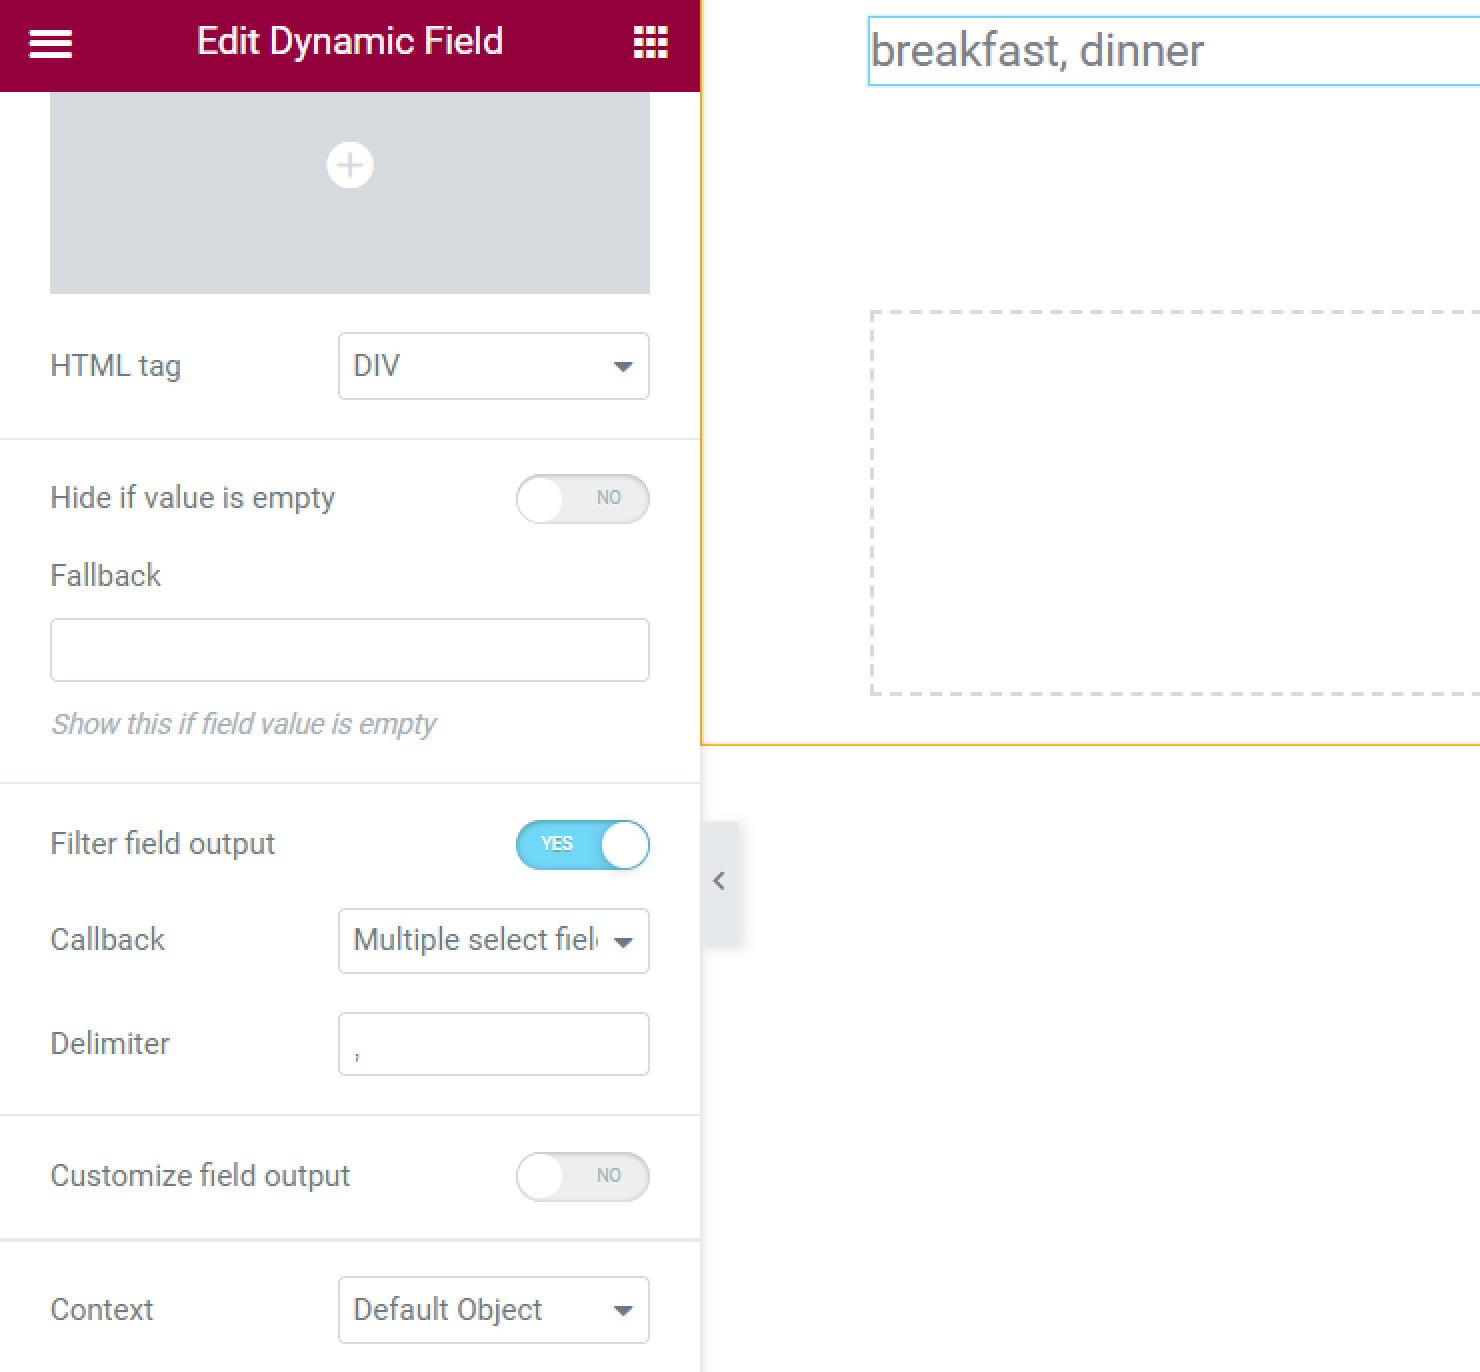
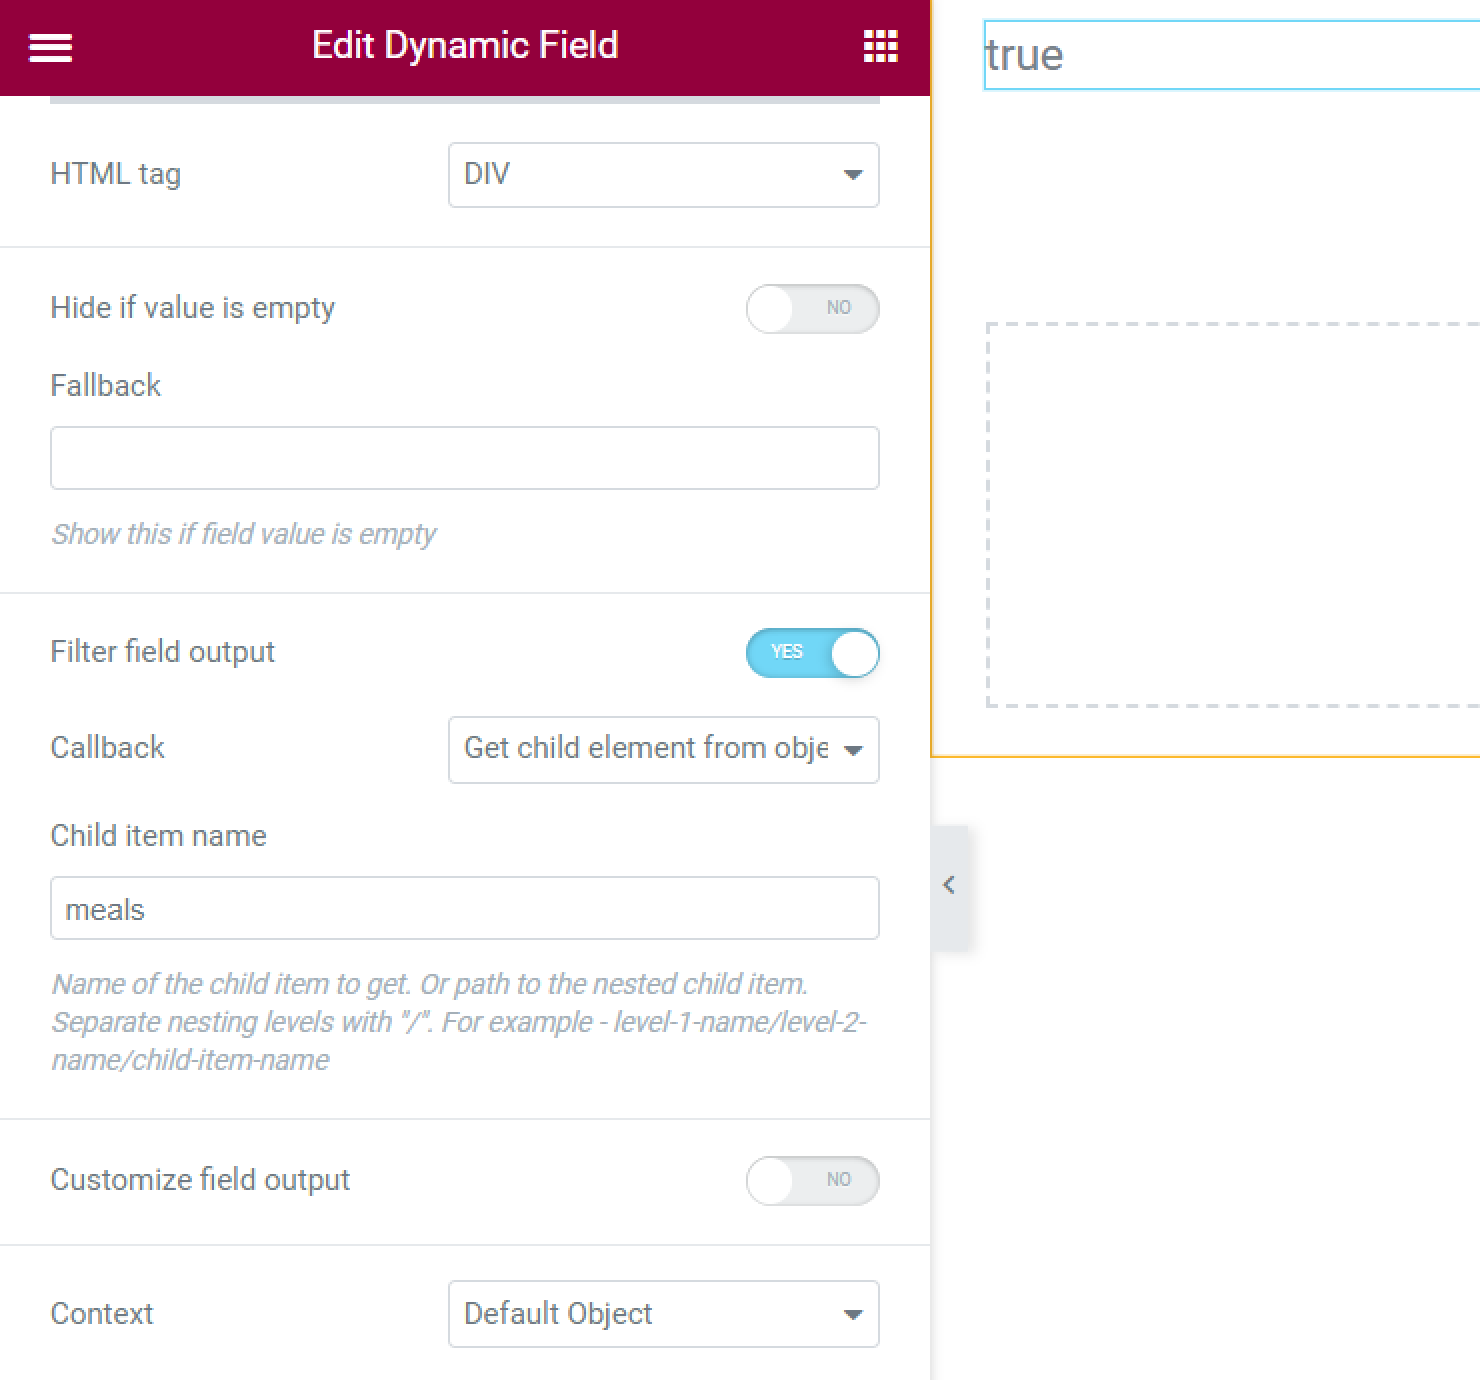
- Get child element from object/array. This callback works with the Checkbox and Select meta fields. It shows the value of the option chosen in the checkbox of select. For example, if you tick the “2” option of the checkbox and have chosen the “2” option for the callback – it will display the “true” value;
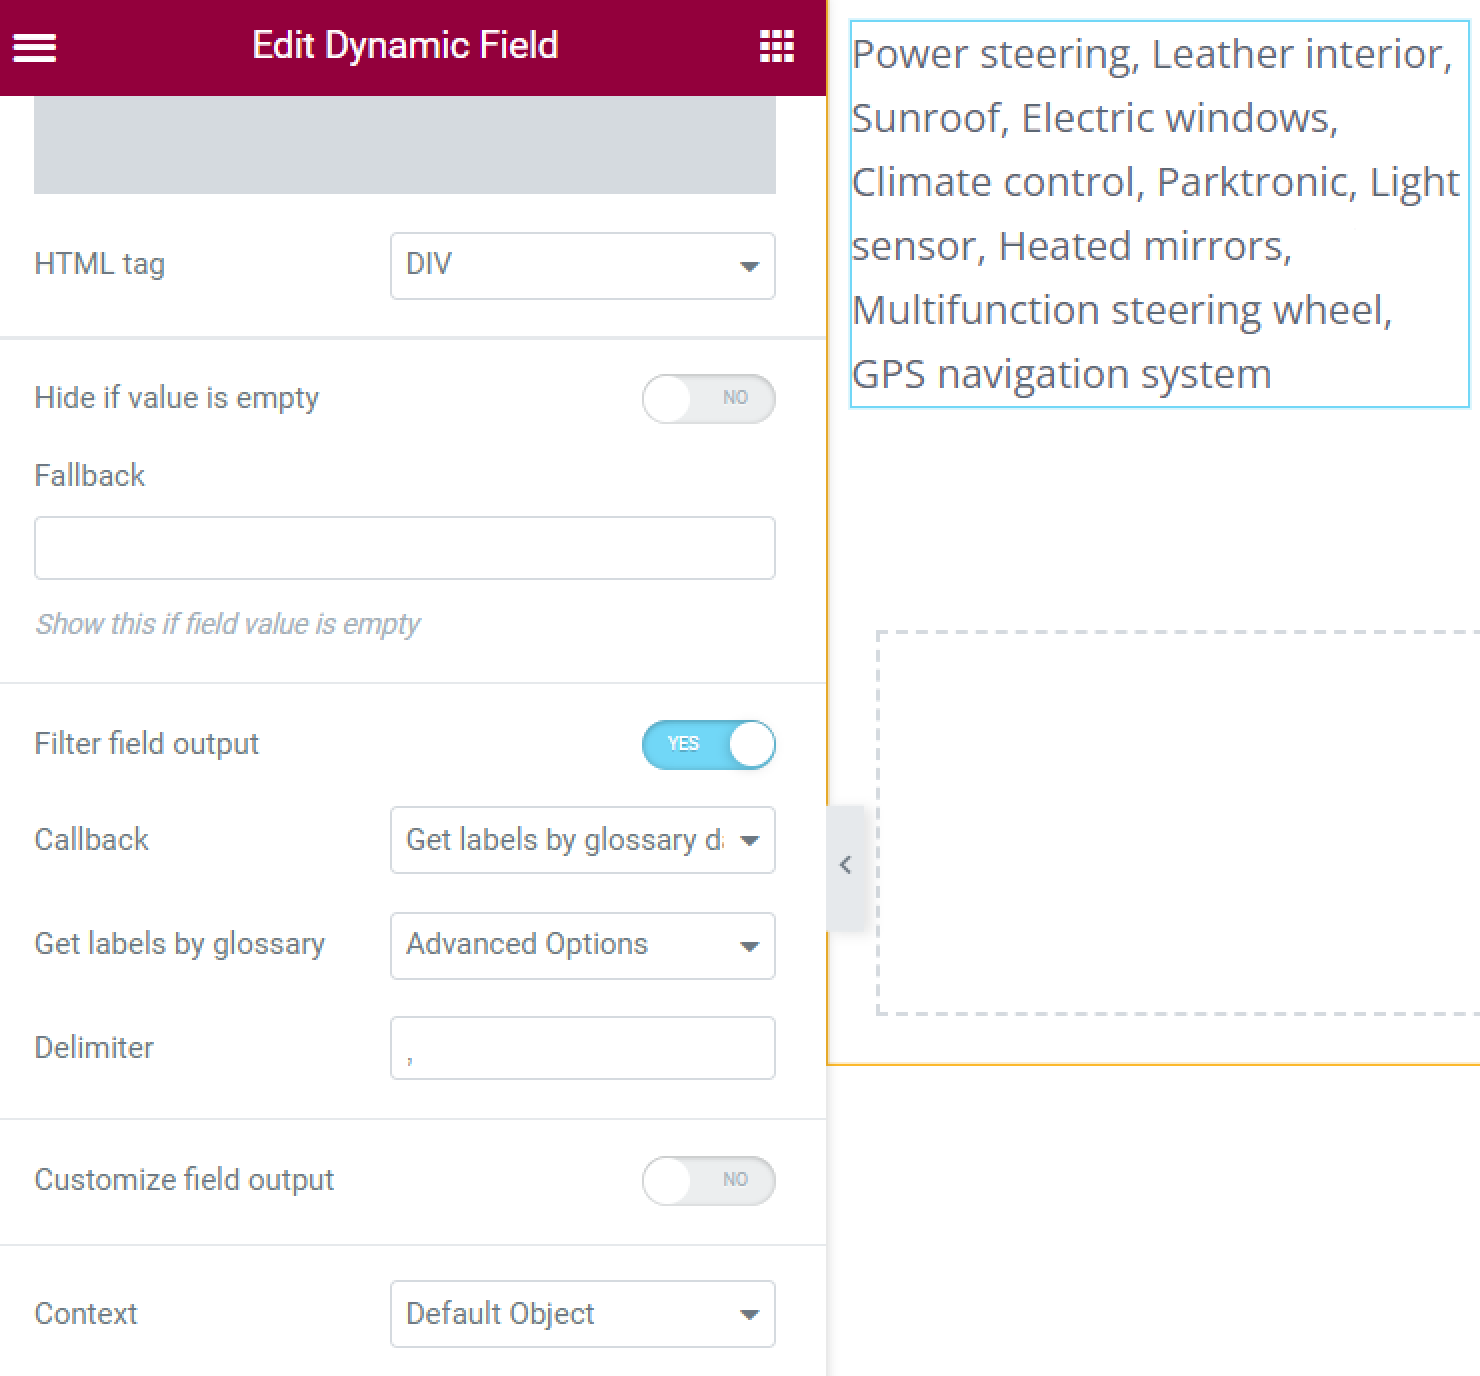
- Get labels by glossary data. It allows you to display the labels of the glossary items list. This callback works with the Radio, Select, and Checkbox meta fields;
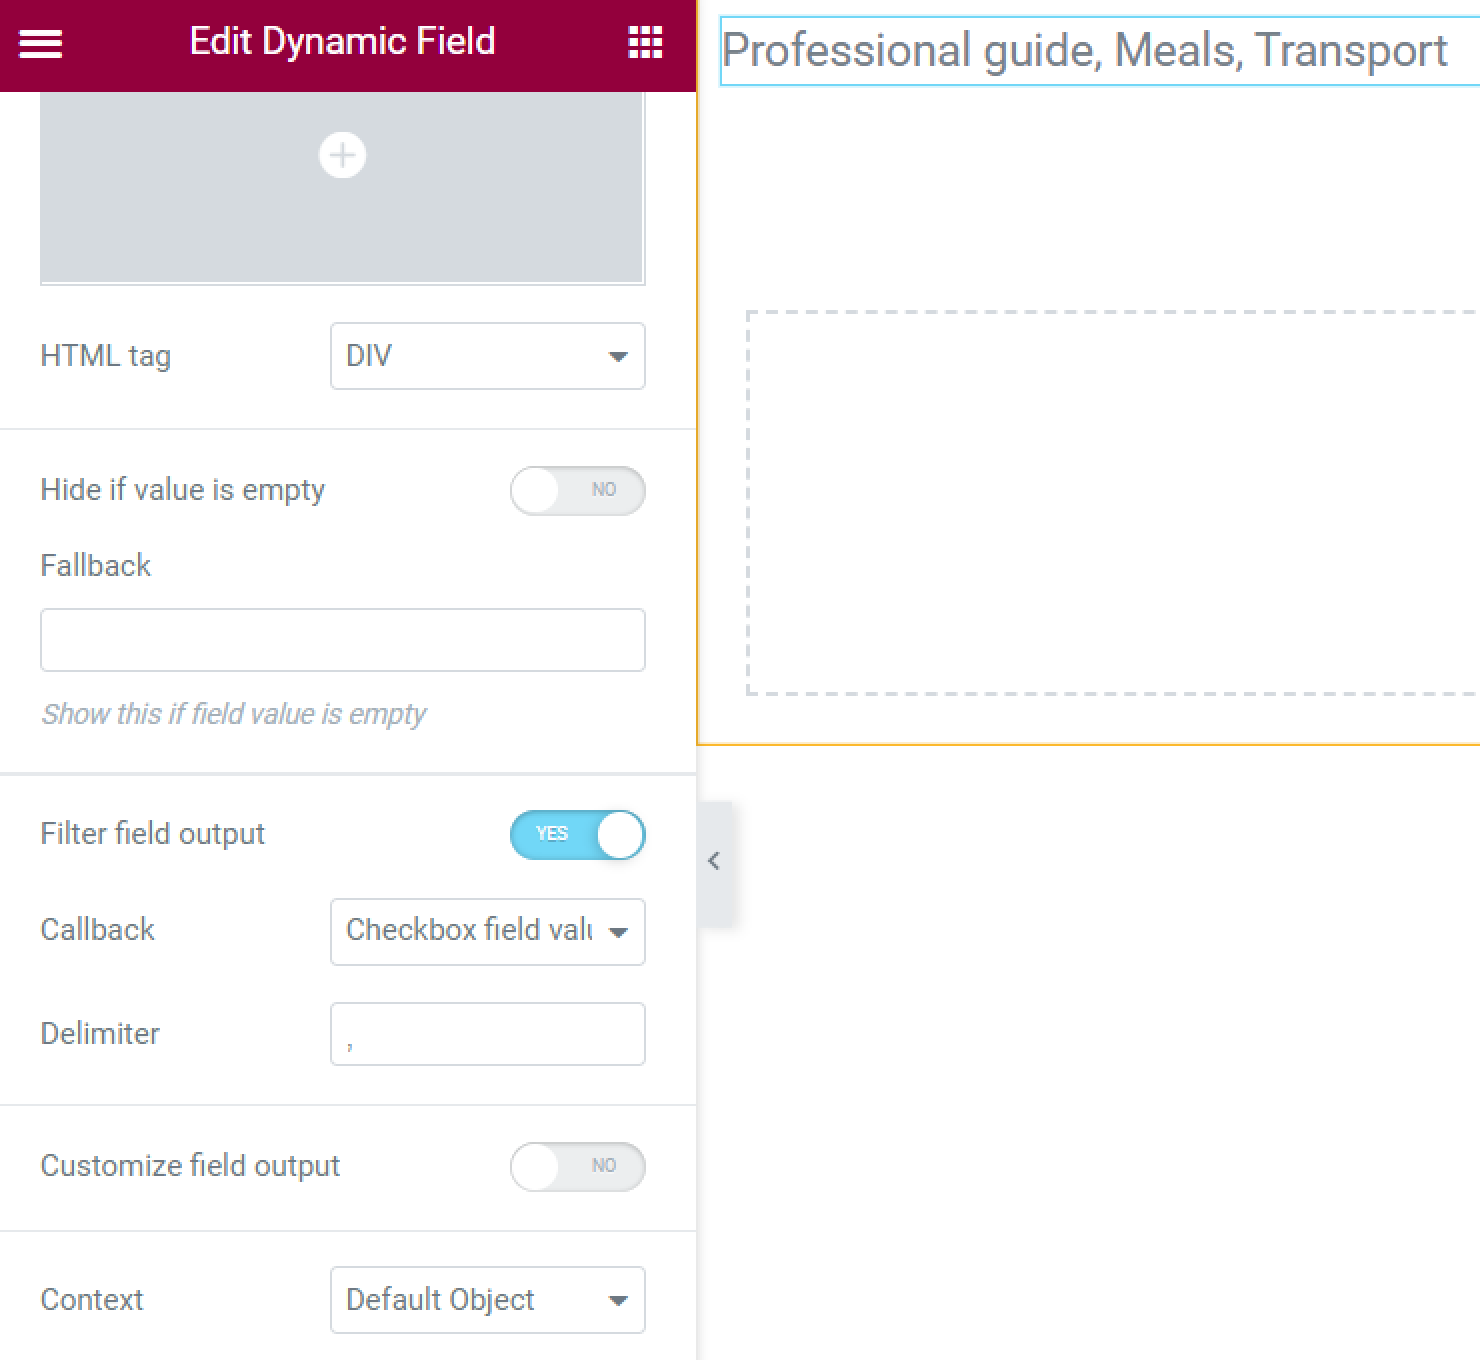
- Checkbox field values. If you want to display the values chosen in a Checkbox field type, this callback will help you display them in a line, separated by Delimiter;
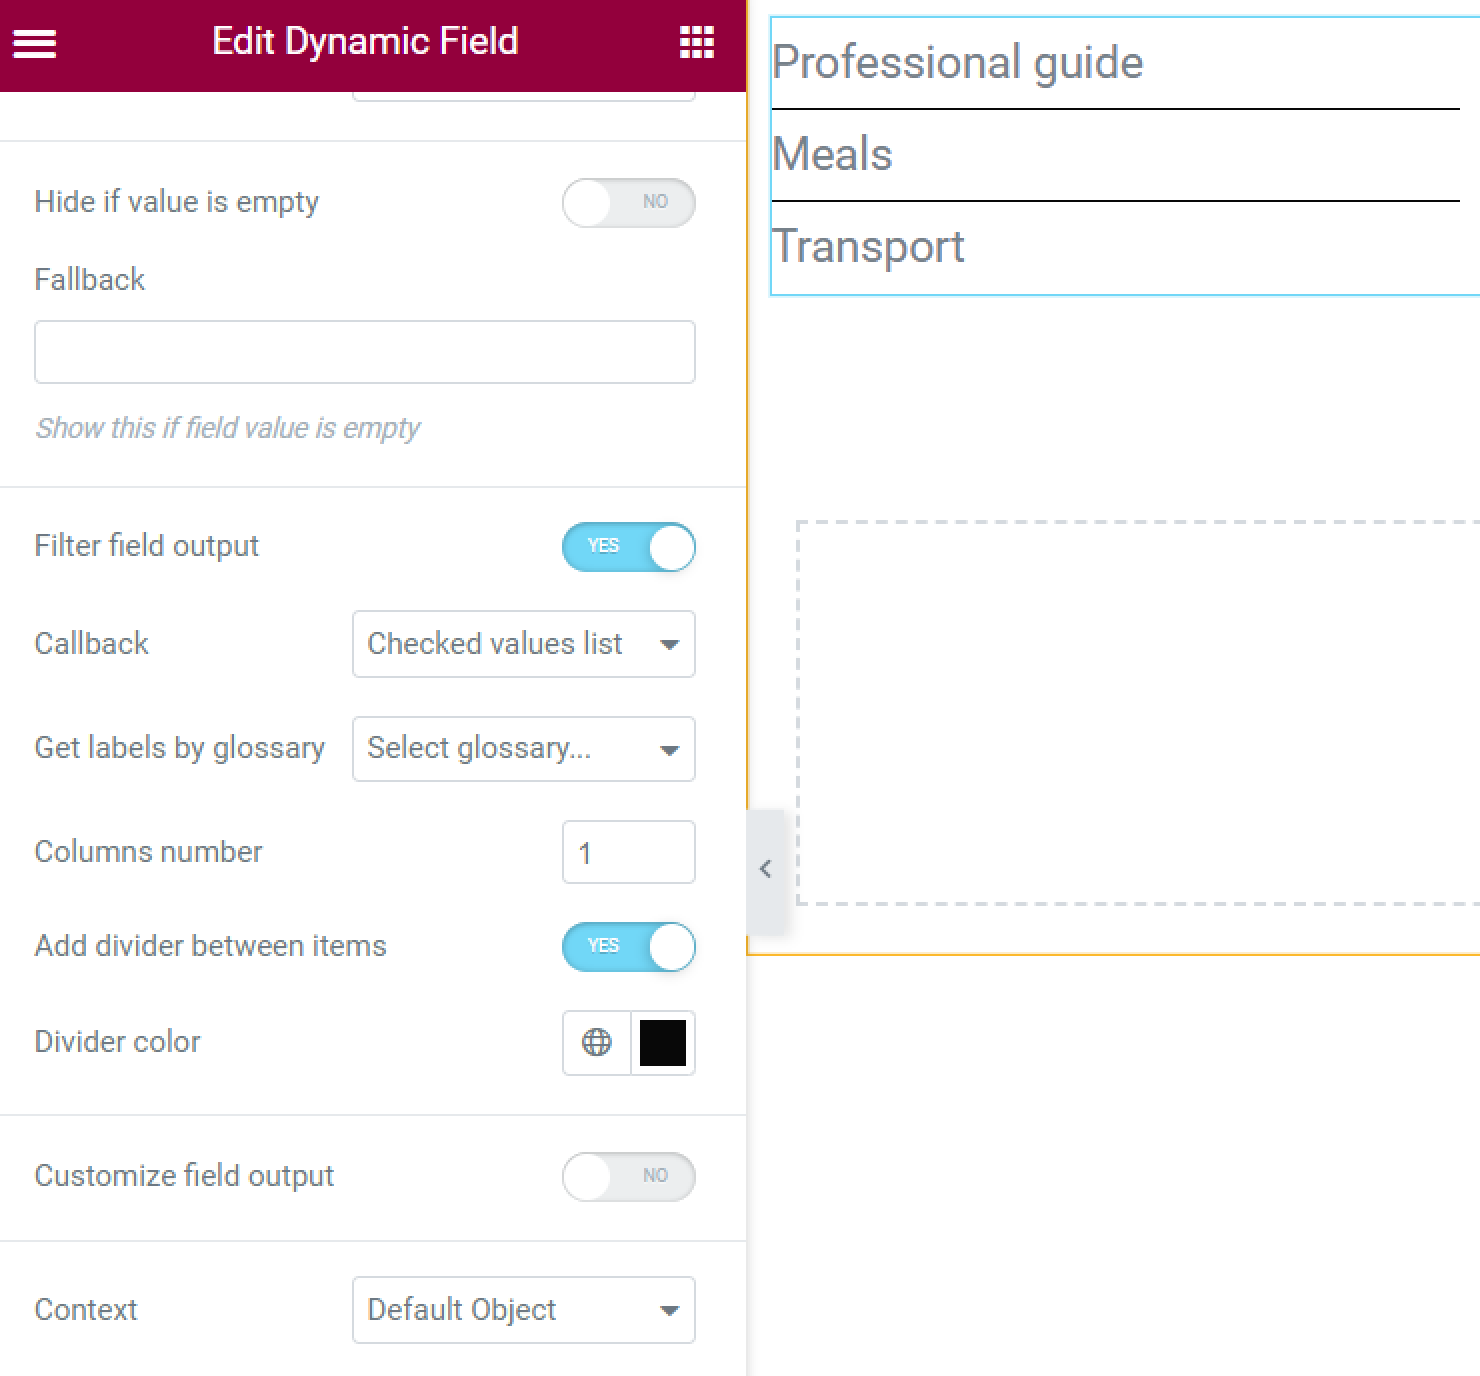
- Checked values list. This callback is also used with the Checkbox meta field type but shows the data as a list. You can set the Glossary if you use one for the Checkbox meta field and choose the Columns number. You can also enable the Add divider between items toggle and set the Divider color;
- ACF Checkbox field values. This one allows you to display the values of the Checkbox meta fields created by ACF plugin functionality.
Adjust values output from the Switcher meta field
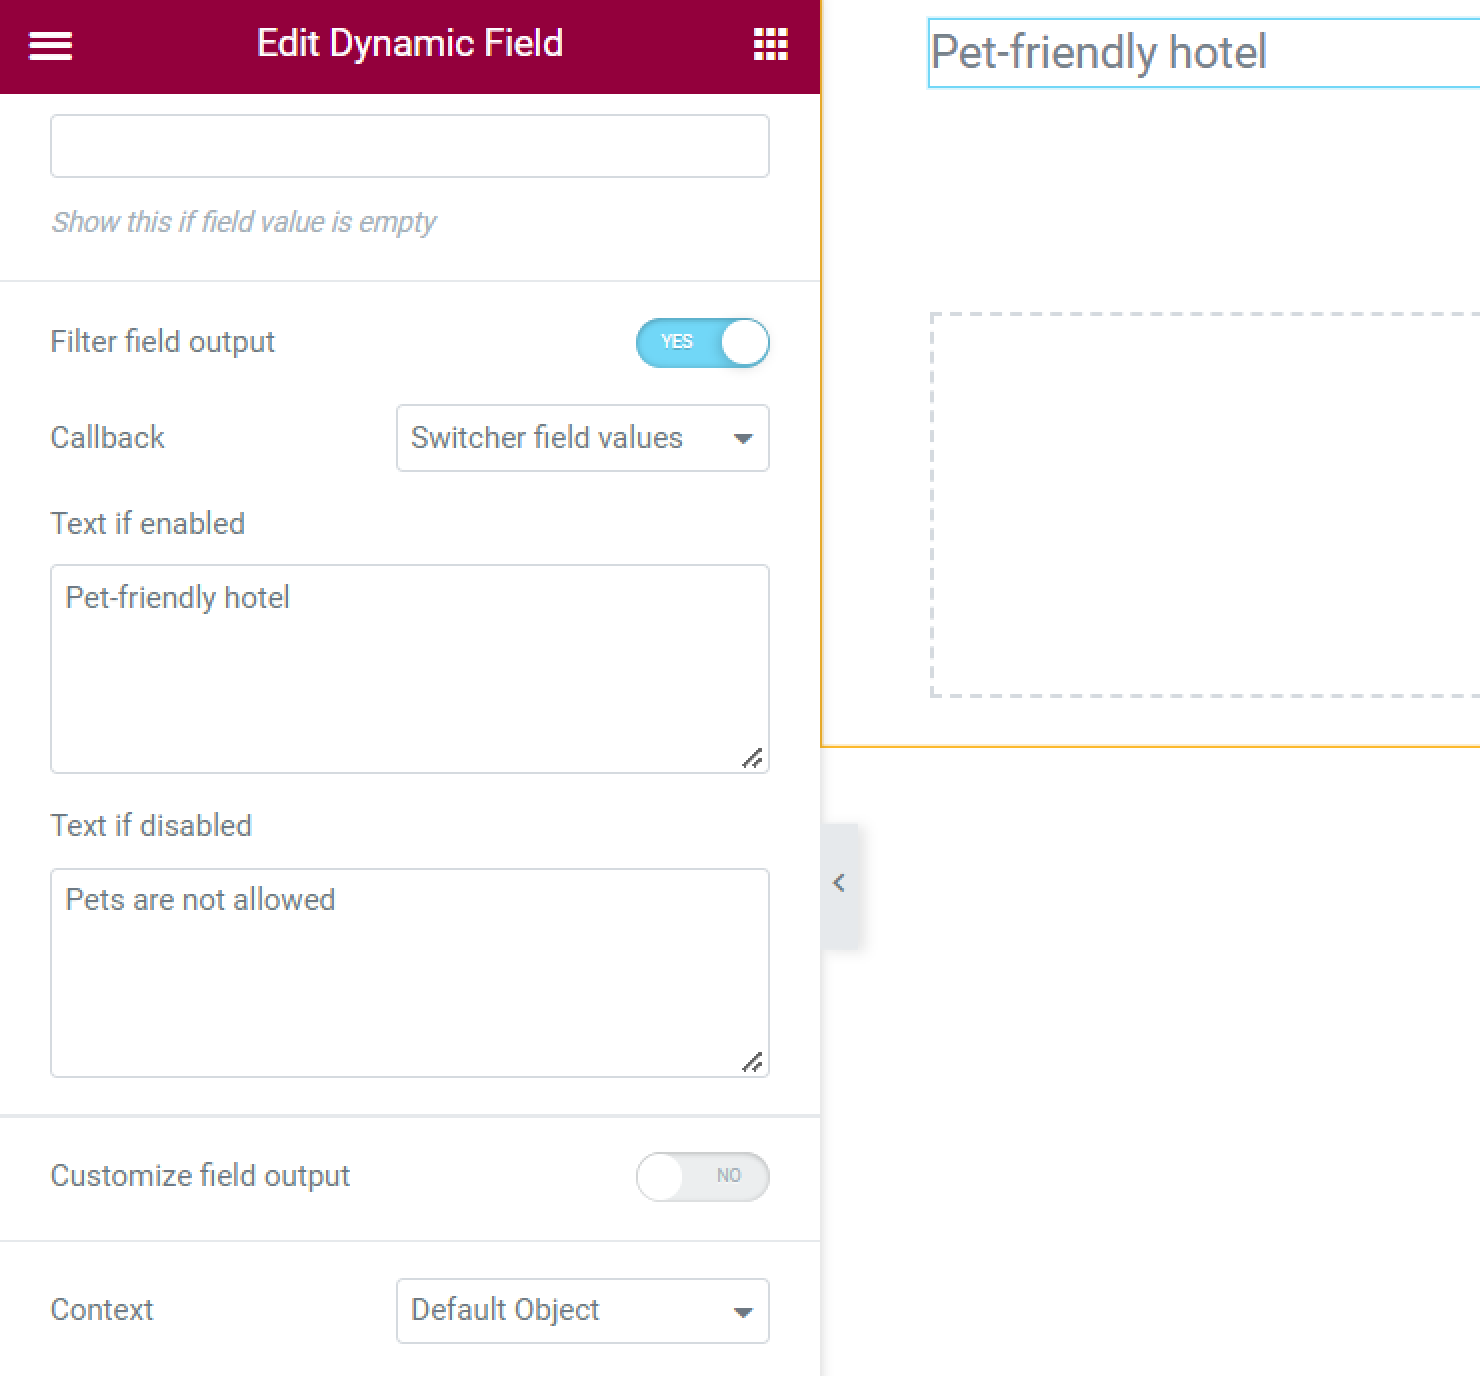
- Switcher field values. With the help of this callback, you can display the values of the Switcher meta field type.
Set the display from the Media meta field
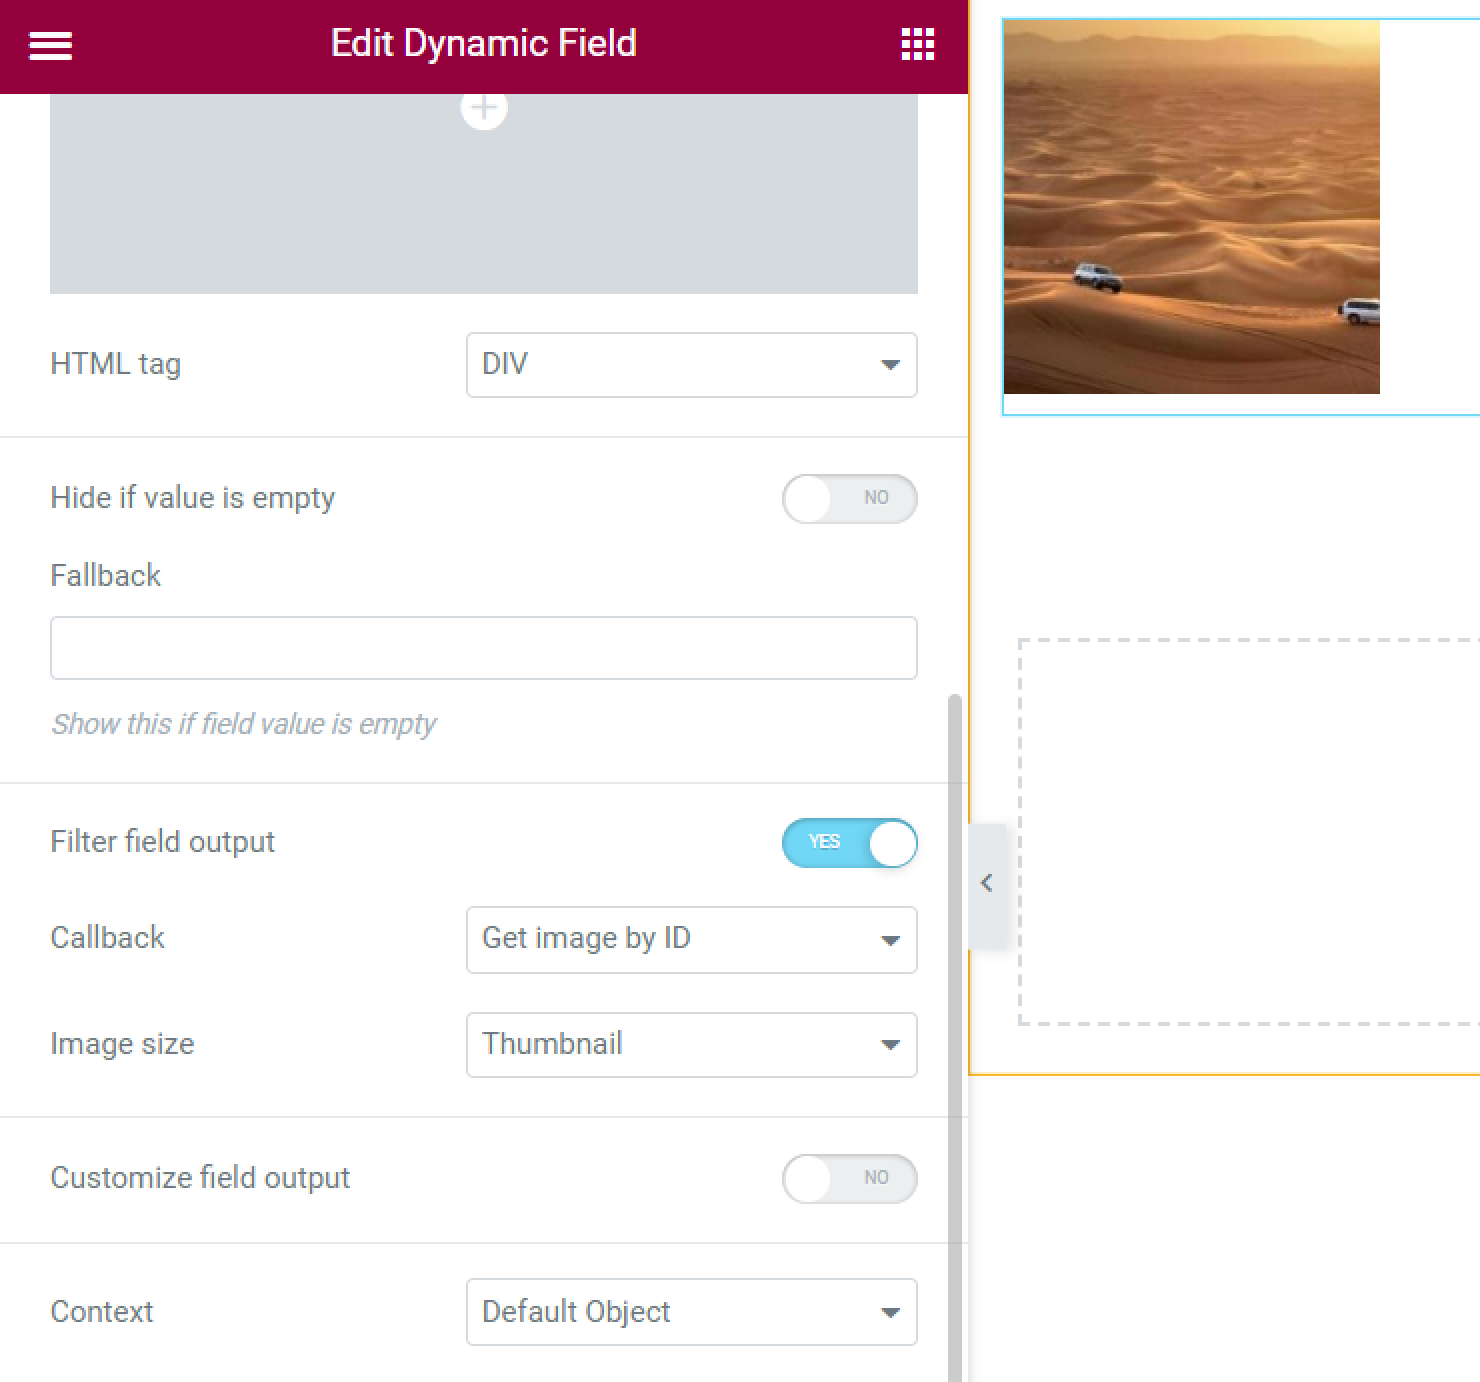
- Get Image by ID. This callback option displays the image from the database instead of its number value when using the Media meta field. You also can set the Image size;
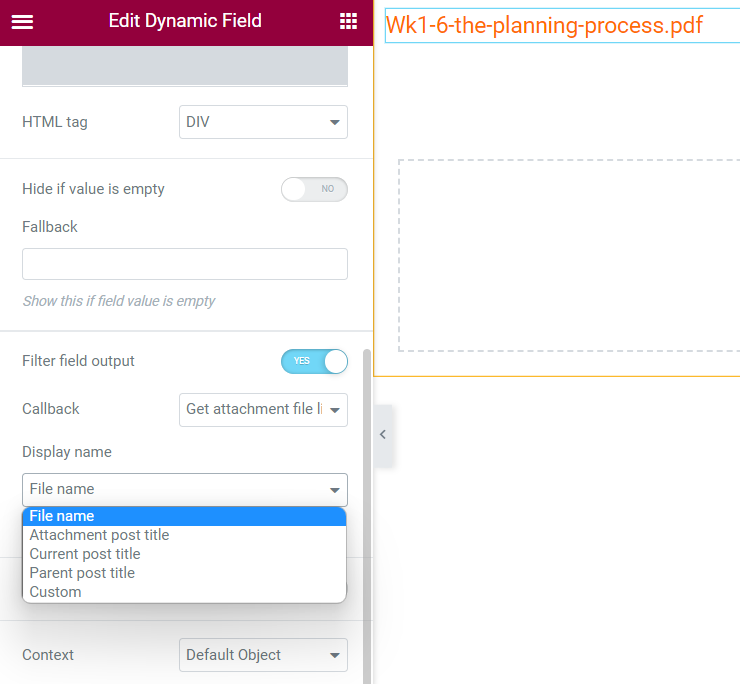
- Get attachment file link by ID. This option appears in the list after you enable the Attachment file link by ID toggle in the JetEngine > JetEngine Dashboard > Modules > External Modules tab. Allows to display download links for .pdf, .zip, and other file formats from the Media meta field using the Dynamic Field widget and use it to output such links to the archive and single page templates. In the Display name select, you can pick such options:
- “File name” – shows the file name,
- “Attachment post title” – if the file contains a link to the post or page template, this option shows the title,
- “Current post title” – shows the title of the post in which Media field the file is attached,
- “Parent post title” – shows the title of the Parent of the current post. To be able to set the Parent, proceed to JetEngine > Post Types, click to edit the needed post type, and enable the Hierarchical toggle in the Advanced Settings tab. Then, proceed to the post type tab on the WordPress Dashboard, hit the “Quick Edit” button under the needed post, and set the Parent),
- “Custom” – allows you to set the Custom label.
Set the display from the Gallery meta field
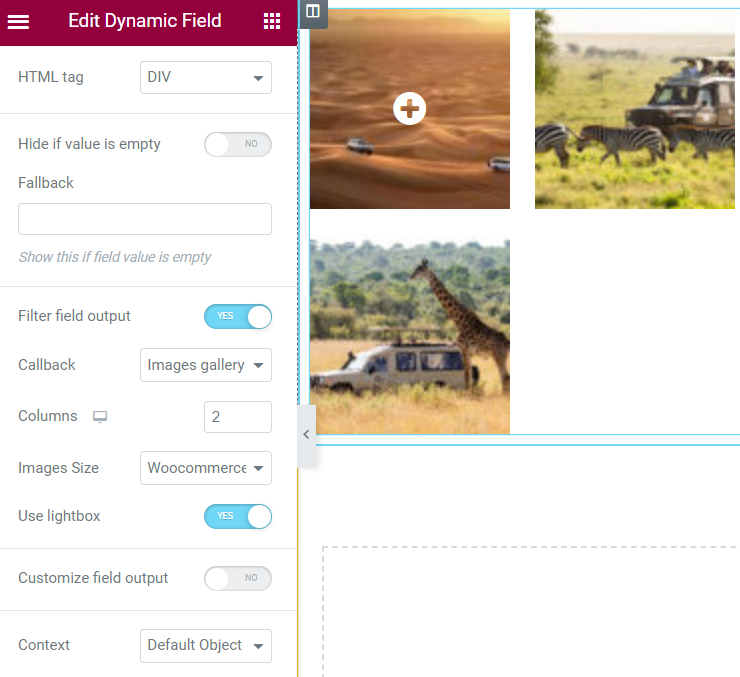
- Images Gallery Grid callback option allows you to display a gallery added using the Gallery meta field. This option appears in the list after you enable the Grid Gallery for Dynamic Field widget toggle in the JetEngine > JetEngine Dashboard > Modules > Default Modules tab. For this callback, you can set the number of Columns, Image sizes and enable the Use lightbox toggle that displays full-sized images by filling the screen. To know more, proceed to the JetEngine Grid Gallery and Slider Gallery Options of Dynamic Field Widget tutorial;
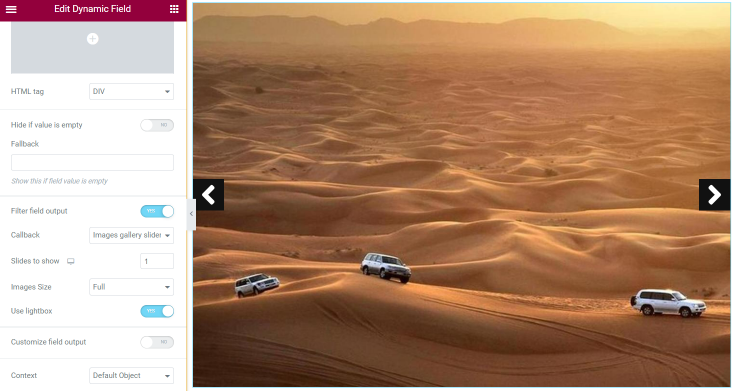
- Images Gallery Slider. This one is used whenever you need to display the images added using the Gallery meta field in a slider. This option appears in the list after you enable the Slider Gallery for Dynamic Field widget toggle in the JetEngine > JetEngine Dashboard > Default Modules tab. For this callback, you can set the number of Columns, Image sizes, and enable the Use lightbox toggle that displays full-sized images by filling the screen. To know more, proceed to the JetEngine Grid Gallery and Slider Gallery Options of Dynamic Field Widget tutorial.
Set the display from the Iconpicker meta field
- Embed icon from Iconpicker. This callback is for the Iconpicker-type field and allows you to show the icon, not its ID.
Show the text from Text and Textarea meta fields
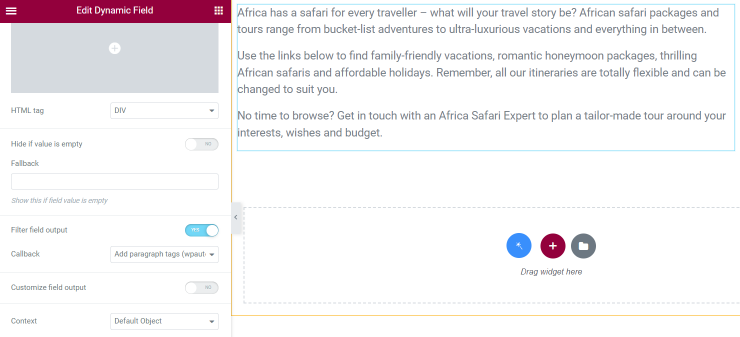
- Add paragraph tabs (wpautop). If you have chosen the Textarea meta field in the Meta Field select, this callback will add paragraphs to the text;
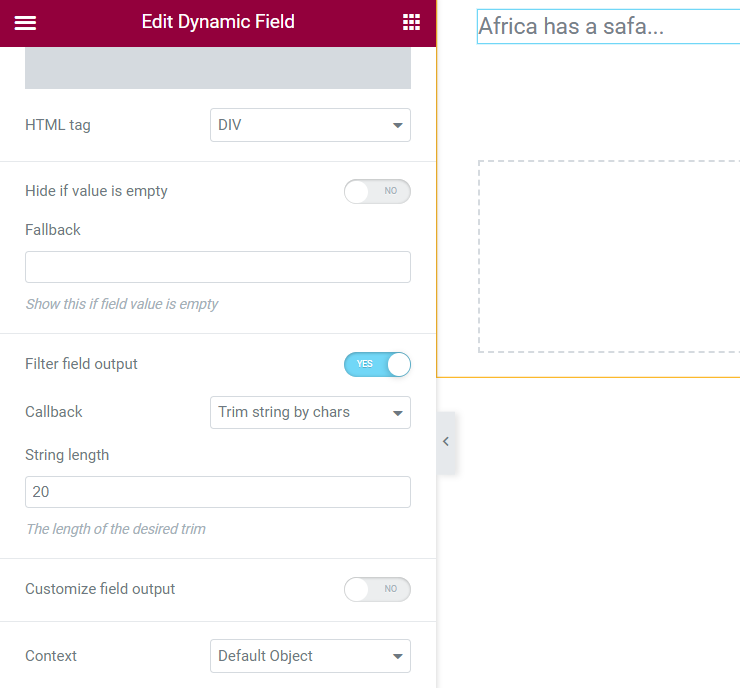
- Trim string by charts or words. This option appears in the list after you enable the Trim string callback toggle in the JetEngine > JetEngine Dashboard > Modules > External Modules tab. It displays the pieces of text from meta fields, options, etc., trimmed by the chosen String length value.
Display the Posts meta field values
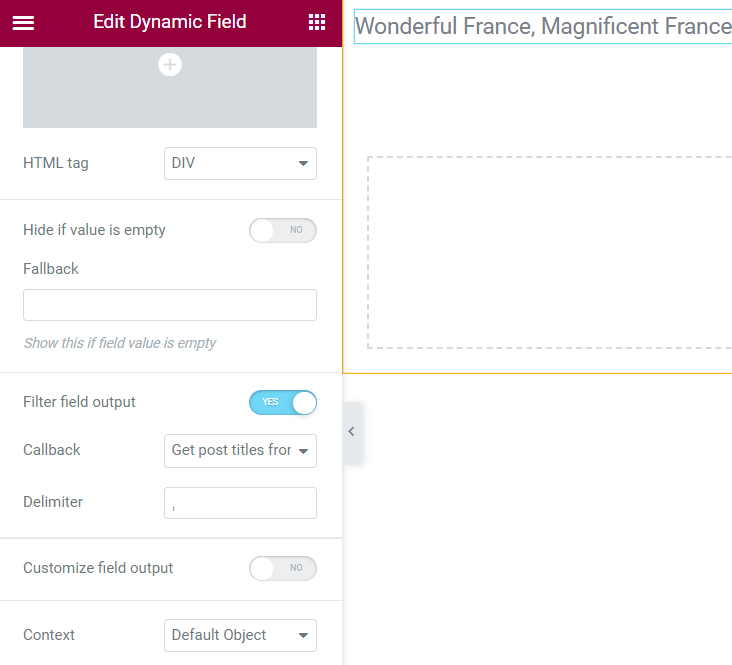
- Get post titles from IDs. It can be used with the Posts meta field. When enabled, this callback displays the titles of the posts you have chosen in the field;
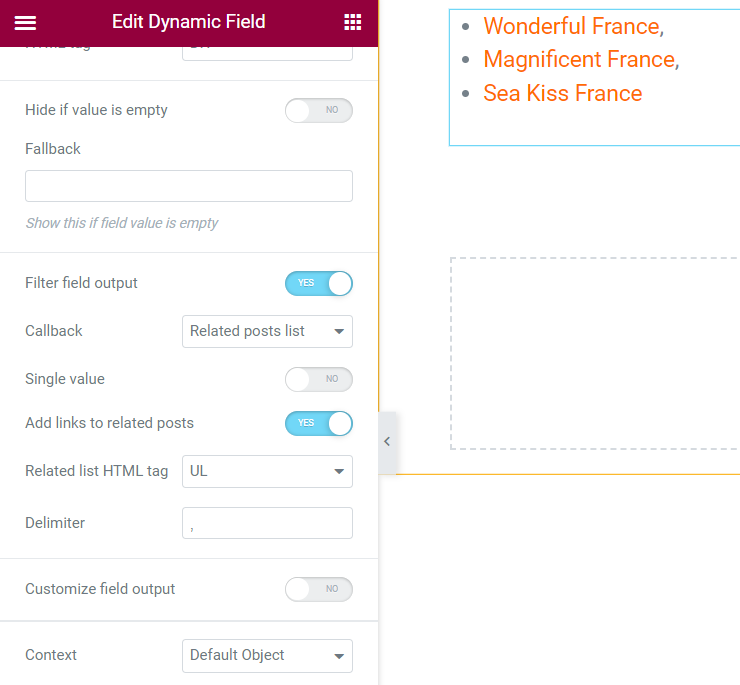
- Related posts list. This callback also works with the Posts meta field but displays the post titles in a list instead of a row. The enabled Single value option shows only the first related post. You also can Add links to related posts and set the Related list HTML tag: “UL” ― shows posts in the bulleted list, “OL” ― shows posts in the ordered numerical list, and “DIV” ― shows posts in the row. If you wish, define the Delimeter;
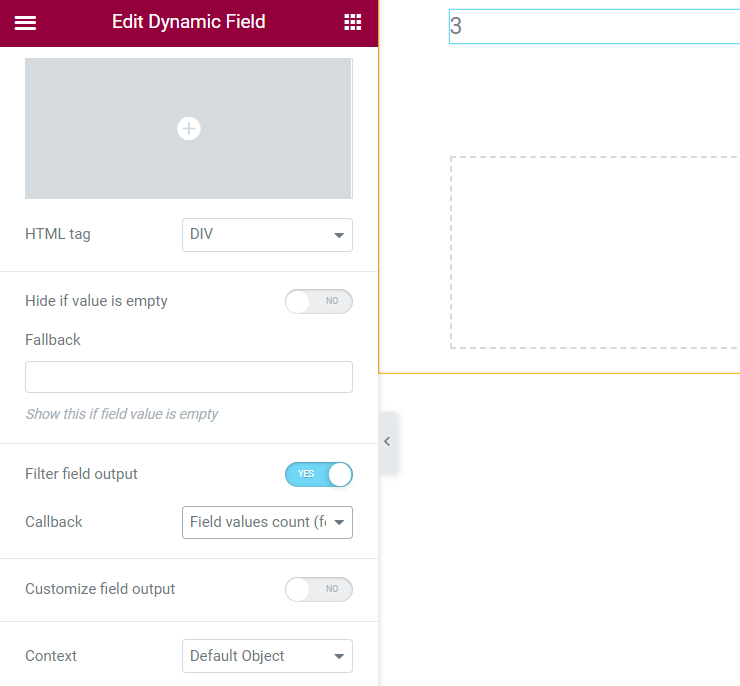
- Field values count. Another callback for the Posts meta field. It shows the number of posts you have chosen in the field.
Display the relation data
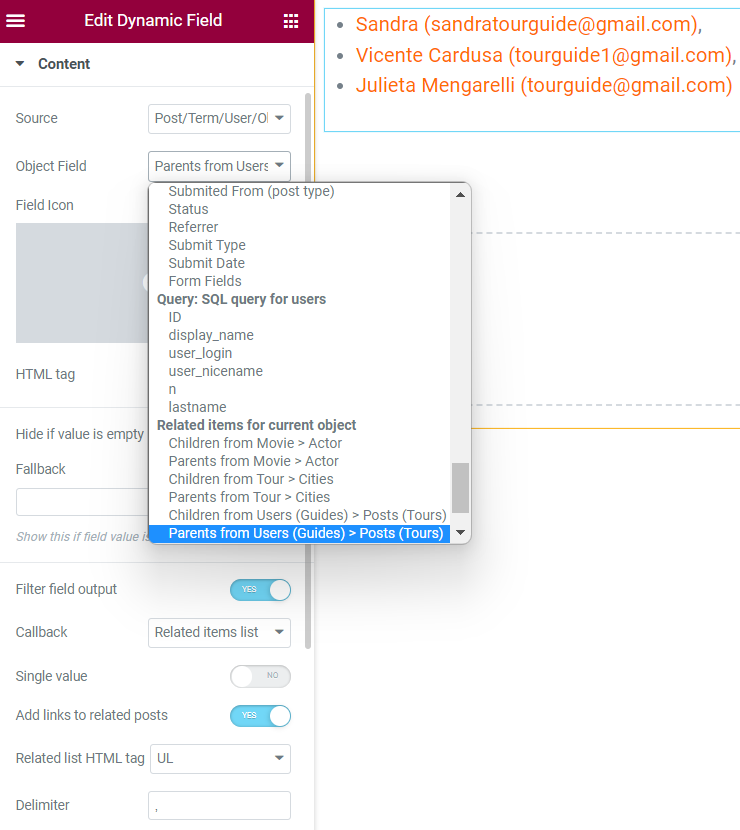
- Related items list. This callback displays the list of related items (posts, terms, CCTs, or users). For this callback, you need to pick the “Post/Term/User/Object Data” Source and select one of the options in the Object Field from the Related items for current object column. The enabled Single value option shows only the first related item. You also can Add links to related posts and set the Related list HTML tag: “UL” ― shows items in the bulleted list, “OL” ― shows items in the ordered numerical list, and “DIV” ― shows items in the row. If you wish, define the Delimeter;
Enable specific field types output format
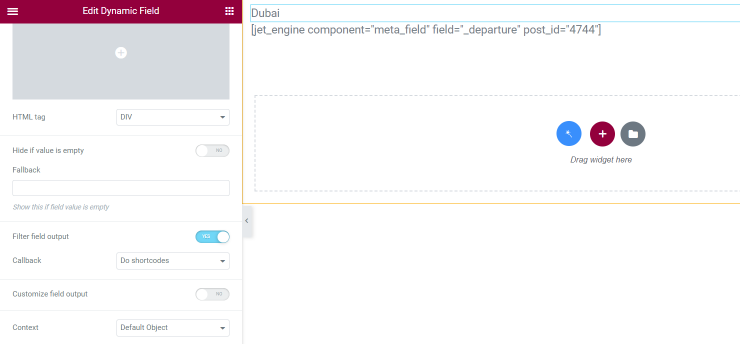
- Do shortcodes. If you added a shortcode in some of the fields, normally, it would be displayed as plain text. And when this callback is enabled, the shortcode in the field will be processed and shown correctly. For example, there are two Dynamic Field widgets on the screenshot. Both have the Text meta field with the shortcode as the Source, but the “Do shortcodes” Callback is applied only to the first one. To learn how to generate shortcodes with the JetEngine plugin, proceed to JetEngine Dashboard Settings Overview;
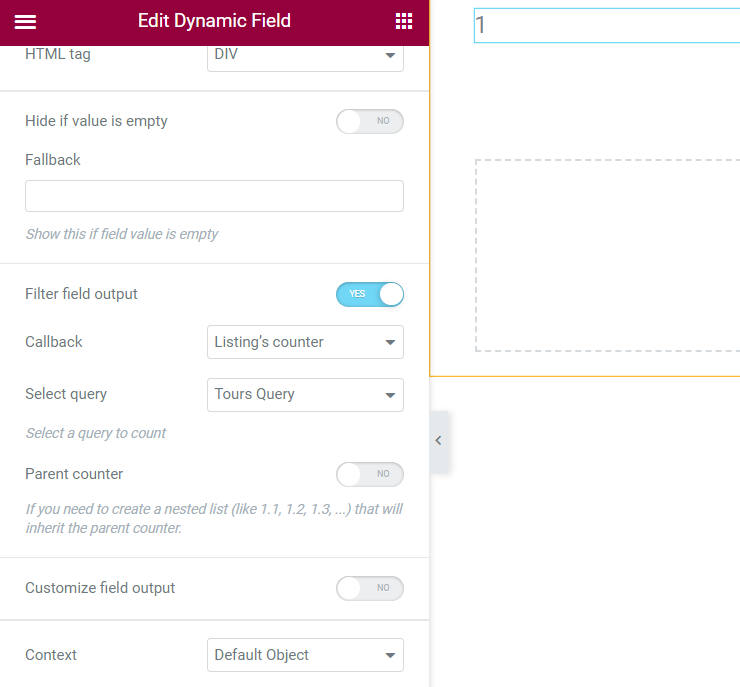
- Listing’s counter. It makes it possible to enumerate Listing items. To get this callback, proceed to the Free DevTools Kit page, download the Listing counter add-on and upload it as a plugin to your WordPress website. To make this callback work, you need to create a query with the JetEngine Query Builder feature. Be aware that you also need to apply the Custom Query to the Listing Grid widget to make the Listing Counter feature work properly. Enable the Parent Counter option if you have a Listing item in another Listing item to create a nested list. Move to this link to find usage examples of this callback;
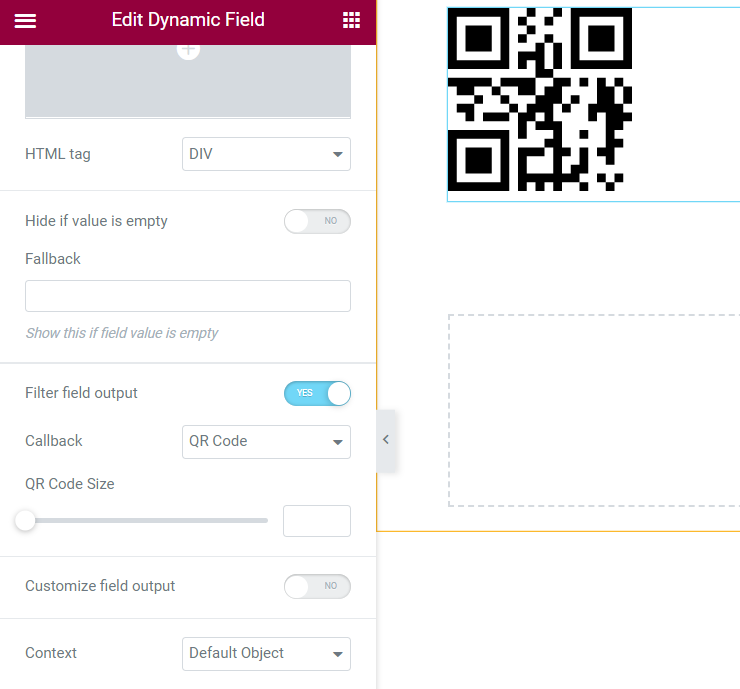
- QR Code. This option appears in the list after you enable the QR Code for Dynamic Field widget toggle in the JetEngine > JetEngine Dashboard > Default Modules tab. It allows you to display any data placed in the meta field as a QR code. You can also identify the QR Code Size. Watch the How to display QR codes with the Dynamic Field widget video tutorial to learn more.
That’s all. Now you are a professional when it comes to the Dynamic Field widget. Be aware that you can get some free features for JetEngine and other plugins from the Free DevTools Kit page.