AJAX Search Settings Overview
Look through the main features of the JetSearch plugin and its AJAX Search block/widget available both for the WordPress Block Editor and Elementor Page Builder.
As AJAX Search is available both for the WordPress Block Editor and Elementor Page Builder, let’s begin with the first-mentioned editor.
AJAX Search Block in Gutenberg
Initially, open the Block Editor, find the Ajax Search block, and drop it on the page.
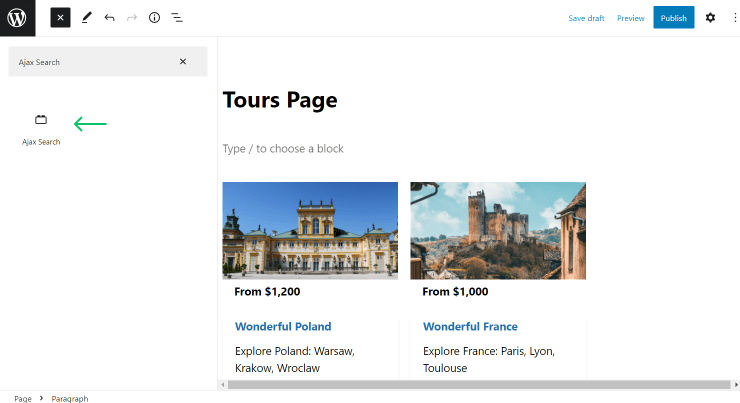
Check the available settings in the special sections.
Search Input
This section is dedicated to the appearance of the input field.
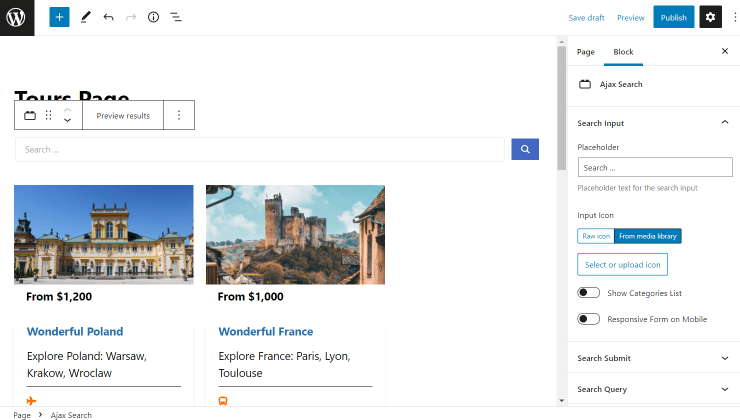
- Placeholder — type in a text shown in the search bar;
- Input icon — select an icon to show it before the placeholder text. You can paste the piece of code in the Raw icon section or choose a picture in the From media library one;
- Show Categories List — switch on to show the categories list next to the search bar. Once activated, pick Taxonomy and complete the Select Placeholder field;
- Responsive Form on Mobile — enable to activate responsive mode for those users who search from mobile devices.
Search Submit
Customize the submit button and the icon displayed on it.
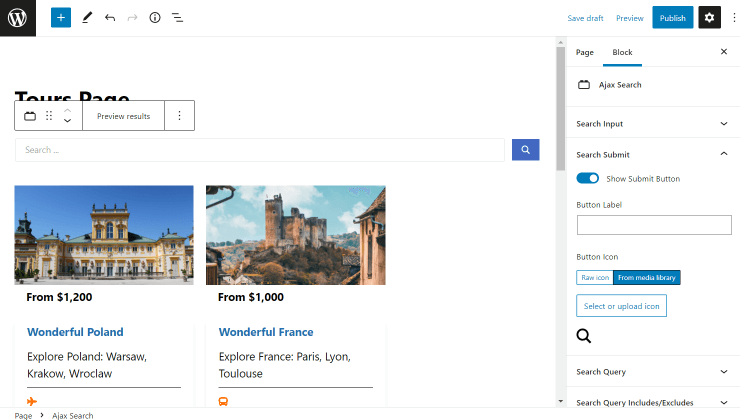
- Show Submit Button — leave this toggle activated to display the button near the field;
- Button Label — complete the bar with a text you want to be shown as a label next to the button icon;
- Button Icon — select an SVG icon to depict a search button. You can use the Raw icon section and paste the code to extract the icon or choose the icon from the media library in the corresponding section.
Search Query
In the following fields, you can select the criteria for the conducted search.
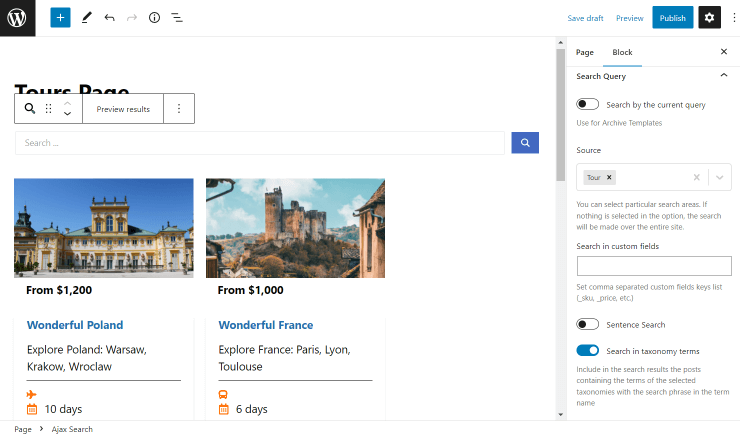
- Search by the current query — use this toggle for archive templates. If this toggle is left unactivated you can select particular search areas for example posts, pages, landing pages, products, posts from Custom Post Types, etc. If nothing is selected in the option, the search will be made over the entire site;
- Search in custom fields — type in meta field keys to conduct a search among them. If there are several values, separate them with a comma;
- Sentence Search — enable the search not only by separate words but also by sentences;
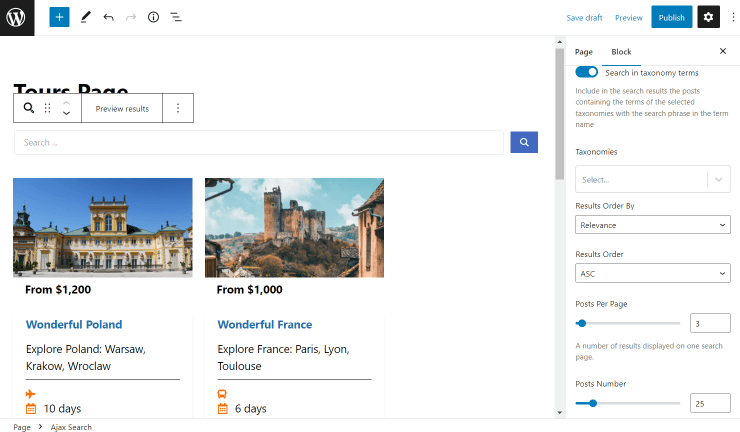
- Search in taxonomy terms — activate to conduct a search among the specified taxonomies. You can select the needed ones in the proceeding field. For instance, it can be a city. If you type in “Paris” in the search bar, all the items related to this city as a taxonomy item will be displayed;
- Results Order By — set the results order criterium. Among available options are “Relevance,” “ID,” “Author,” “Title,” “Date,” “Last modified,” “Rand,” “Number of comments (descending),” and “Menu order”;
- Results Order — define whether the order of the results will be ascending or descending (connected to the previous field. E.g., if you choose an “ID” option, you can set the ascending or descending order for IDs);
- Posts Per Page — define a number of posts displayed in the results area;
- Posts Number — pick a number of results shown in one search query.
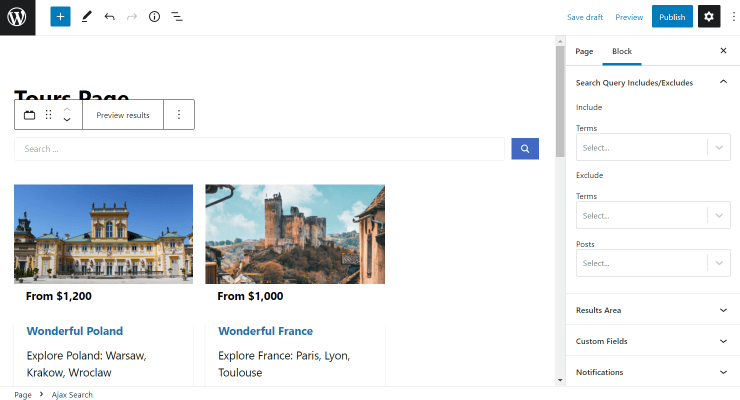
Search Query Includes/Excludes
Specify the items in the corresponding fields to include or exclude some terms and posts from the search.
Results Area
The following section refers to the preview area of the search results. Firstly, let’s take a look at how it can look on the front end to understand what the settings are for.
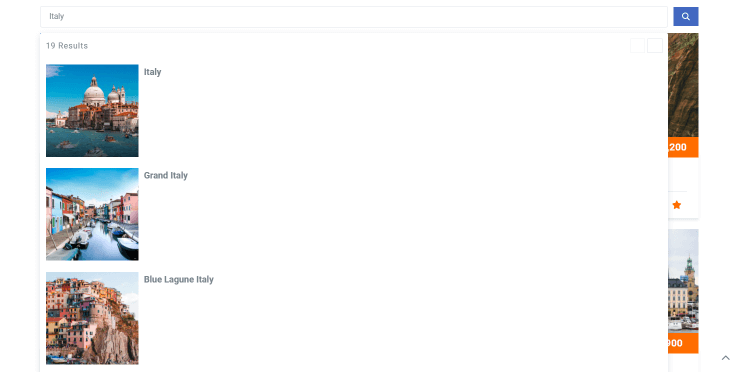
And now, let’s move on to the settings themselves.
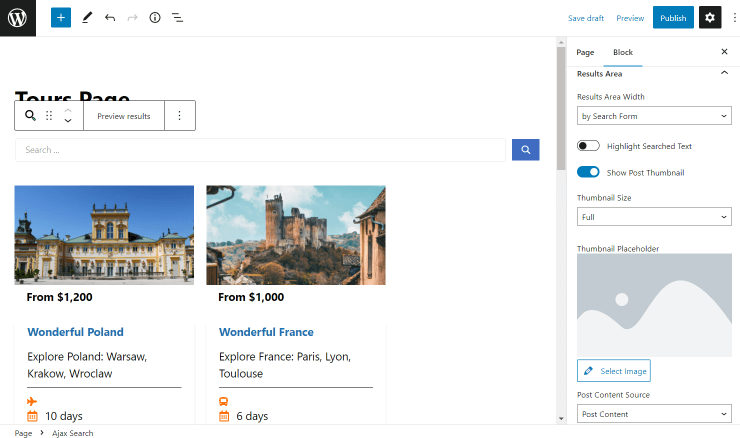
- Results Area Width — pick the results area width among available options, which are “by Search Form,” “by Input Box and Categories List,” or “Custom”;
- Highlight Searched Text — activate to highlight the searched text in the results area content;
- Show Post Thumbnail — leave enabled to display the post thumbnail in the results area;
- Thumbnail Size — select the size of the post thumbnail;
- Thumbnail Placeholder — pick the placeholder shown once the post thumbnail is absent;
- Post Content Source — choose the source of the displayed content. Among the presented options are “Post Content,” “Post Excerpt,” and “Custom Field”;
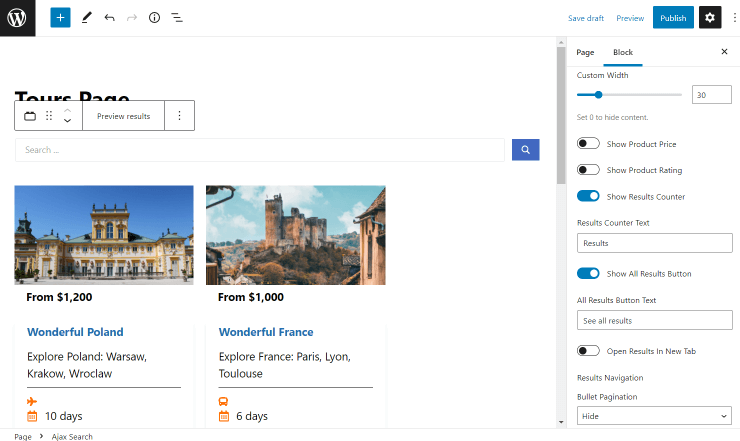
- Custom Width — define the number of words in the content;
- Show Product Price — activate if the search is applied to the WooCommerce products and you want to show the product price in the search results;
- Show Product Rating — enable to show the product rating in the search results;
- Show Results Counter — activate to display the quantity of the results;
- Results Counter Text — complete the field with the text displayed next to the counter;
- Show All Results Button — leave the toggle activated in case you want the “All Results” button to be displayed;
- All Results Button Text — write the label shown on the “All Results” button;
- Open Results in New Tab — switch on to open the new tab once the button is pushed;
- Bullet Pagination — pick whether you want to show or hide the bullet pagination in the results area;
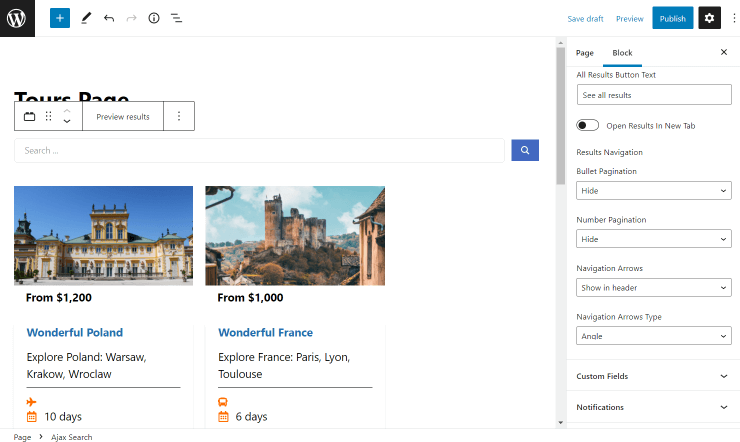
- Number Pagination — select from the suggested options whether to enable number pagination in the results area in the header, footer, both in header and footer or hide the pagination;
- Navigation Arrows — choose whether you want to leave the navigation arrows set by default or hide them;
- Navigation Arrows Type — if the previous field was completed with the “Show in…” value, this option will be available. Select the appearance of the displayed arrows.
Custom Fields
If you want to include the meta fields data stored in the WordPress database, take a look at the following toggles in the search results area.
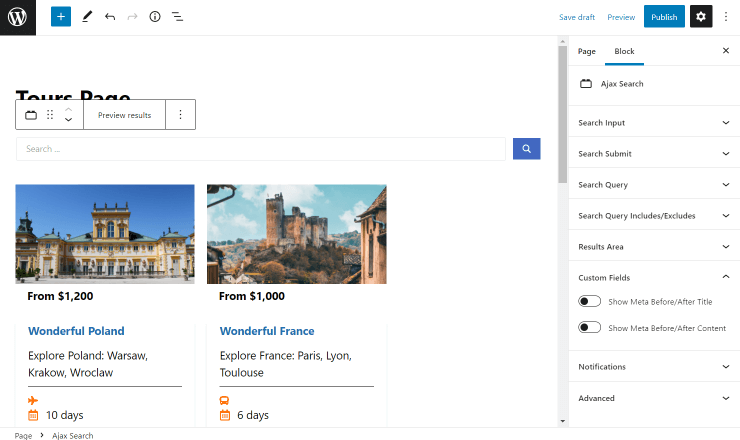
- Show Meta Before/After Title — toggle to show the desired meta field data before or after the post title;
- Show Meta Before/After Content — activate to display meta field values before or after the post content.
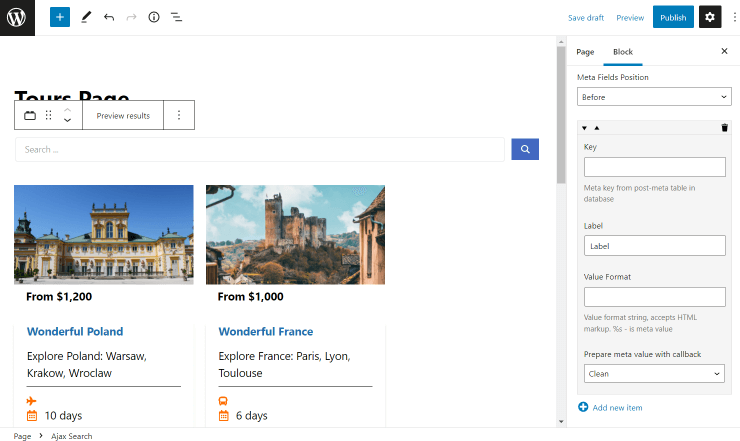
For instance, let’s activate the first toggle and look at the settings. You can see the same adjustments in case you activate the second toggle.
Specify the Key from the post meta database table (e.g., JetEngine CPT meta field key), the Label displayed, and insert the Value Format using HTML markup.
You can also use the following Prepare meta value with callback option to display the date, images, and URL properly.
Notifications
Now you can change the default notifications shown to the user.
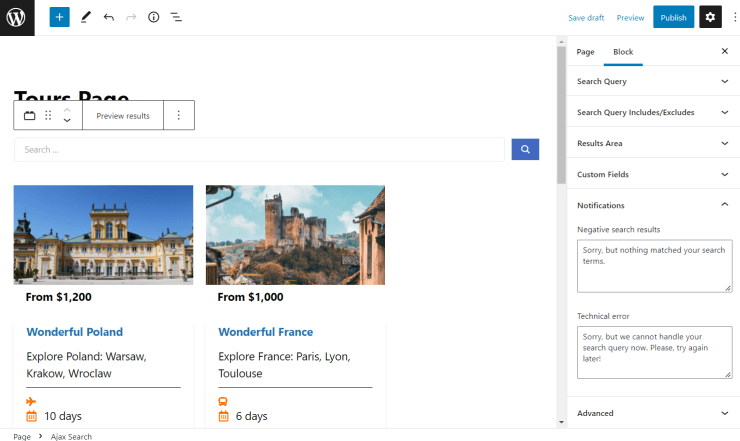
- Negative search results — complete the field with the message shown to the user once no search results are found to their request. Or, leave the default value;
- Technical error — leave the default message or come through with your own to tell the user that there is a technical error on the website.
Advanced
Use this section to work on the style settings with the help of CSS code.
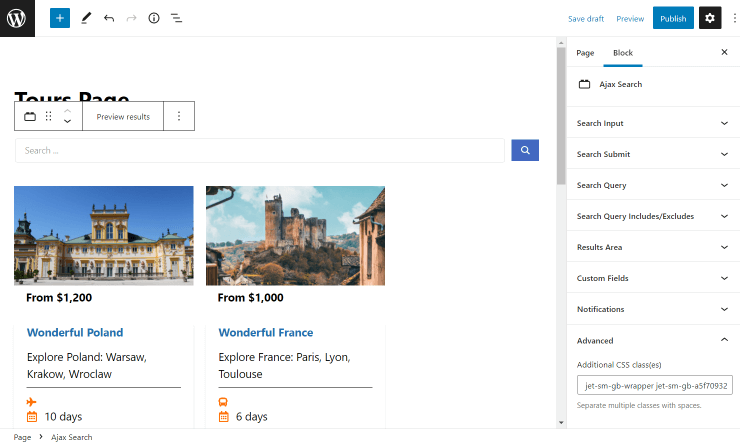
- Additional CSS class(es) — leave the default value, or complete it with the needed CSS classes to style the block.
AJAX Search Widget in Elementor
The settings described before as part of the AJAX Search block in Gutenberg are also presented for adjusting in the Elementor Page Builder.
Search for the AJAX Search widget and drag-n-drop it onto the page. Look through the available settings.
If you have any hesitations on the functionality of some settings, check the previous part of this article. And don’t forget to customize the search results appearance fully.

Now you have discovered the possibilities opened with the AJAX Search from the JetSearch plugin. You are free to use it to apply the search to any WordPress pages.