How to Break Listing by Months
Find out how to break a single Listing Grid into sections separated by month based on the post's publish date or the date from a meta field in Elementor, Gutenberg, and Bricks.
Before you start, check the tutorial requirements:
- Elementor (Free version), Block editor (Gutenberg), or Bricks
- JetEngine plugin installed and activated with Custom Post Type or posts created, and the Listing item for CPTs or posts built
The Break Listing by Months addon for the JetEngine plugin divides the (Custom Post Types) CPT or WordPress post listings according to the publish date or the date in the meta field.
Additionally, you can extend the addon functionality for any object type, apply filters, or sort posts.
Downloading and Installing the Addon
Downloading the addon
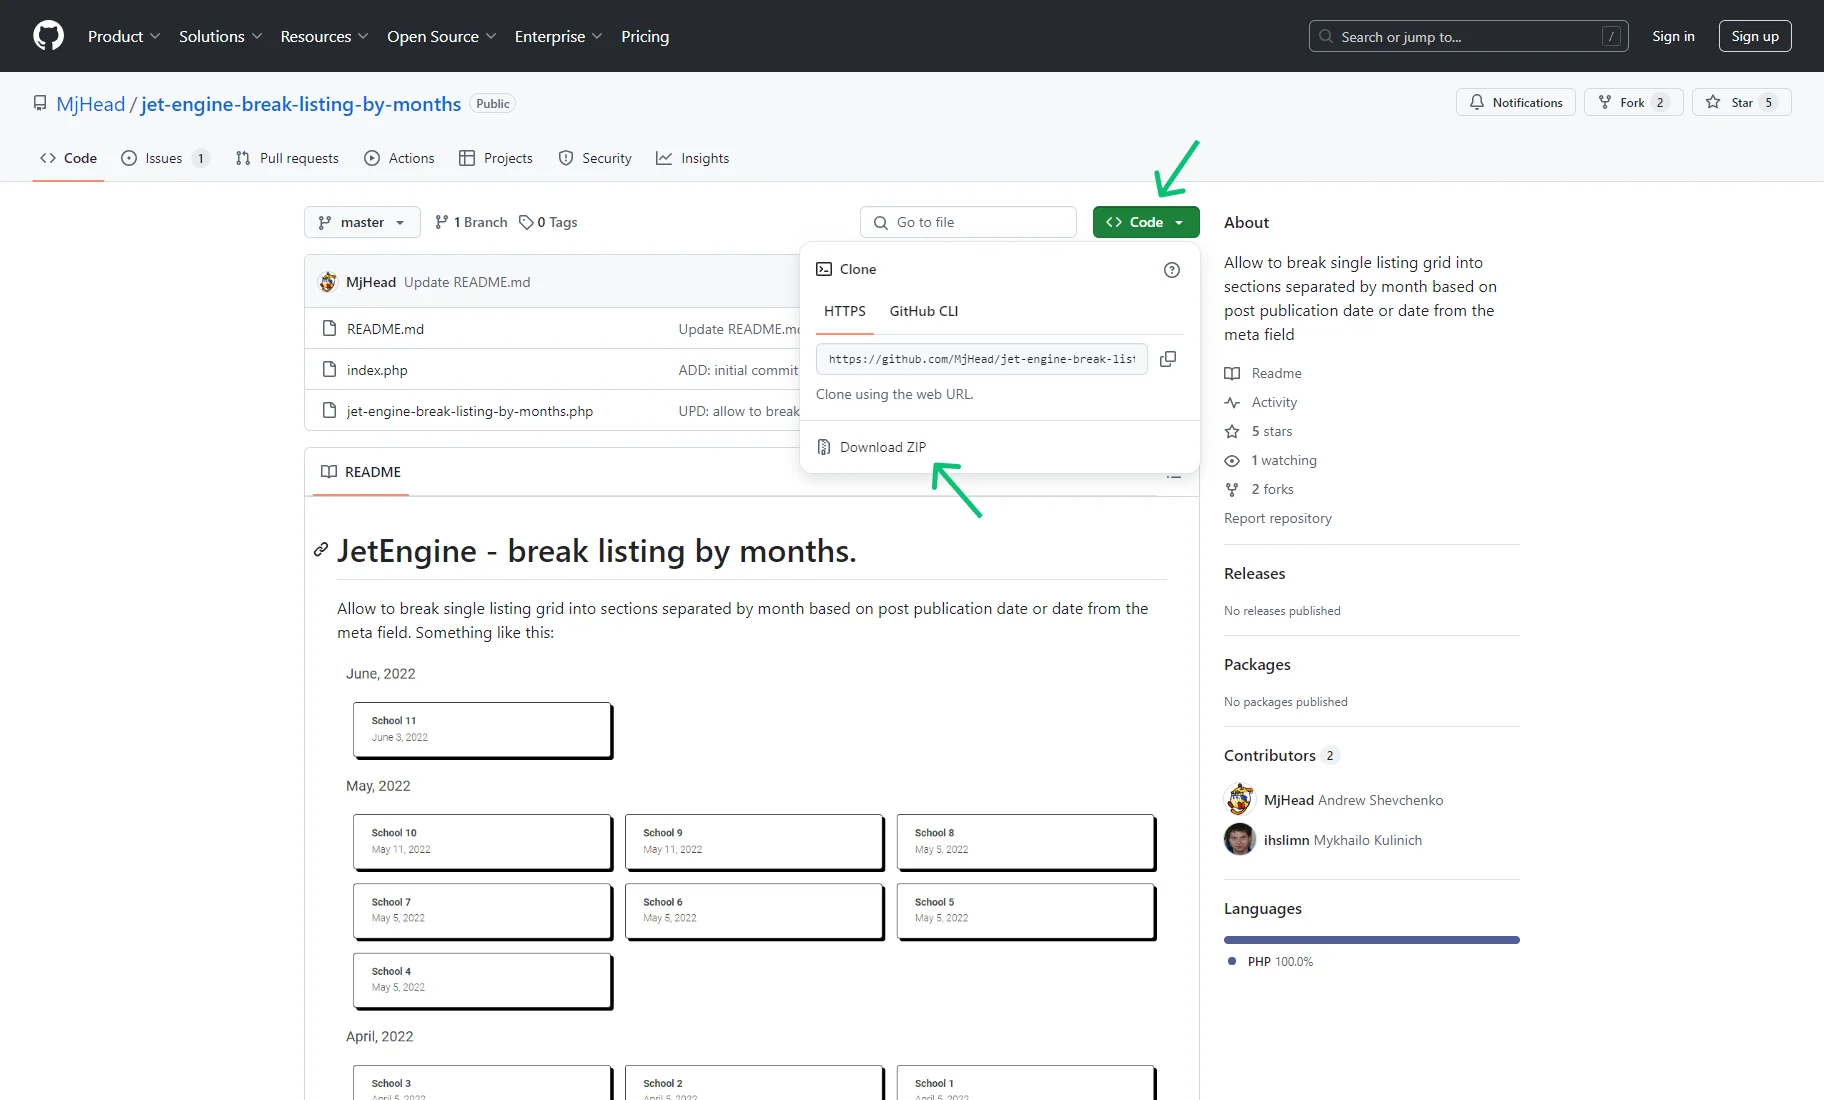
Download this addon for free using the jet-engine-break-listing-by-months link.
Press the “Code” button to unroll the drop-down menu. Then, press the “Download Zip” button to download the addon.
Also, it can be downloaded from the DevTools page, which stores all free addons.
Then, rename the addon from “jet-engine-break-listing-by-month-master” to “jet-engine-break-listing-by-month.”
Installing the addon
Go to the WordPress Dashboard and navigate to the Add New Plugin tab in the Plugins section.
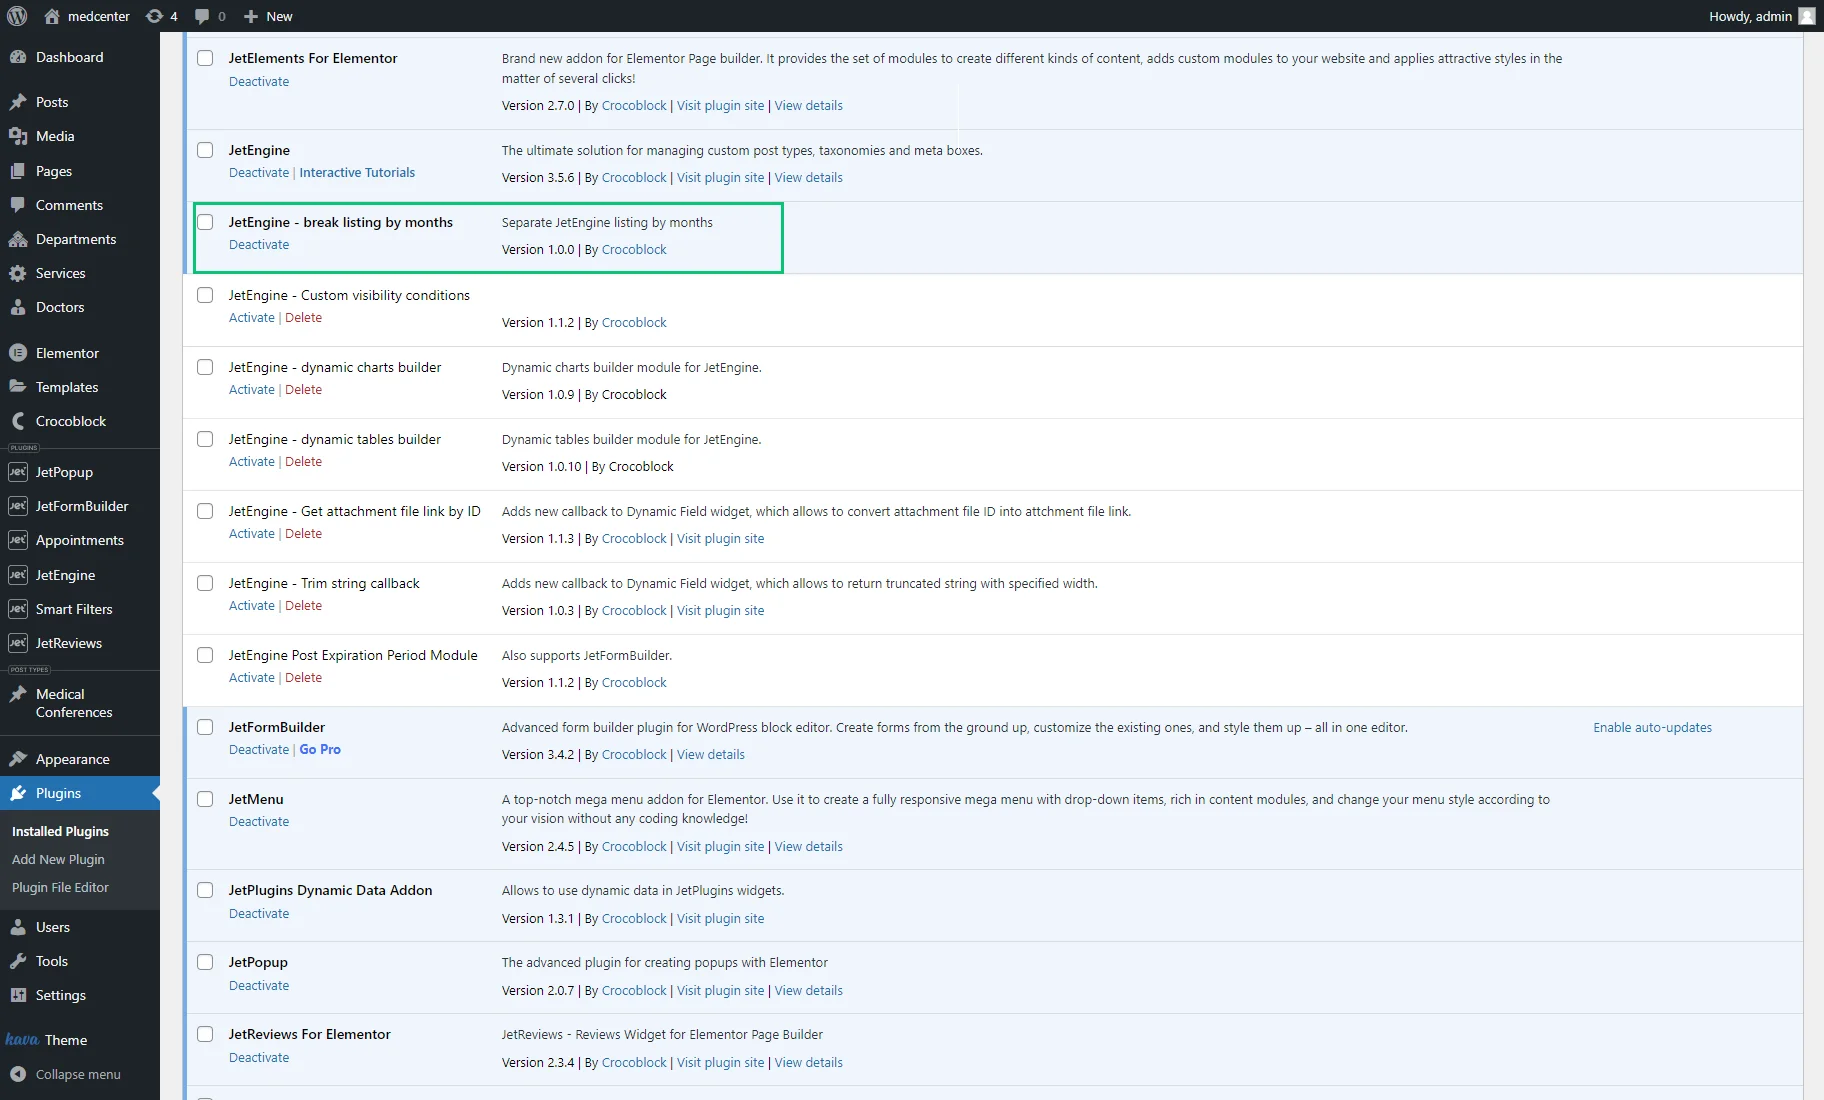
Install and activate the addon as detailed in the How to Install JetPlugins via WordPress Dashboard tutorial.
Breaking Listings Based on the Post’s Publish Dates
Breaking listings according to the post publish dates requires the “Posts” custom query.
Building a custom query
Navigate to the WordPress Dashboard > JetEngine > Query Builder and press the “Add New” button to create a query.
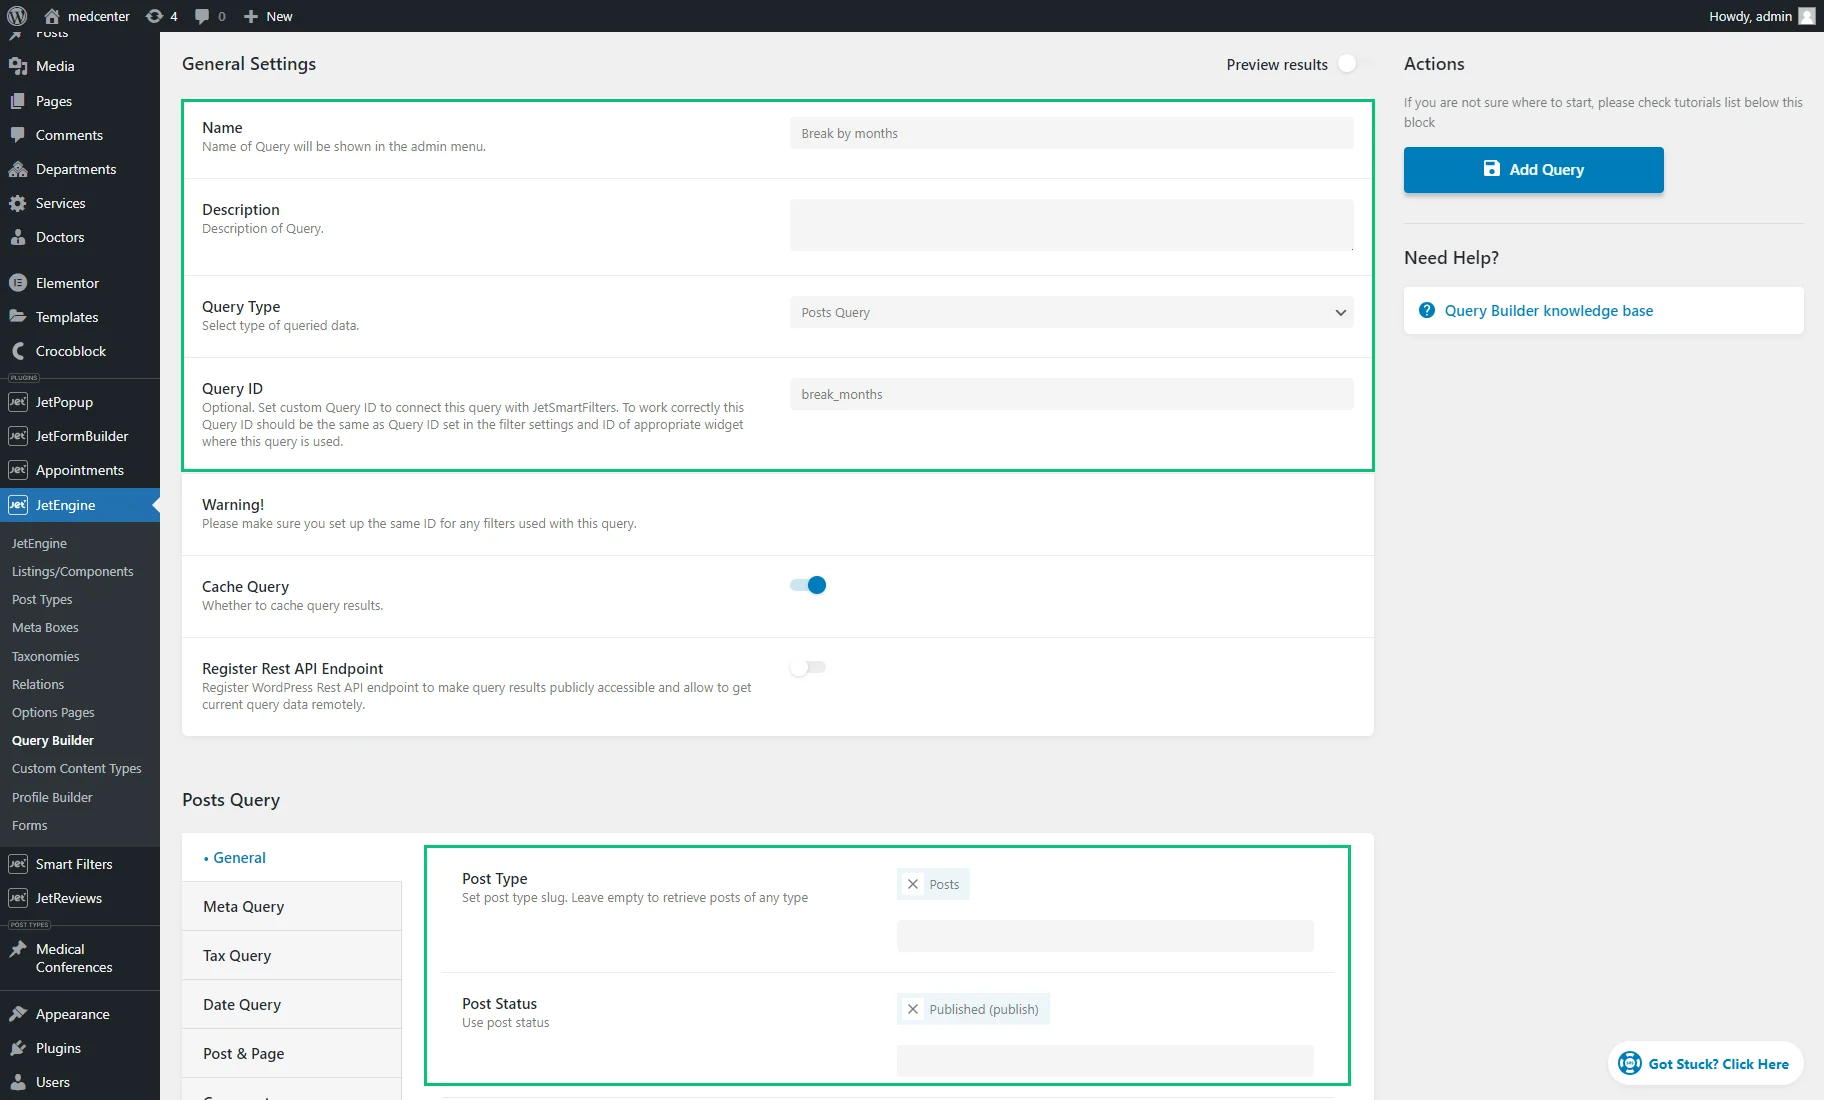
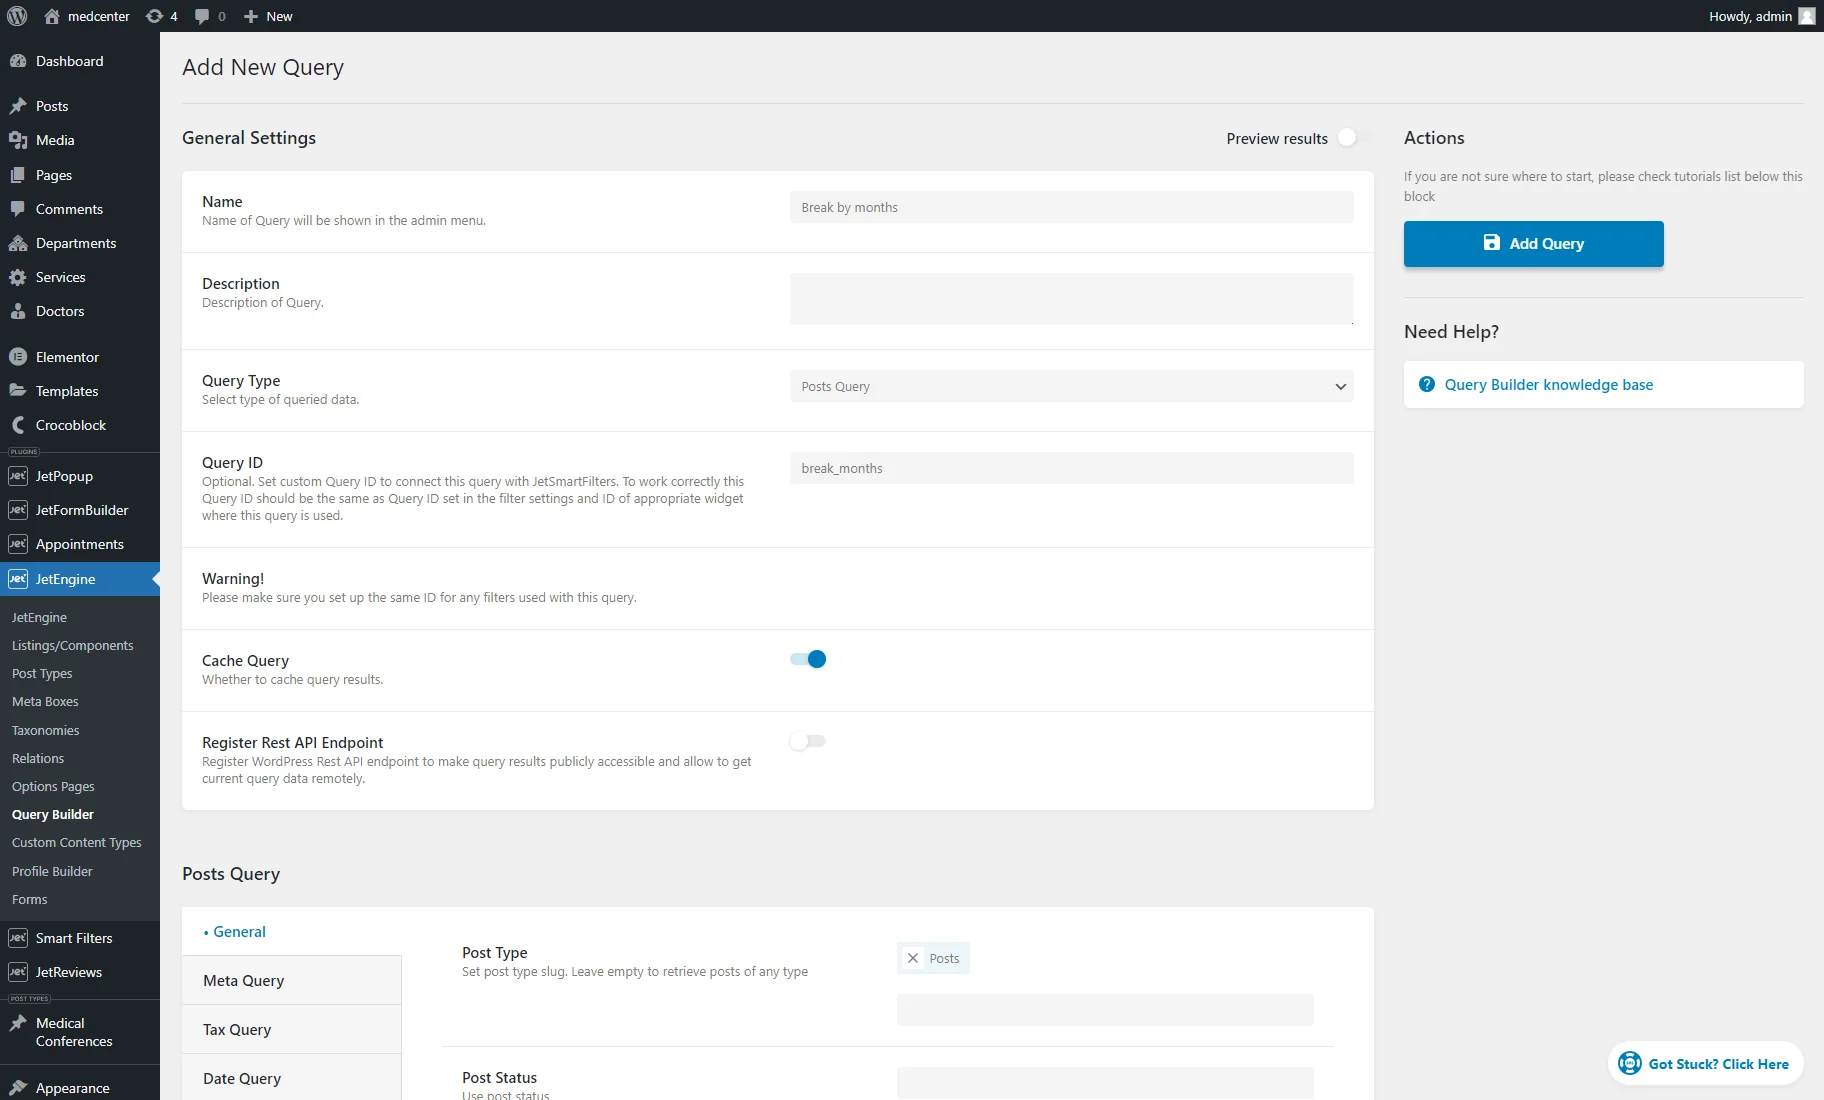
Specify its Name (here, “Break by months”) and enter “break_months” into the Query ID field. In the Query Type drop-down menu, keep the “Posts Query” option.
Navigate to the Posts Query setting tab and specify the Post Type (e.g., “Posts”) and Post Status (here, “Published”).
Afterward, press the “Add/Update Query” to save it.
Applying the custom query to the listing of posts in Elementor
Open the page with the Listing Grid widget for posts in the Elementor editor.
Unroll the Custom Query settings tab and activate the Use Custom Query toggle. Choose the Custom Query (here, “Break by months”).
Hit the “Update” button to save the settings.
Applying the custom query to the listing of posts in Gutenberg
Build or open the page with the Listing Grid block with posts in the WordPress block editor.
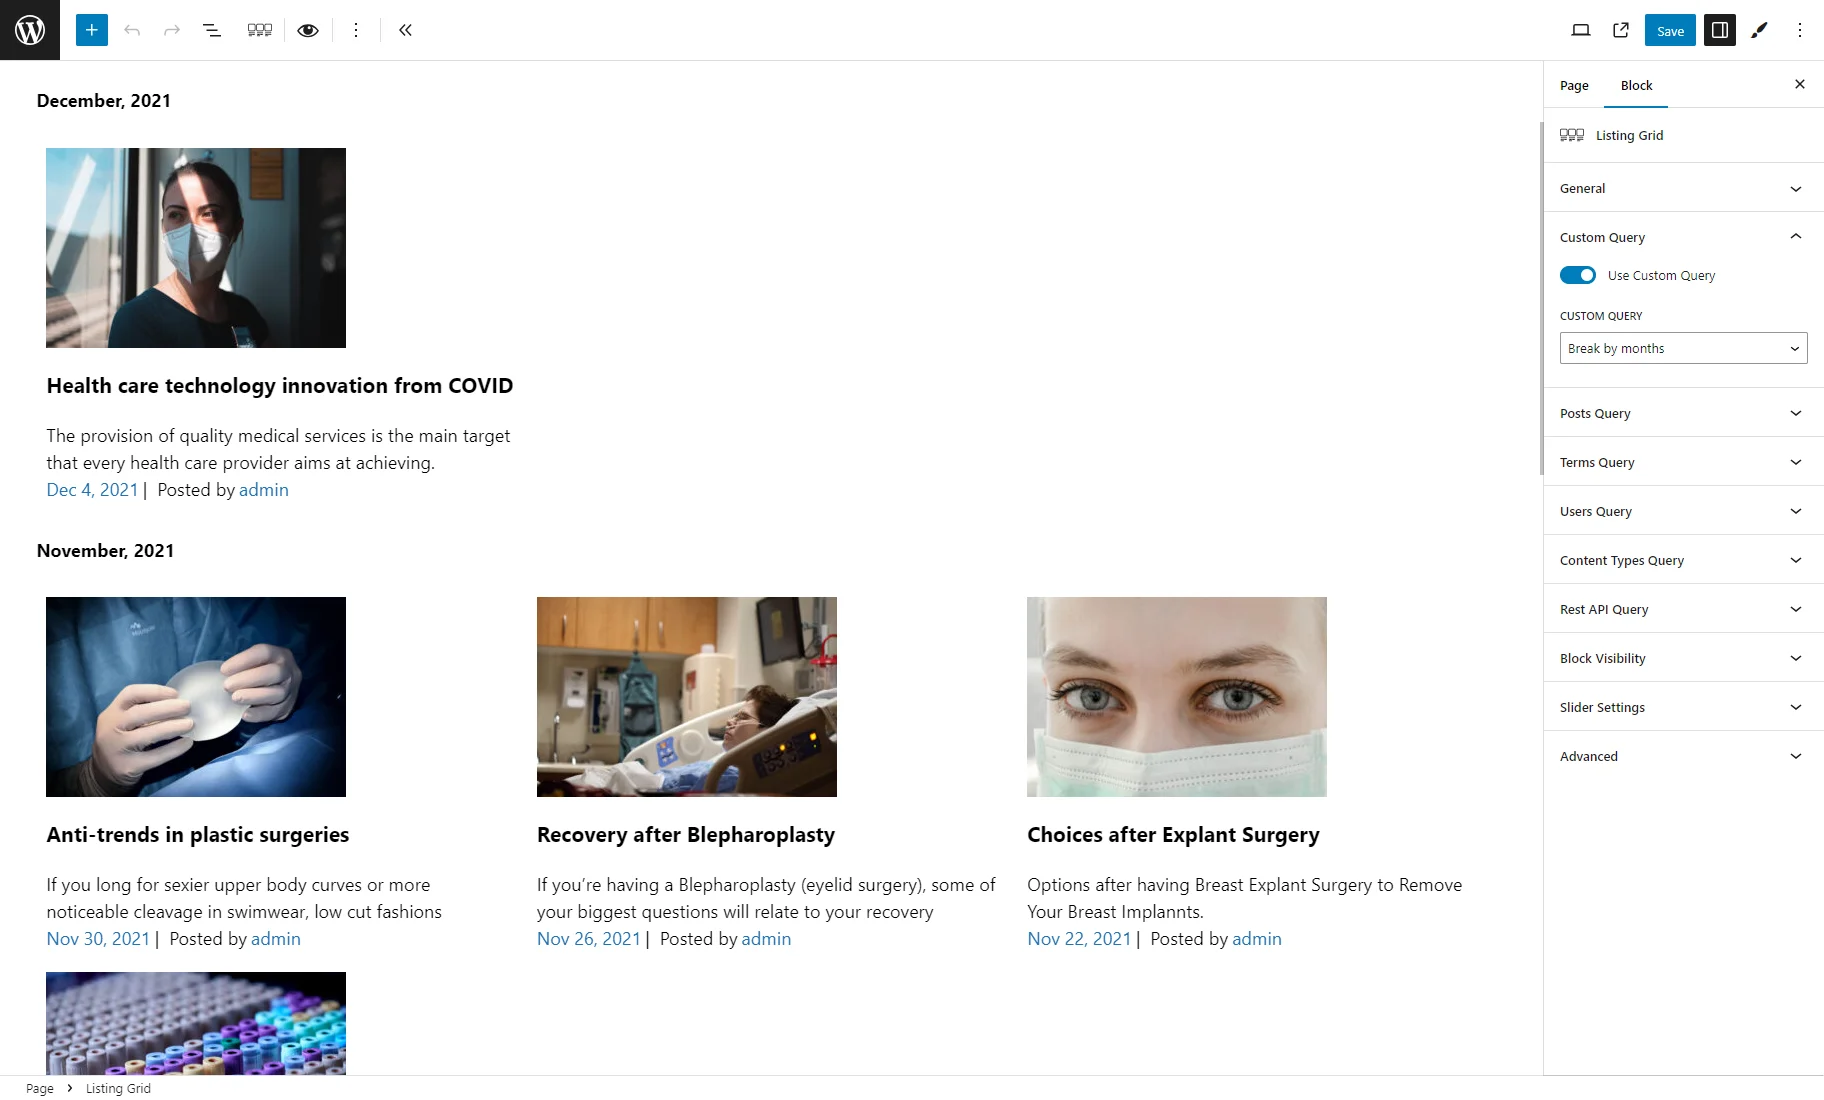
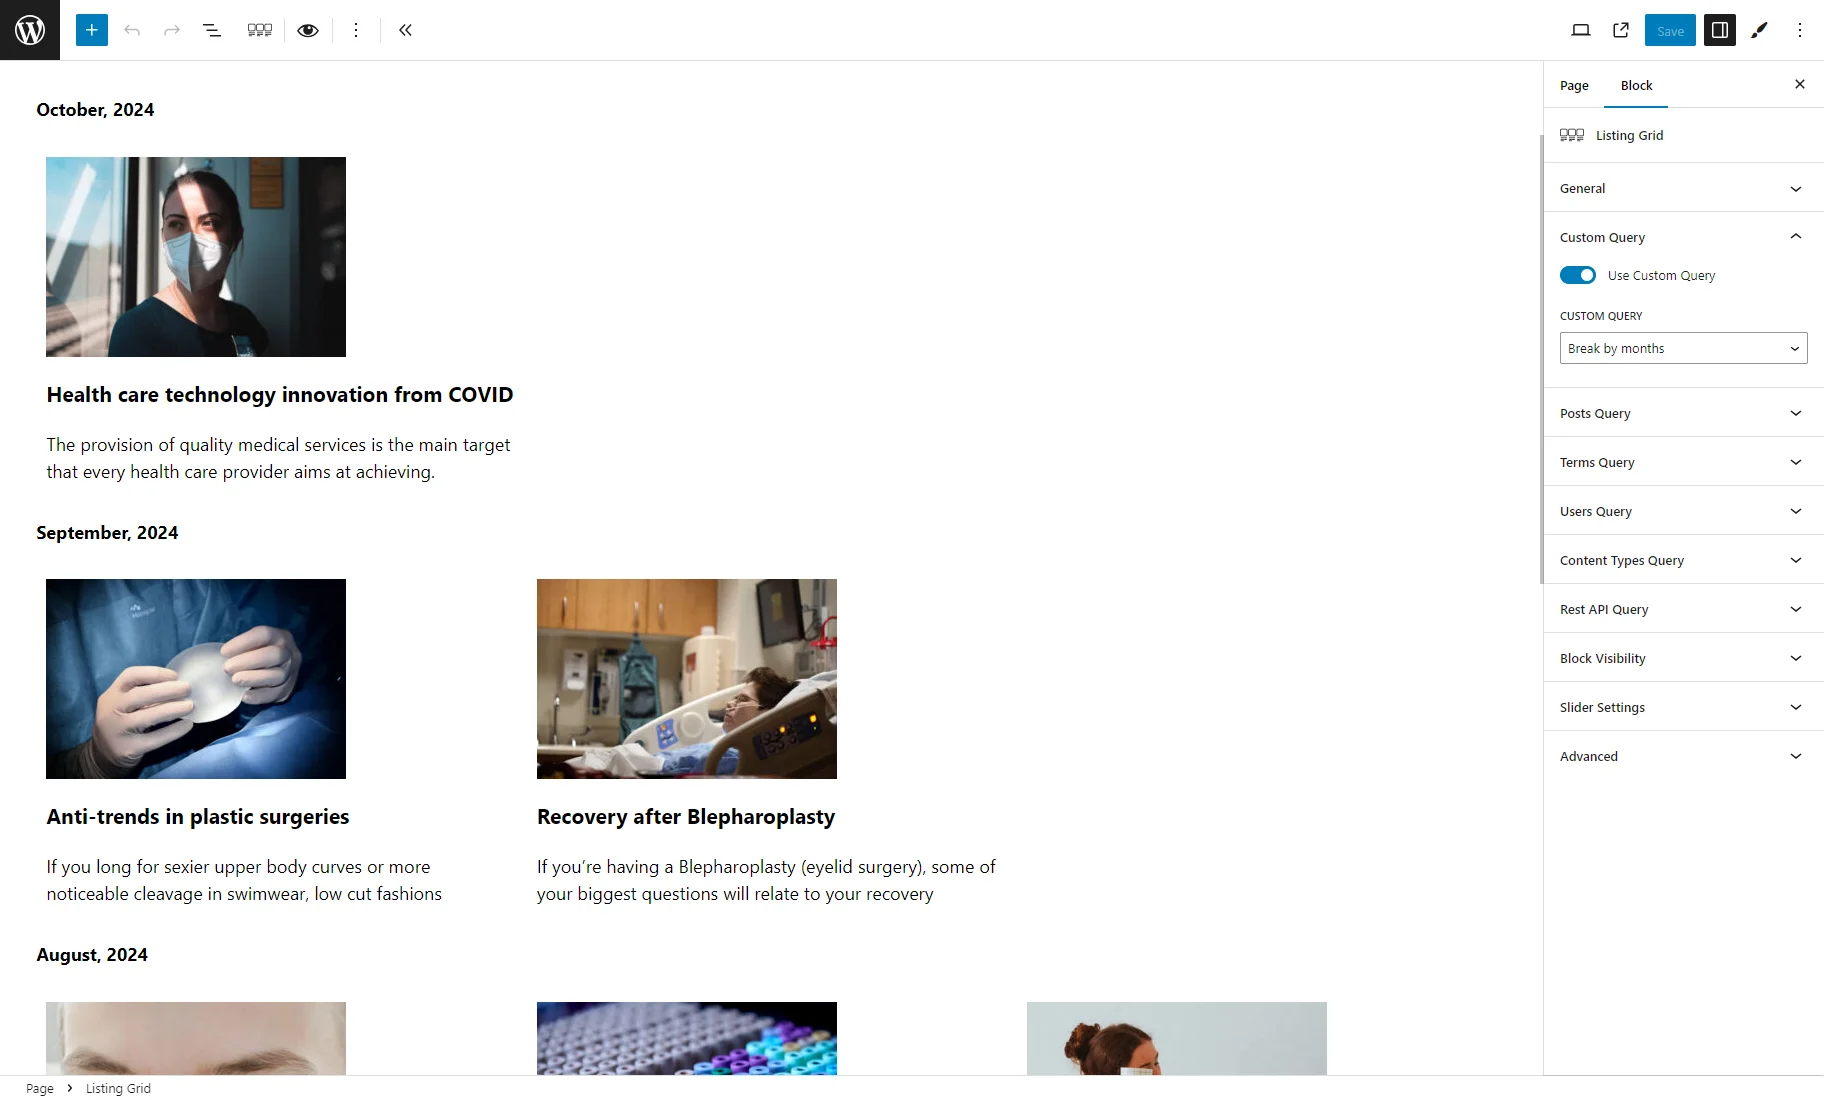
Navigate to the Custom Query settings tab and activate the Use Custom Query toggle. Select the query you need from the Custom Query drop-down menu (here, “Break by months”).
Then, hit the “Save” button.
Applying the custom query to the listing of posts in Bricks
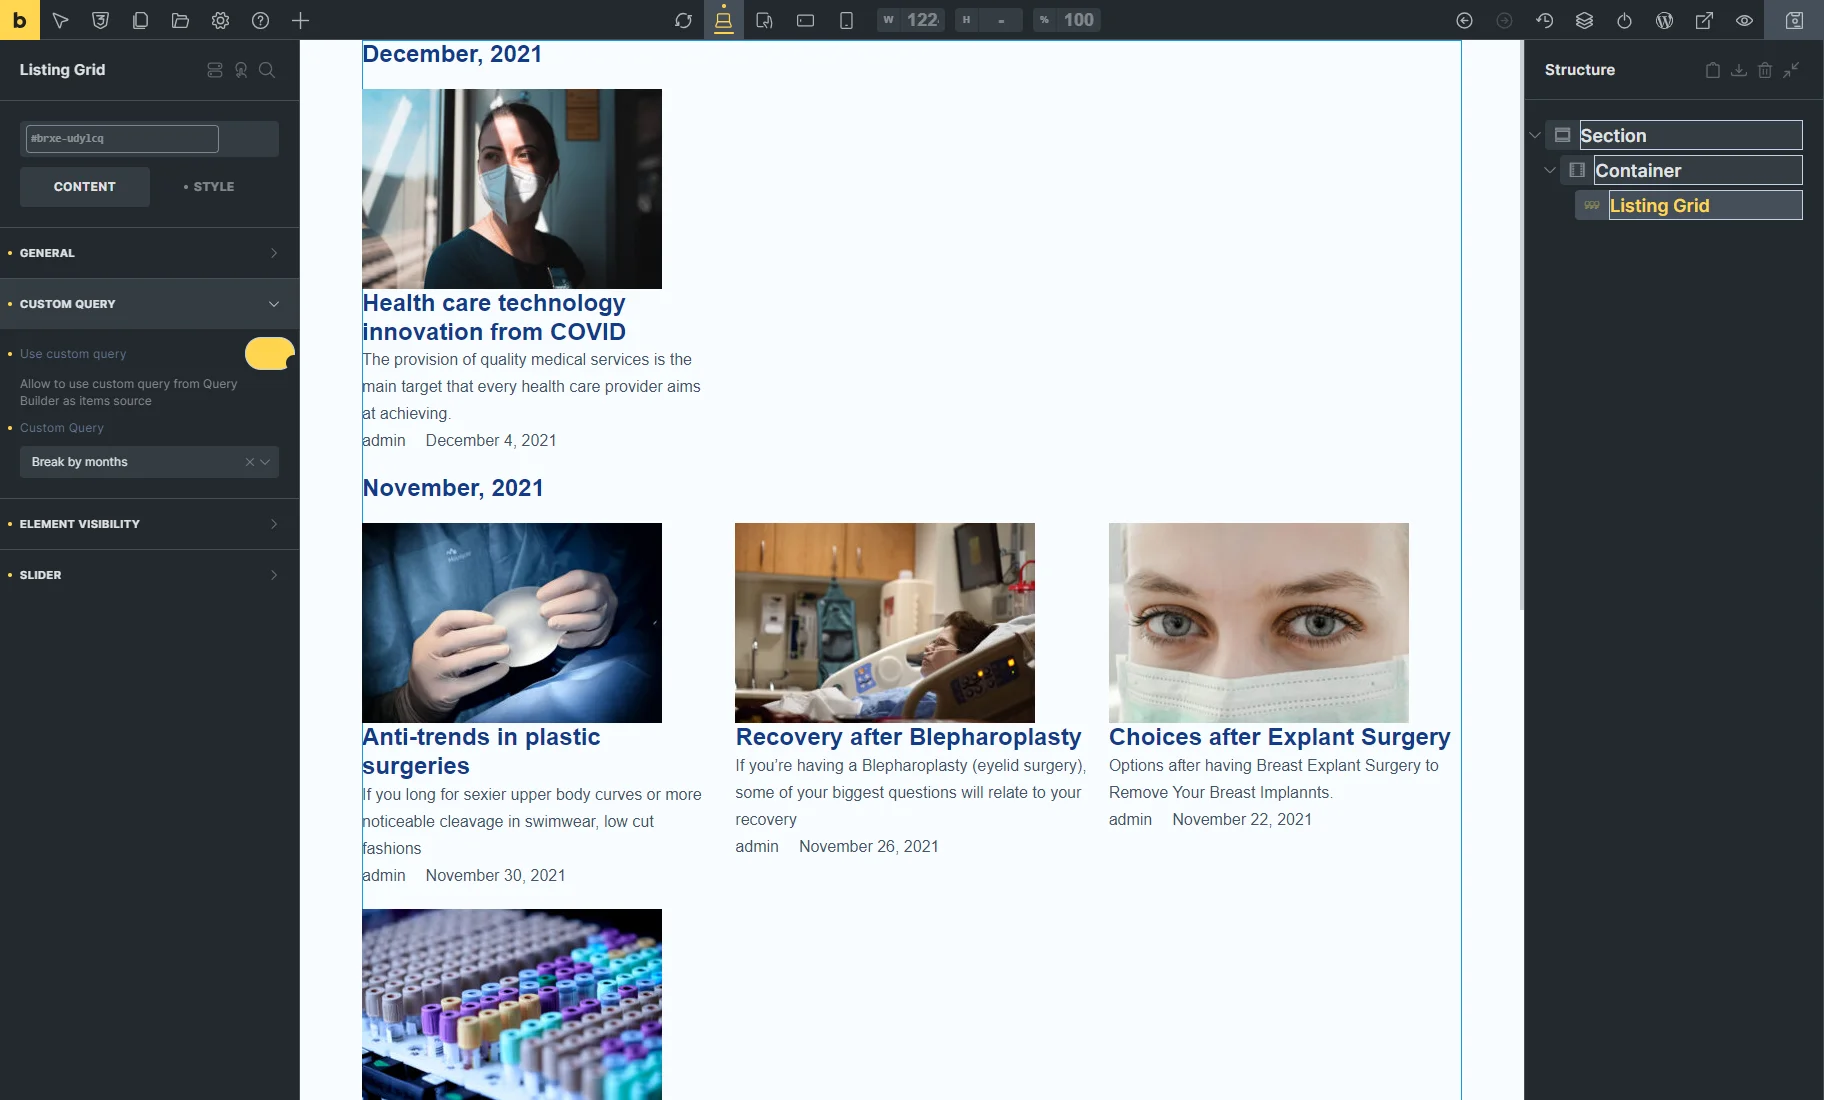
Build or open the page with the Listing Grid element with posts in the Bricks builder.
Navigate to the Custom Query settings tab and activate the Use Custom Query toggle. Select the query you need from the Custom Query drop-down menu (here, “Break by months”).
Then, hit the “Save” button.
Breaking Listings Based on the Date from the Meta Field
Breaking listings according to the “Date” custom meta field value requires adding additional data to the active theme’s files and the “Posts” custom query.
Adding a meta field
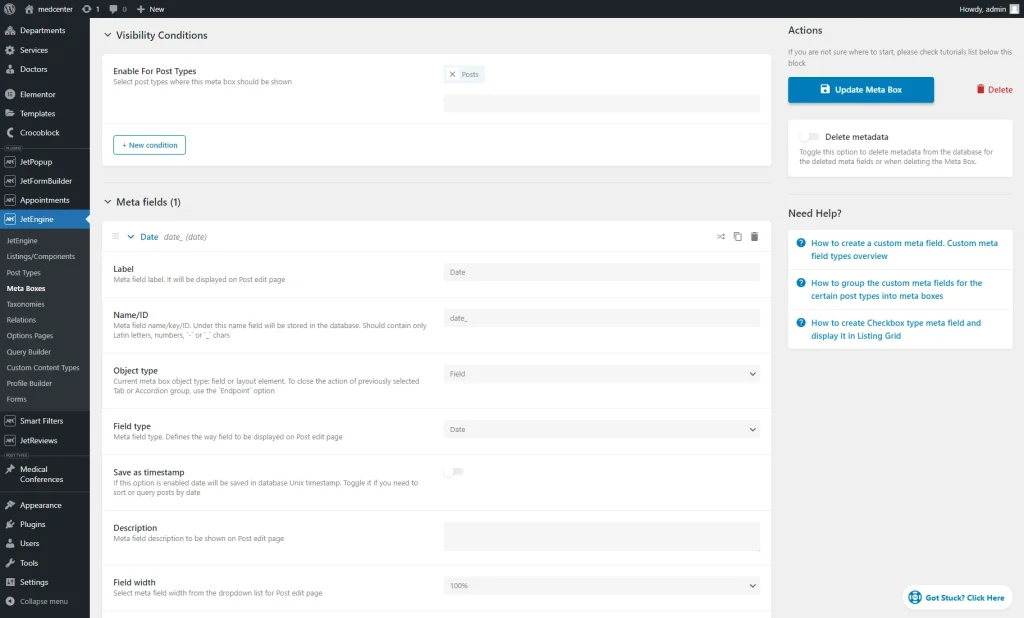
You can add a “Date” meta field to the Custom Post Type (CPT) in the Meta Fields tab.
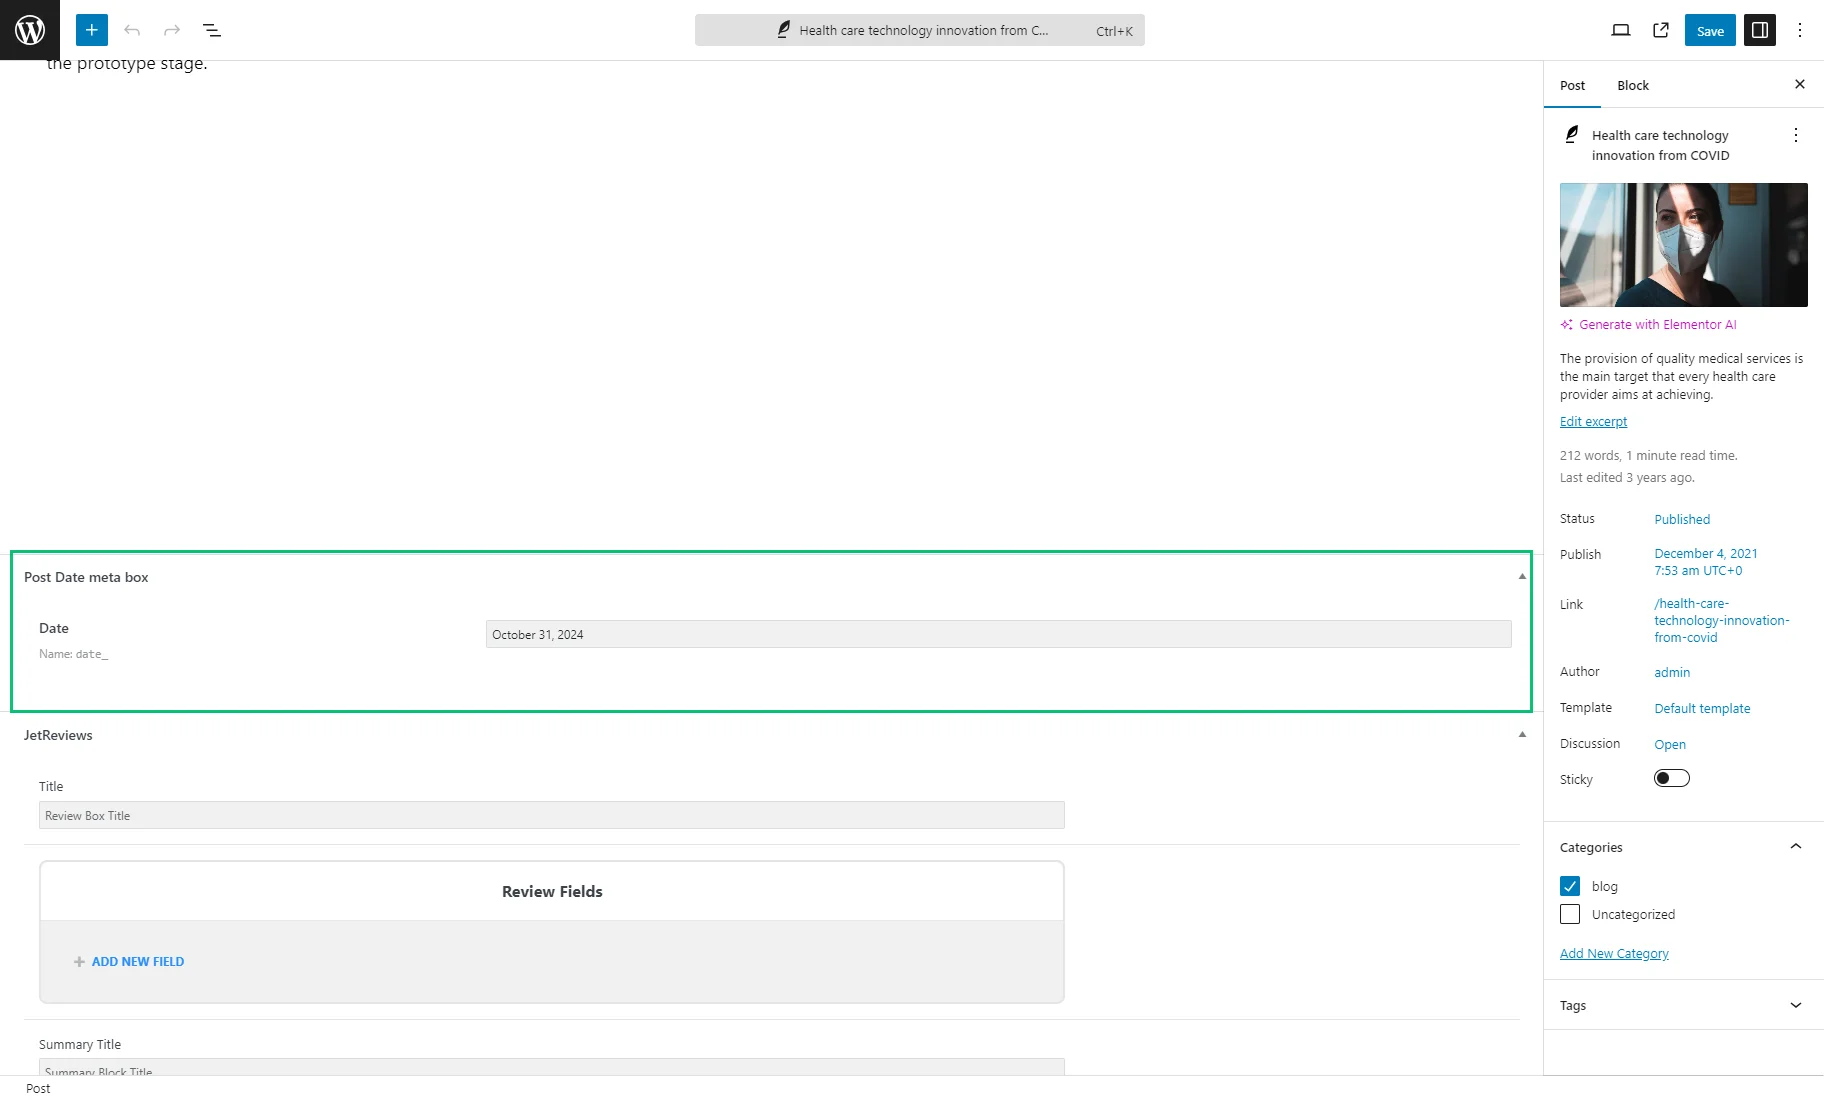
To add such a meta field to the default WordPress post types, use the meta box feature as described in the How to Add Custom Meta Fields to WordPress Post via Meta Boxes tutorial.
Set the “Date” meta field for several posts so you can check the results later.
Defining the meta field in the active theme’s file
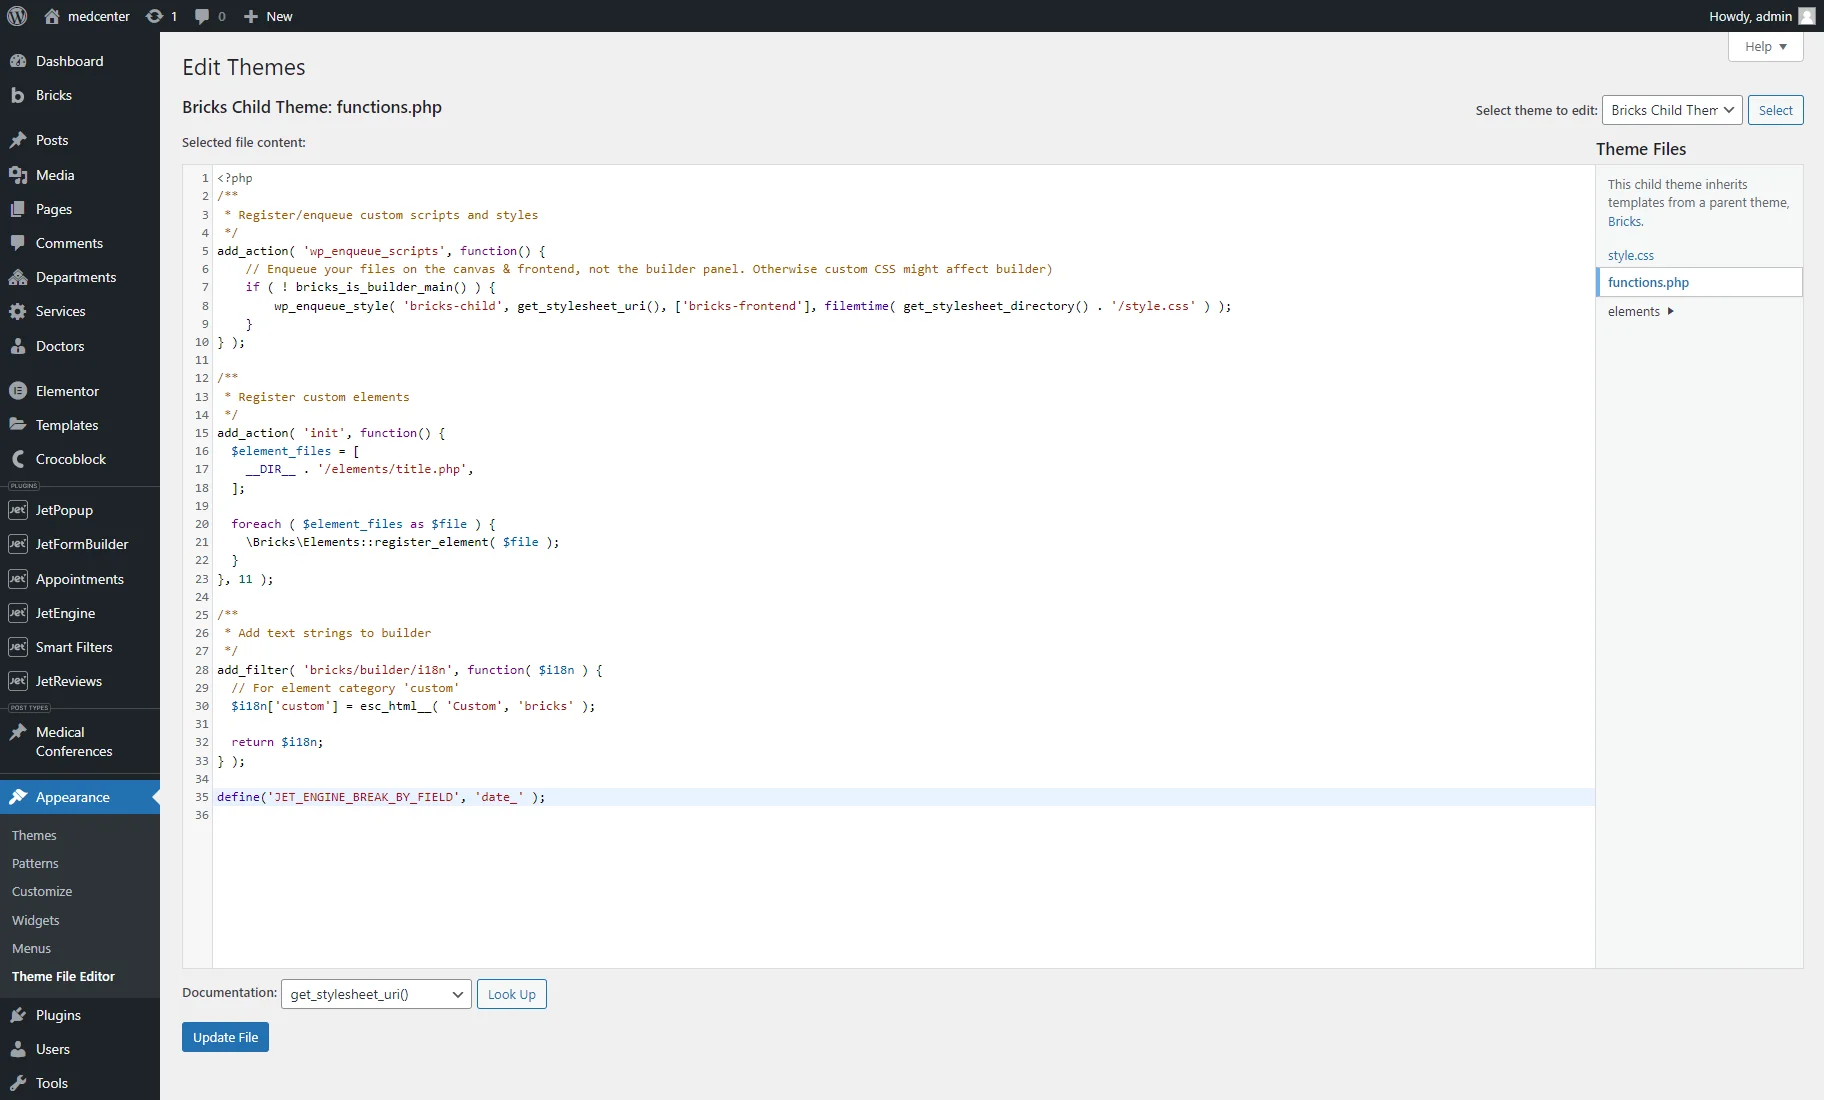
Navigate to the WordPress Dashboard > Appearance > Theme File Editor tab.
Choose the functions.php file of your active theme from the Theme Files menu on the right side.
Add a row with the following code at the end of this file:
define('JET_ENGINE_BREAK_BY_FIELD', 'date' );where “date” should be replaced with your “Date” meta field name (“date_” in our case).
Save changes by pressing the “Update File” button.
Building a custom query
Navigate to WordPress Dashboard > JetEngine > Query Builder and press the “Add New” button to create a query.
Specify its Name (here, “Break by months”) and enter “break_months” to the Query ID field; leave the “Posts Query” option in the Query Type drop-down menu.
Navigate to the Posts Query setting tab and specify the Posts Type (CPT or WordPress default post type with the “Date” meta field set).
Press the “Add/Update Query” to save it.
Applying the custom query to the Listing Grid widget/block/element
Open the page with the Listing Grid for the posts you break.
Unroll the Custom Query tab and turn on the Use Custom Query toggle in the Listing Grid widget/block/element.
Choose the recently created query from the CUSTOM QUERY drop-down list and save the changes.
Applying Filters
Filter creation
For filter creation, the JetSmartFilters plugin should be installed and activated.
Proceed to the WordPress Dashboard > Smart Filters > Add New tab.
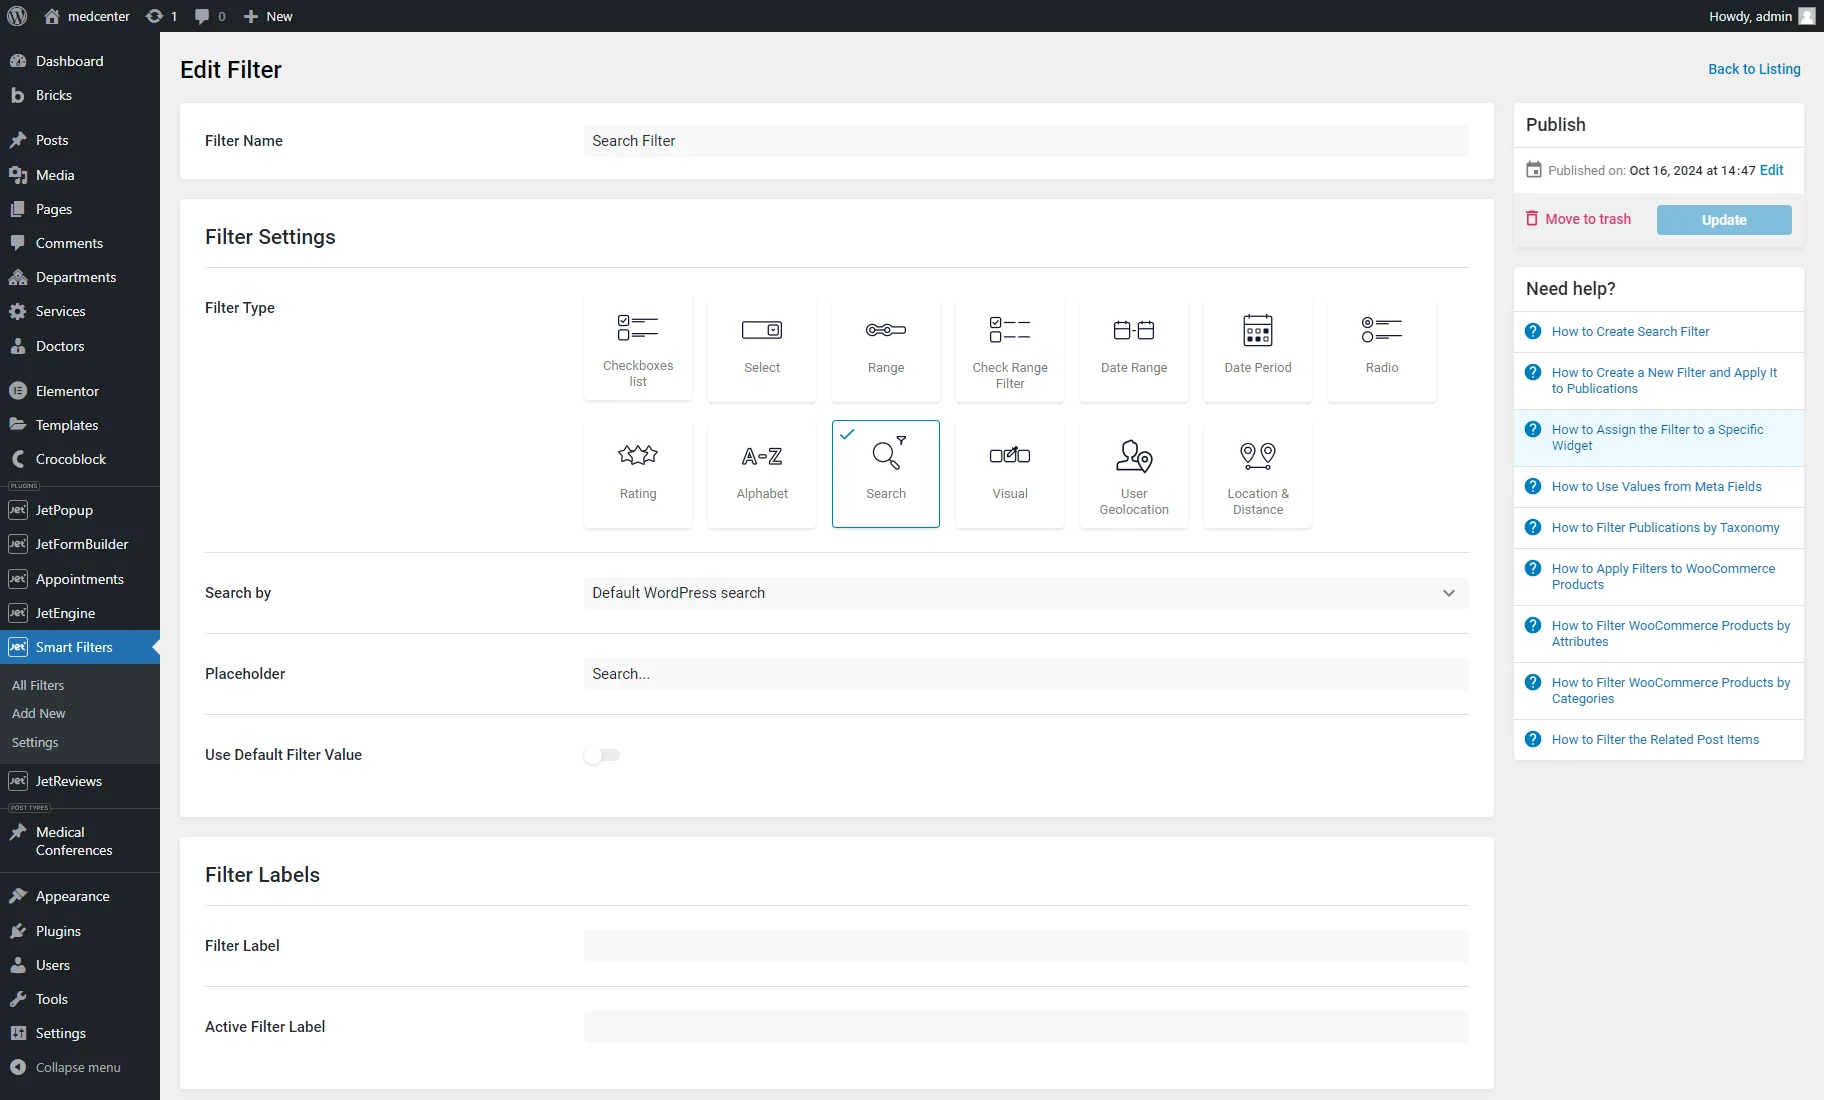
For this case, we create the Search Filter.
Search results filtering in Gutenberg
Proceed to the page with the Listing Grid block with the applied custom query that allows breaking posts by months.
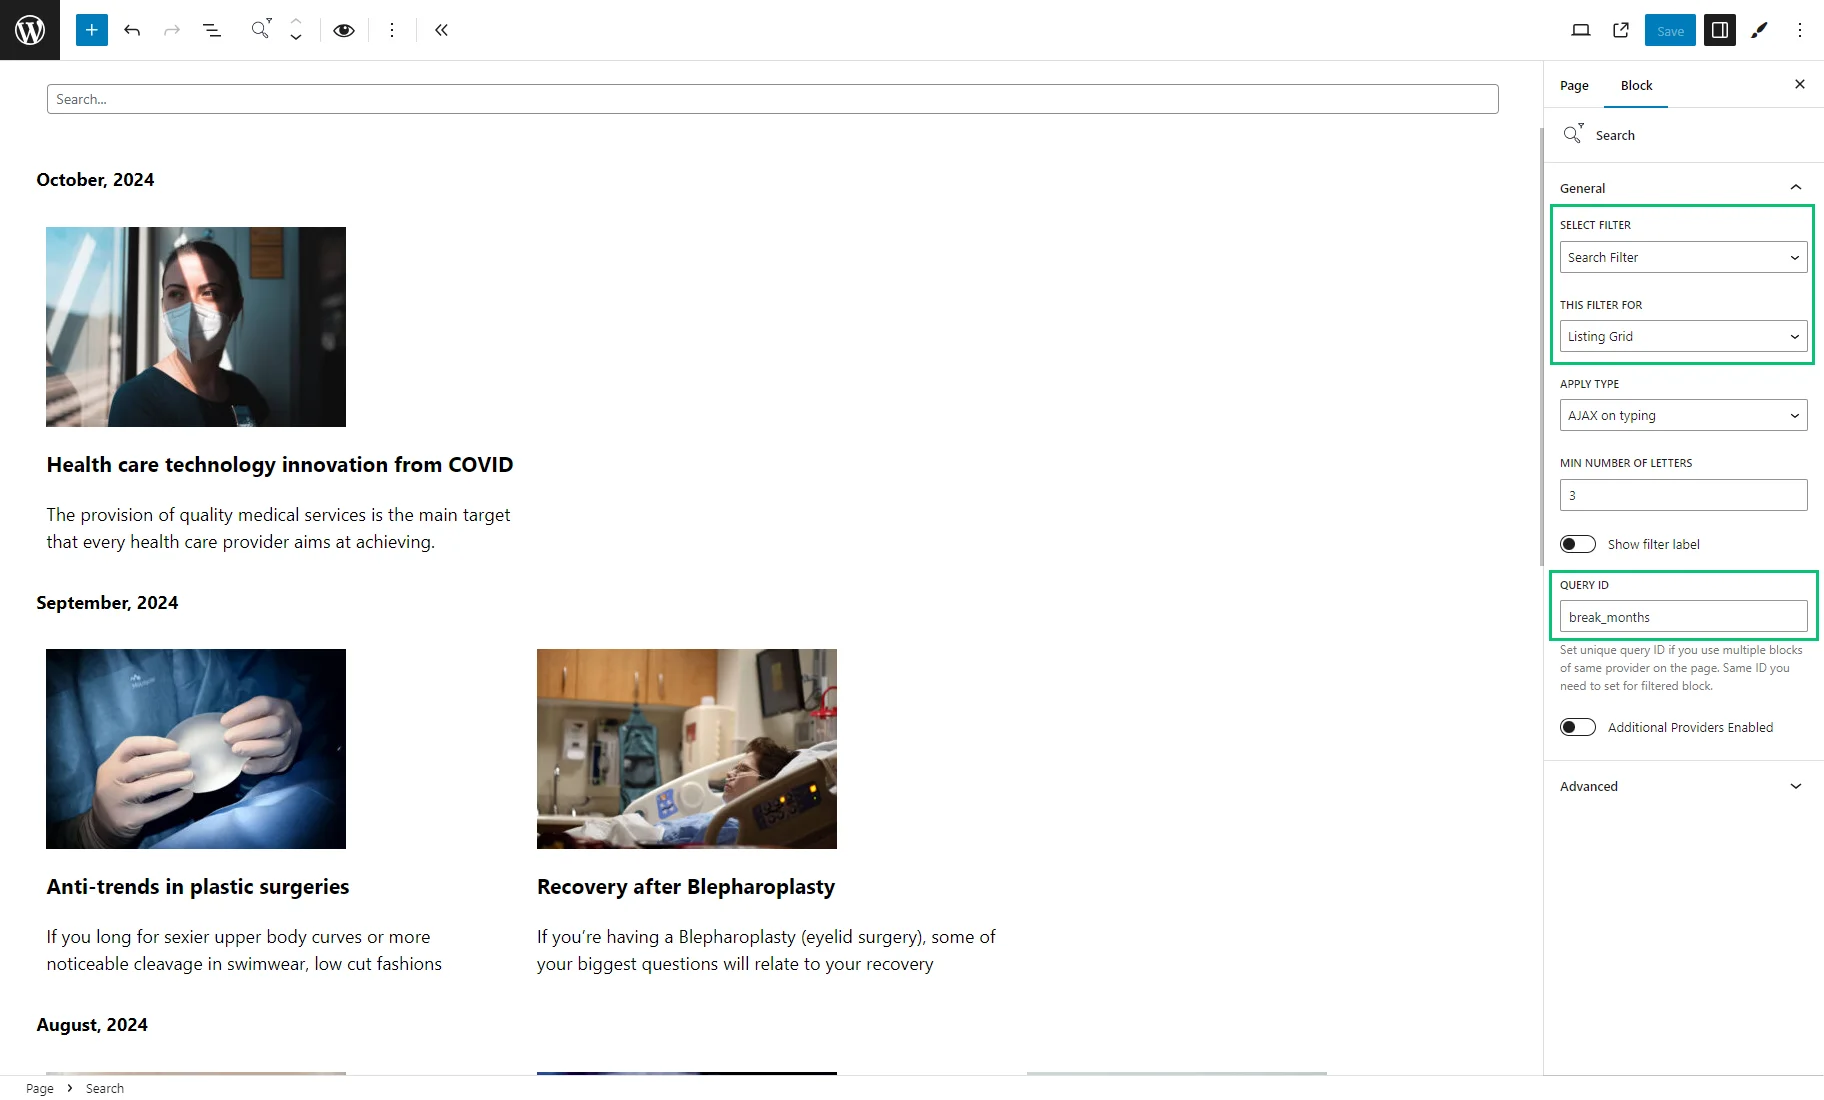
Add the Search block. Pick the recently created filter in the SELECT FILTER drop-down menu and the “Listing Grid” option from the THIS FILTER FOR.
In the QUERY ID field, enter “break_months”.
Other filter settings can be adjusted as you need.
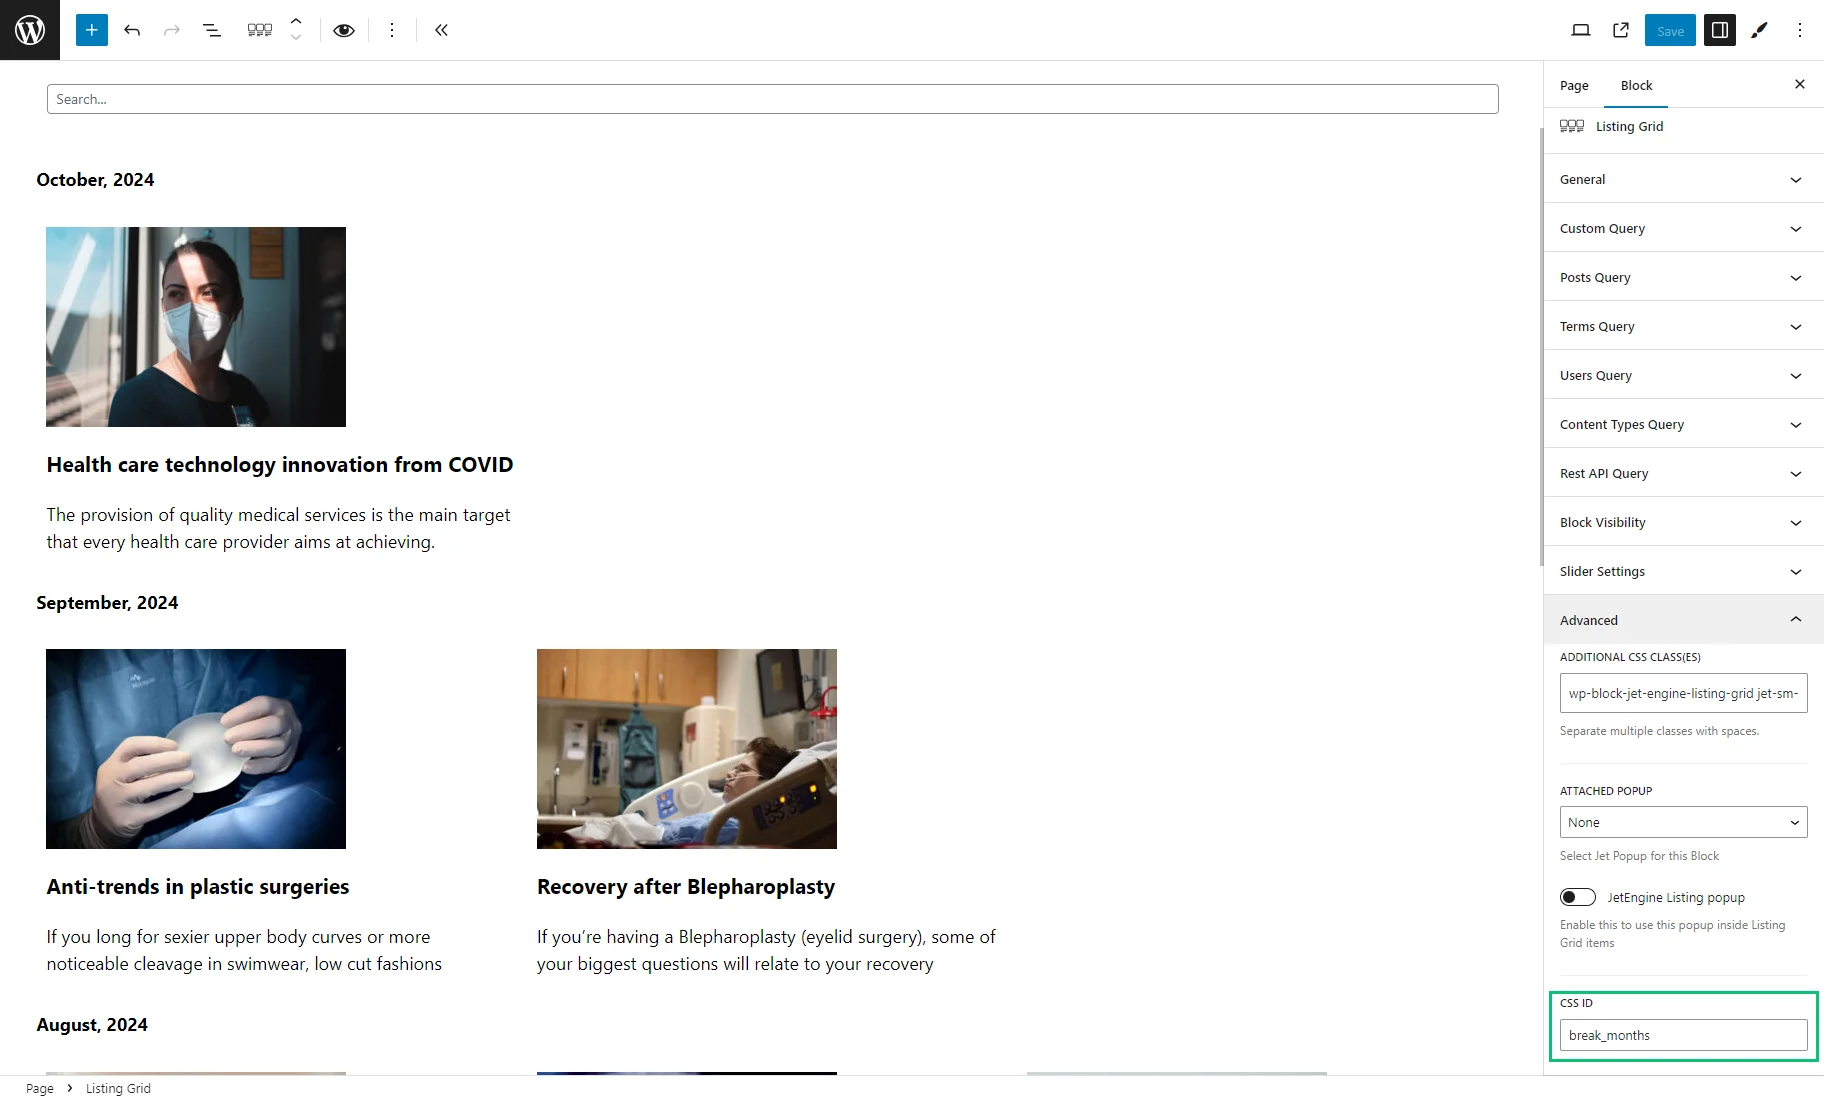
Open the Listing Grid settings and unroll the Advanced tab.
In the CSS ID field, also enter “break_months”.
Afterward, “Save” the page.
Search results filtering in Elementor
Proceed to the page with the Listing Grid widget with the applied custom query that allows breaking posts by months.
Add the Search Filter widget. Pick the recently created filter in the Select Filter drop-down menu and the “JetEngine” option from the This filter for.
In the Query ID field, enter “break_months”.
Other filter settings can be adjusted as you need.
Open the Listing Grid settings and switch to the Advanced tab.
In the CSS ID field, also enter “break_months”.
Afterward, “Update” the page.
Search results filtering in Bricks
Proceed to the page with the Listing Grid element with the applied custom query that allows breaking posts by months.
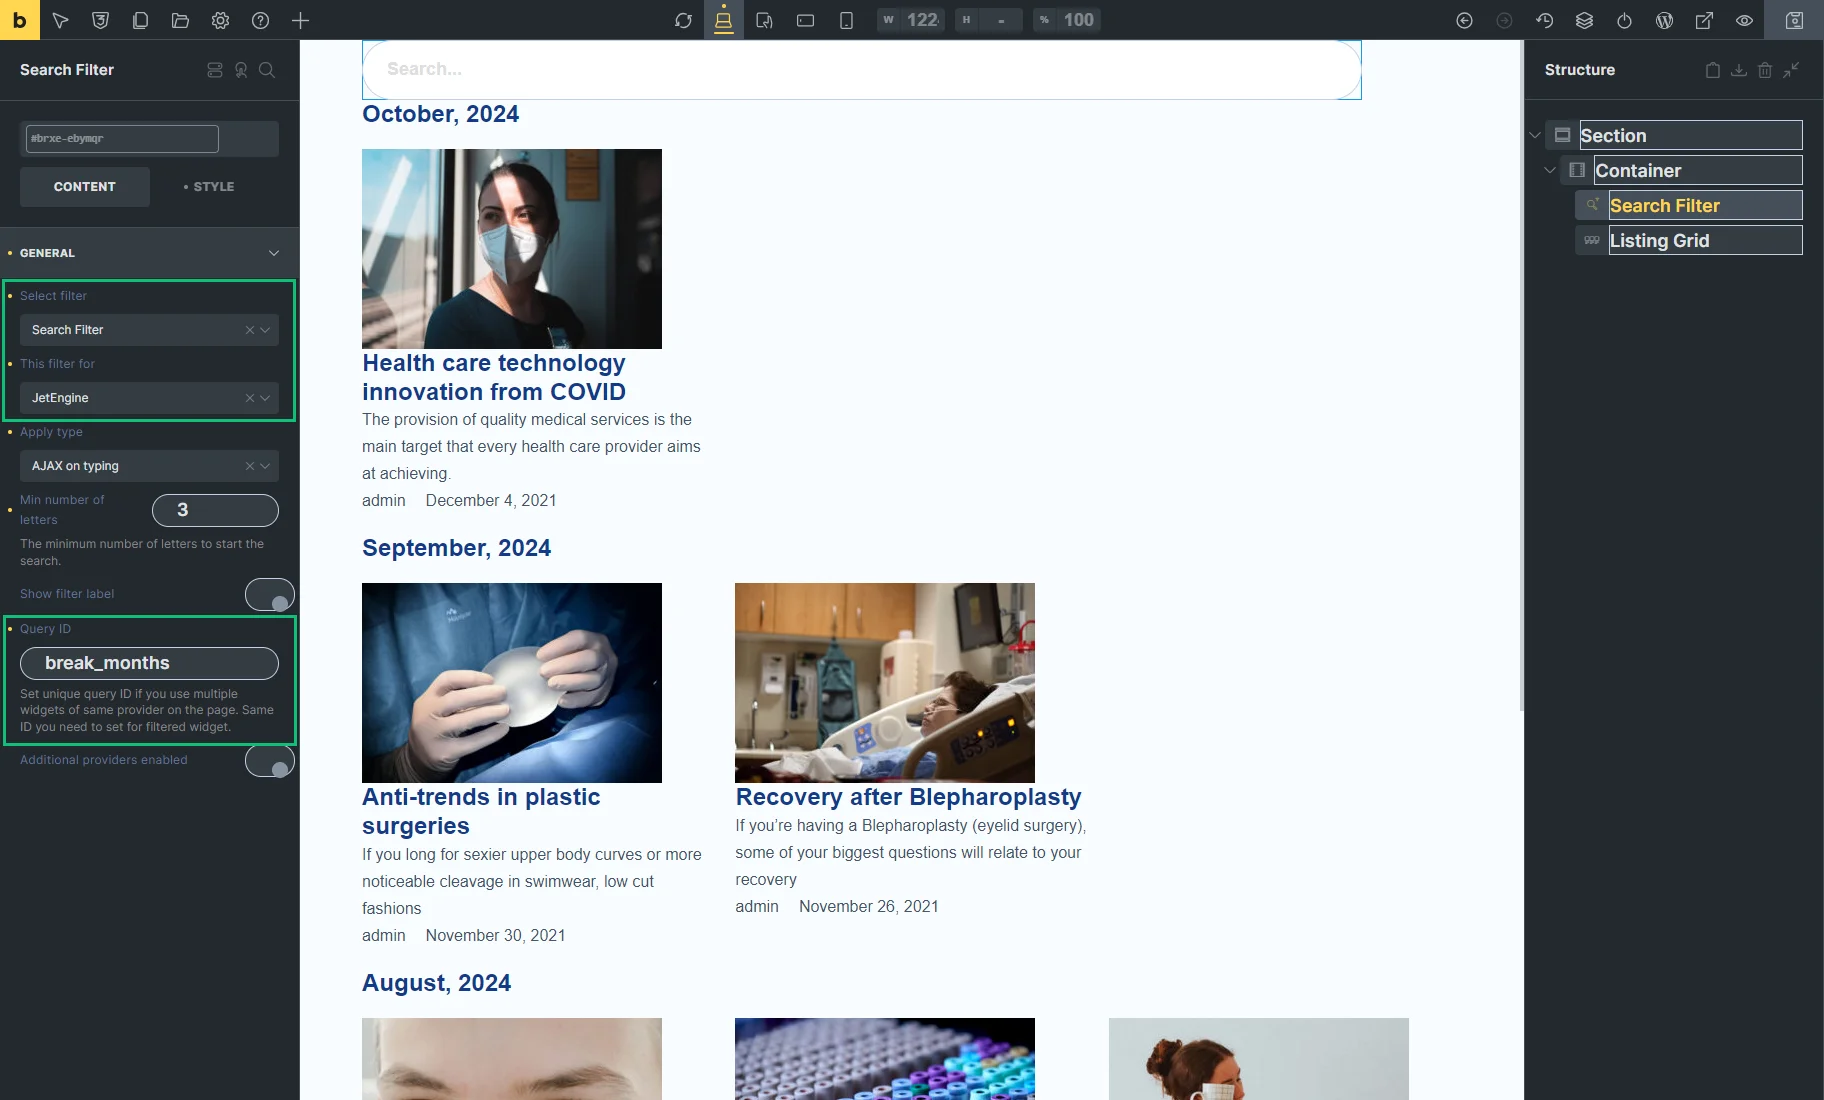
Add the Search Filter element. Pick the recently created filter in the Select Filter drop-down menu and the “JetEngine” option from the This filter for.
In the Query ID field, enter “break_months”.
Other filter settings can be adjusted as you need.
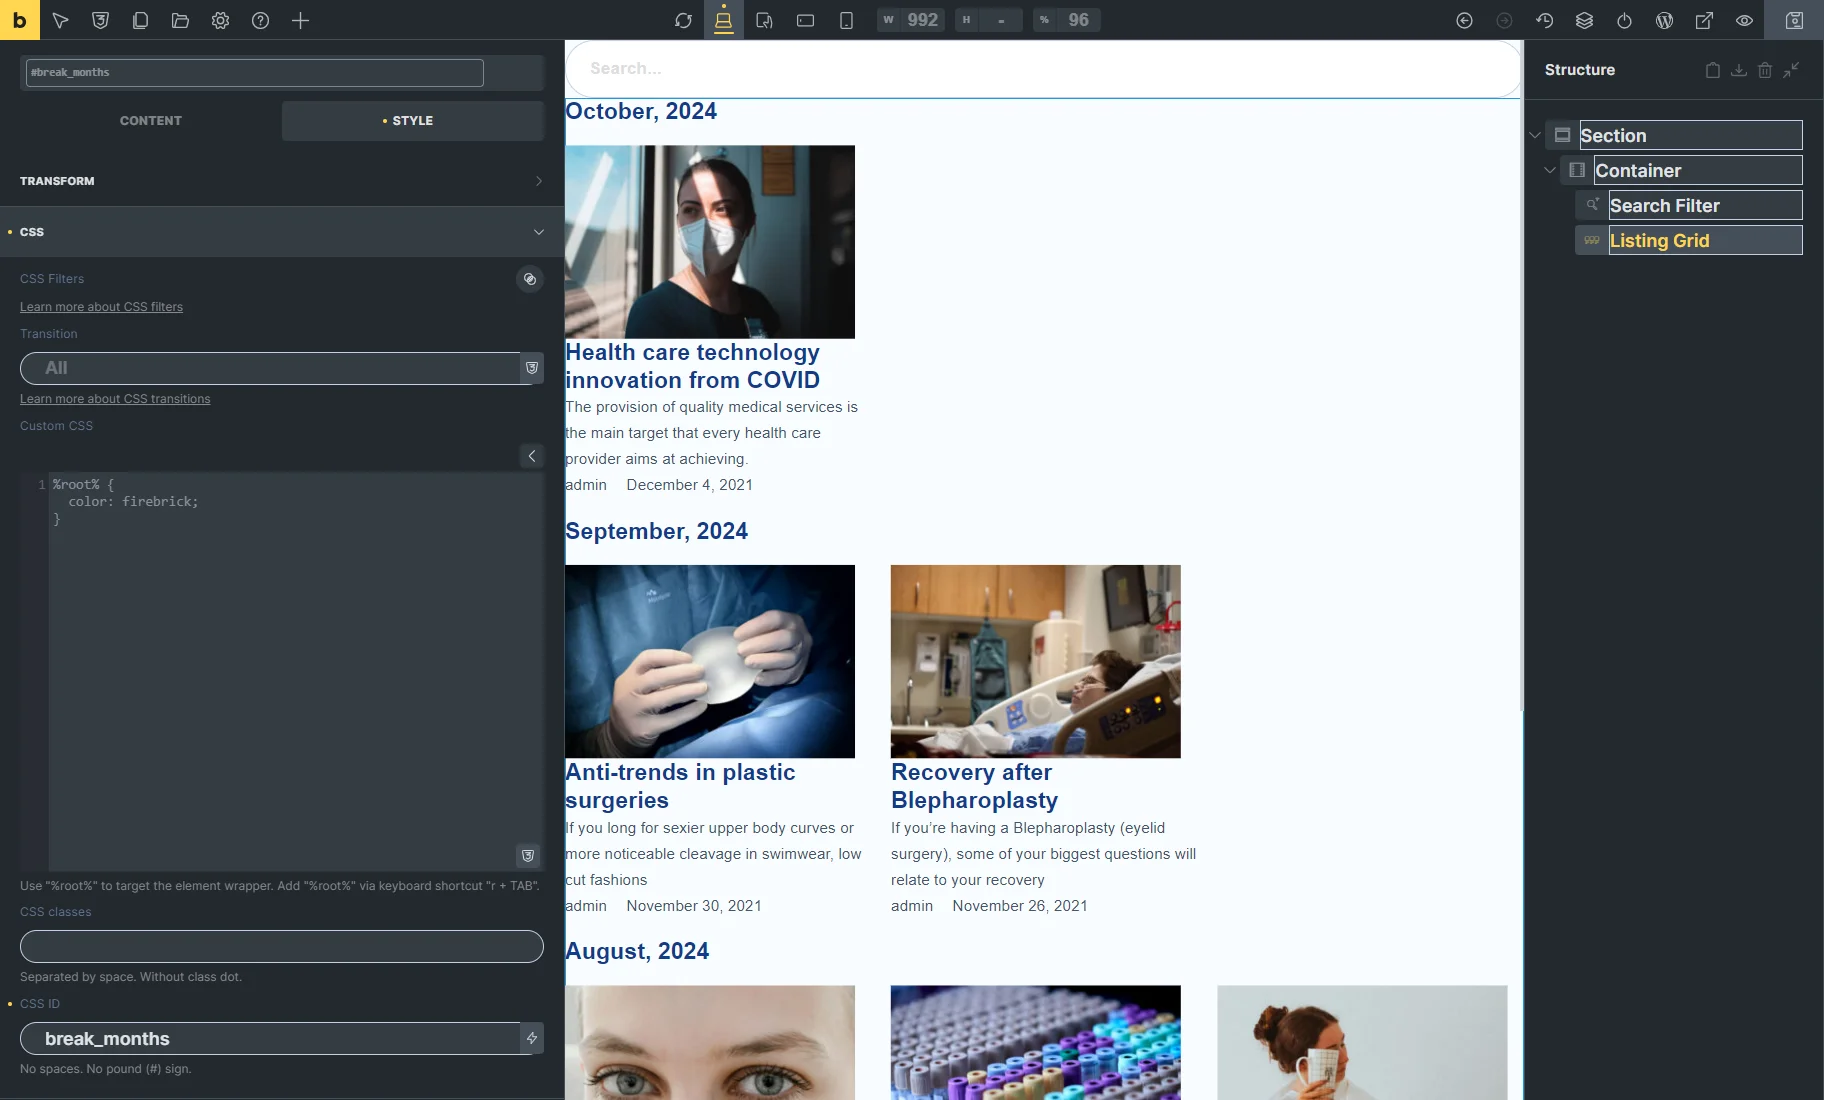
Open the Listing Grid settings, switch to the STYLE tab, and unfold the CSS tab.
In the CSS ID field, also enter “break_months”.
Afterward, “Save” the page.
Testing the flow
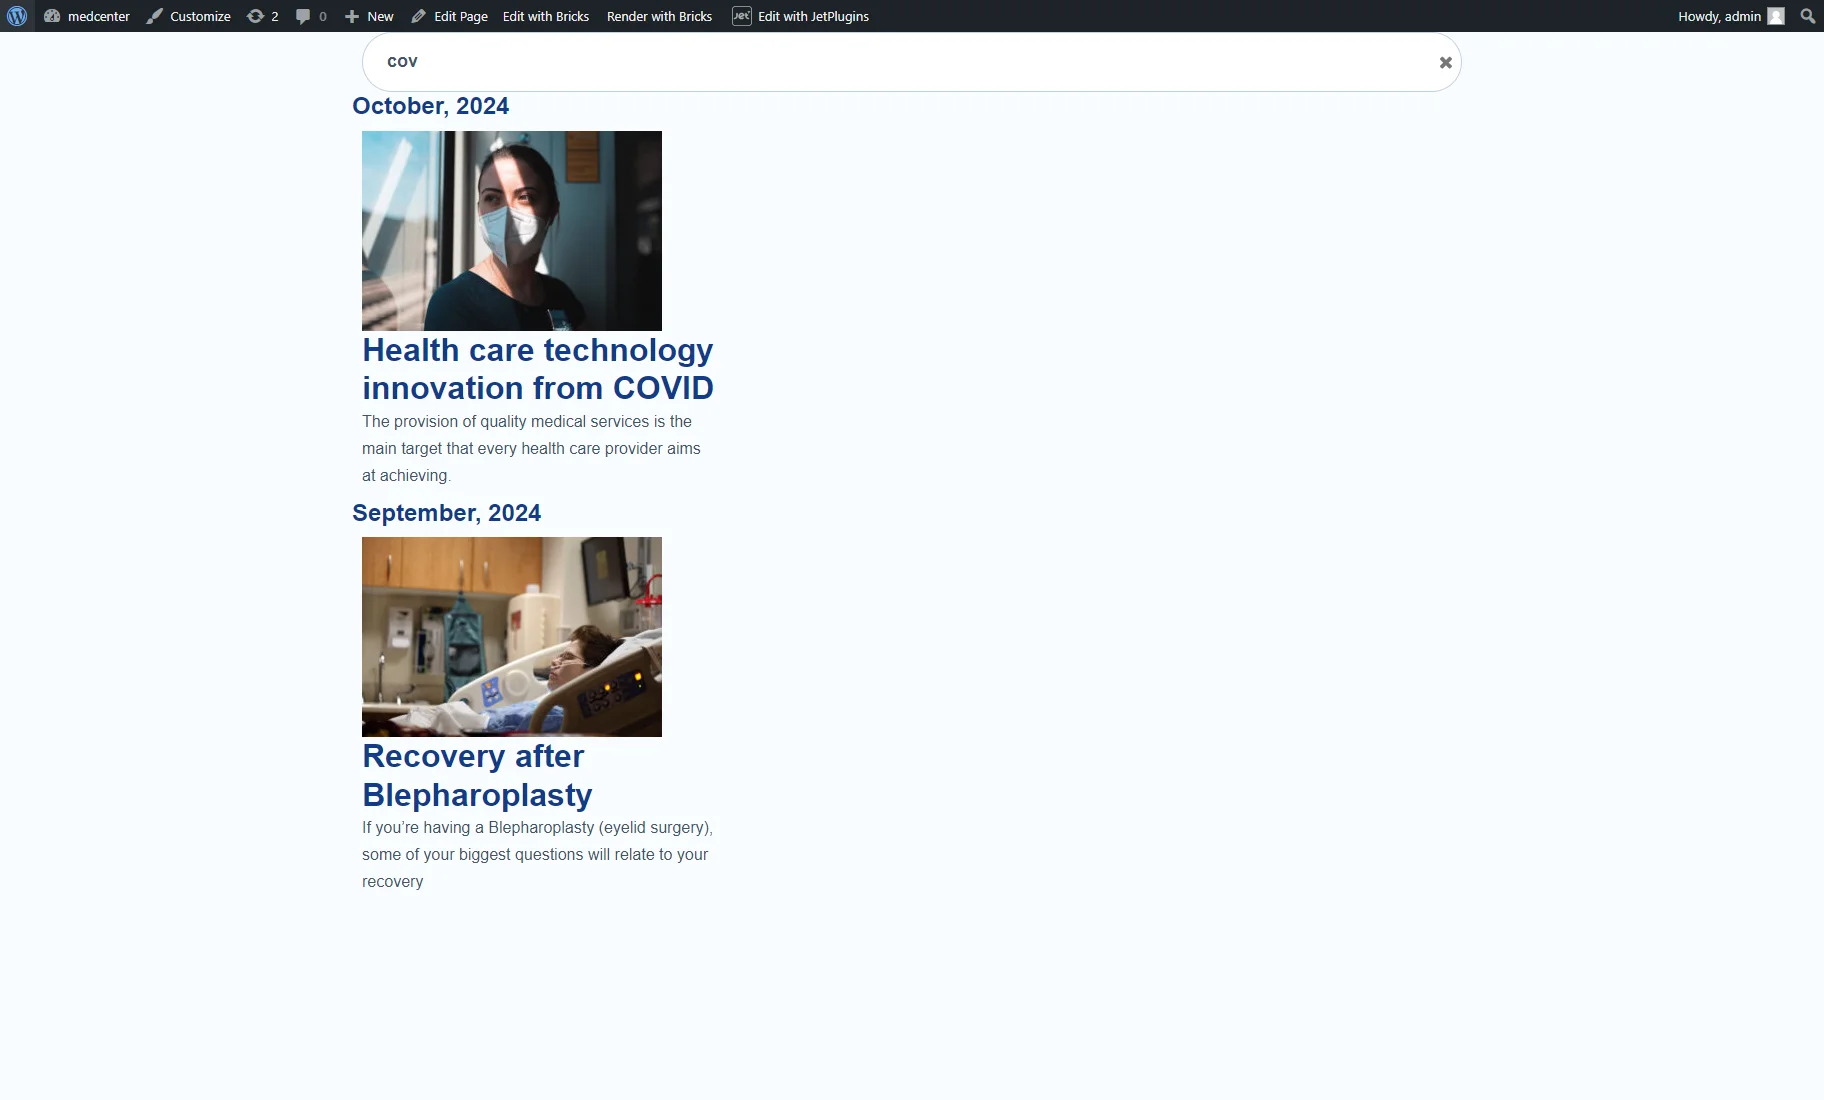
Now, you can proceed to the front end to test the flow. The search results will be divided according to the months.
Additionally, you can check the How to Create Archive Template for Displaying Search Results tutorial.
Advanced Functionality
To extend the plugin functionality to any object, rewrite the getting data part according to the following code by the link:
jet-engine-break-listing-by-months-additional
- For CCT created date, you can get with $post->cct_created, custom field accessible by its name – $post->my_field;
- For terms and users, you need to use get_term_meta and get_user_meta functions.
That’s all about breaking a single Listing Grid widget/block into sections separated by month based on the publish date or date from the meta fields using the Break Listing by Months addon from the JetEngine WordPress plugin.
