How to Set Up Profile Builder
In this guide, you will learn how to set up Profile Builder from the JetEngine plugin on your WordPress website.
Before you start, check the tutorial requirements:
- Elementor (Free version), Block editor (Gutenberg), or Bricks
- JetEngine plugin installed and activated
In this JetEngine Profile Builder tutorial, we will cover how to set up JetEngine’s Profile Builder on your WordPress website and create a functional user account page with editable profile data and custom subpages. This guide is suitable for building a WordPress membership profile builder, allowing you to create user profile pages and public profile pages with JetEngine’s Profile Builder.
Activate the Profile Builder
To begin the JetEngine Profile Builder setup, you should first activate the Profile Builder module. It can be done in the WordPress Dashboard > JetEngine > JetEngine > Modules tab.
Find and activate the Profile Builder toggle in the Default Modules tab.
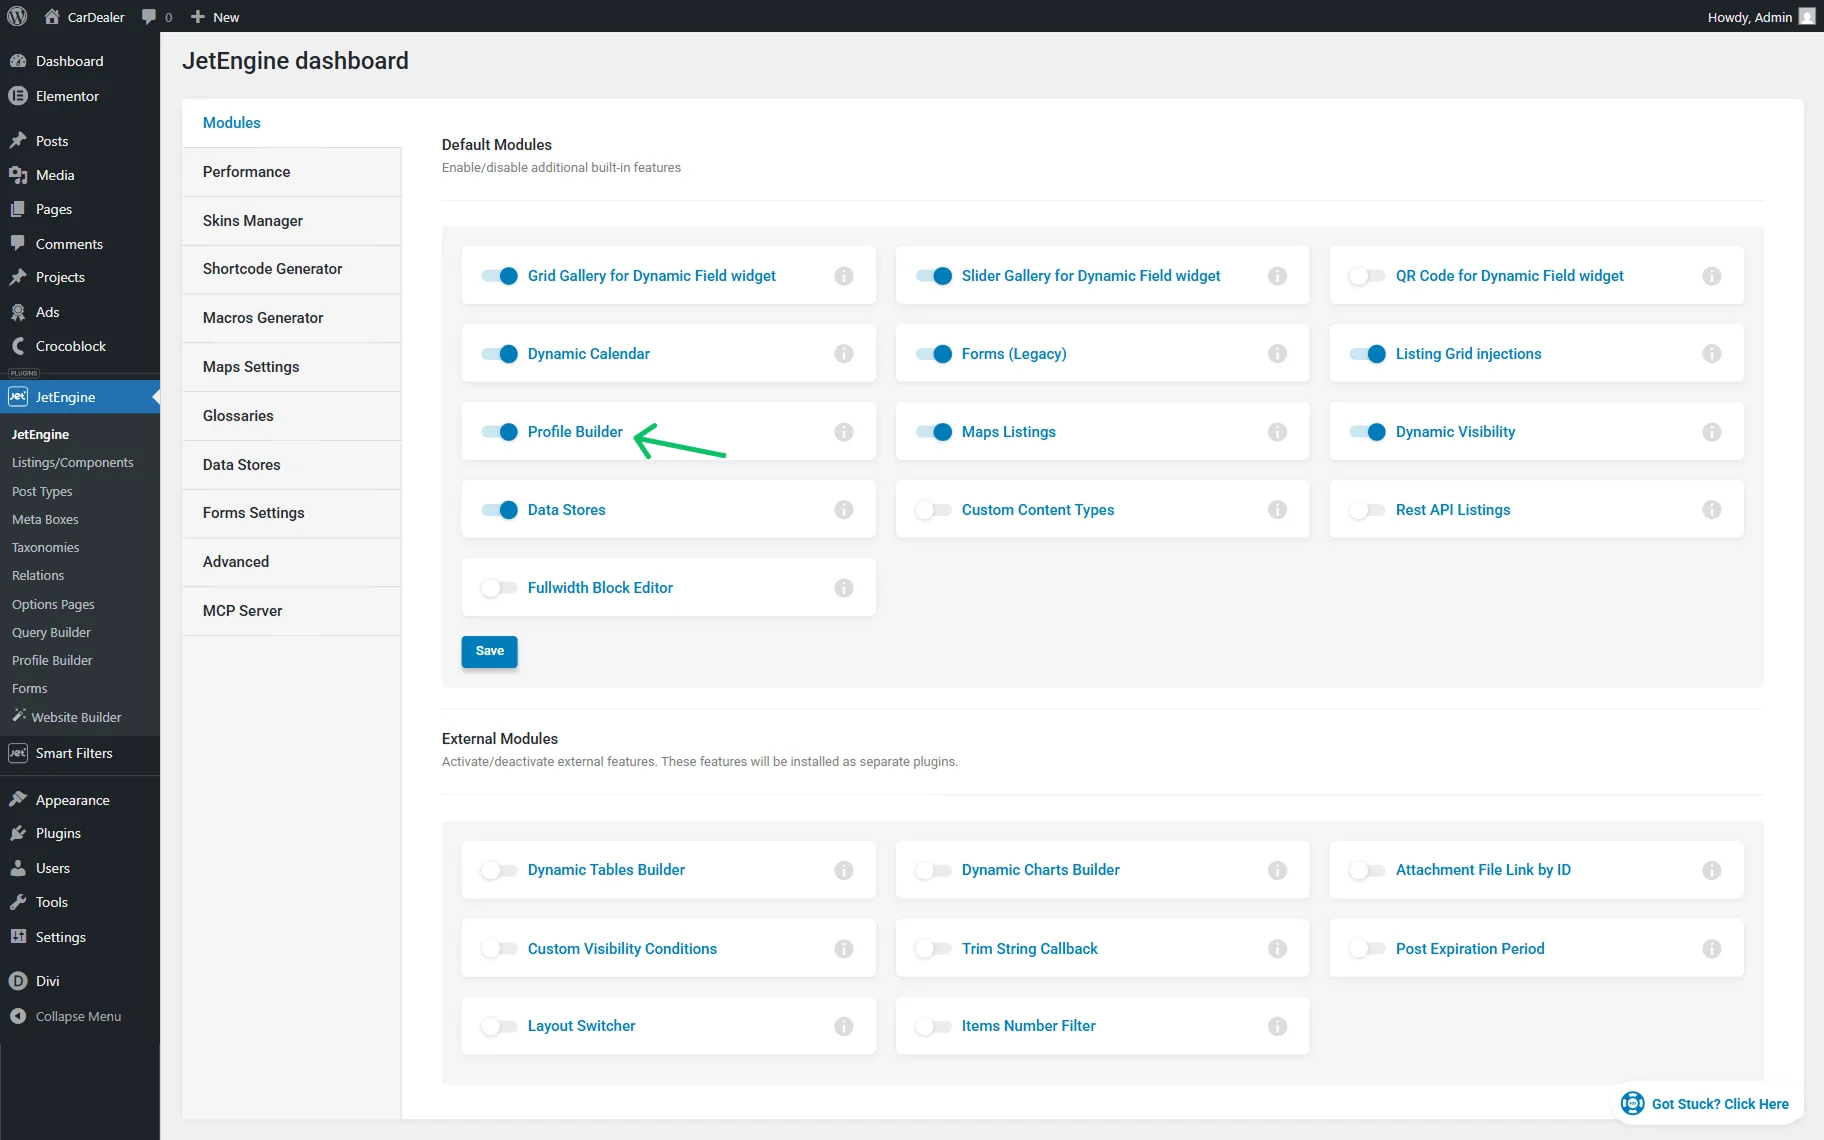
Press the “Save” button.
Set Up Profile Builder
After the module activation, go to WordPress Dashboard > JetEngine > Profile Builder. Here, you can set up the Profile Builder account page and the pages displayed in it.
Pages
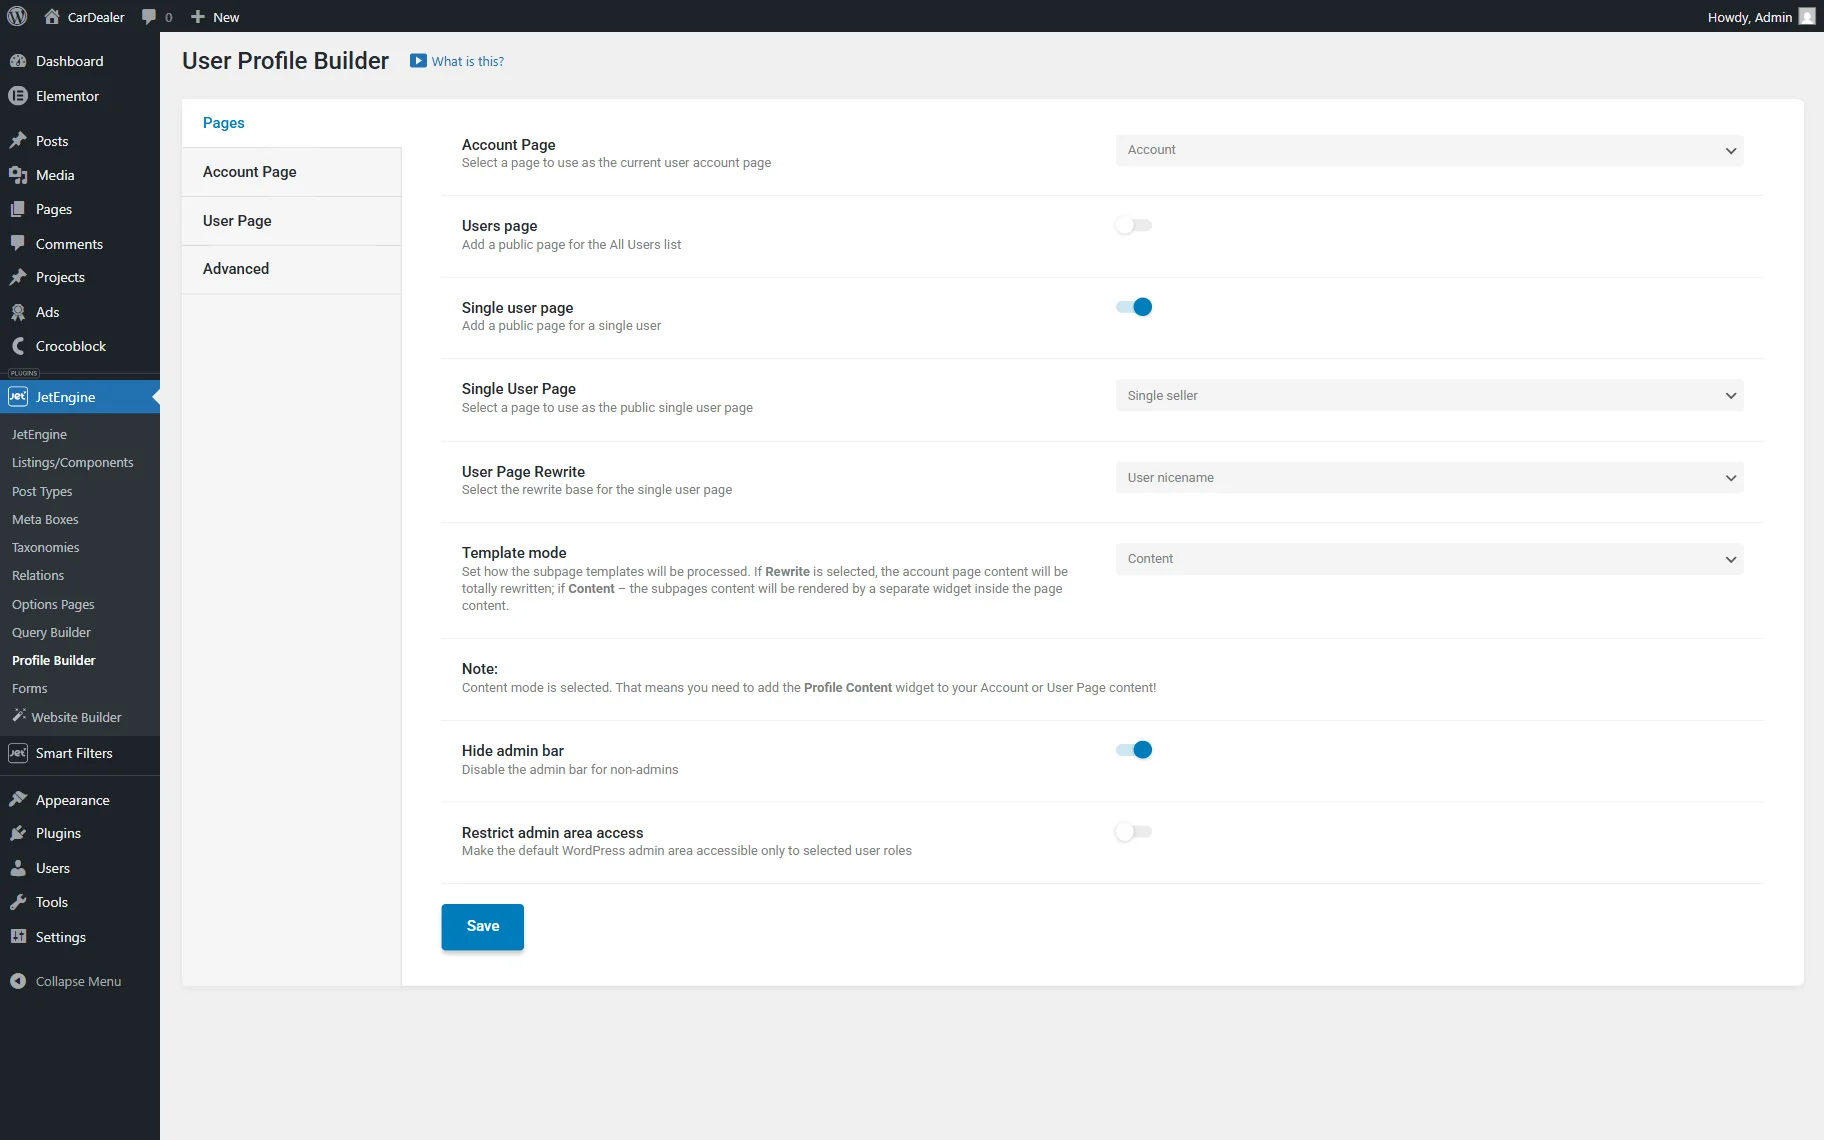
First, select the Account Page you want to use.
Additionally, the Single user page toggle can be activated to select a page to use as a public single user page. For example, we activate it and set it to the “Single seller” page.
We also select the “User ID” option in the Use Page Rewrite field.
In our case, the Template mode is set to “Content”.
Then, we activate the Hide admin bar toggle and leave the Restrict admin area access toggle inactive.
To find out more about the available settings tab, check the Pages tab guide.
Account page
Let’s open the Account Page tab to build the user account page JetEngine structure.
Here, you can set up the Account Page Title and Account Page Description if needed.
In the For not authorized users dropdown field, we pick the “Redirect to page” option and paste the needed URL in the Redirect URL field.
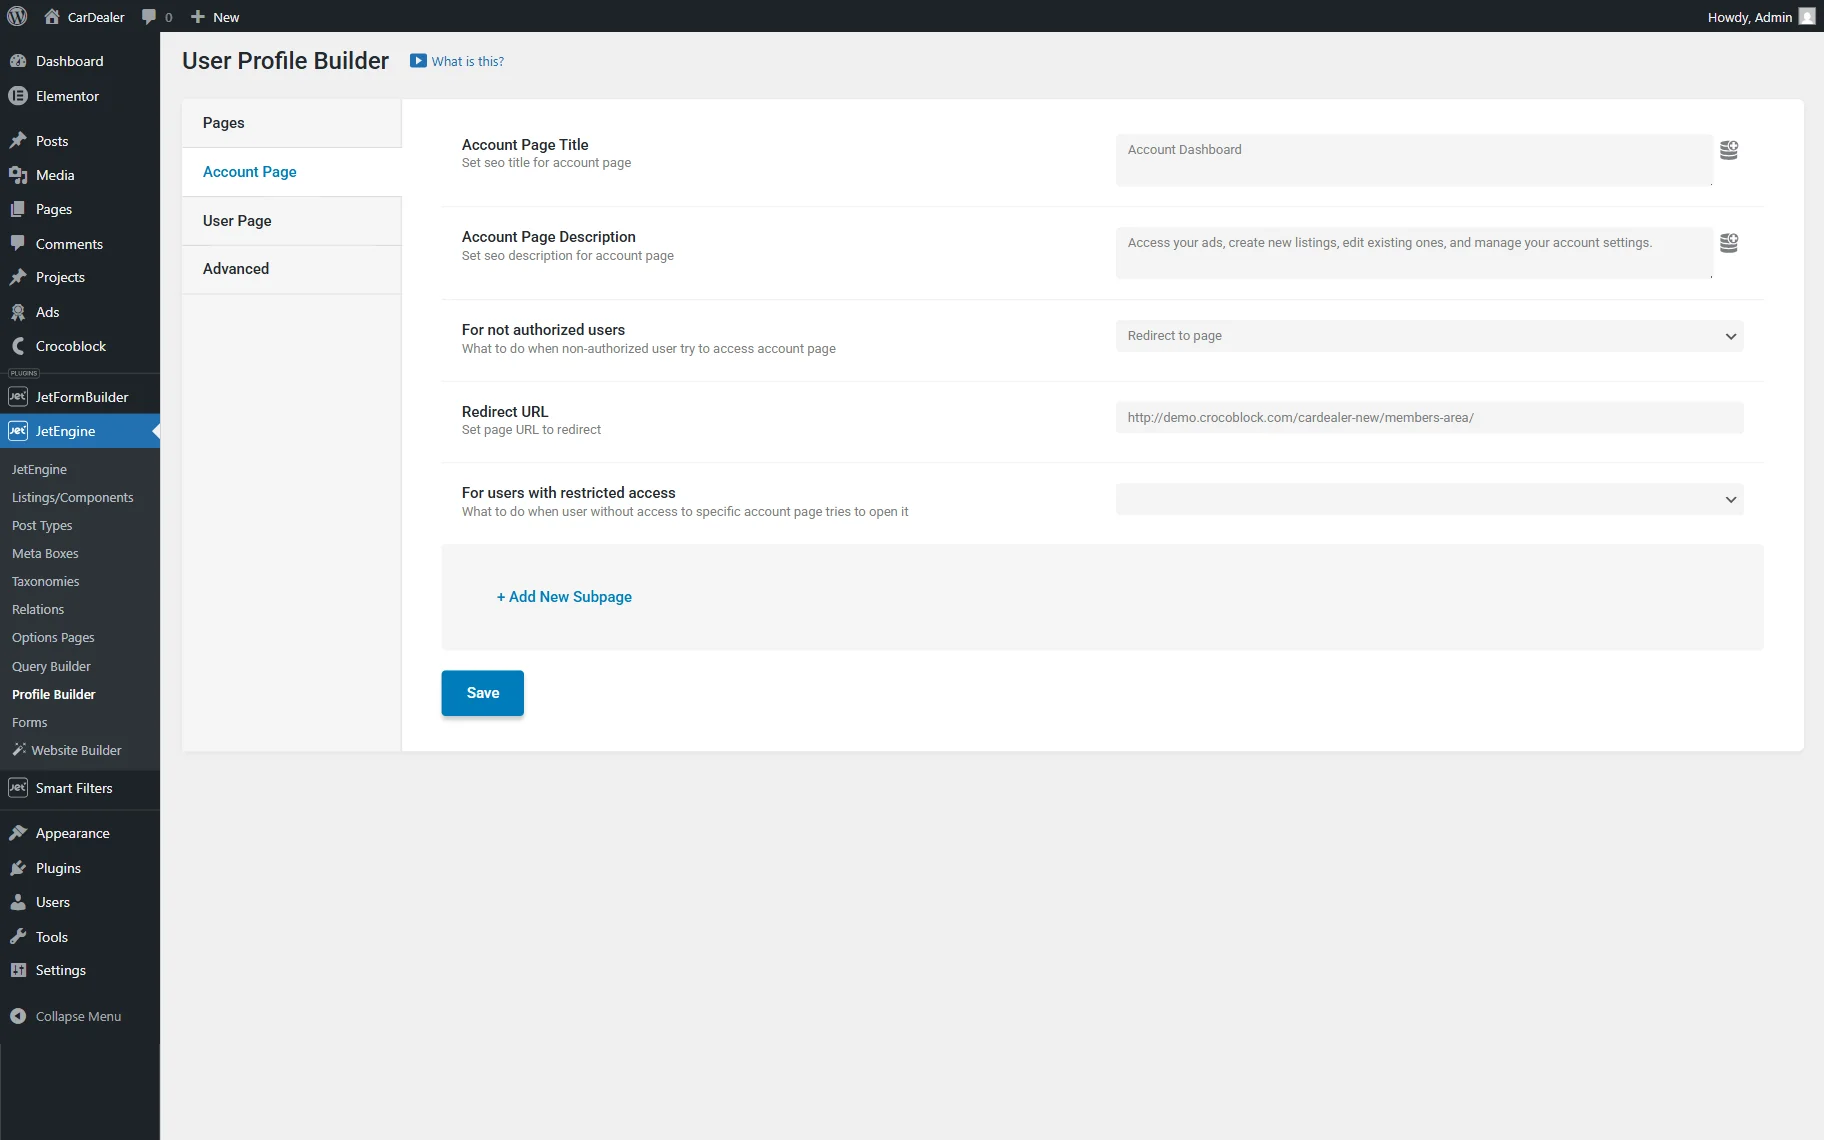
Now, we click the “Save” button and proceed to create templates for the subpages.
Add template content
Let’s add templates that will be later used as JetEngine Profile Builder subpages content. We will build it with Elementor, so we go to WordPress Dashboard > Elementor > Editor > Templates and press the “Add New Template” button.
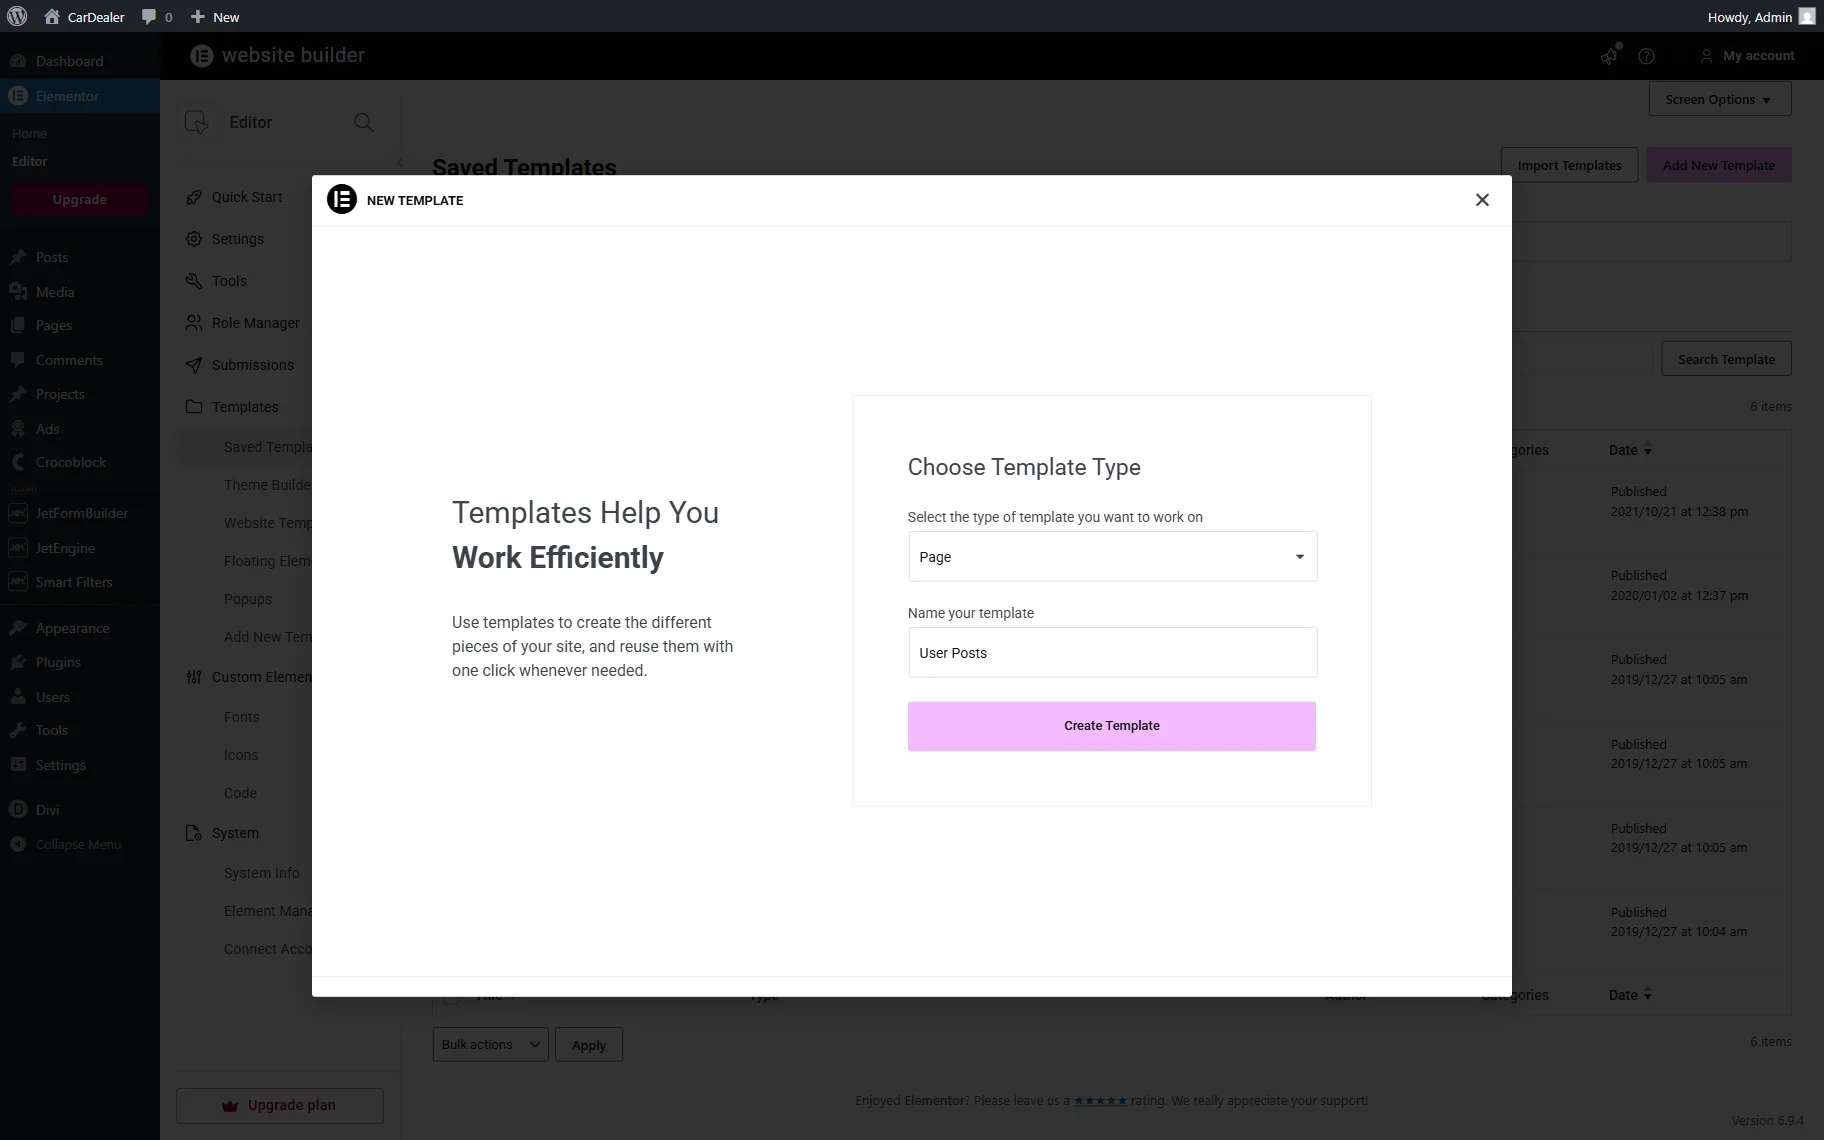
In the NEW TEMPLATE pop-up, select the “Page” template type and name your template.
Click the “Create Template” button to open the editor.
User Posts template
When the template editor is opened, start adding the needed content to it. We will now describe an example of how to fill in the template.
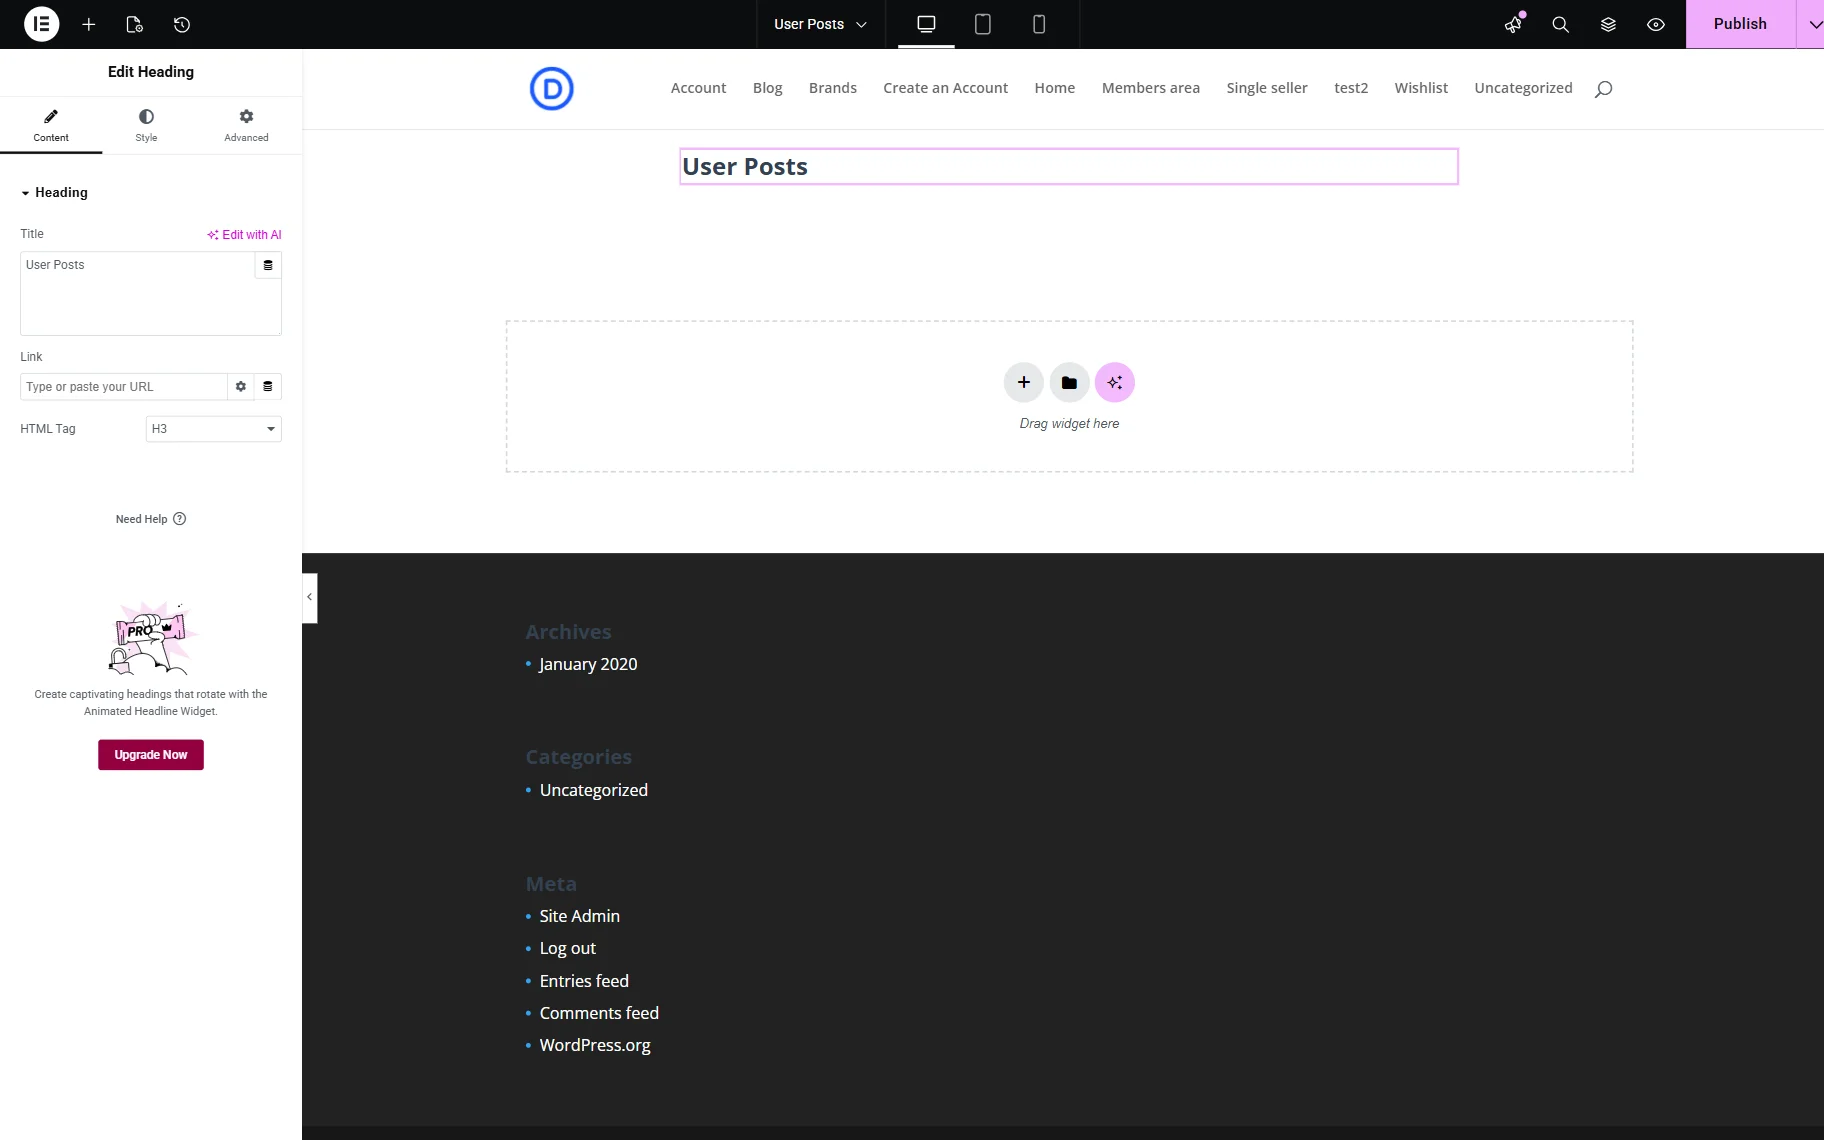
First, we add a Heading with a “User Posts” Title.
Next, we add a Text Editor widget and click the “Dynamic Tag” button next to the field to fill it dynamically.
We select the “Query Results Count” option from the list and open its settings. In the Query dropdown, we pick the “Query by Posts of the Current User” option and set the “Total query results count” option in the Returned Count dropdown.
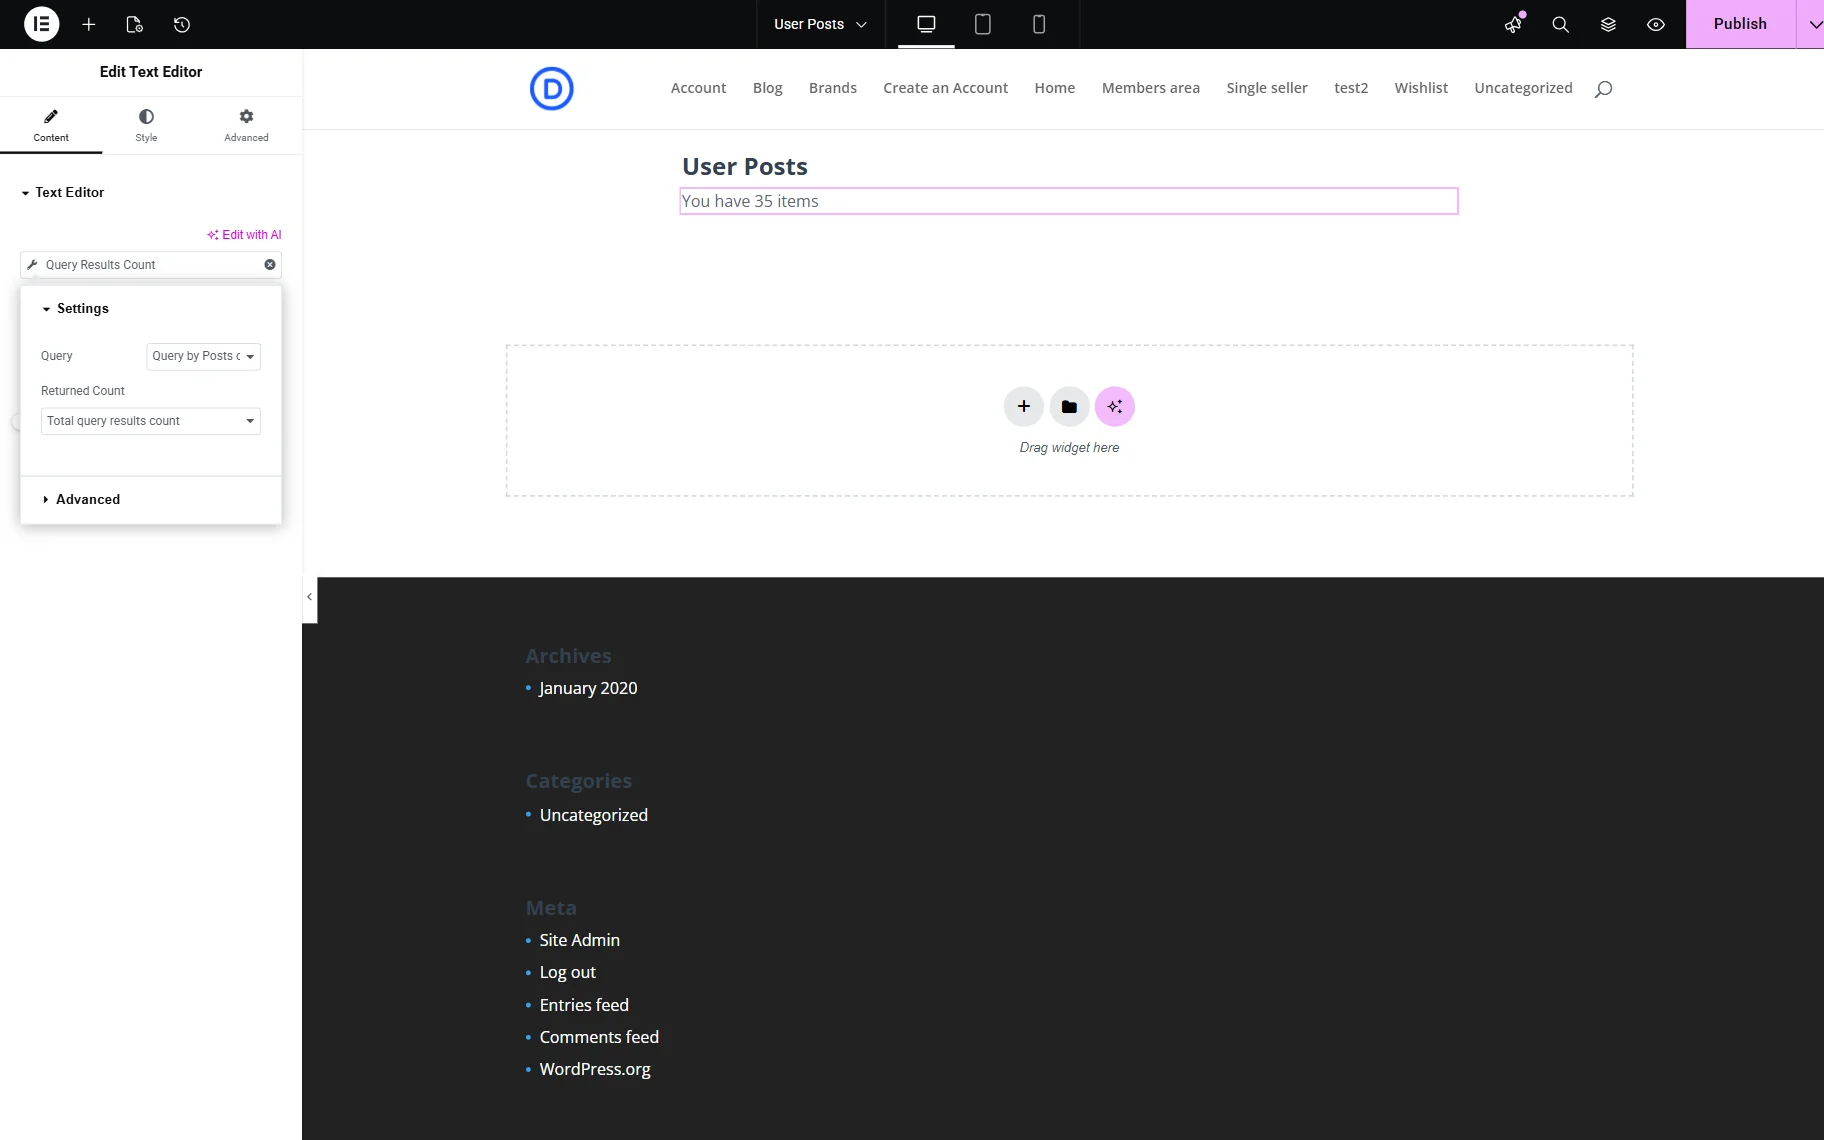
We open the Advanced tab of the settings and complete the Before field with the “You have” value and the After field with the “items” value.
This way, we will dynamically display the number of posts published by the current user, like “You have n items”.

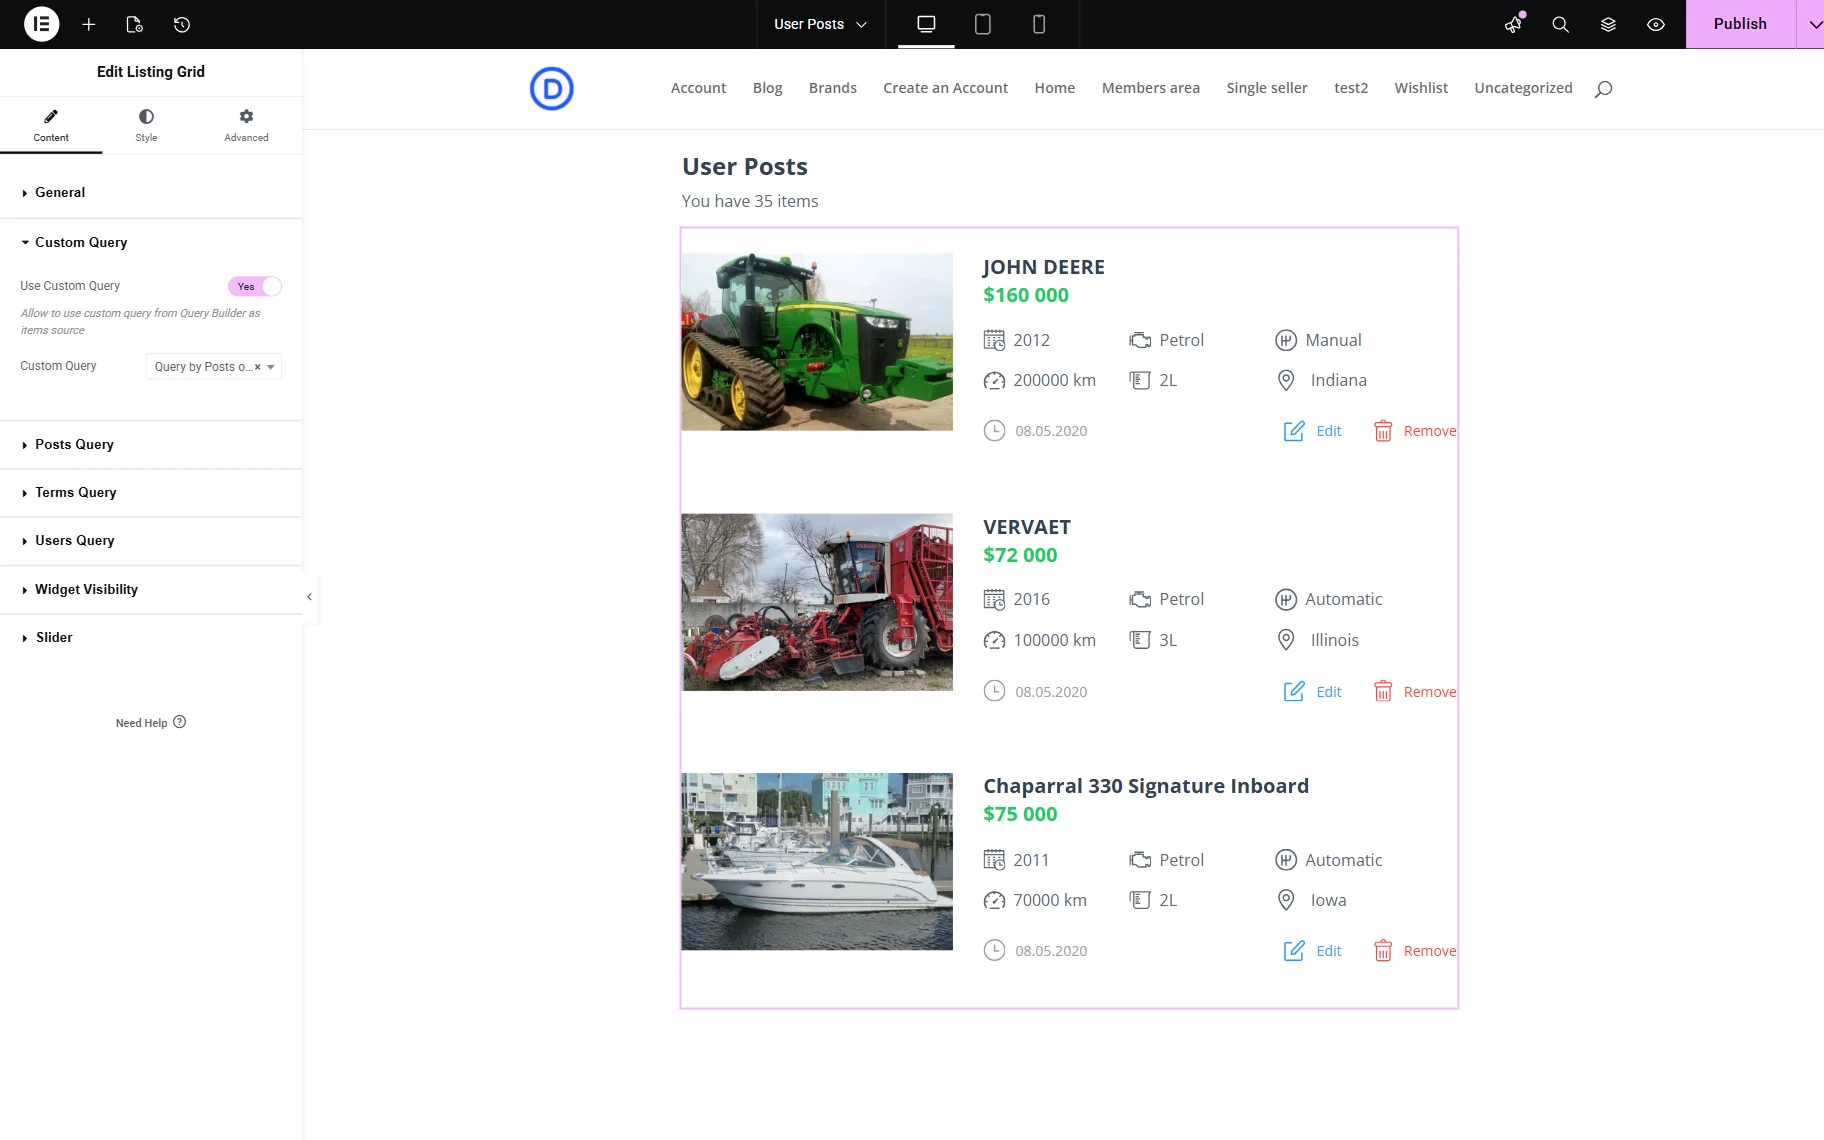
Next, we add a Listing Grid widget to the page and select a Listing template that was created beforehand and now displays ads.
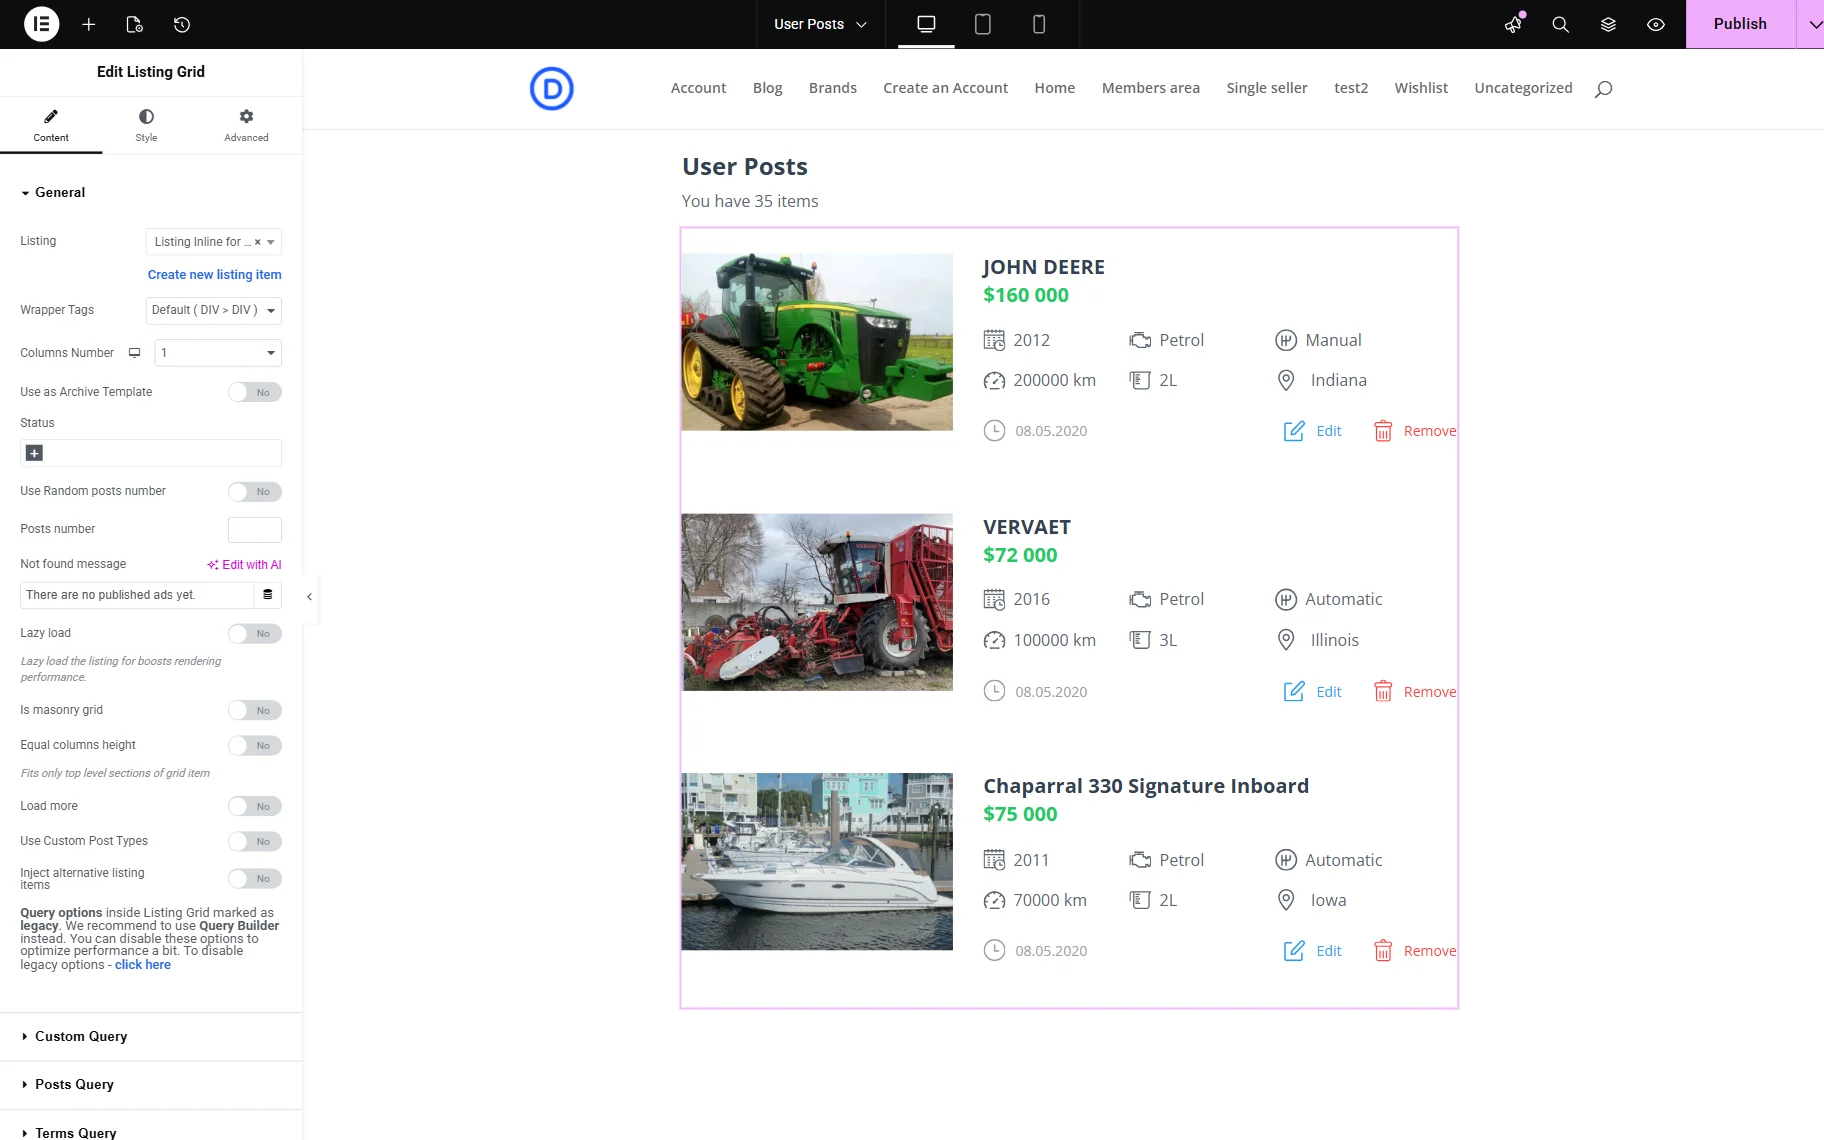
We also move to the Custom Query tab and activate the Use Custom Query toggle.
In the Custom Query dropdown, we select the query that will display only the posts added by the current user. It was built beforehand with the help of the Query Builder functionality.
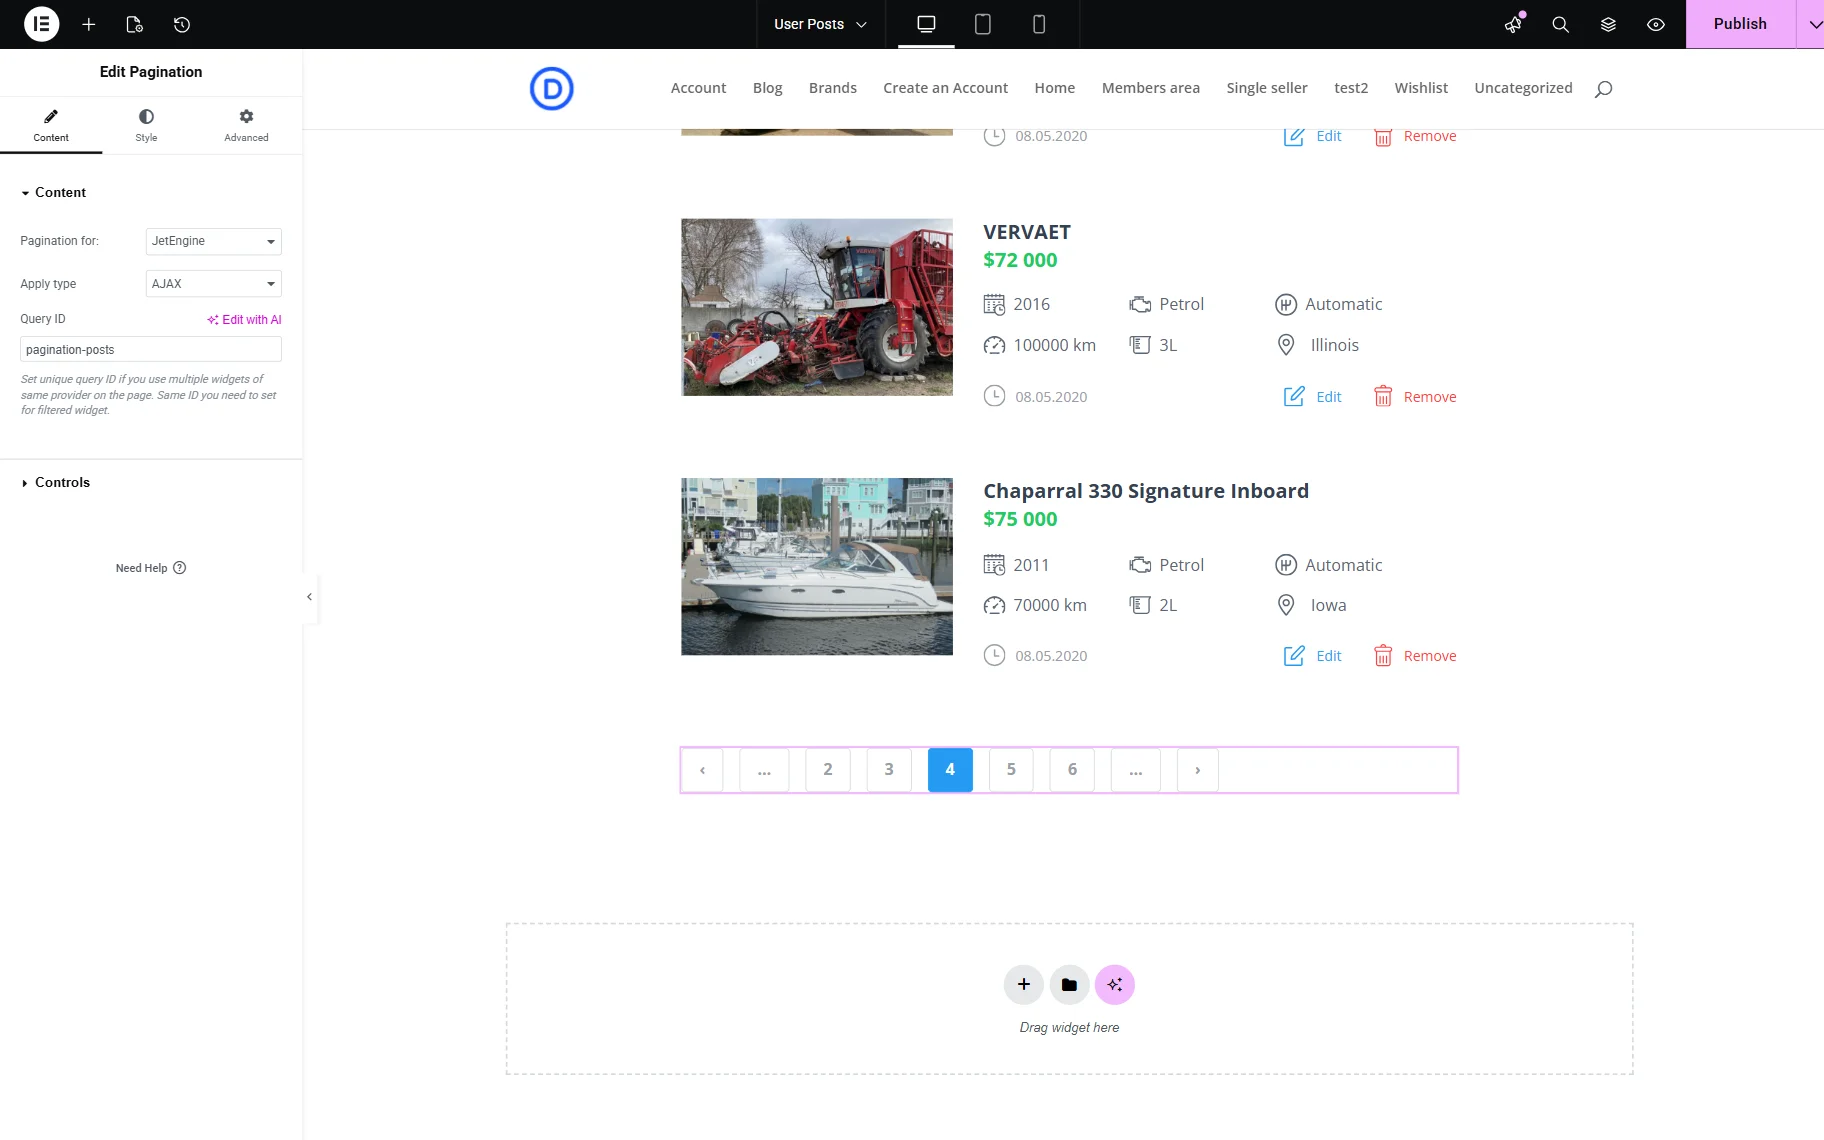
We also add a Pagination widget from JetSmartFilters to let users switch between the pages of the posts list.
In its settings, we set the Query ID that we also add to the CSS ID field of the Listing Grid in order to connect them.
Also, check the How to Add Pagination to the Listing Grid Widget guide.
We also add similar sections with the “Pending” and “Deleted” posts, which are adjusted to be visible only if such posts exist and are related to the current user. This can be implemented with the Dynamic Visibility feature.
Save the template when it’s ready.
Add Post template
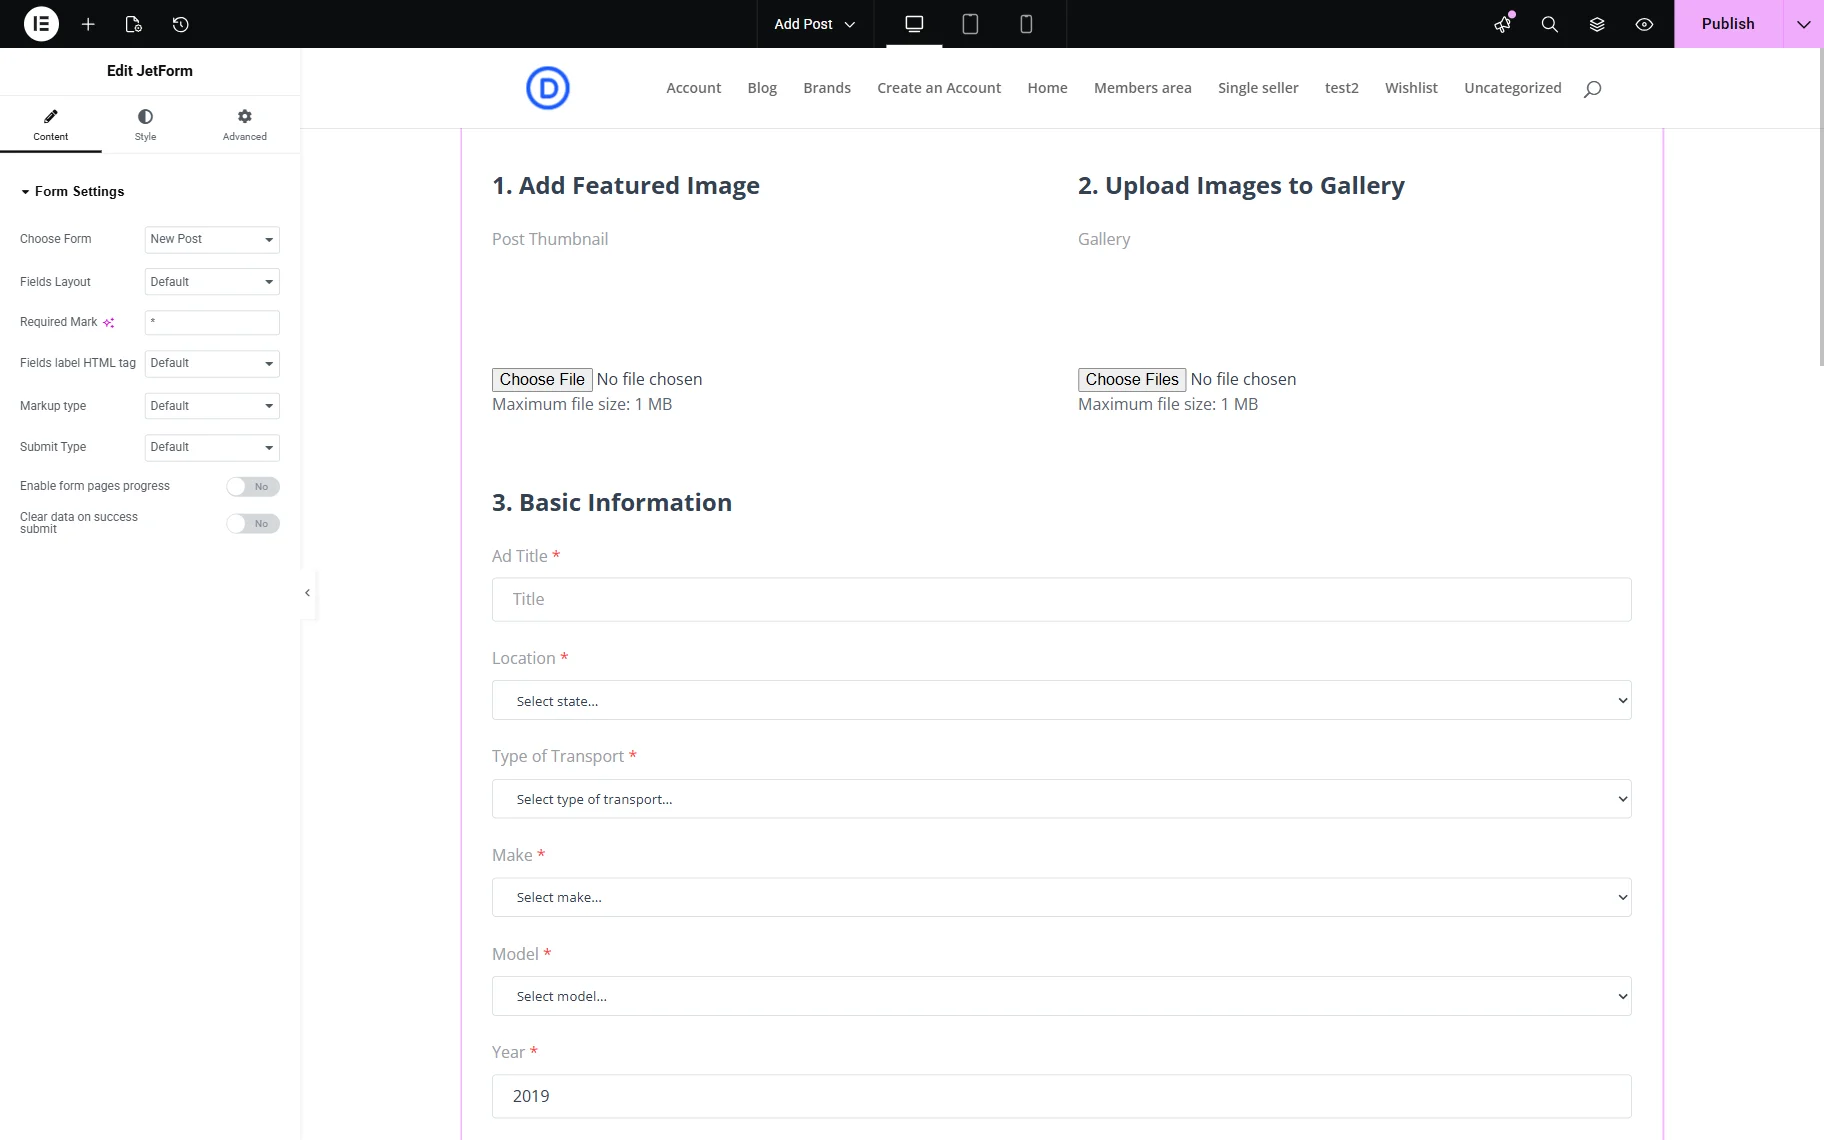
Next, we create the “Add Post” template the same way as the “User Posts” one, in the Elementor editor.
Here, we add only one widget called JetForm. It allows inserting the form created with the JetFormBuilder plugin, such as a user registration Profile Builder or post submission form.
So, in the Choose Form dropdown, we pick the form that allows adding a new post. We built it beforehand with JetFormBuilder.
Save the template.
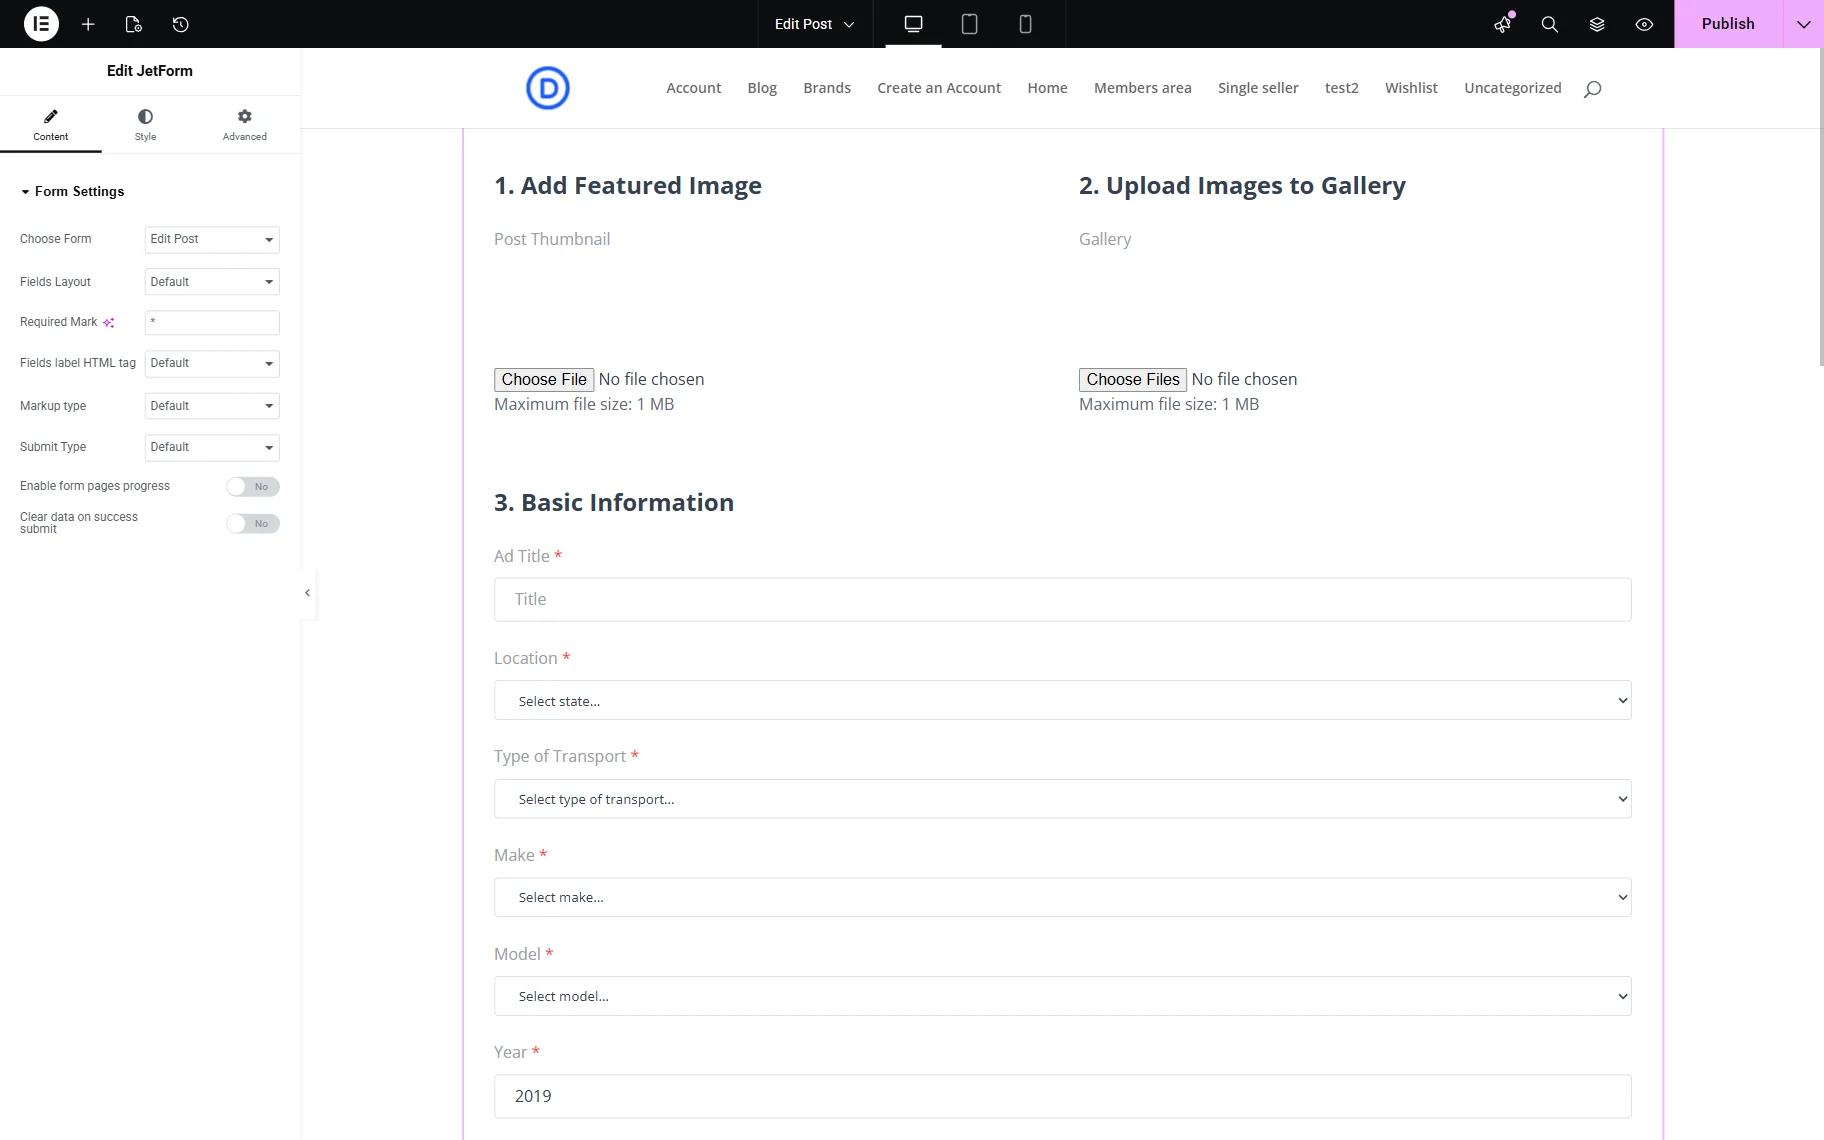
Edit Post template
In the Edit Post template, we add a JetForm widget as well.
In the Choose Form dropdown, we pick the “Edit Post” form this time.
Check more information about this in the How to Update Posts via Front End Form tutorial.
After making the changes to the template, we push the “Publish” button.
Edit User template
In the “Edit User” template, we add a JetForm widget with the “Edit User” form selected in the Choose Form dropdown. This form allows users to change their personal information on the website, creating an editable user profile in WordPress using JetFormBuilder.
Check more information about this in the How to Update Users’ Accounts via Front End Form tutorial.
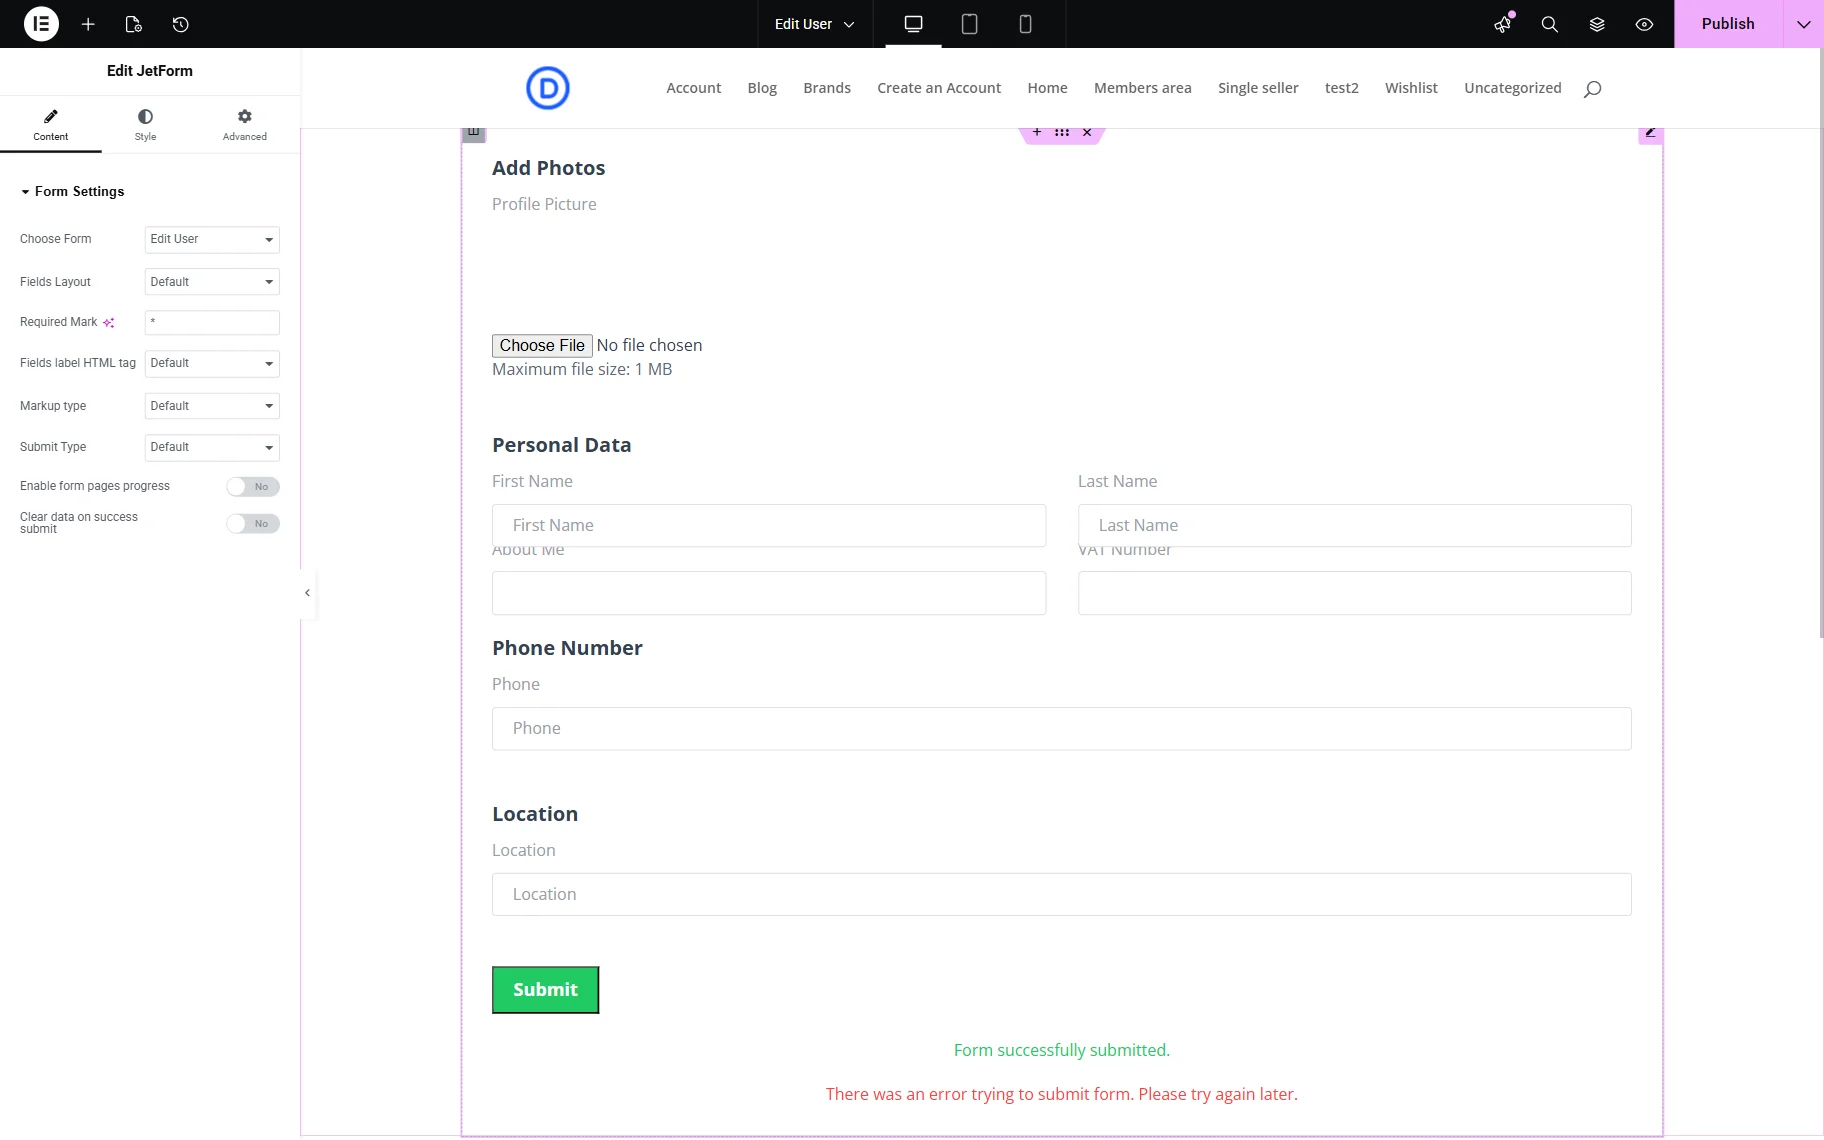
When the form is added to the canvas, we publish the template.
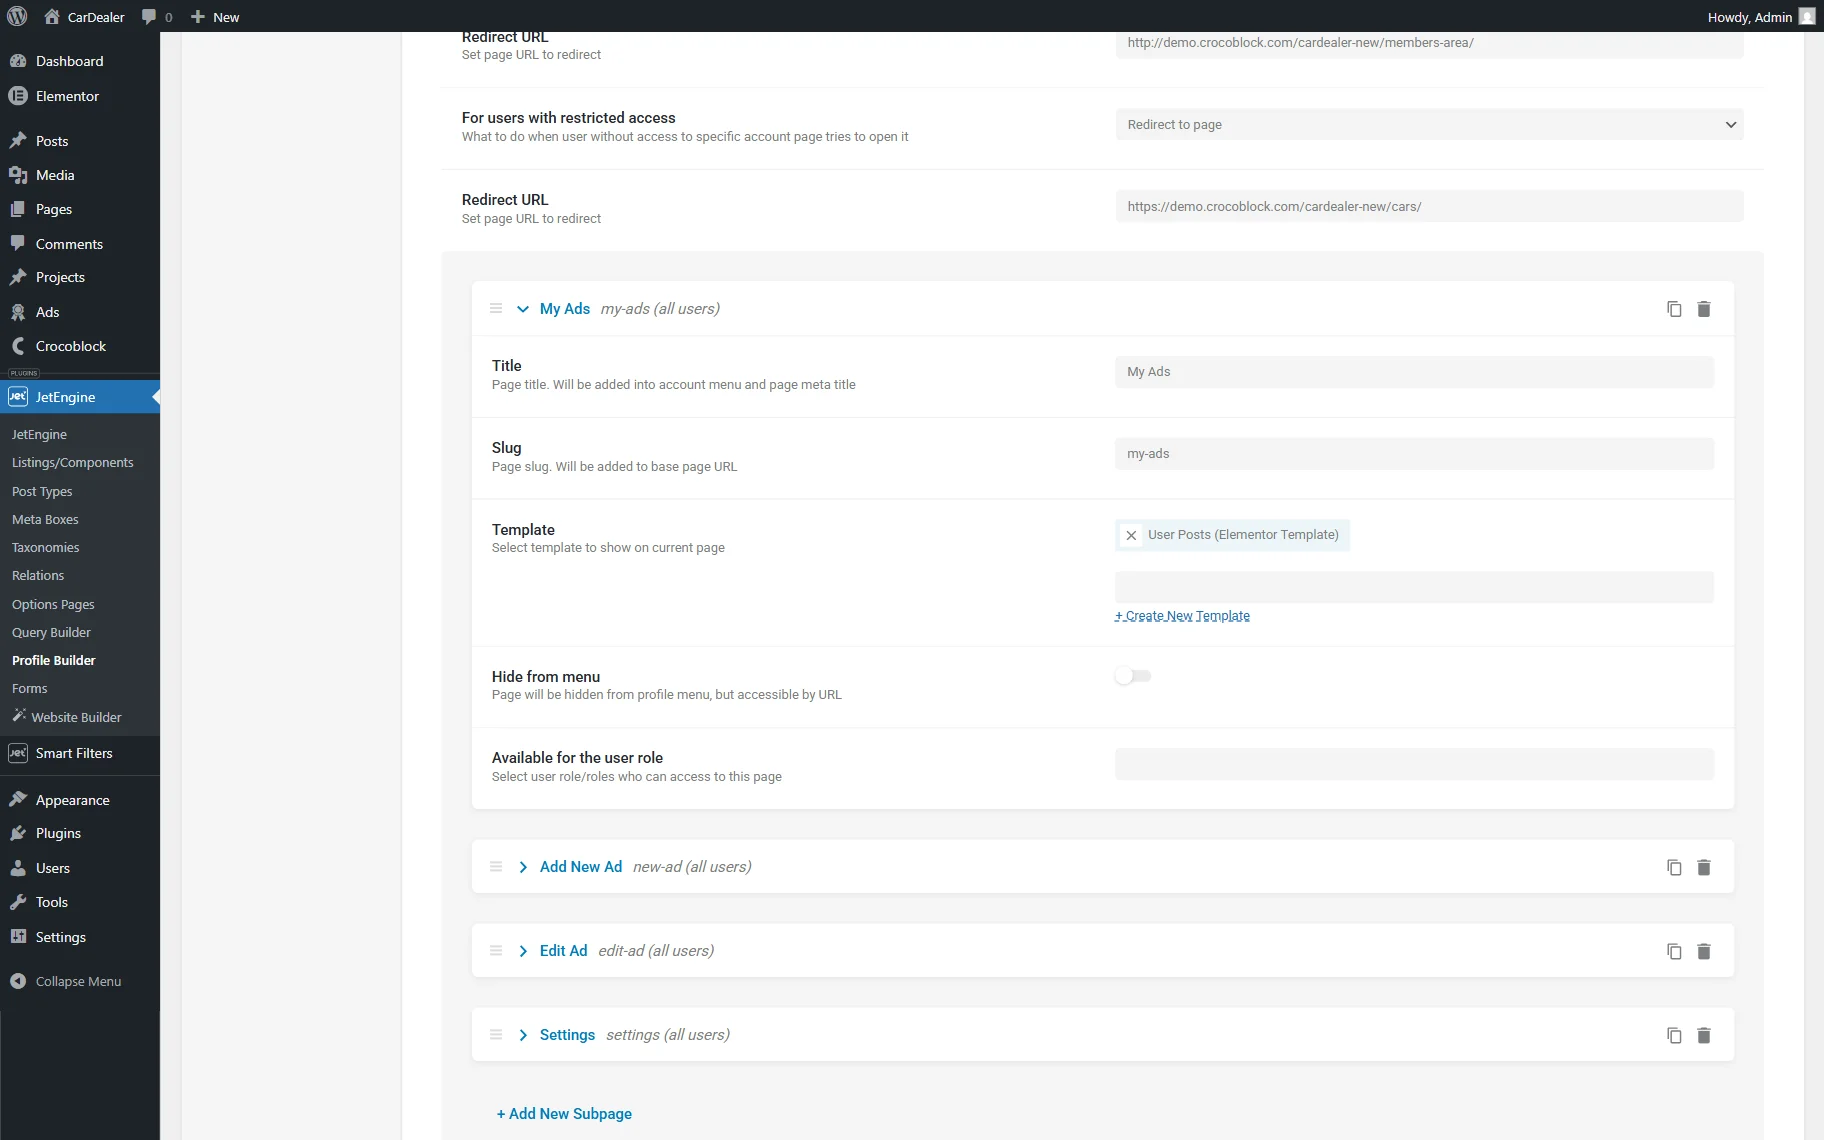
After all the templates have been created, we return to the Account Page tab of WordPress Dashboard > JetEngine > Profile Builder.
Then, press the “Add New Subpage” button to start configuring JetEngine profile builder subpages.
In our case, we assign the “User Posts” Template to the “My Ads” subpage.
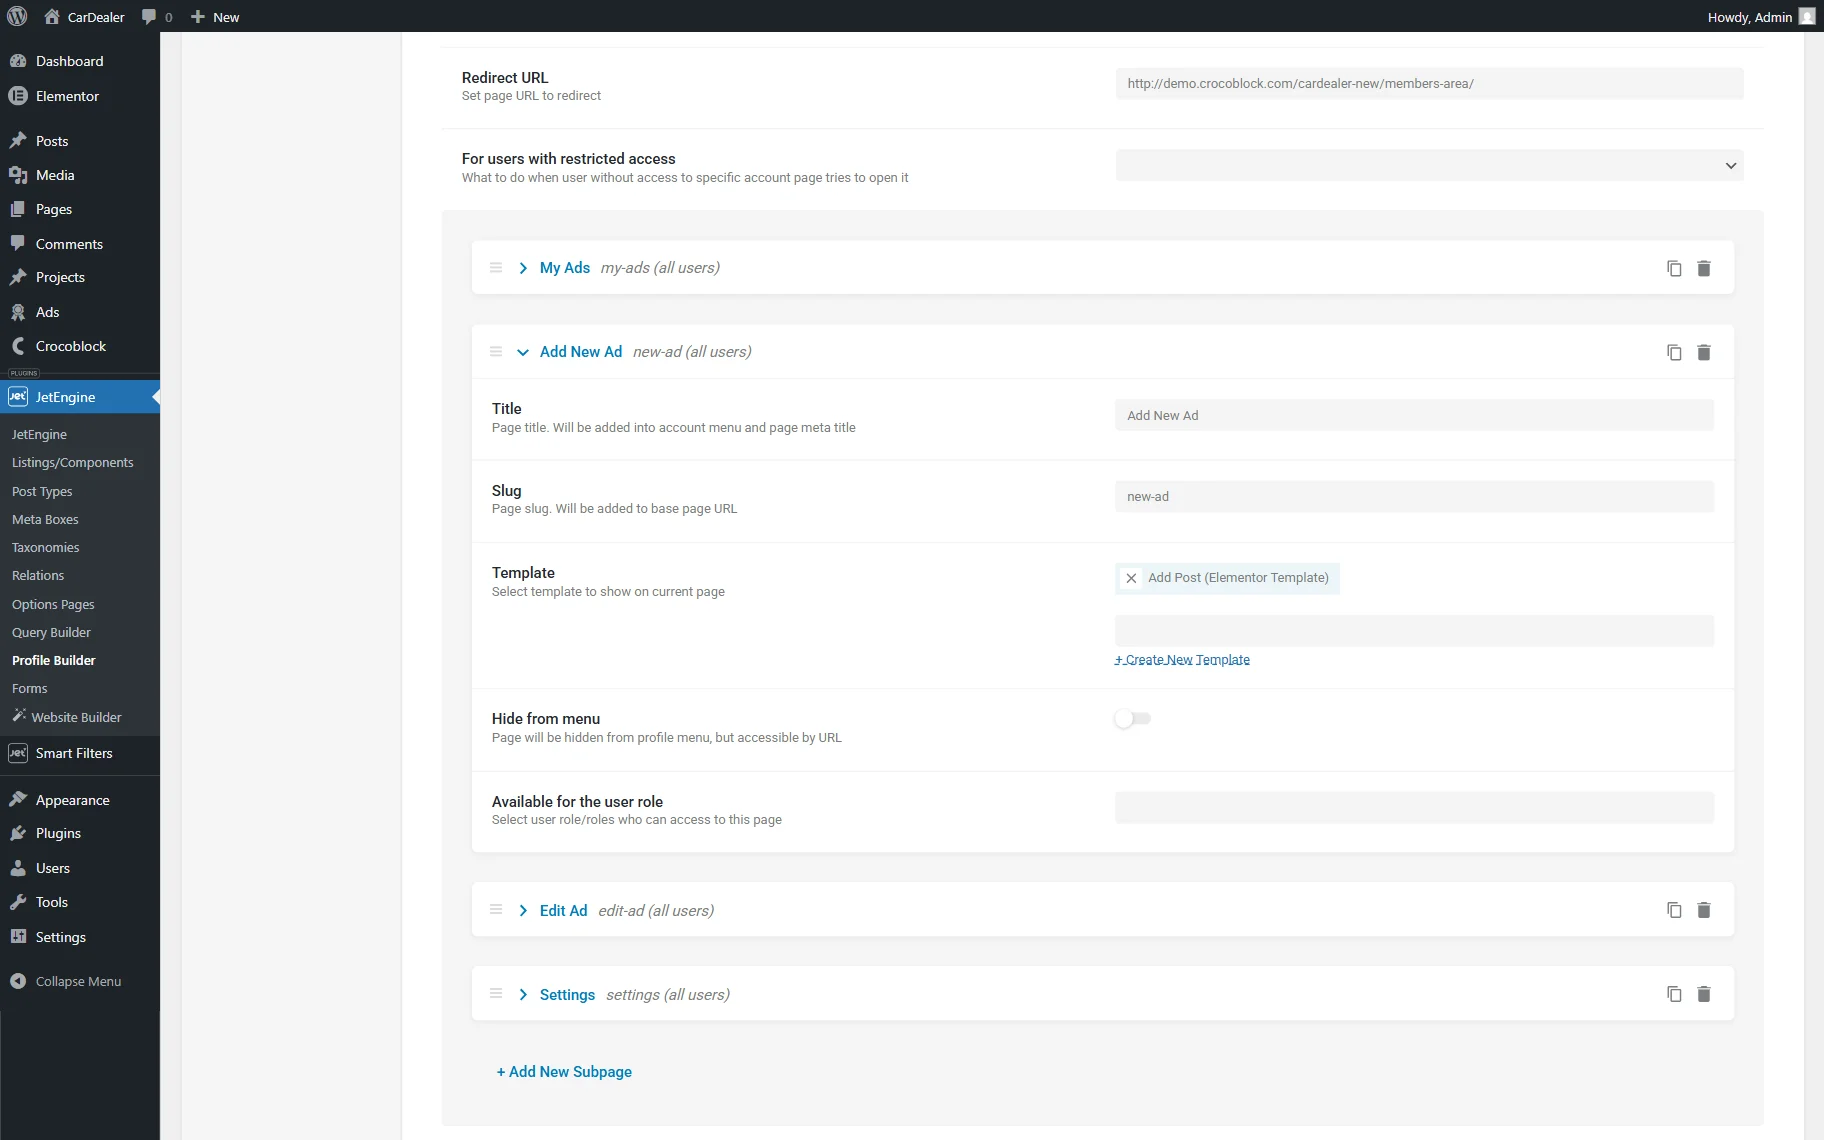
Next, we add one more subpage called “Add New Ad”. The “Add Post” Template is attached to it.
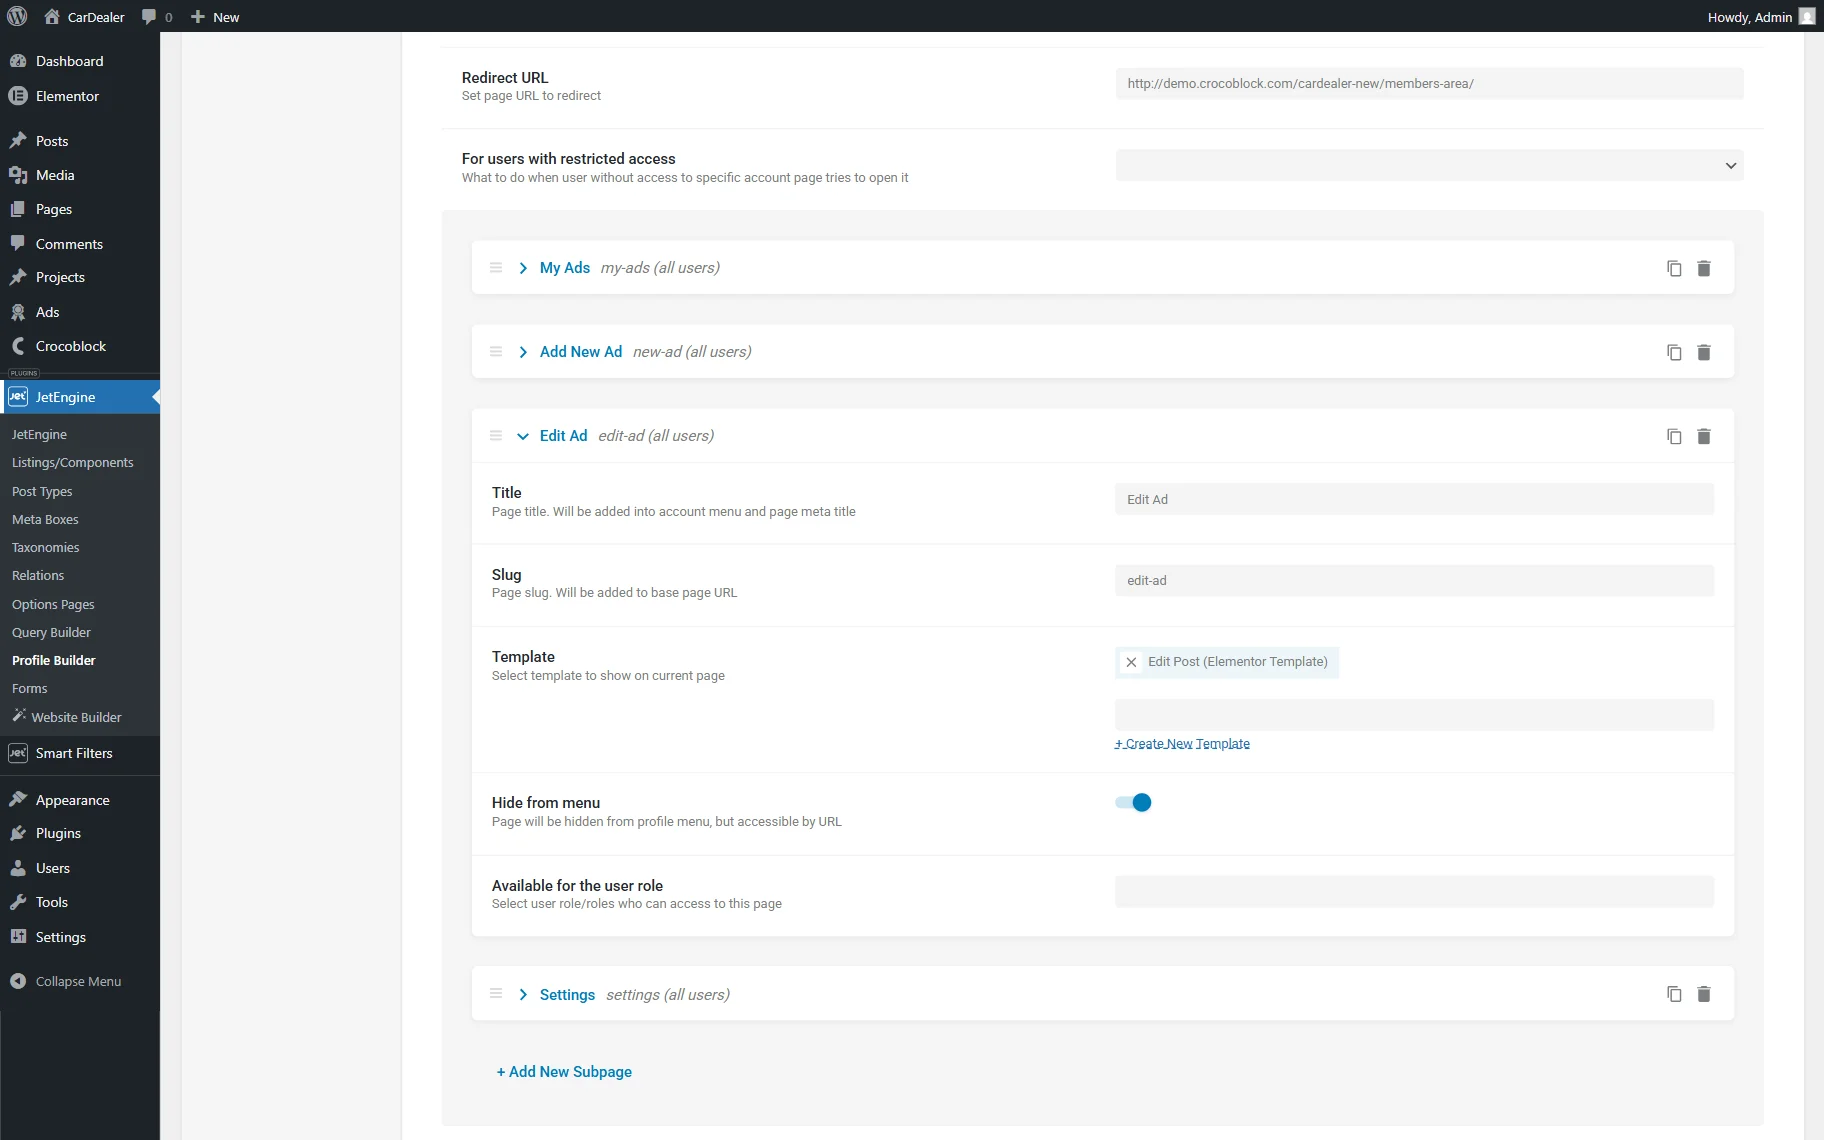
In the “Edit Ad” subpage, we add the “Edit Post” Template.
For this subpage, we also activate the Hide from menu toggle, which will make this subpage hidden from the menu where all subpages are displayed; however, the page will still be accessible via link. For instance, we will use this feature in such a way: place an “Edit” button in the Listing template so the user can access the “Edit” page by clicking on it.
Ultimately, we select the “Edit User” Template for the “Settings” subpage.
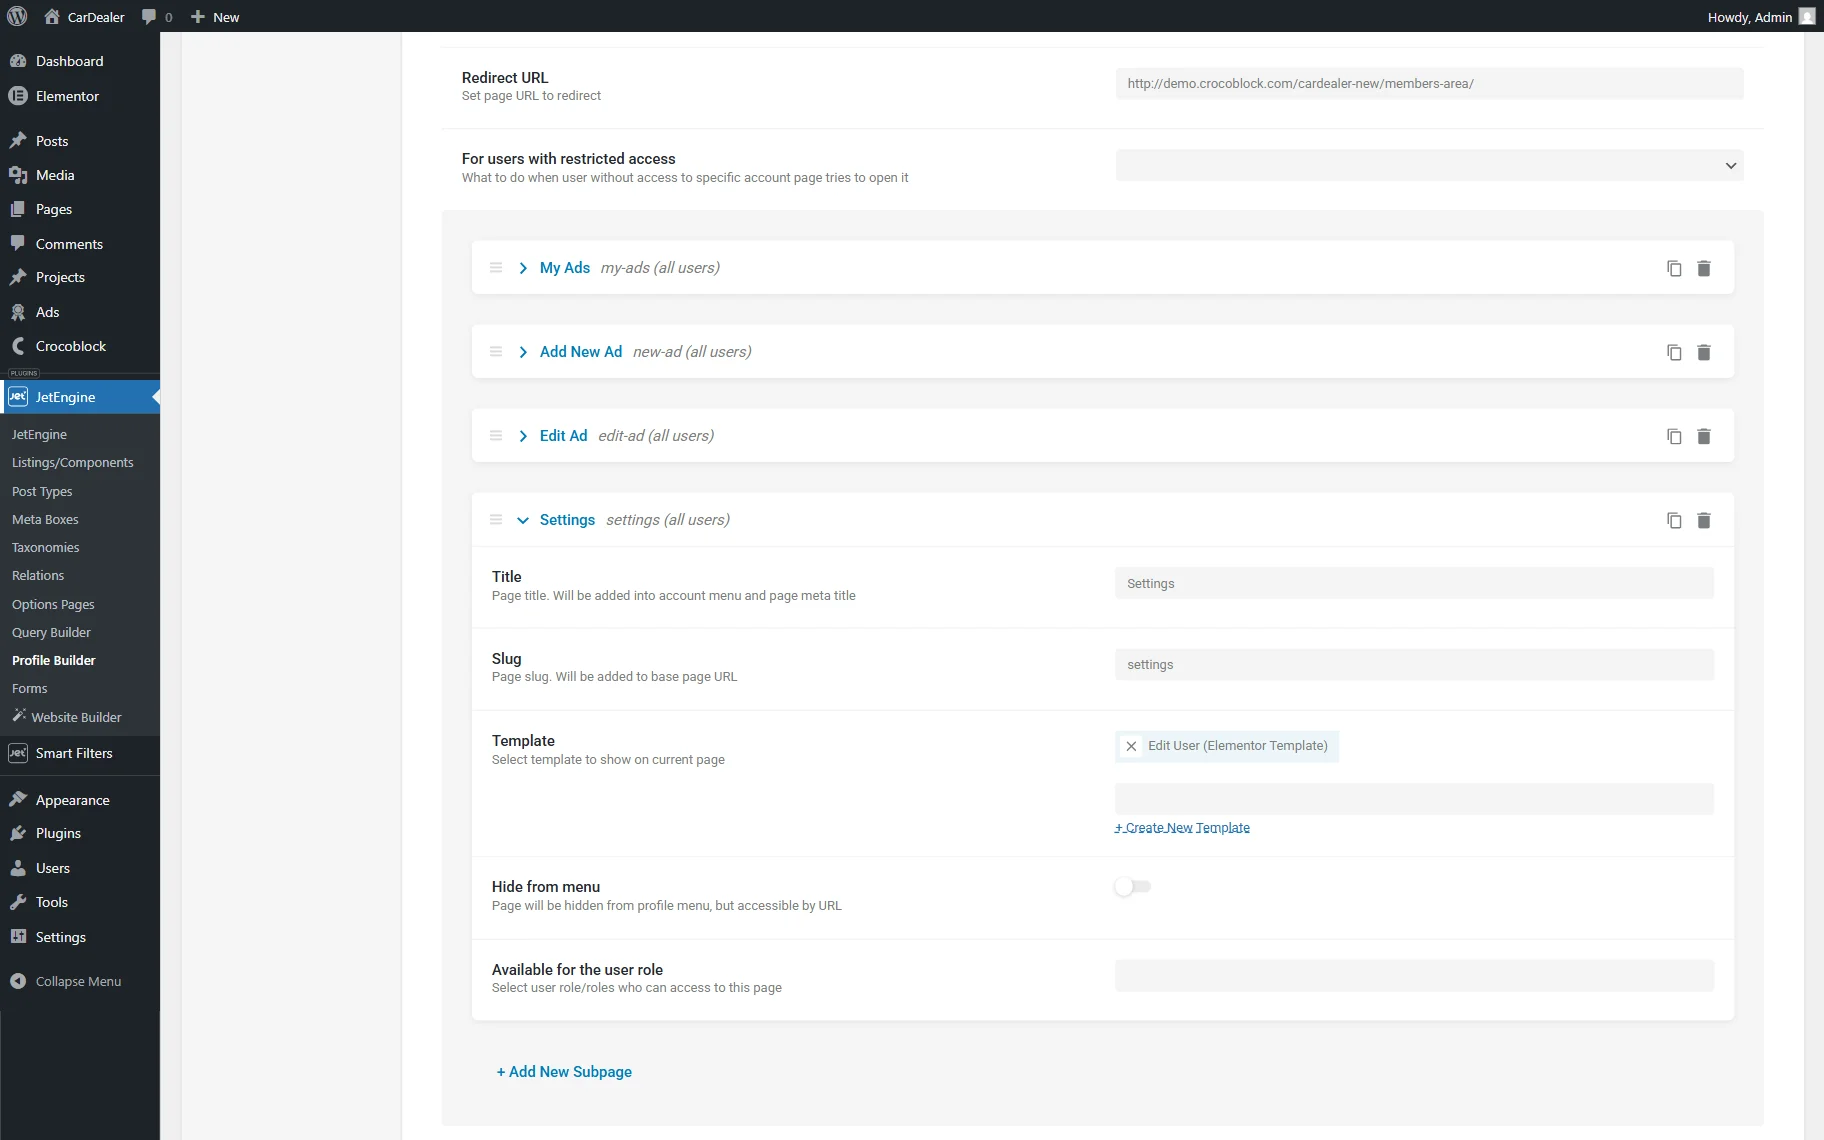
Don’t forget to press the “Save” button below the subpages area to save the changes.
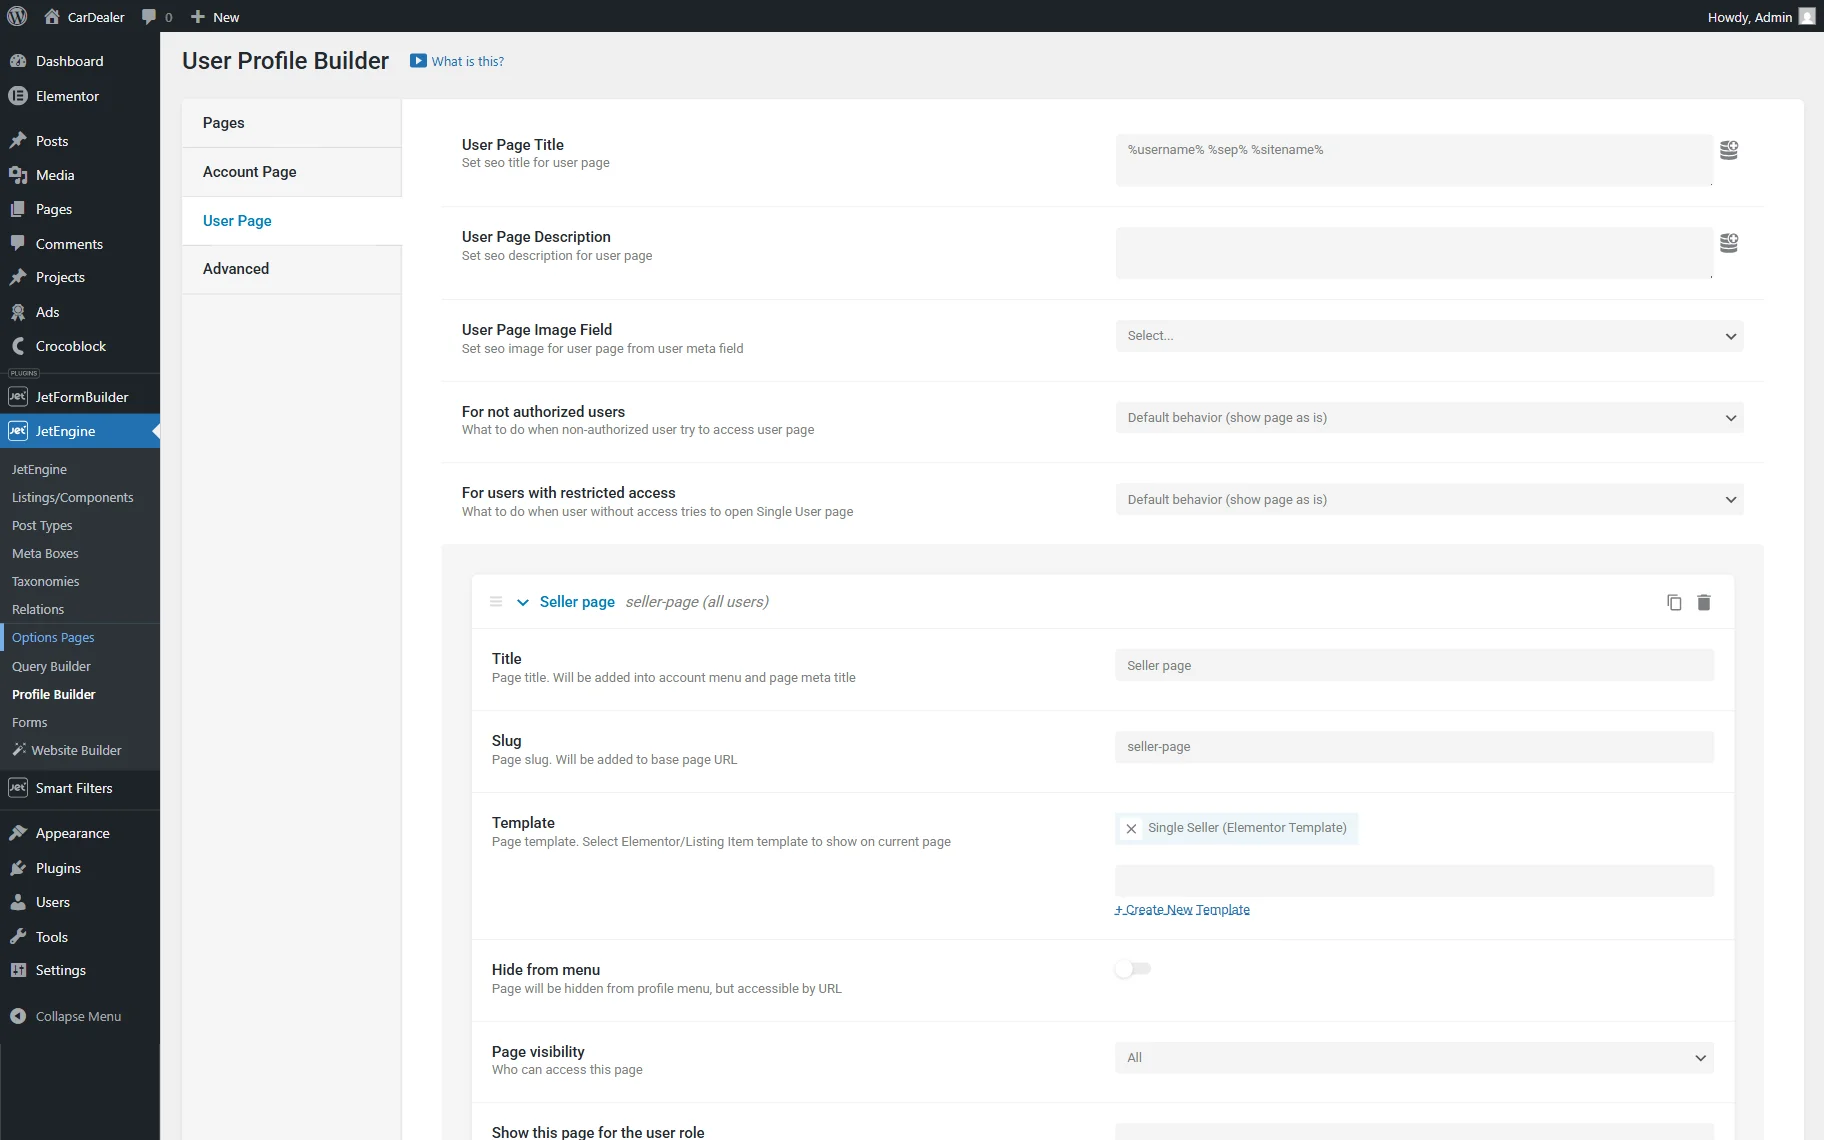
User page
You can also switch to the User Page tab in order to build a user page where all information associated with this user should be displayed, forming a single user public profile JetEngine page.
Check more information about the User Page tab.
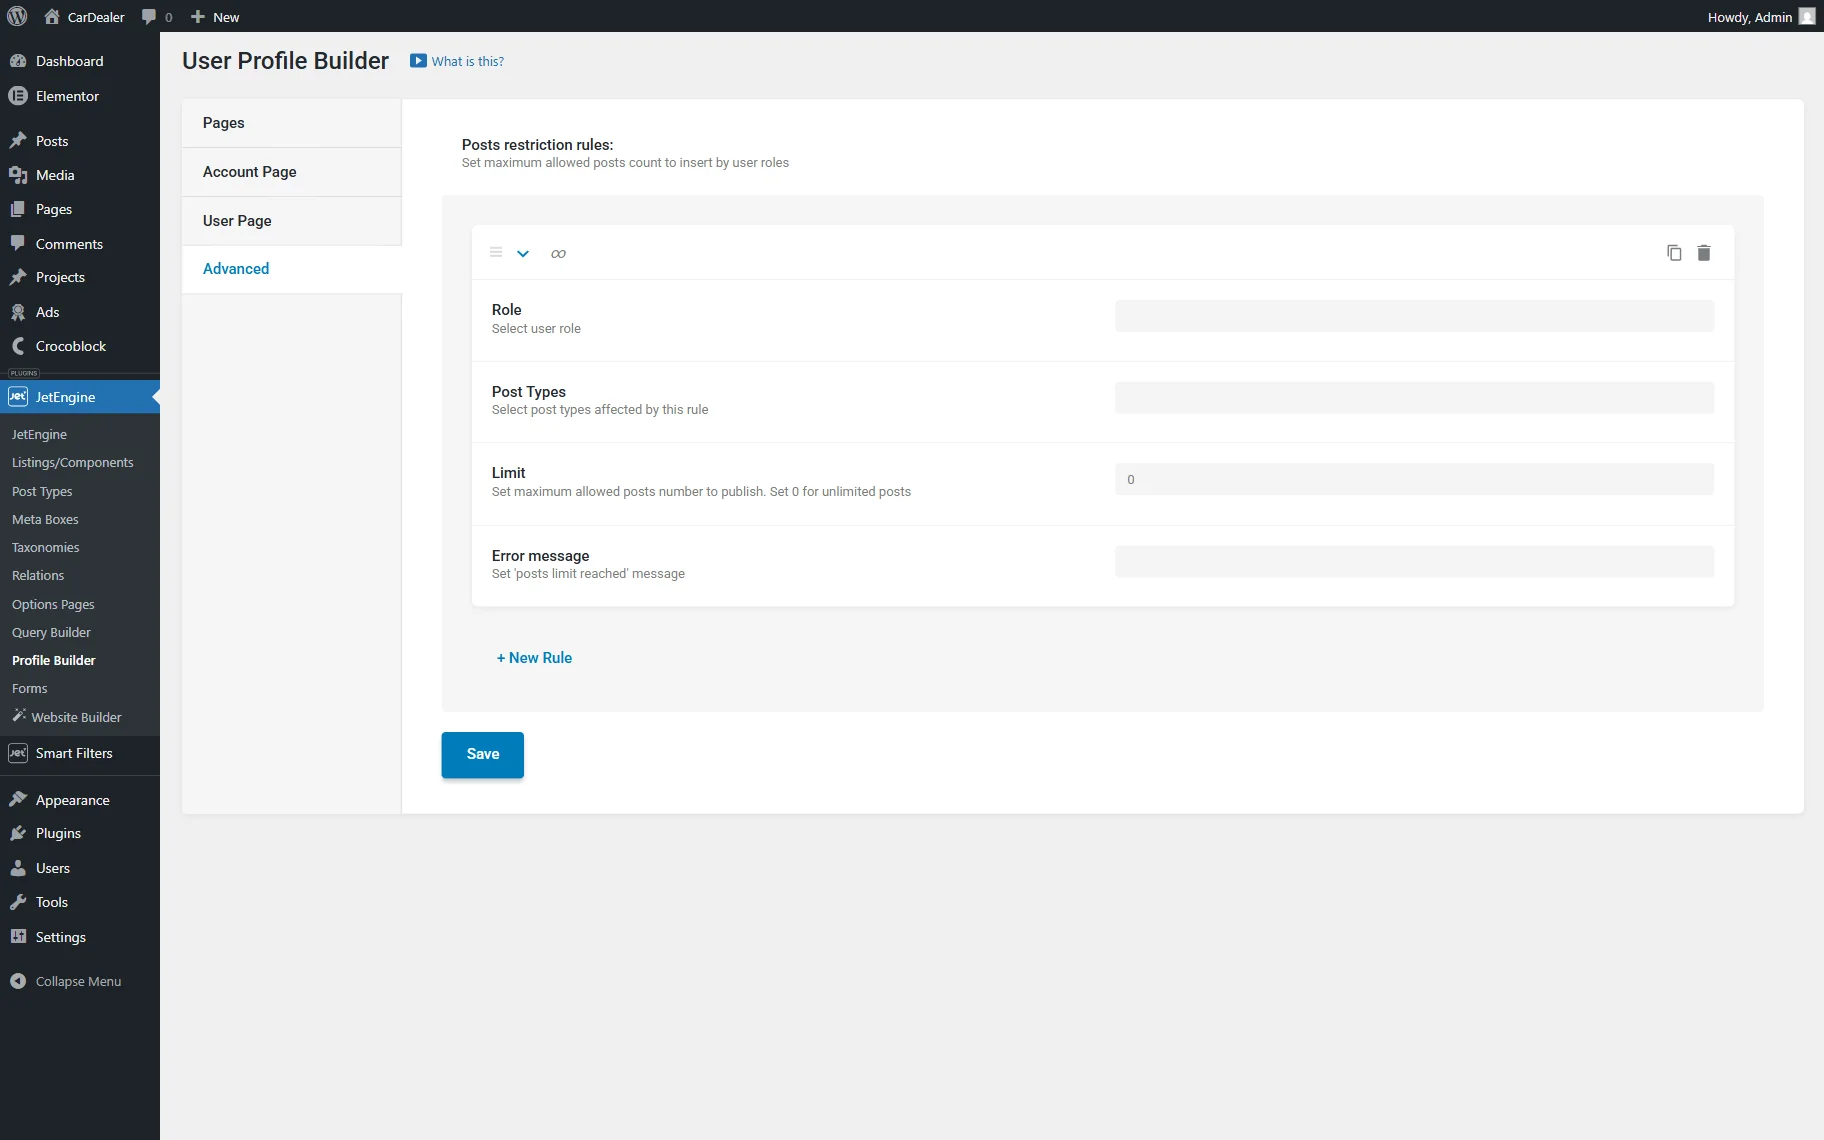
Advanced settings
In this tab, you can set up the maximum allowed post count (for example, for membership or user role restrictions) to be inserted by the user.
You can read more about the available limitation criteria in the Advanced tab overview.
Check the Result
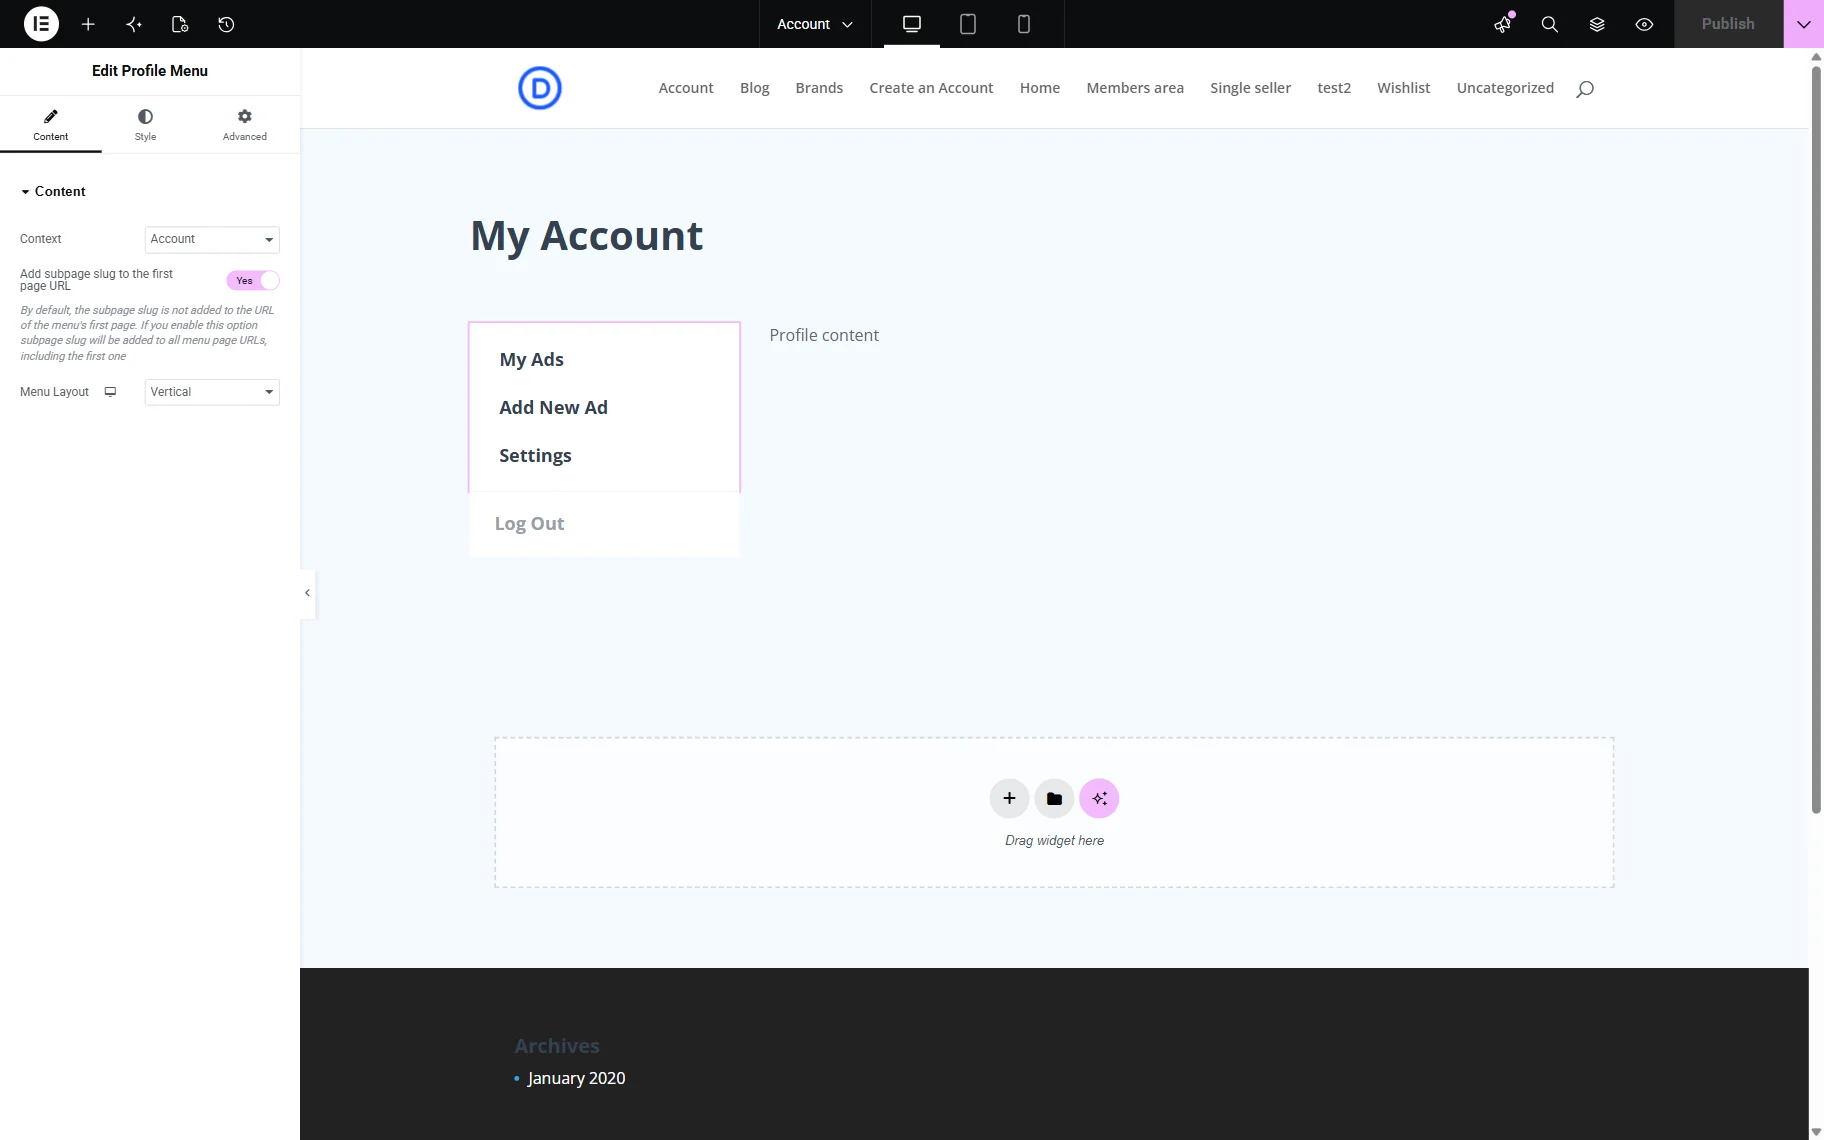
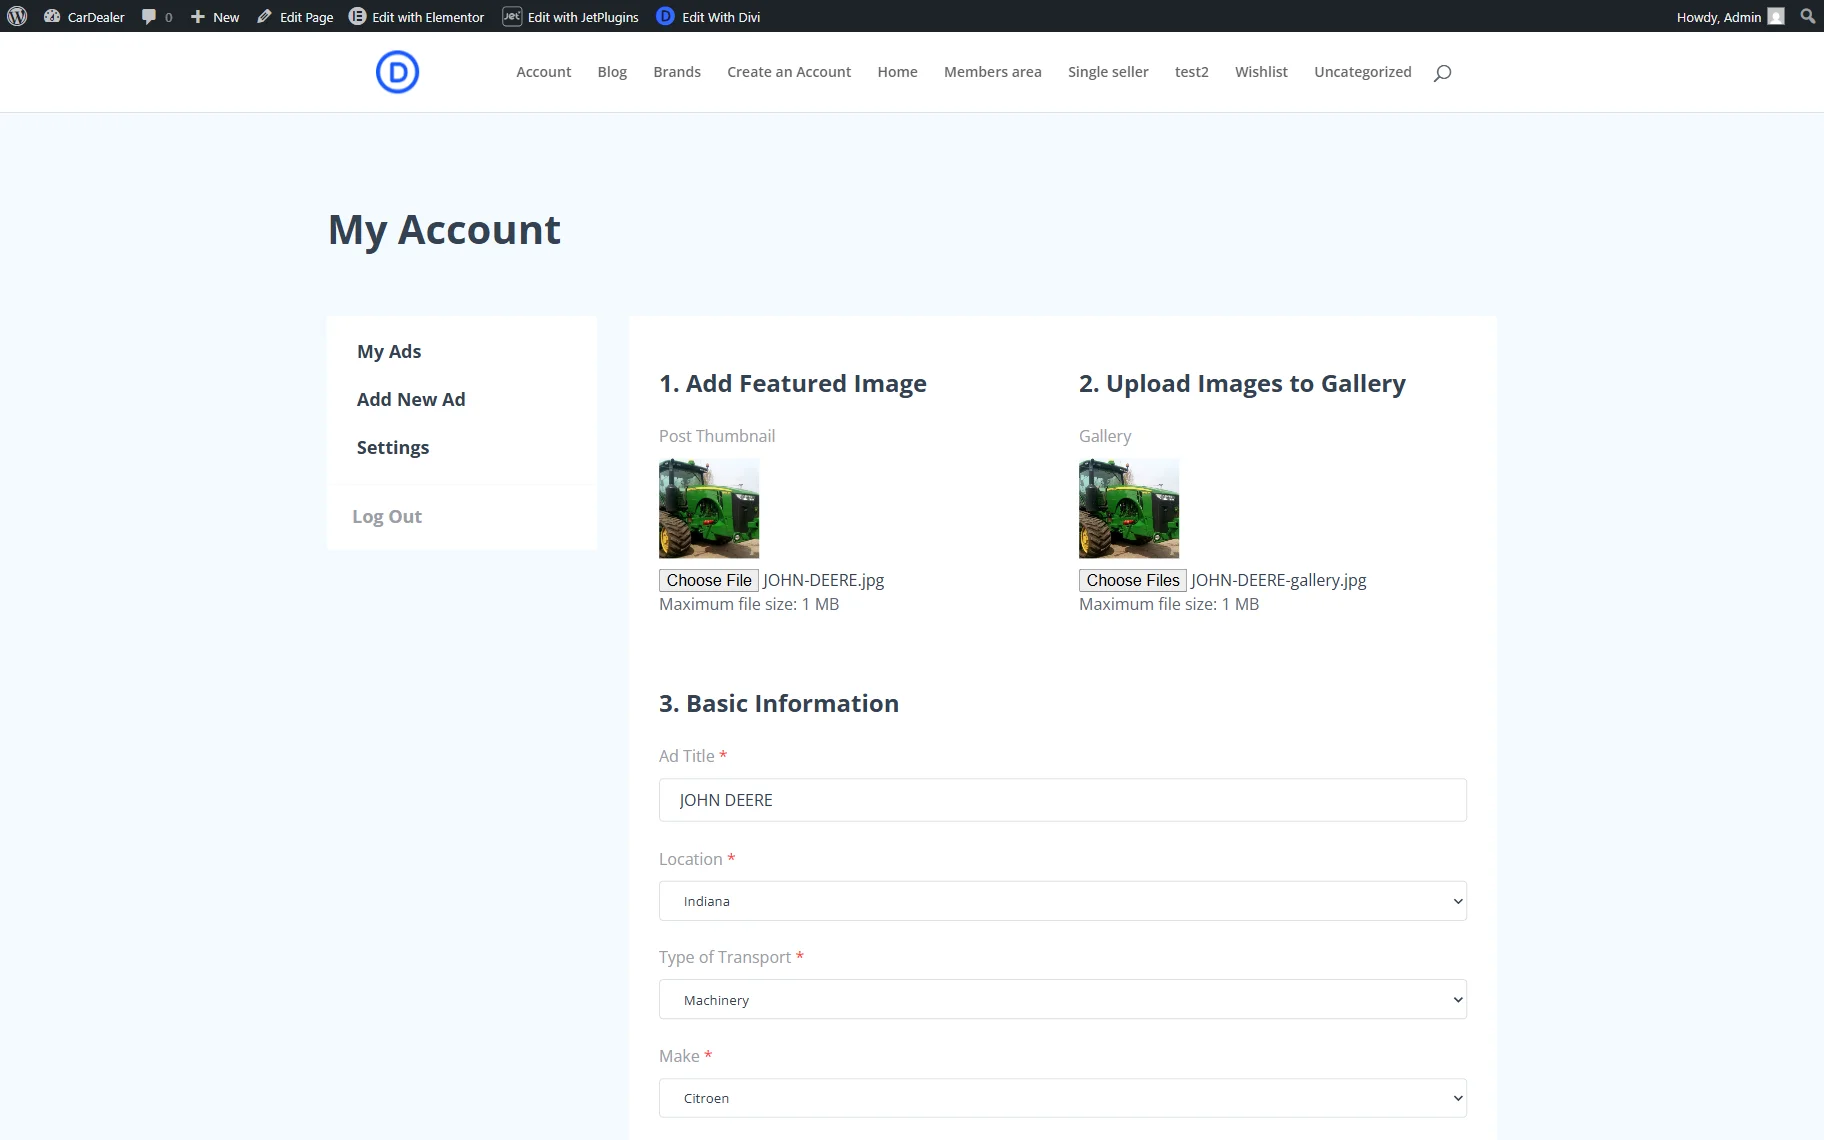
Now, we open the account page on the front end. The pages we have added are now displayed in the form of tabs.
Initially, we see the “My Ads” page. It includes all the widgets that we have added to the “User Posts” template.
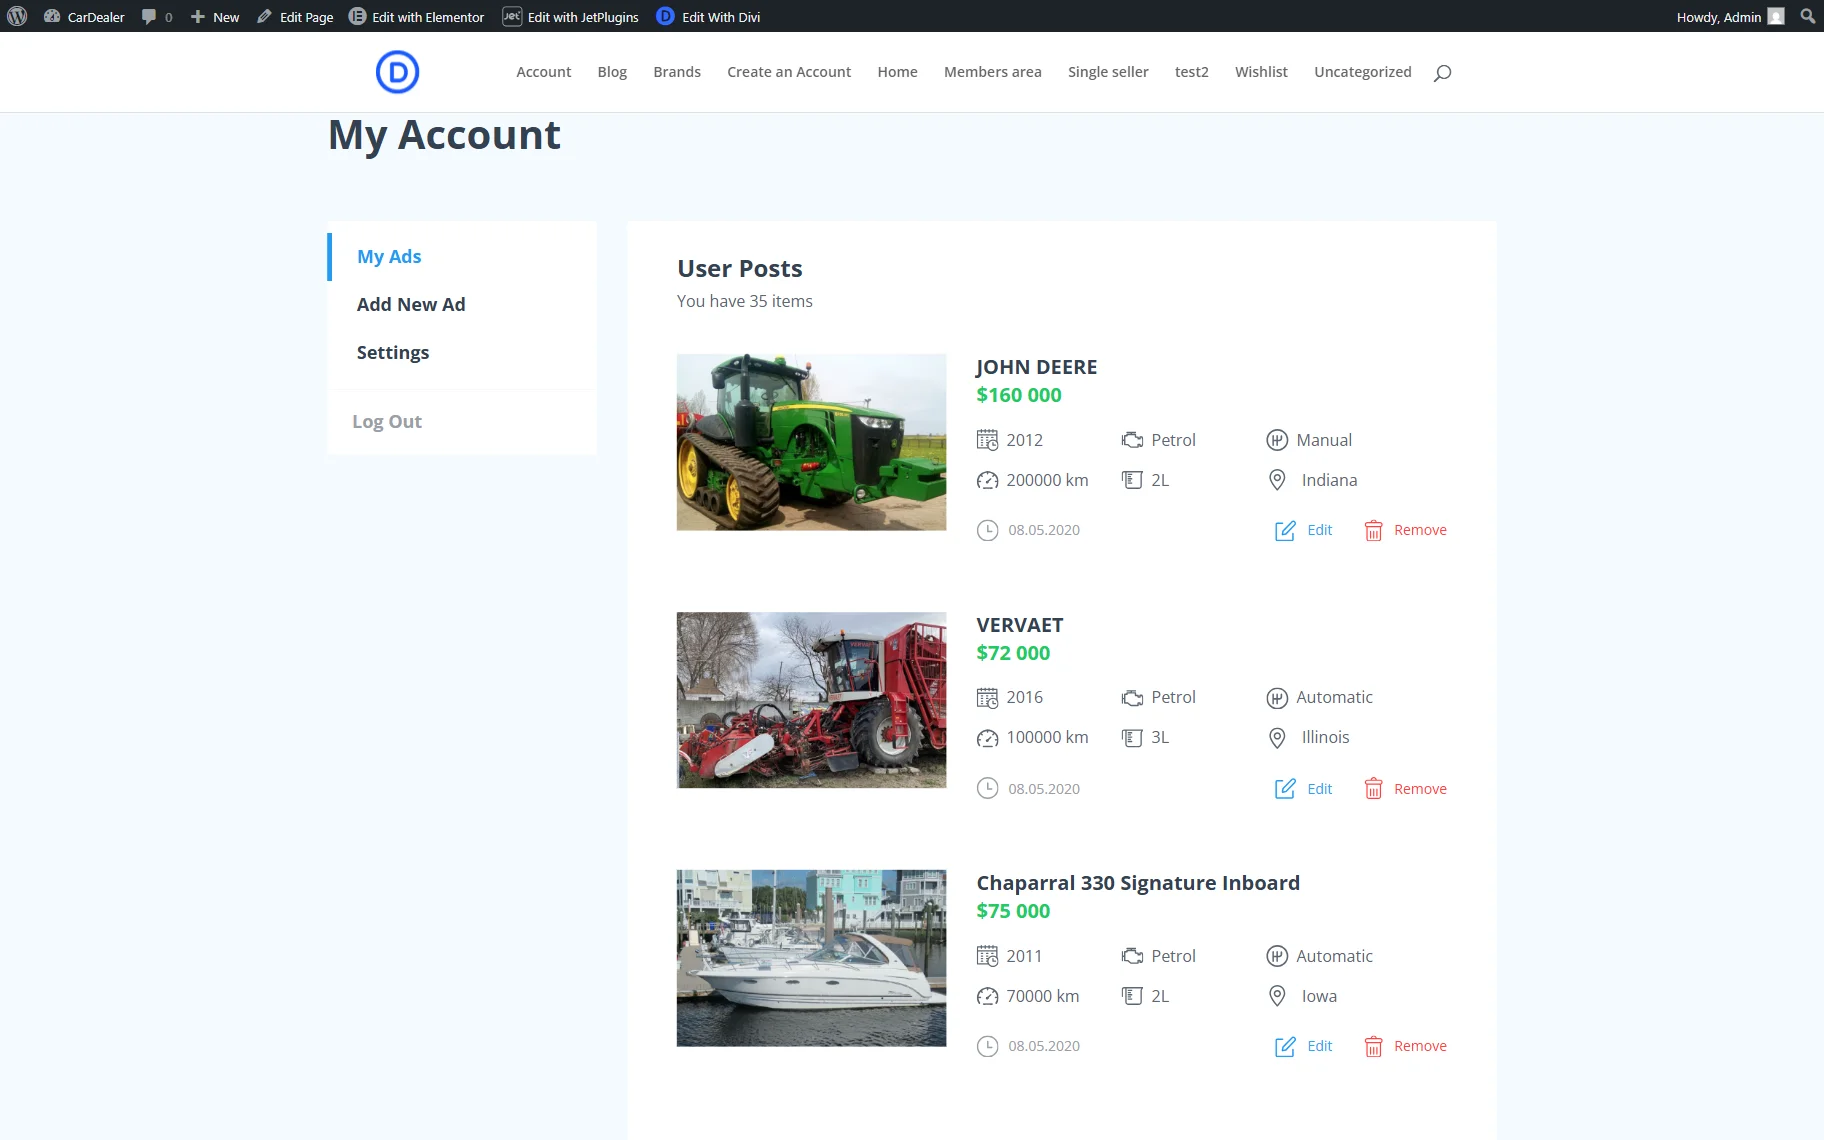
If we click the “Edit” button next to any of the posts on the “My Ads” page, the “Edit Ad” page will be opened.
In the opened page, we see the form with the already prefilled fields about the post we are editing.
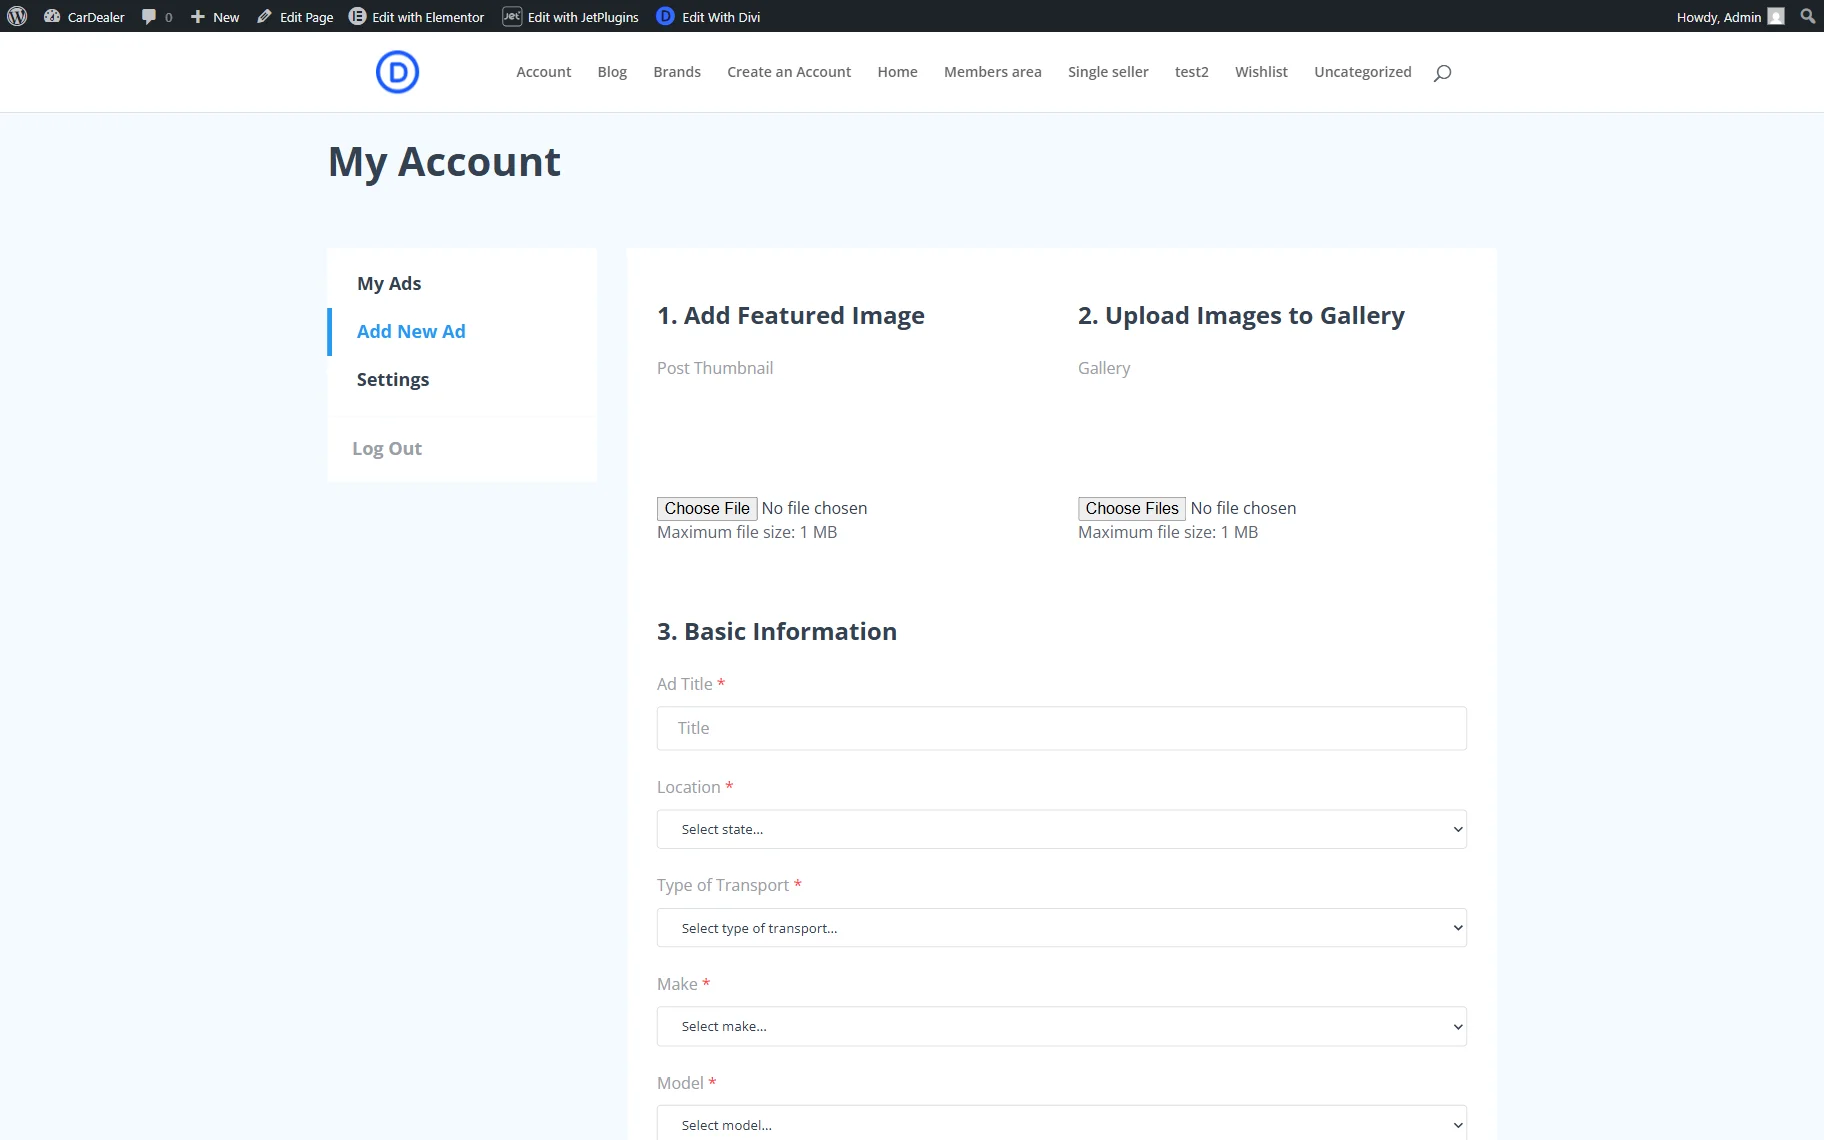
Moving to the following Add New Add tab, we see another form. This time, it is empty and allows the user to add a new ad.
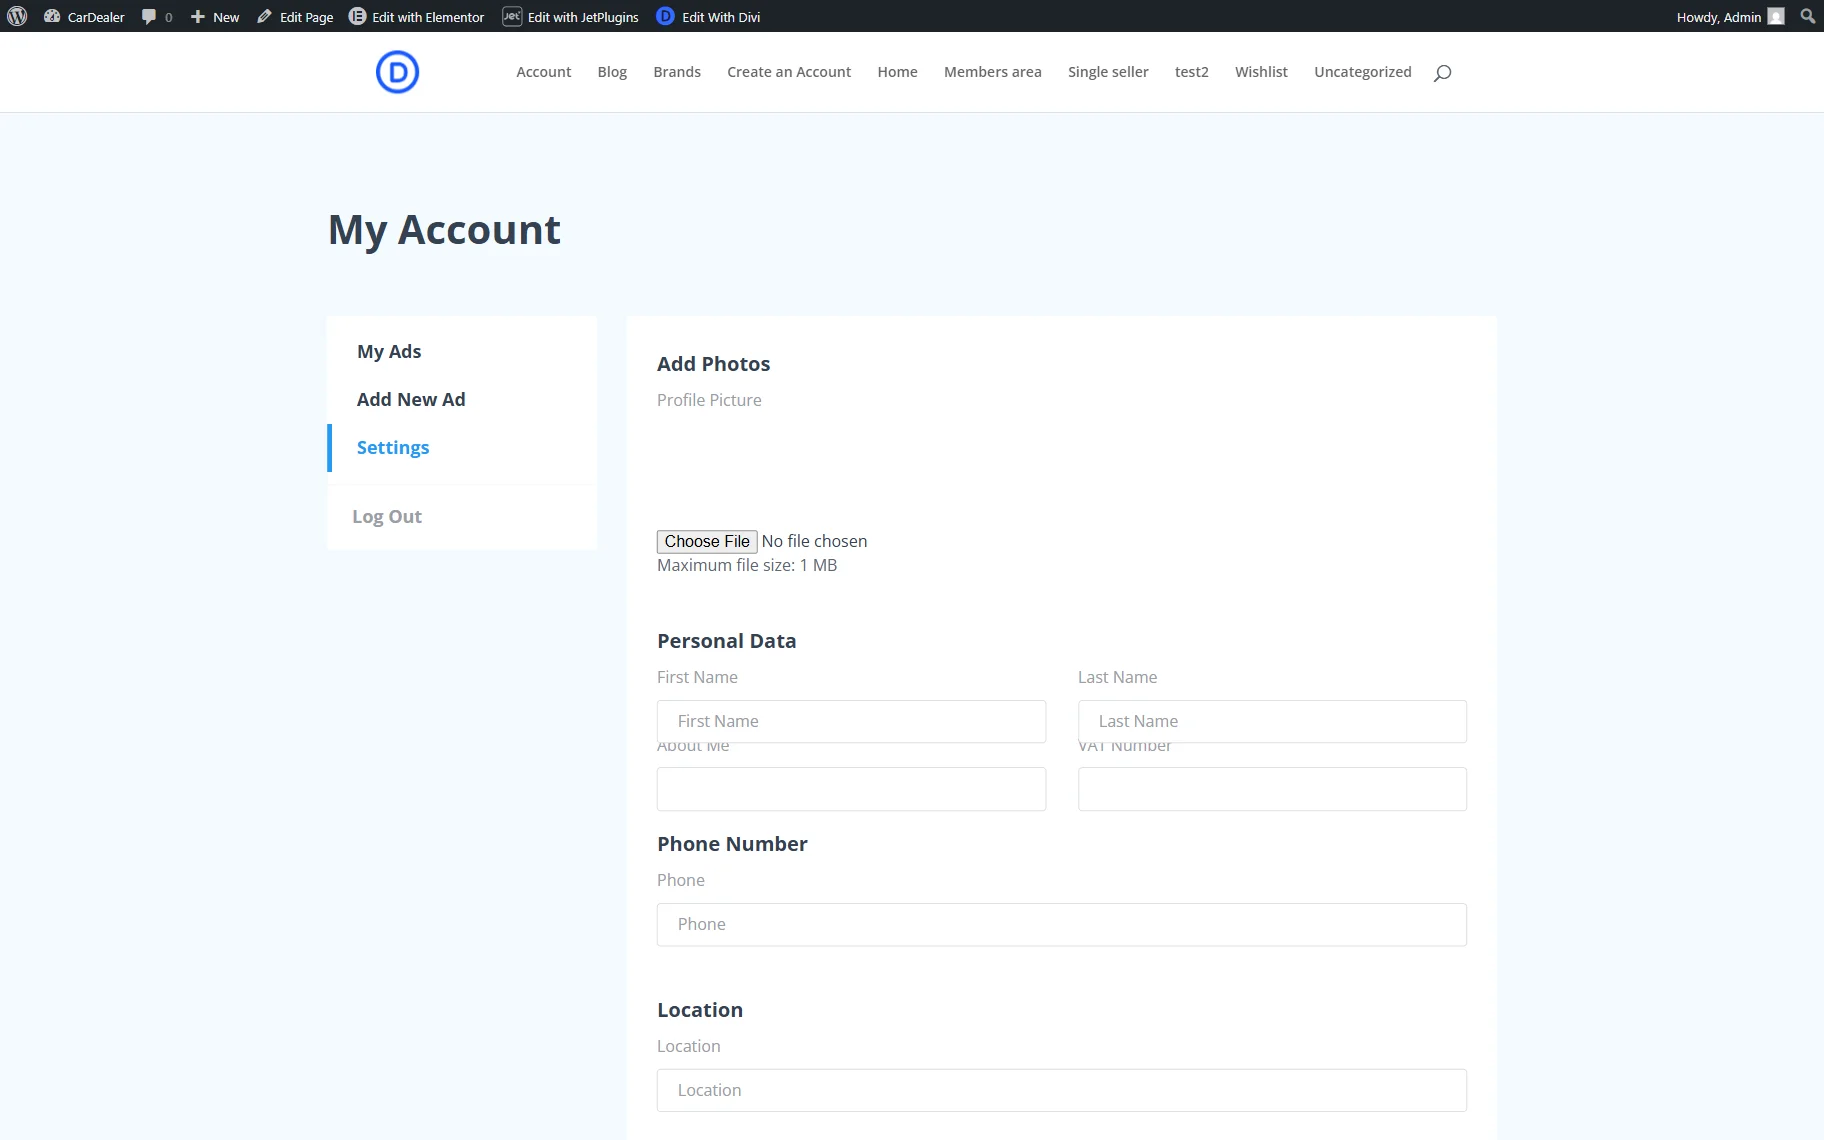
In the Settings tab, one more form is presented. This form allows users to change their personal information on the website.
FAQ
JetEngine Profile Builder is a module of the JetEngine plugin that allows you to create a user profile builder in WordPress. With it, you can build a user account page, add profile subpages, and create a public user profile with dynamic data.
To complete the JetEngine profile builder setup, you need to activate the Profile Builder module, configure the account page, create templates for subpages, and connect JetFormBuilder forms for editing posts and user data.
Yes, JetEngine Profile Builder can be used as a WordPress membership profile builder. You can restrict content, manage user roles, and limit actions like post submission using advanced settings.
JetEngine profile builder subpages are sections of the user account page that display different types of content, such as user posts, forms, or profile settings. Each subpage is built using a separate template.
That’s all; now you know how to set up the JetEngine Profile Builder and build a complete user profile builder WordPress system with account pages, subpages, and editable user data.