How to Make the Custom URL for the Search Results Page
Learn how to create custom URLs for search results pages on your WordPress website using the JetSearch plugin to enhance user experience and improve SEO.
Before you start, check the tutorial requirements:
- Elementor (Free version), WordPress Block editor (Gutenberg), or Bricks
- JetSearch plugin installed and activated
Ajax Search is a dynamic search field that uses AJAX (Asynchronous JavaScript and XML) to fetch search results in real-time as the user types in the search query without reloading the page.
By default, the Ajax Search widget/block/element redirects us to the default WordPress search results page.
To enhance user experience and SEO, you can create a custom page and attach its URL to the search results in the JetSearch plugin’s settings.
This tutorial provides step-by-step instructions on the example of a post and WooCommerce product search on a book e-commerce website.
Displaying Posts on the Search Results Page
To display the WordPress default posts on the Search Results page, we will create a Listing template, which will be displayed with the Listing Grid widget, block, or element provided by the JetEngine plugin. Such a listing can also be crafted for custom posts.
Create a Listing
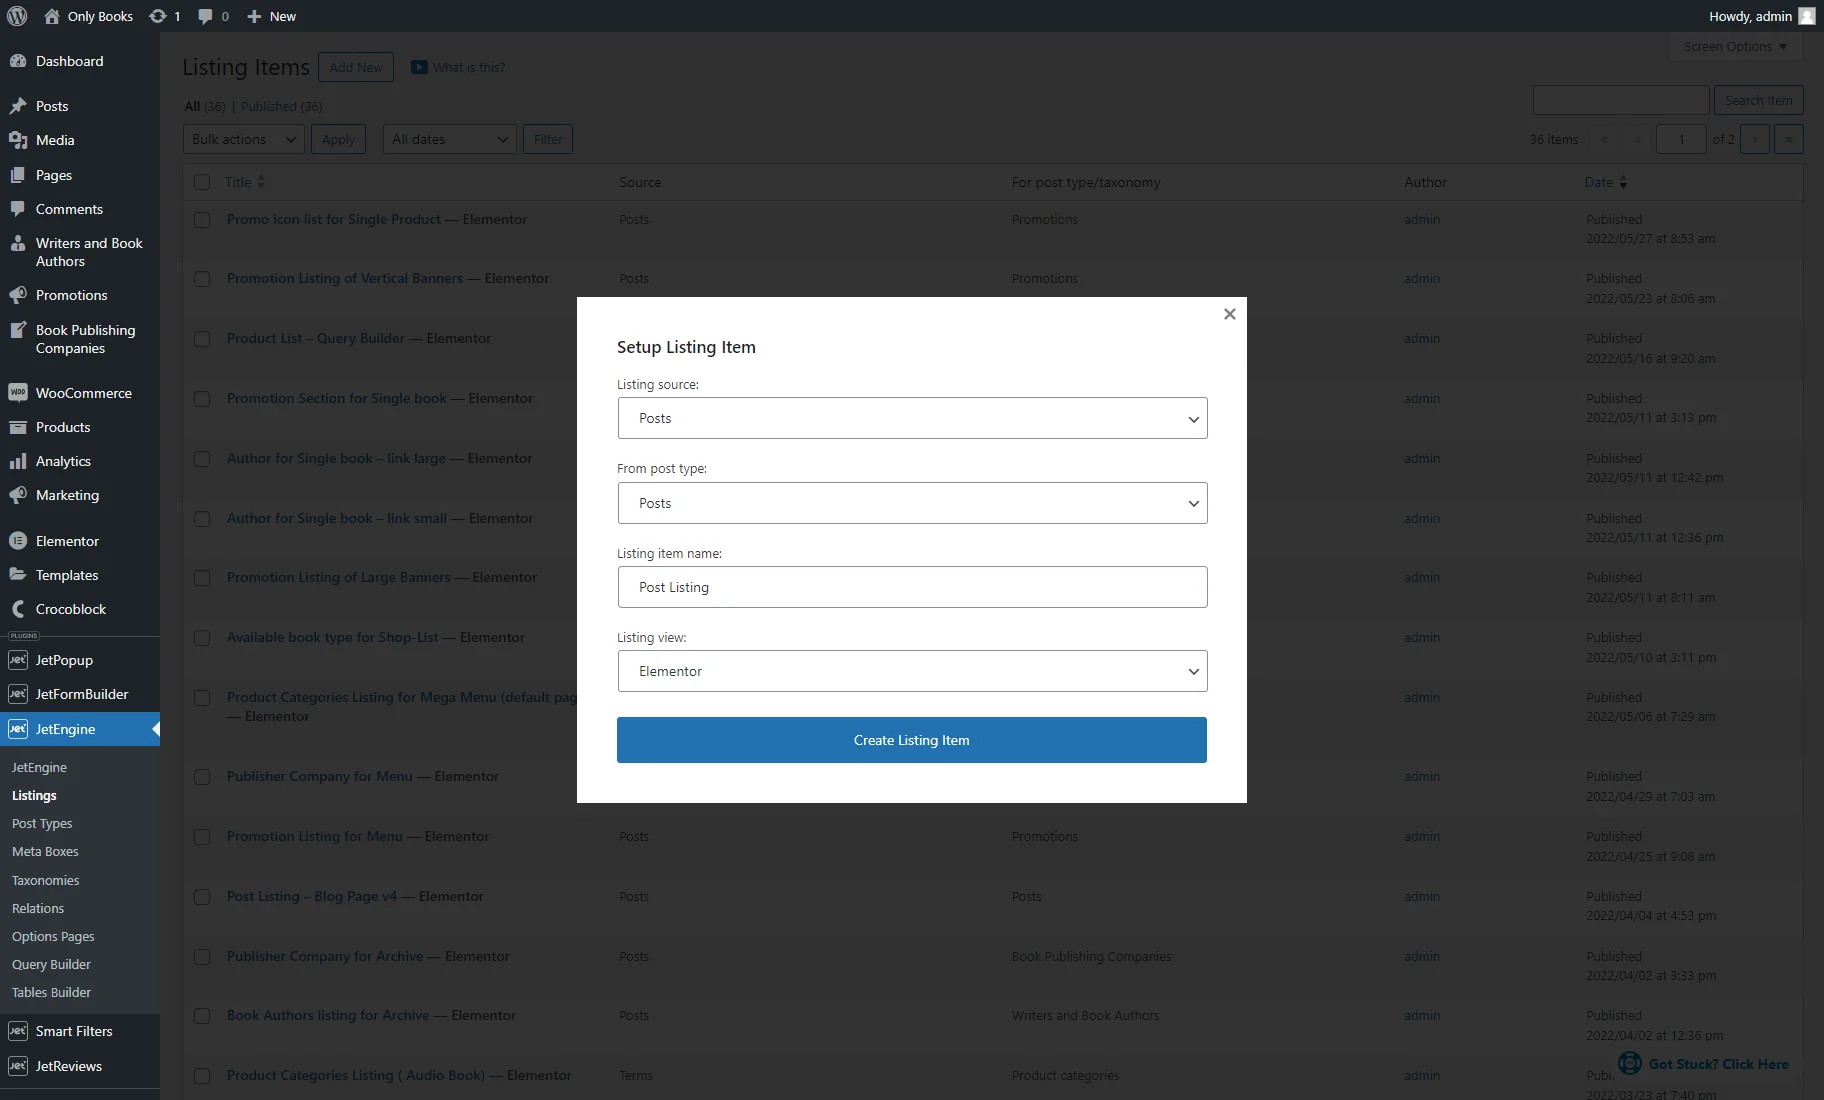
Go to the WordPress Dashboard > JetEngine > Listings and hit the “Add New” button.
Select the “Posts” Listing source and the needed post type for the From post type field (“Posts,” in our case). Then, enter the Listing item name and choose the Listing view (it can be Elementor, Gutenberg, or Bricks).
Push the “Create Listing Item” button.
On the editing page, you can customize the listing template using Dynamic Widgets, Blocks, and Elements.
For instance, we used the Dynamic Image widget with the “Post Thumbnail” Source to display the featured image.

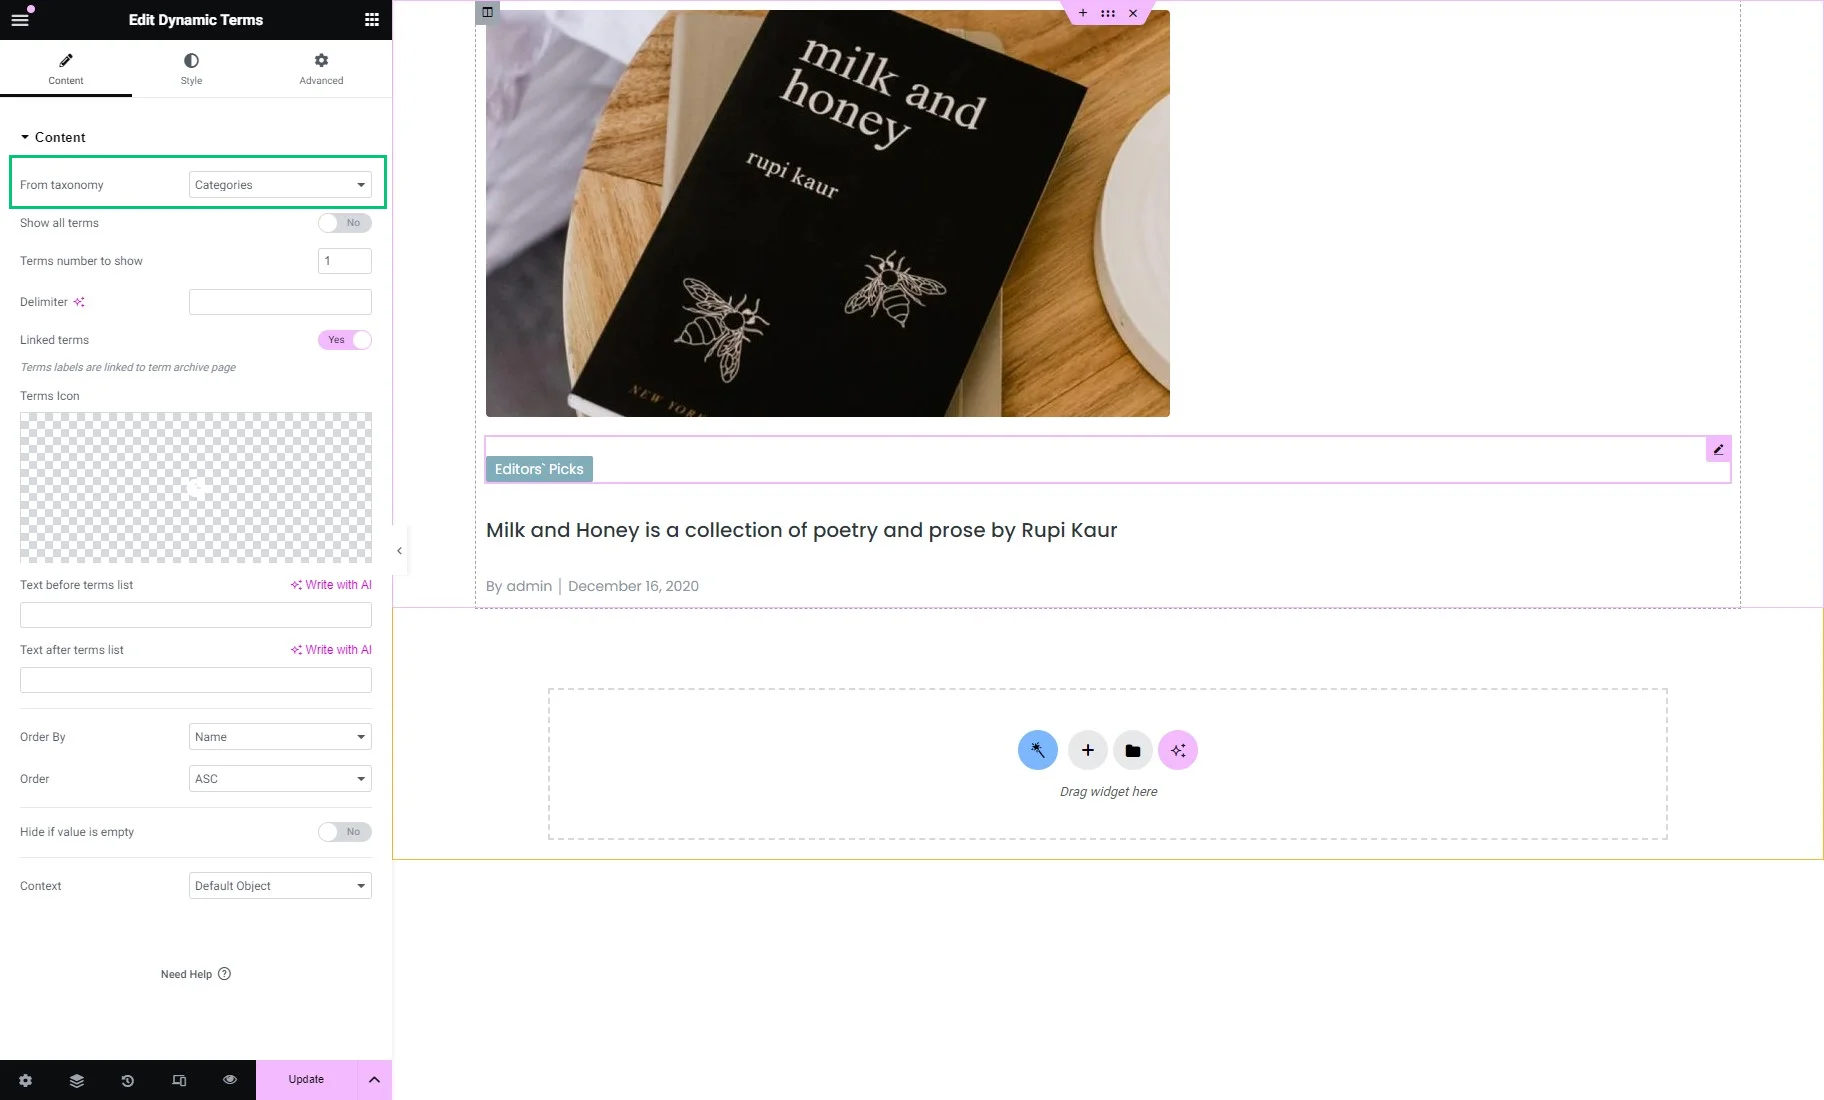
Then, we placed the Dynamic Terms widget with the “Categories” source to show the post category.
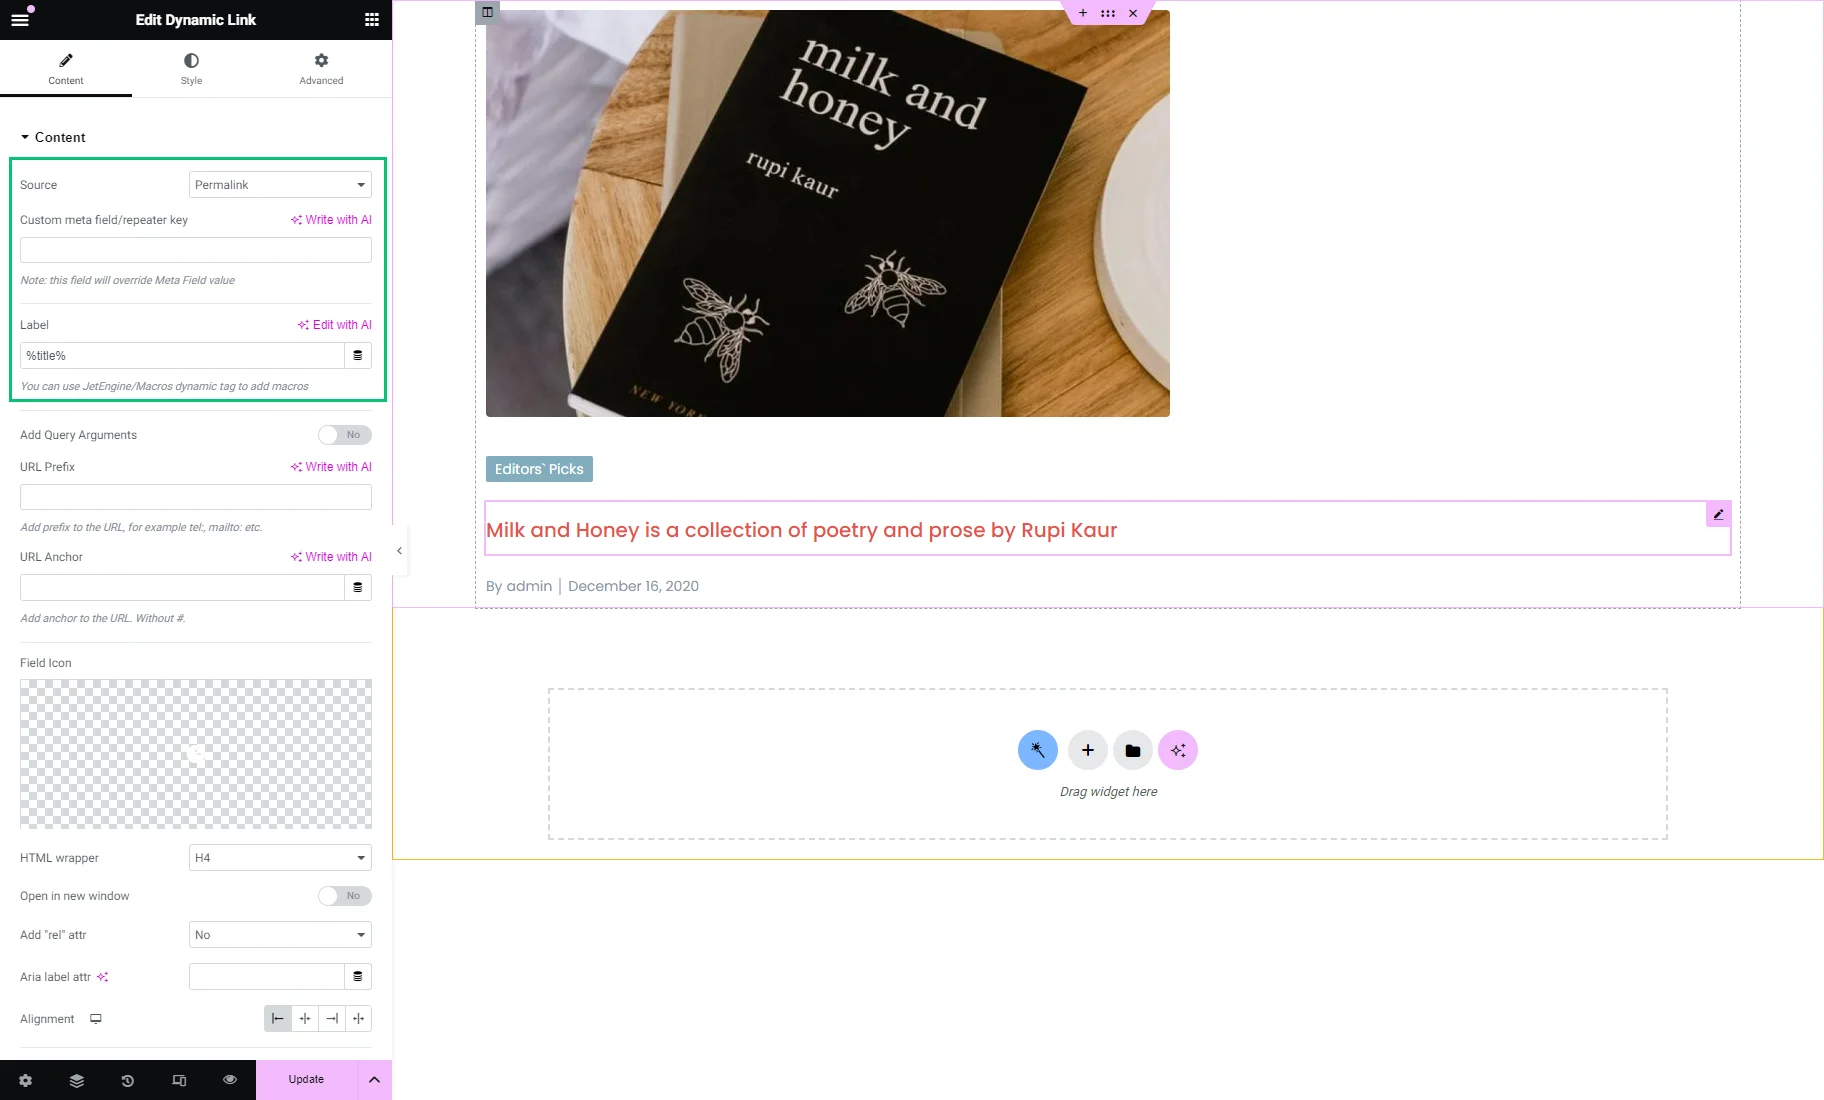
We drag-n-dropped the Dynamic Link widget with the “Permalink” Source and “%title%” Label to display the post title with the permalink on the post.
The last two are Dynamic Meta widgets: the first displays the post author, and the second — the post date.

After you finish customizing the listing template, hit the “Update” button.
Create a Search Results page
Go to WordPress Dashboard > Pages > Add New Page, name the page, and choose the editor in which you want to craft it. For example, we hit the “Edit with Elementor” button.
We added the Listing Grid widget for which we set the recently created Listing. Also, we set the custom “No Posts Found” Not found message.
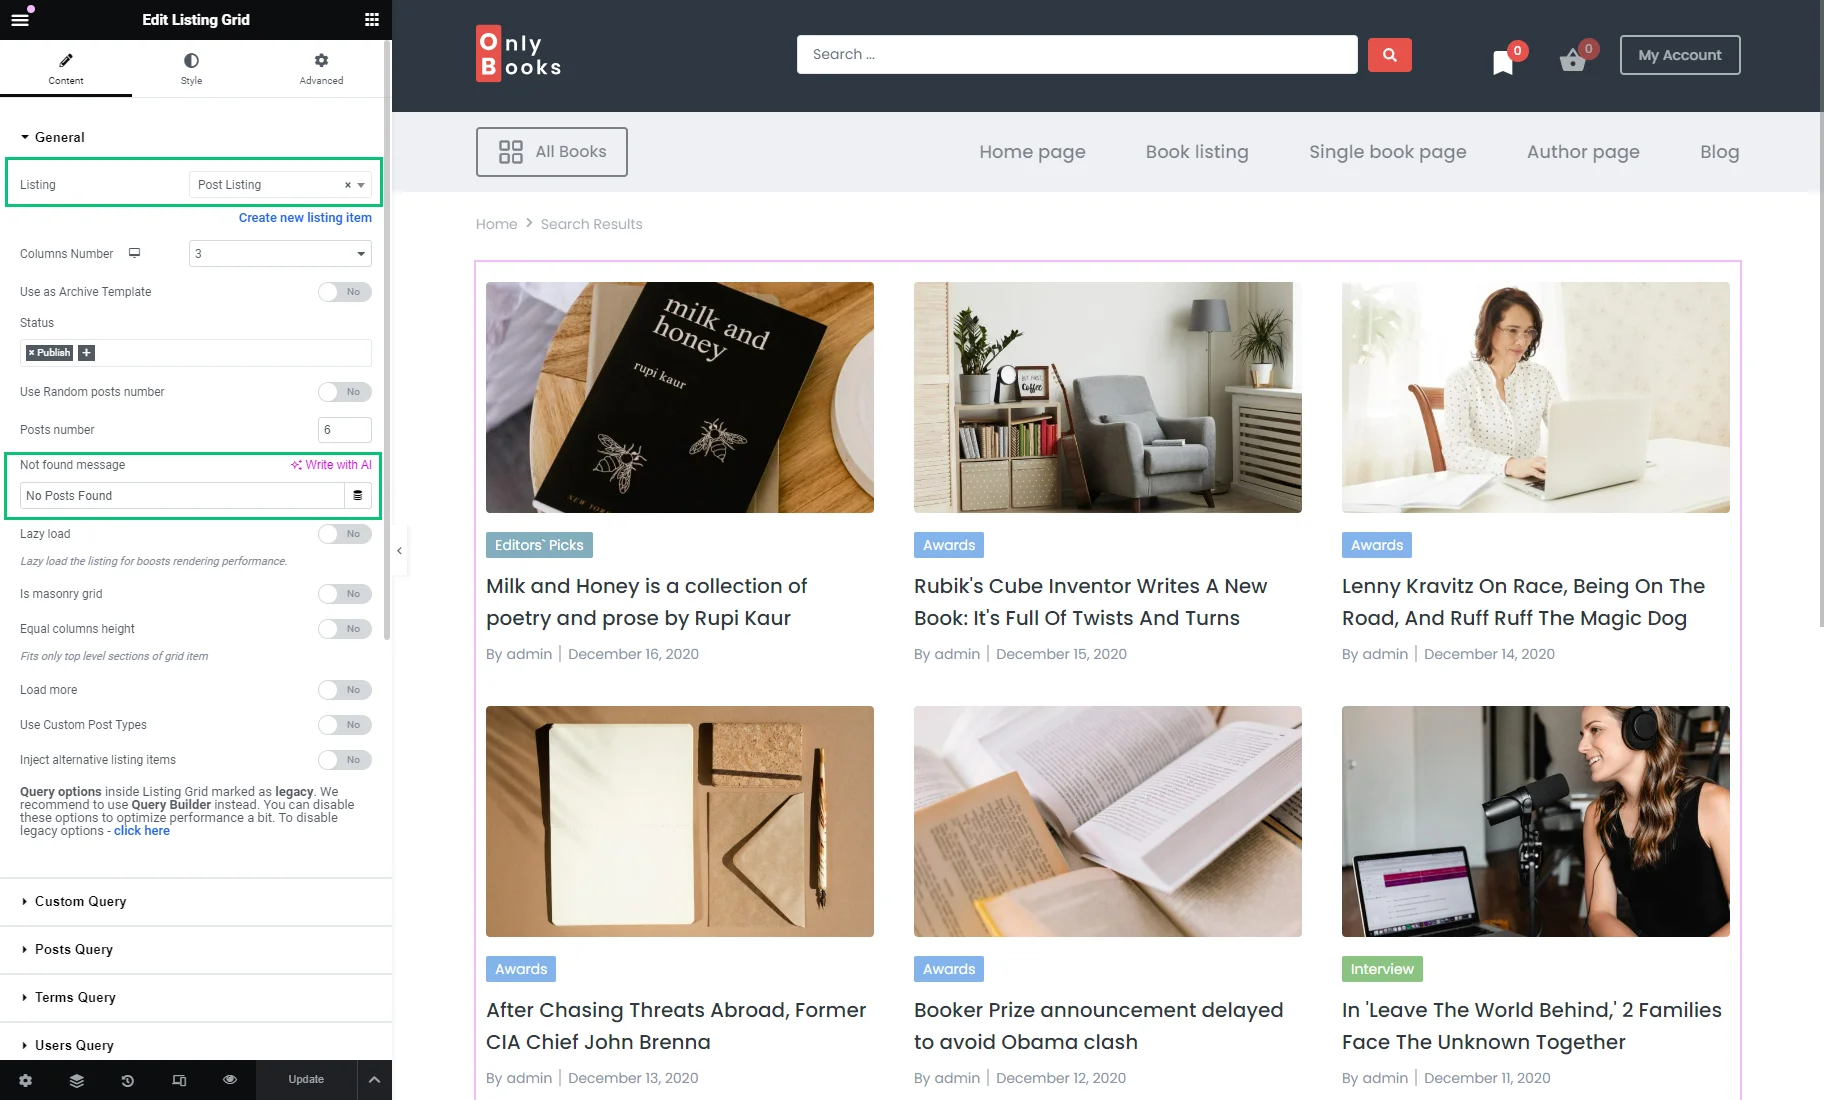
Customize the page as needed and hit the “Publish/Update” button.
Attach the page to the search results settings
To copy the search results page URL, open the page on the front end or use another preferred way.
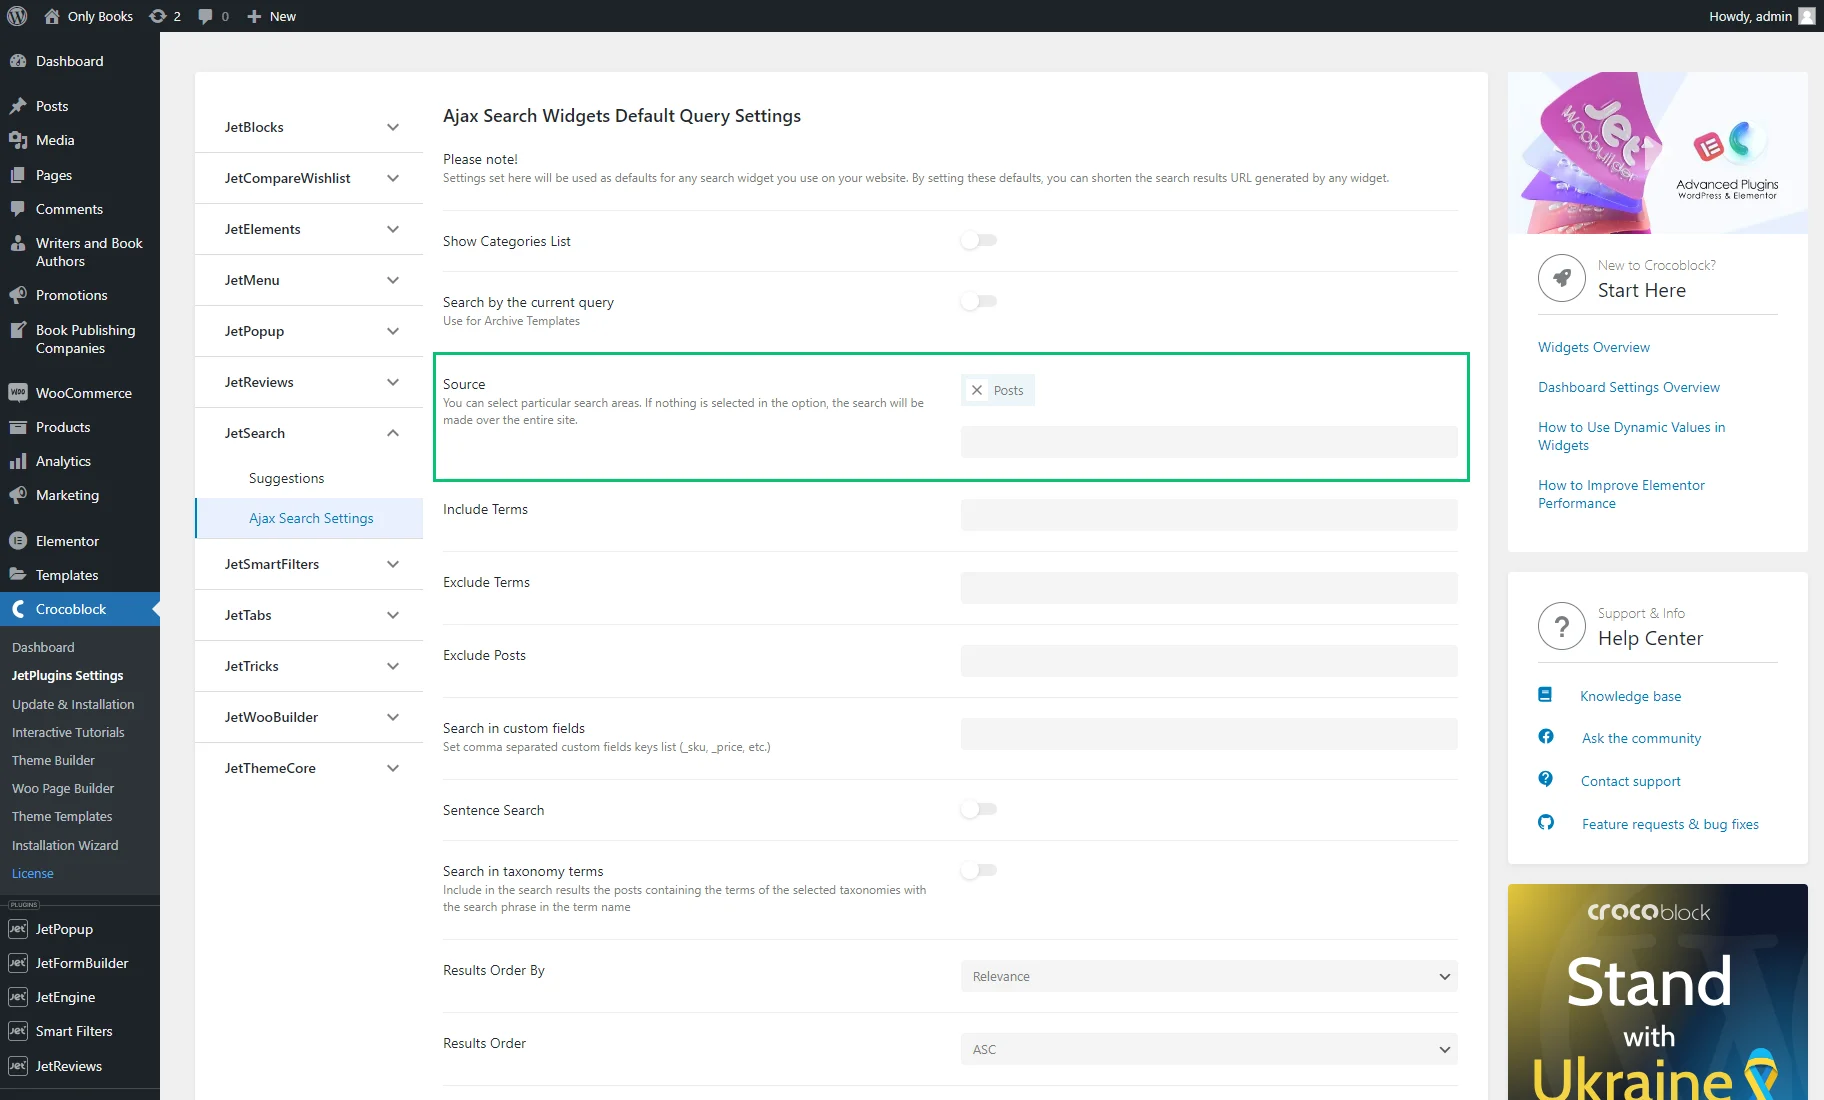
Navigate to the WordPress Dashboard > Crocoblock > JetPlugins Settings > JetSearch > Ajax Search Settings tab.
In the Ajax Search Widgets Default Query Settings section, set the needed post type as the Source (“Posts” in our case) and adjust other global settings if needed.
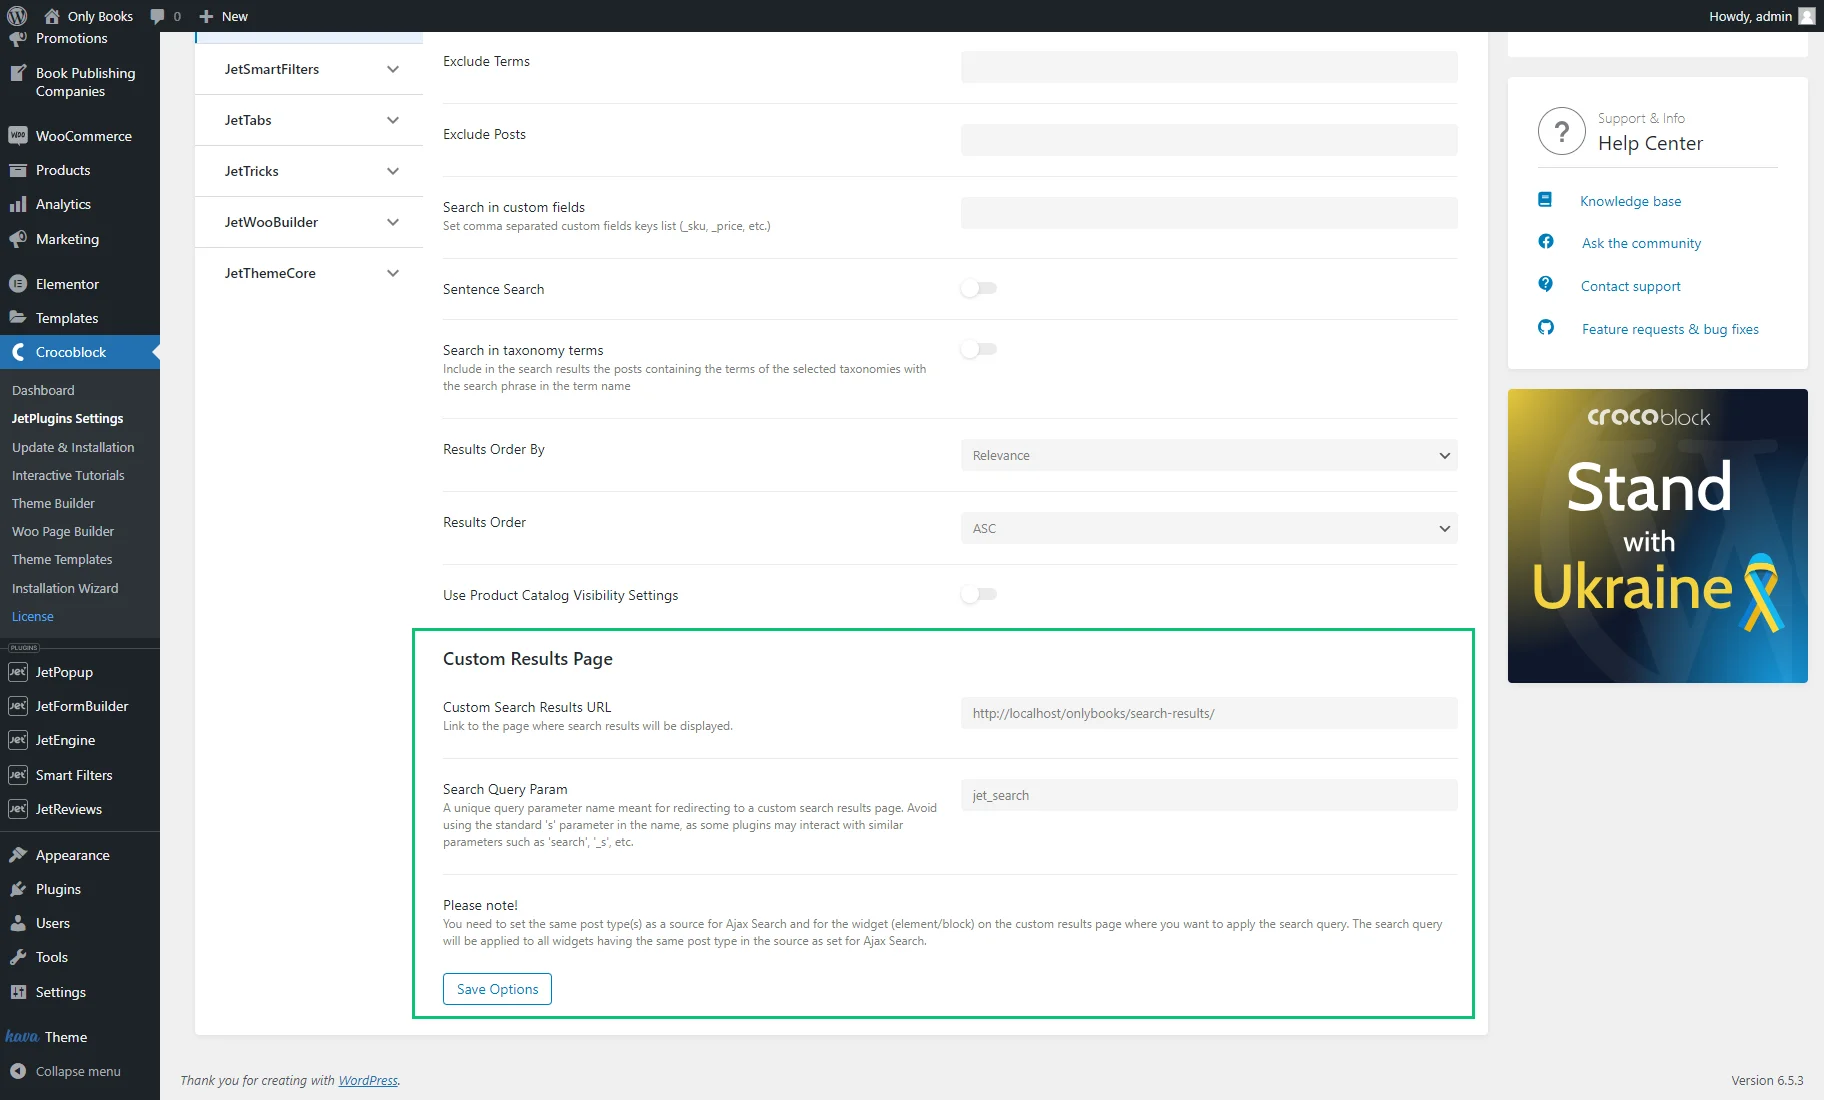
Then, scroll down to the Custom Results Page section, enter the copied URL into the Custom Search Results URL field, and change the Search Query Param if you like.
Afterward, push the “Save Options” button.
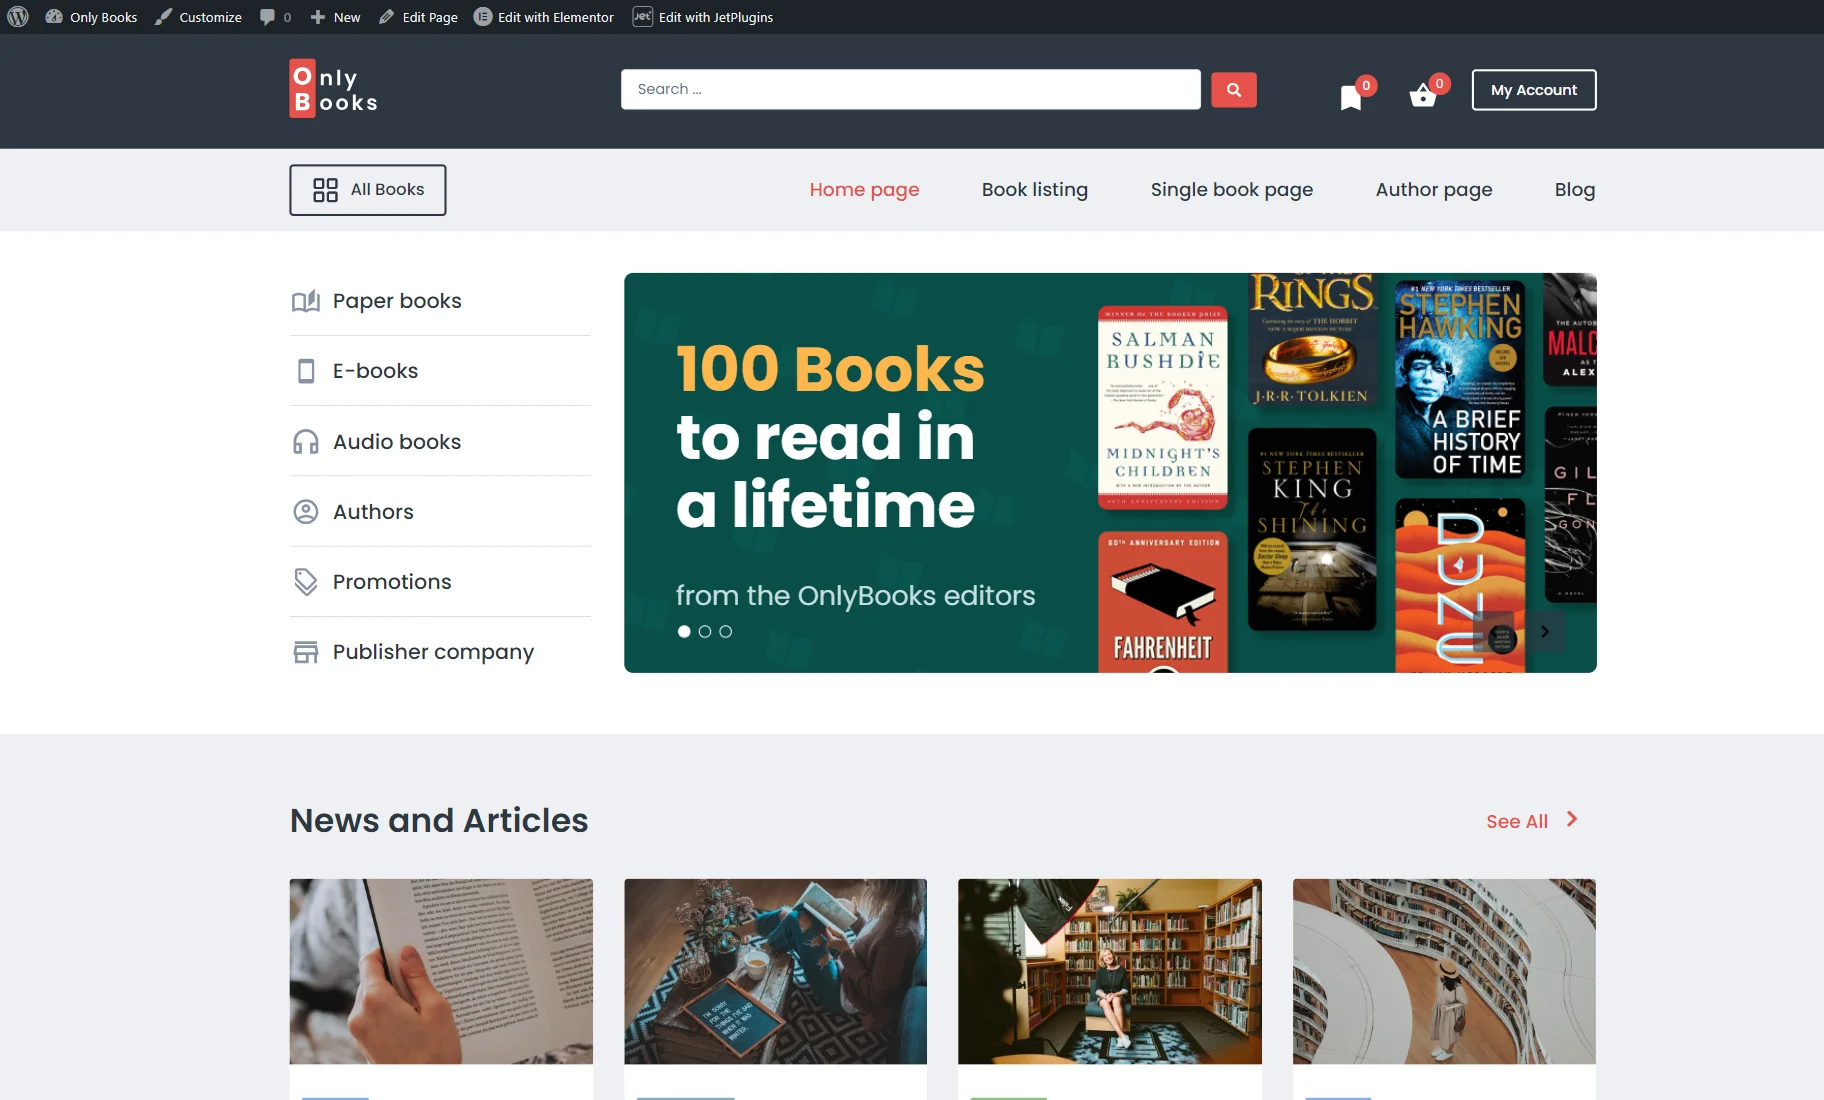
Set the Ajax Search widget, block, or element
Place the Ajax Search widget, block, or element on a page or template. If you did it, proceed to the page or template when it’s located to check its settings.
For example, we adjusted the Ajax Search widget in the header in the Elementor editor. To learn how to create a custom header, proceed to the How to Create a Custom WordPress Header tutorial.
Also, you can check the How to Add an Ajax Search to the Website’s Header with the JetSearch tutorial.
Unfold the Search Query tab of the Content section and check if the global settings are applied to the widget/block/element settings.
In our case, the Custom Search Results URL and Source were pulled up successfully from the JetSearch plugin’s settings.

Now, you can adjust the Search Form, Results Area, and Custom Fields settings of the widget/block/element. Also, you can learn about the Search Suggestions feature.
When you are done, save the changes.
Check the results
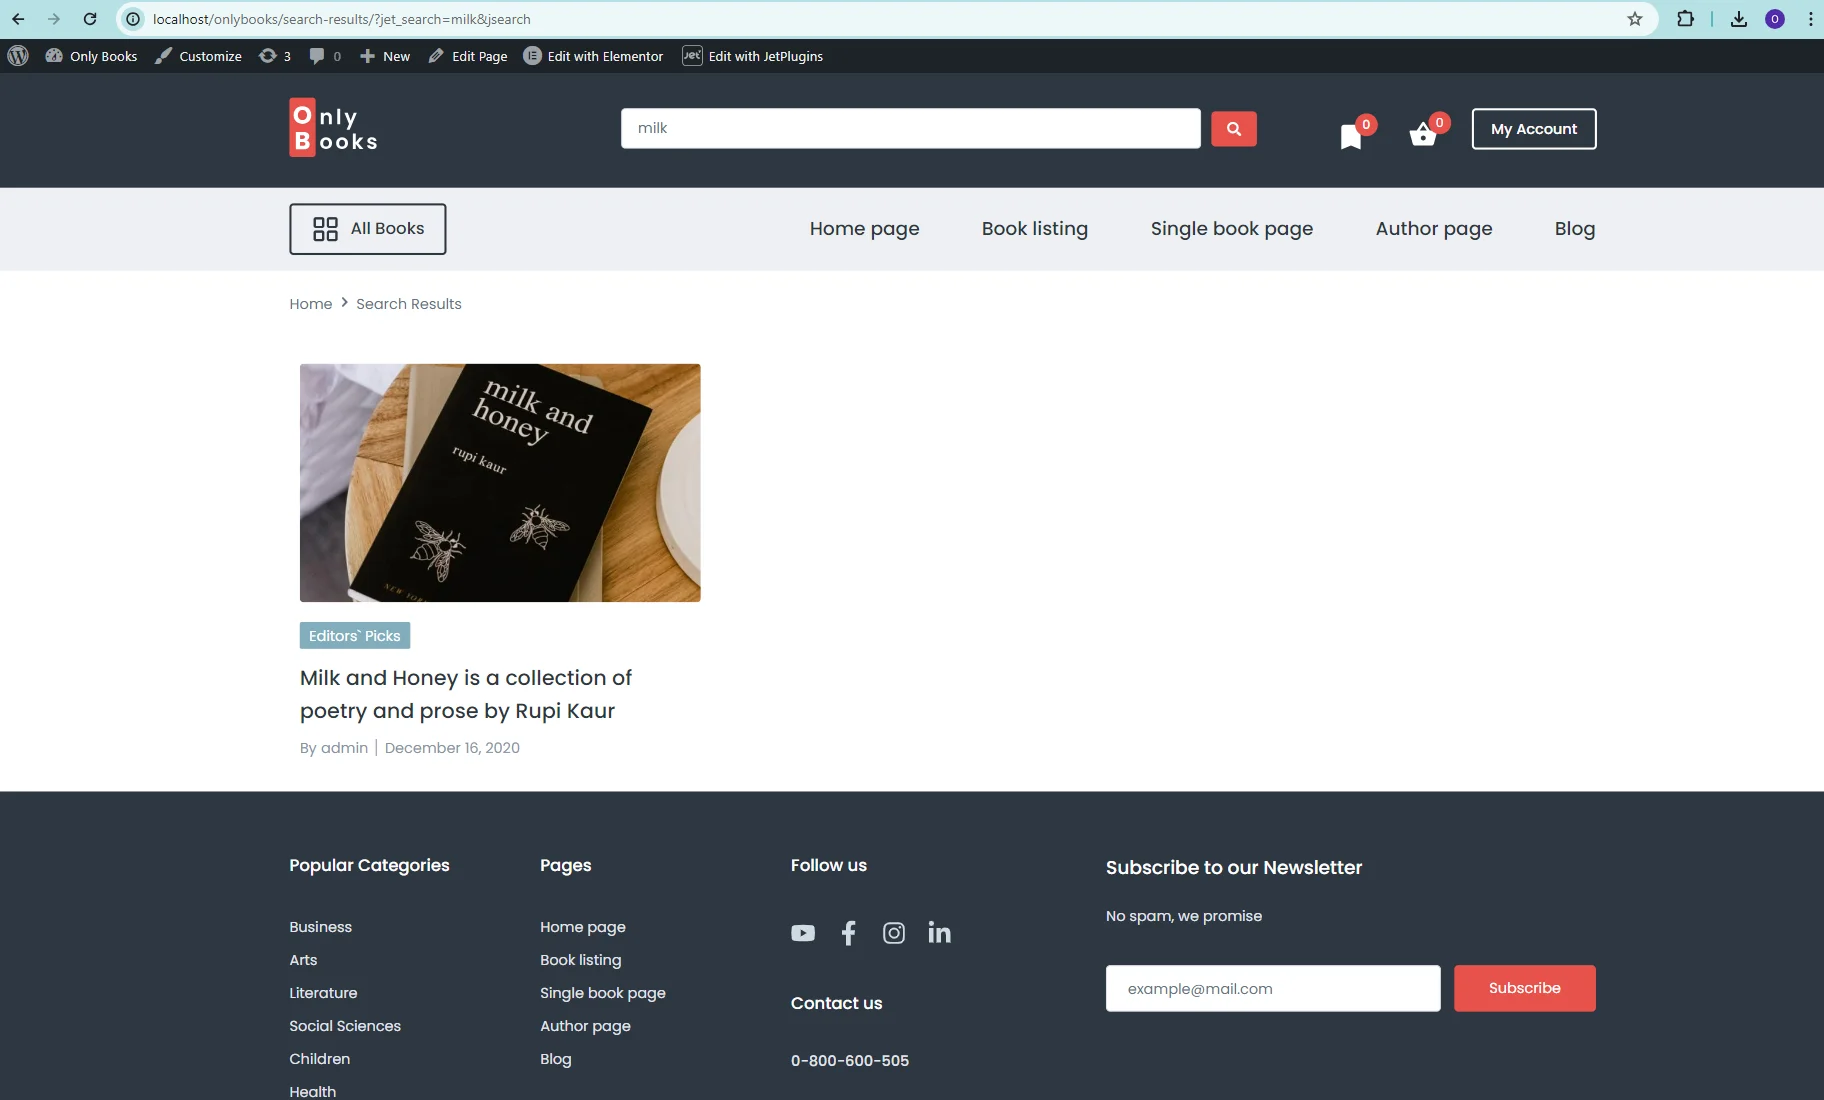
Go to the front end and enter any request to check the results.
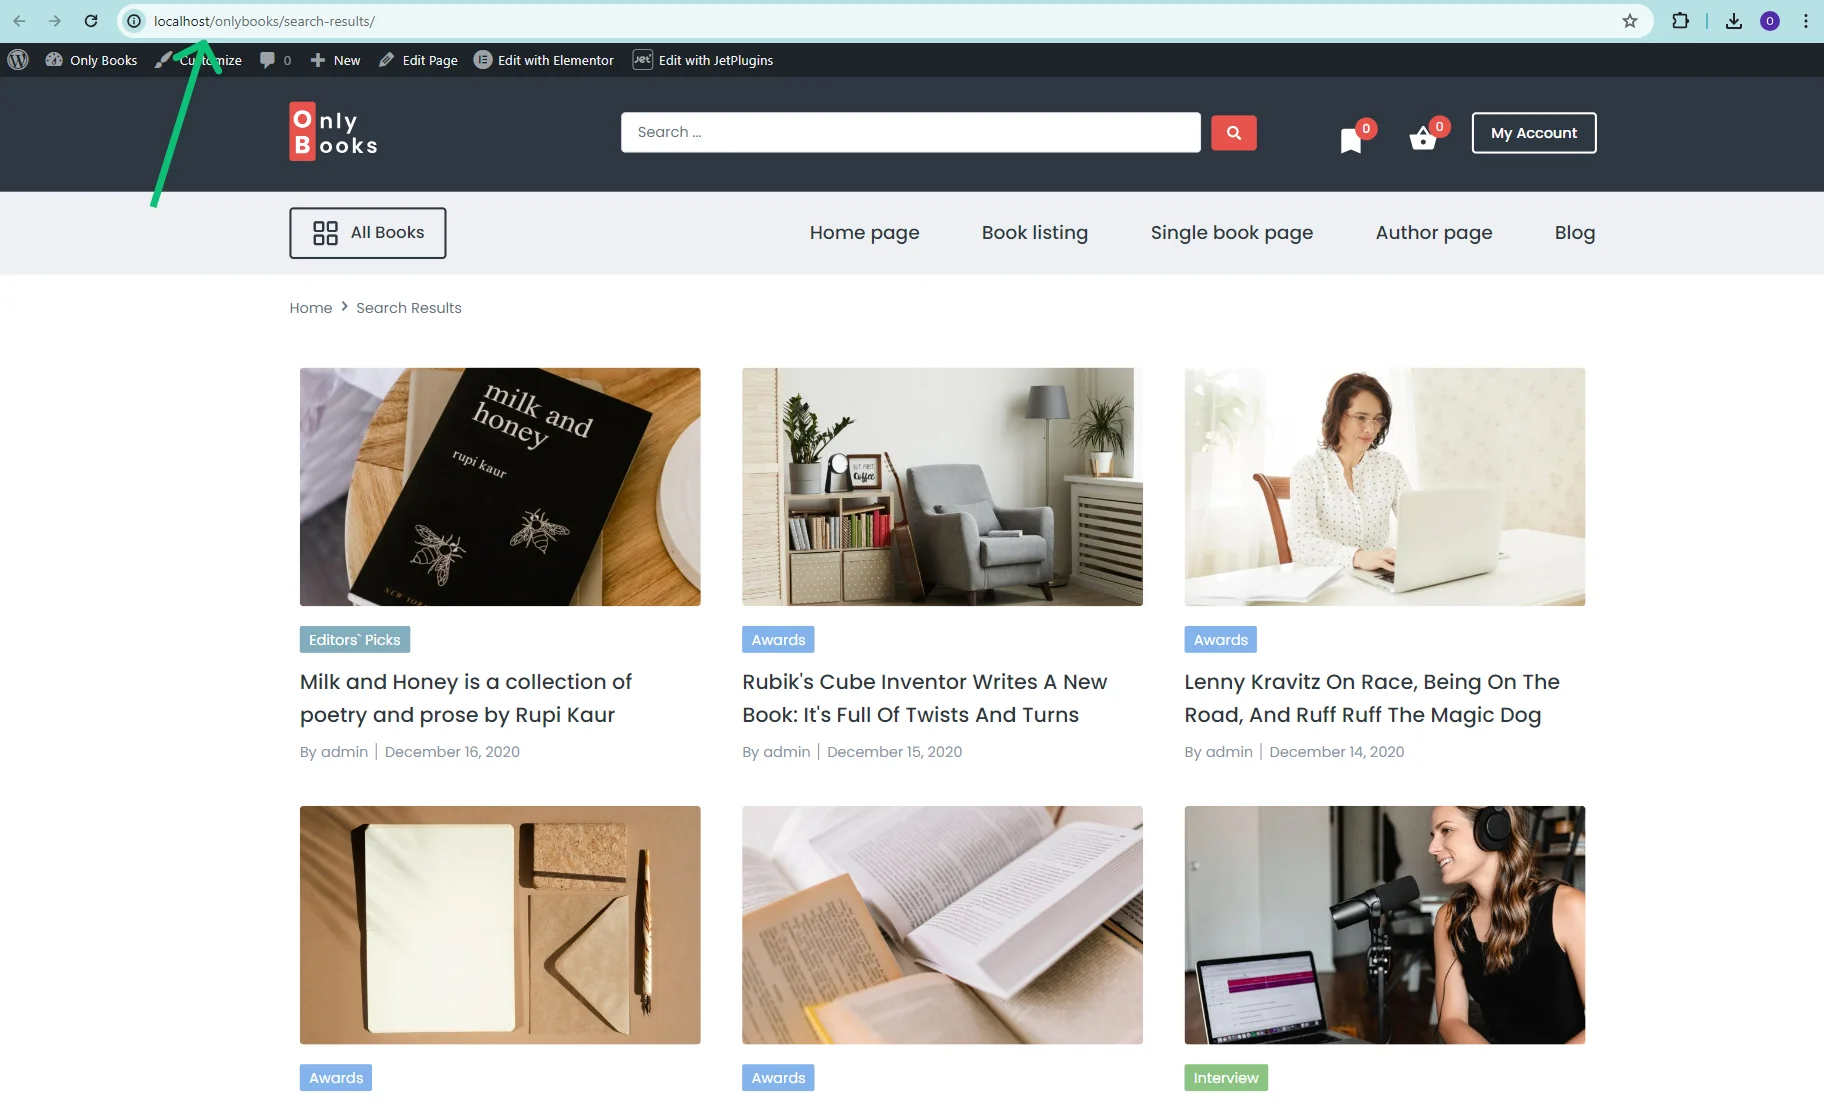
Instead of the default WordPress search results page, you will be redirected to the custom page with the Listing Grid.
In our case, the URL looks like this:
http://localhost/onlybooks/search-results/?jet_search=milk&jsearch
where “jet_search” is the Search Query Param that can be changed WordPress Dashboard > Crocoblock > JetPlugins Settings > JetSearch > Ajax Search Settings > Custom Results Page section.
Displaying WooCommerce Products
Create a Search Results page and set a widget with products
Go to WordPress Dashboard > Pages > Add New Page or open the created one. The products can be displayed with the Products Grid or Products List widgets from the JetWooBuilder plugin or Listing Grid from the JetEngine plugin. We decided to use the Products List widget that is available only in Elementor, so we hit the “Edit with Elementor” button.
We placed the Products List widget with the default “Products” post type source. Learn its settings from the Products List Widget Overview. You can also use the Products Grid Widget.
For the search results page, you can customize the Not Found Message. For instance, we changed it to “No Books Found.”

Customize the page as needed and hit the “Publish/Update” button.
Adjust the Ajax Search Settings
Copy the page URL (e.g., from the front end).
Proceed to the WordPress Dashboard > Crocoblock > JetPlugins Settings > JetSearch > Ajax Search Settings tab.
In the Ajax Search Widgets Default Query Settings section, set the needed post type as the Source (“Products” in our case) and adjust other global settings if needed.

Then, scroll down to the Custom Results Page section, enter the copied URL into the Custom Search Results URL field, and change the Search Query Param if you like.
Afterward, push the “Save Options” button.

Customize the Ajax Search widget/block/element
Place the Ajax Search widget, block, or element on a page or template, or proceed to the page where it’s already located. For example, it can be a custom header.
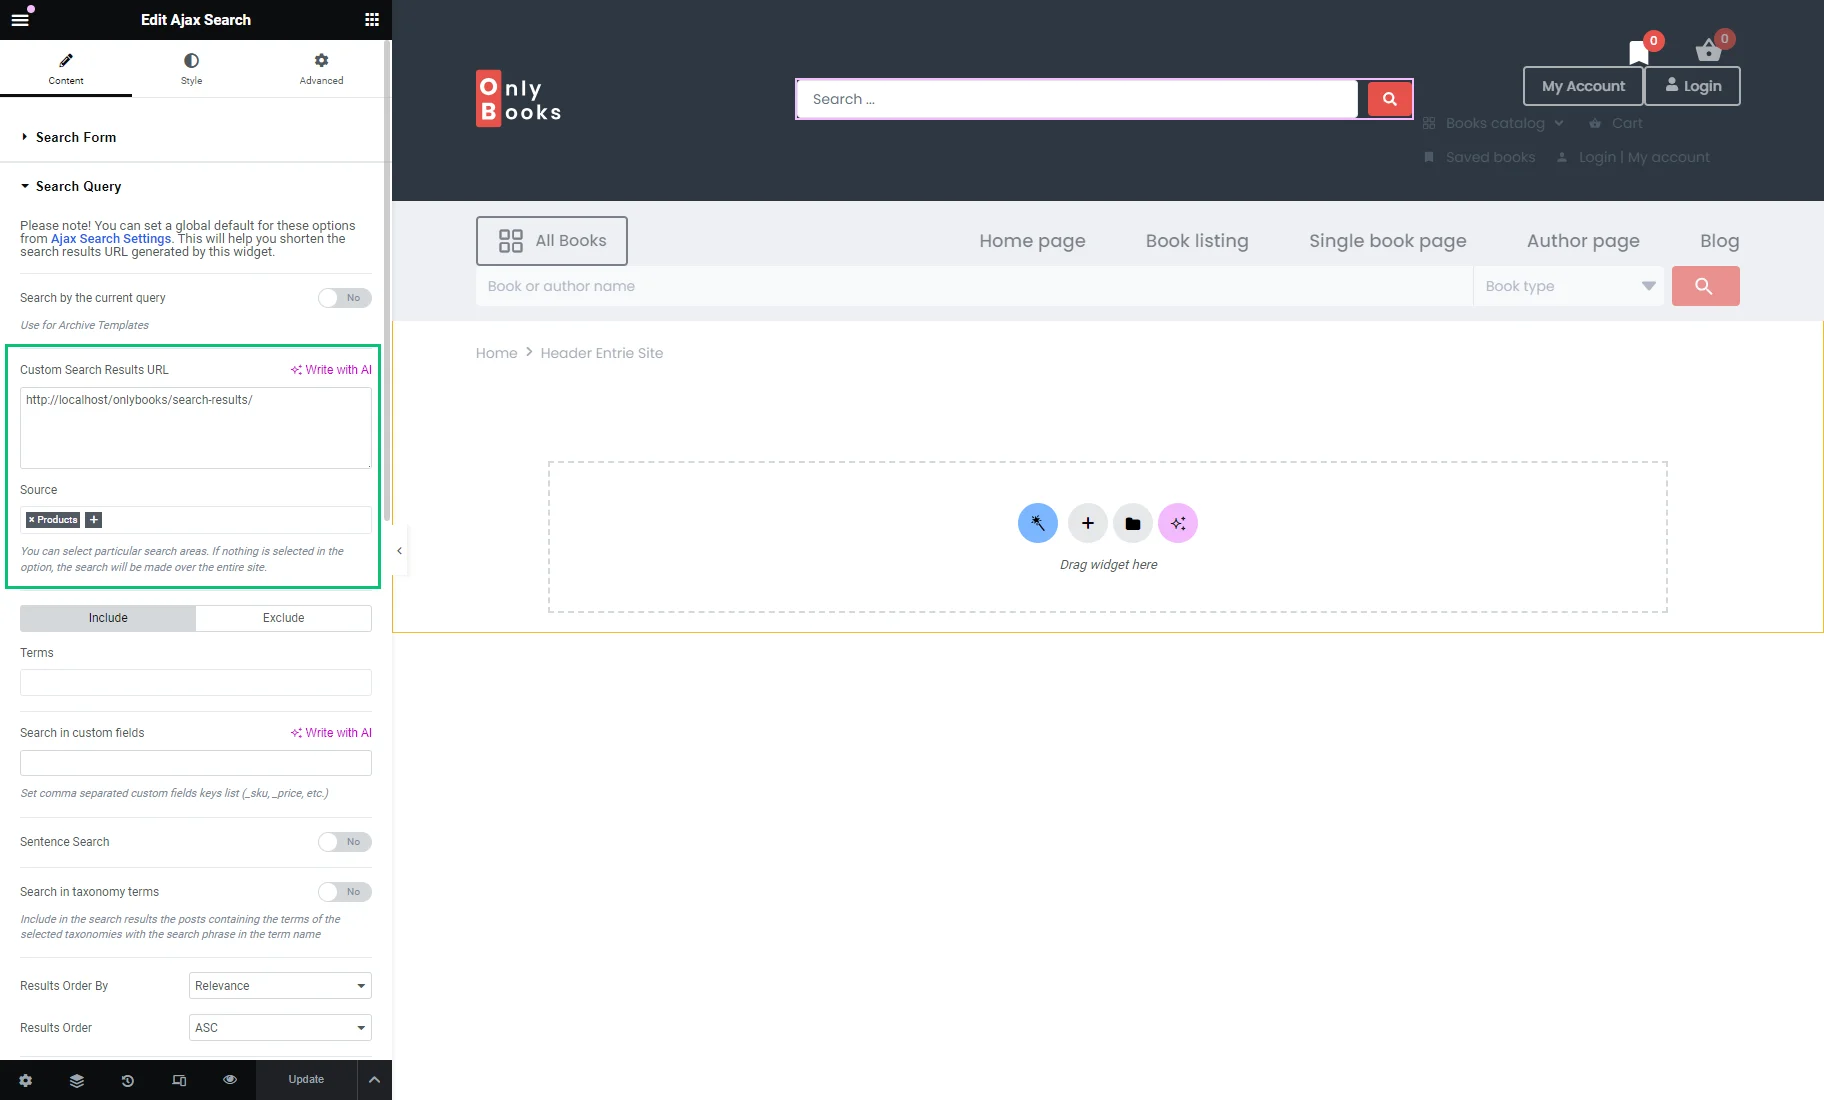
Unfold the Search Query tab of the Content section and check if the global settings are applied to the widget/block/element settings.
In our case, the Custom Search Results URL and Source were pulled up successfully from the JetSearch plugin’s settings.
Adjust other Ajax Search settings and save the changes.
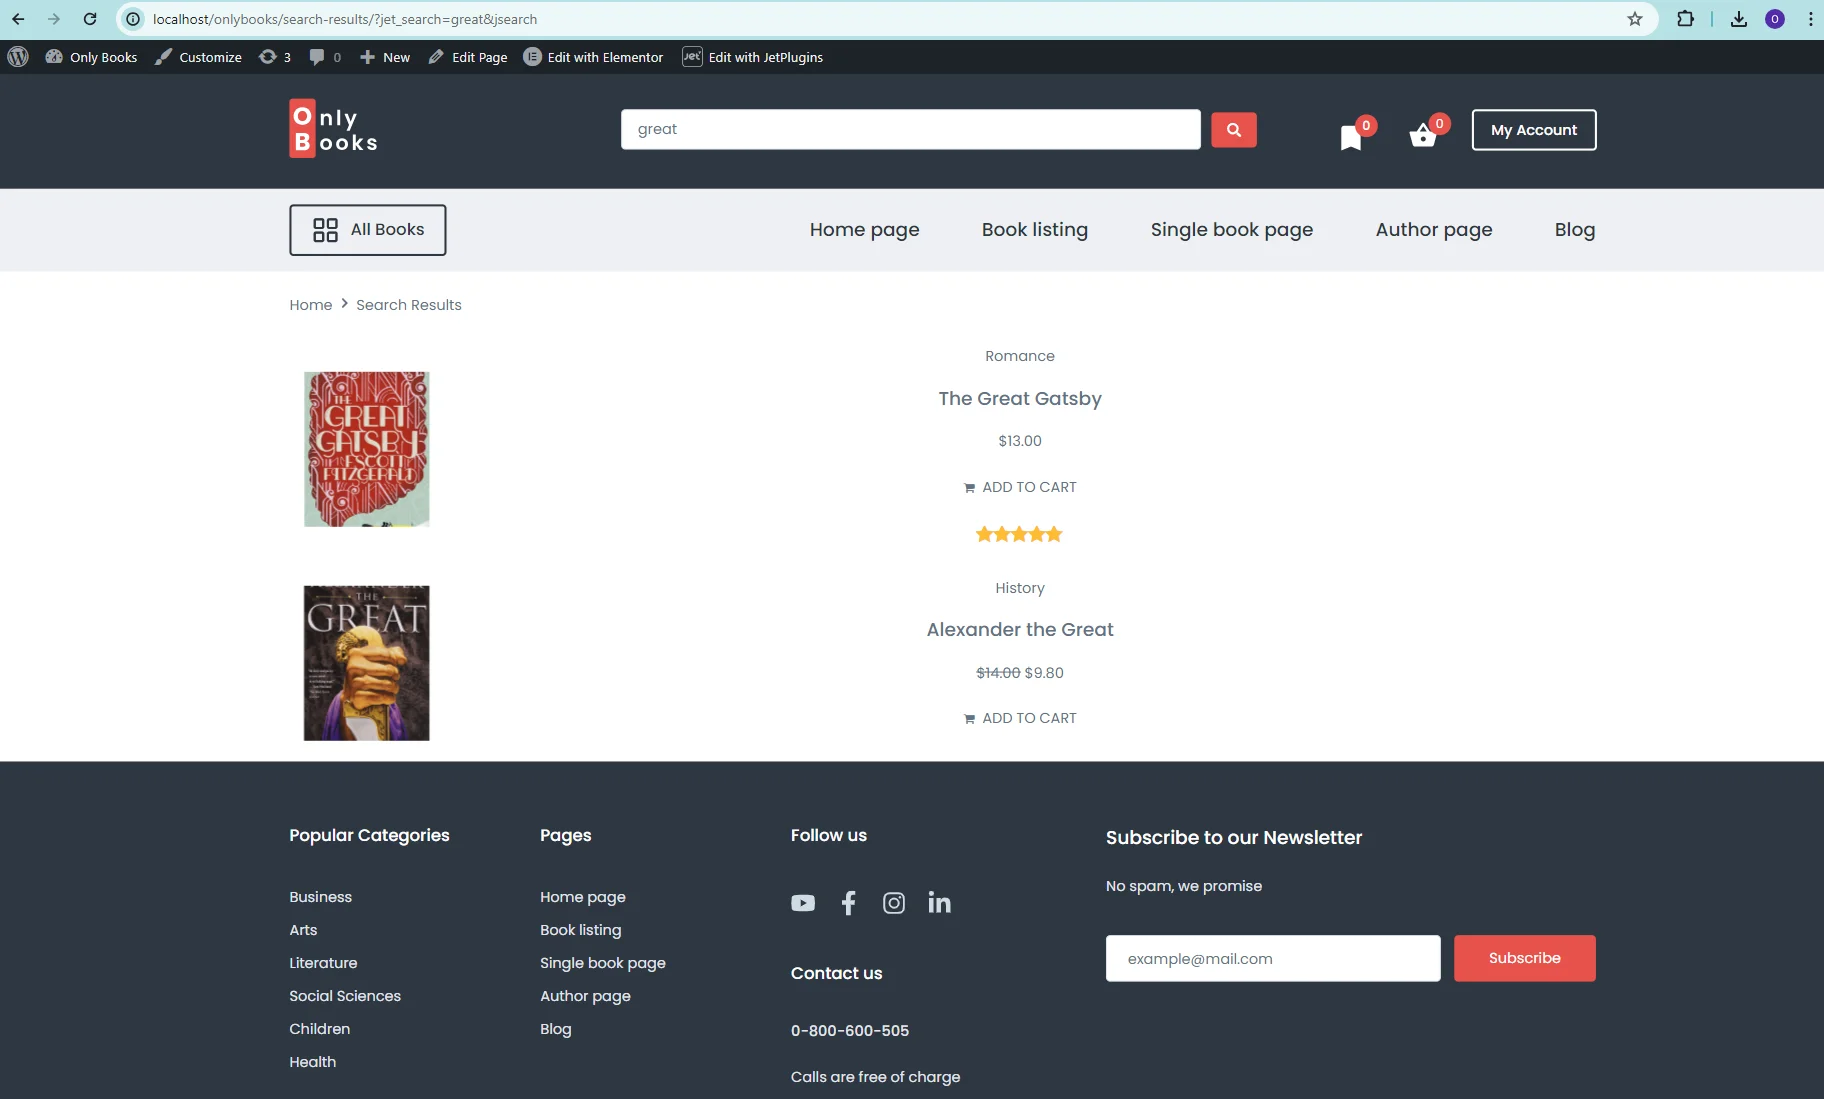
Checking the results
Eventually, head to the front end and enter any request to check the results. Instead of the default WordPress search results page, you will be redirected to the custom page with the Products List or Products Grid.
The URL looks like this:
http://localhost/onlybooks/search-results/?jet_search=great&jsearch
where “jet_search” is the Search Query Param that can be changed WordPress Dashboard > Crocoblock > JetPlugins Settings > JetSearch > Ajax Search Settings > Custom Results Page section.
That’s all. Now you know how to create custom URLs for search results pages on your WordPress website using the JetSearch plugin.