How to Change Banner After Filtering Categories
This tutorial describes how to change the banner on the front end after filtering by category using the JetSmartFilters and JetEngine plugins on your WordPress website.
Before you start, check the tutorial requirements:
- Elementor (Free version), or WordPress Block editor (Gutenberg), or Bricks
- JetSmartFilters plugin installed and activated
- JetEngine plugin installed and activated
To set up the banner, we will go through the following steps:
- Creating custom taxonomy, each term of which will have a customized banner. For that, we will add the needed custom fields to the taxonomy;
- Creating a filter with the taxonomy source;
- Setting a custom query to apply it to a listing. It will show the required banner according to the option chosen in the filter;
- Creating a listing template that will match the banner look. For instance, we will display the icon and slogan;
- Placing the filter, listing with banner, and listing with posts that need to be filtered by category on the front end.
As an example, we will create banners for the following vacancy types: full-time, part-time, internship, and volunteer. The “Vacancy Type” will be a custom taxonomy for the “Jobs (Vacancies)” Custom Post Type.

Creating Custom Taxonomy
To create a custom taxonomy if you haven’t done it yet, proceed to the WordPress Dashboard > JetEngine > Taxonomies tab and hit the “Add New” button.
In the General Settings tab, type the Taxonomy Name (in our case, “Vacancy Type”), click the Taxonomy Slug field to generate a slug (you can edit it, but ensure it contains only letters, numbers, and `-` or `_` chars), and choose the needed Post Type from the namesake drop-down list (in our case, “Jobs (Vacancies) CPT).
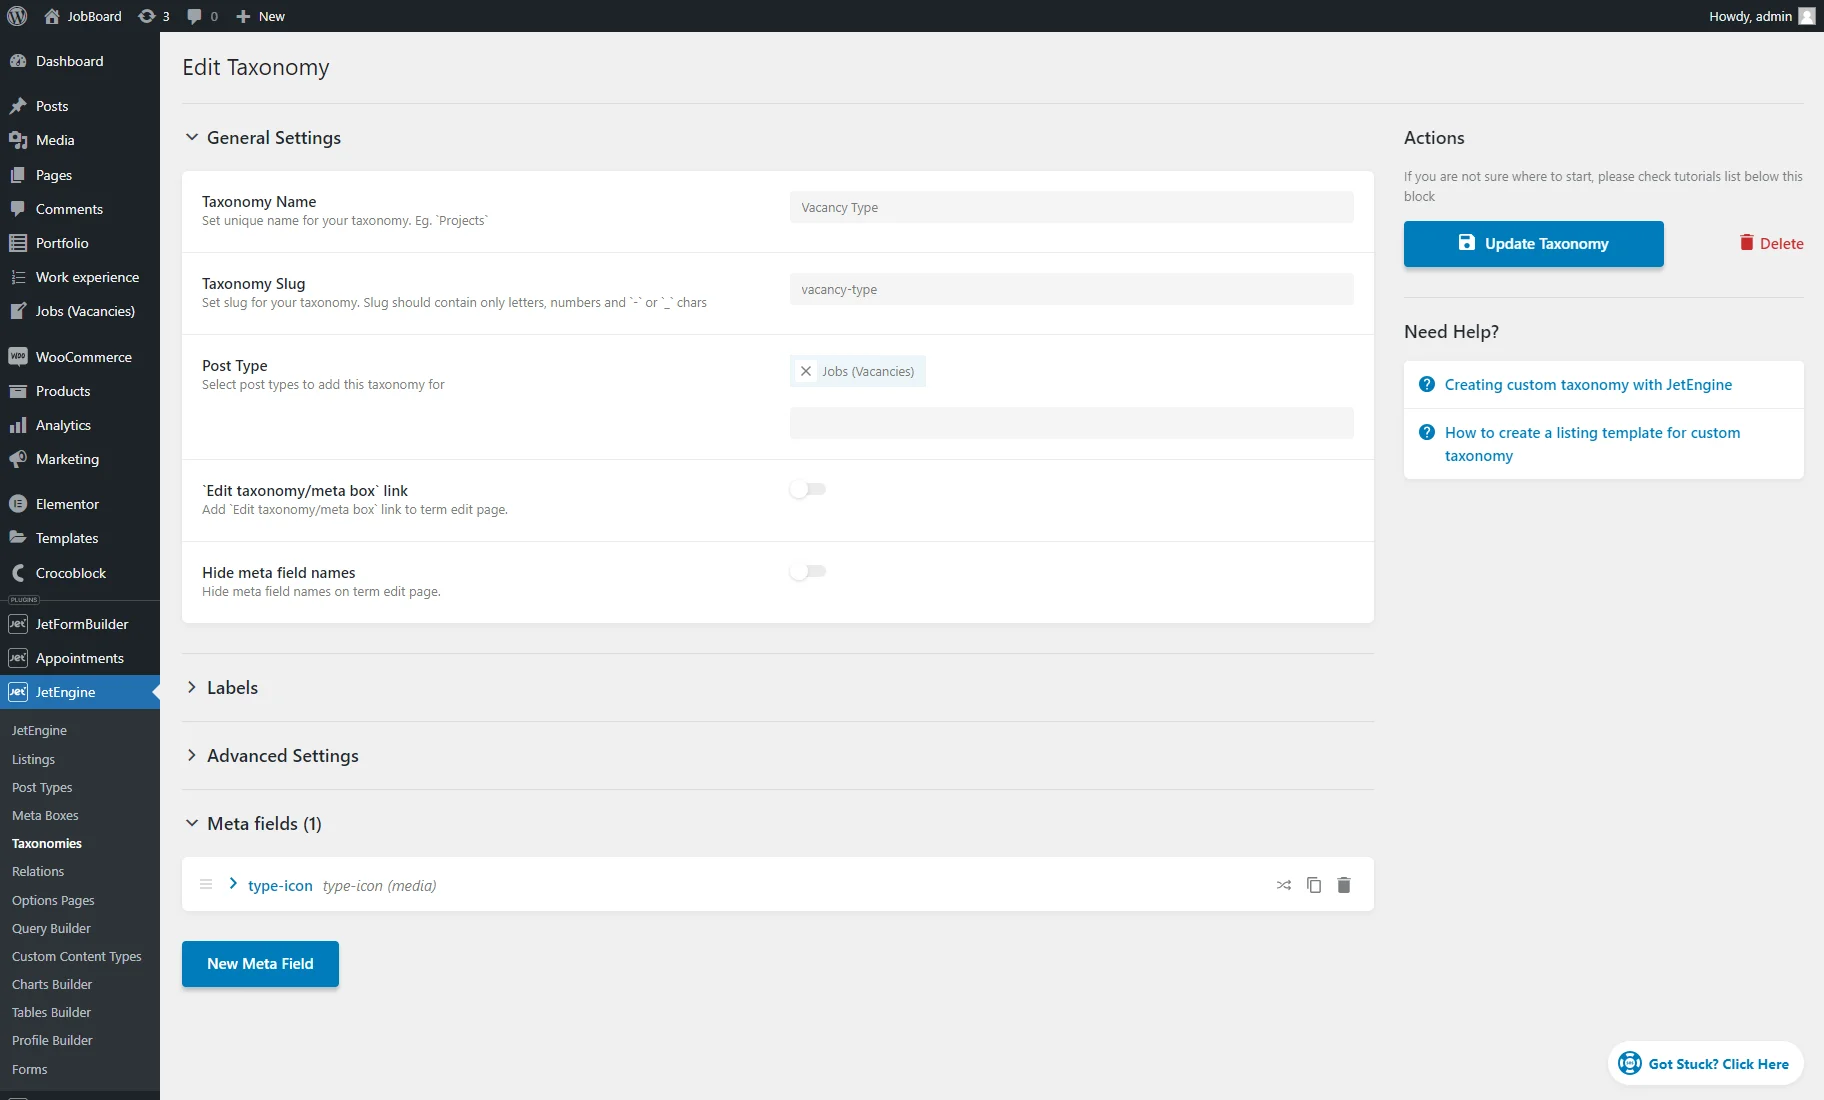
In the Meta fields settings tab, you can add the desired custom fields. For instance, we crafted the “Media” meta field for the vacancy-type icons that will be added to the banner.
The essential taxonomy settings for this tutorial are covered. You can adjust other settings if you like — the detailed description is provided in the Custom Taxonomy Overview.
Push the “Add/Update Taxonomy” button after customization.
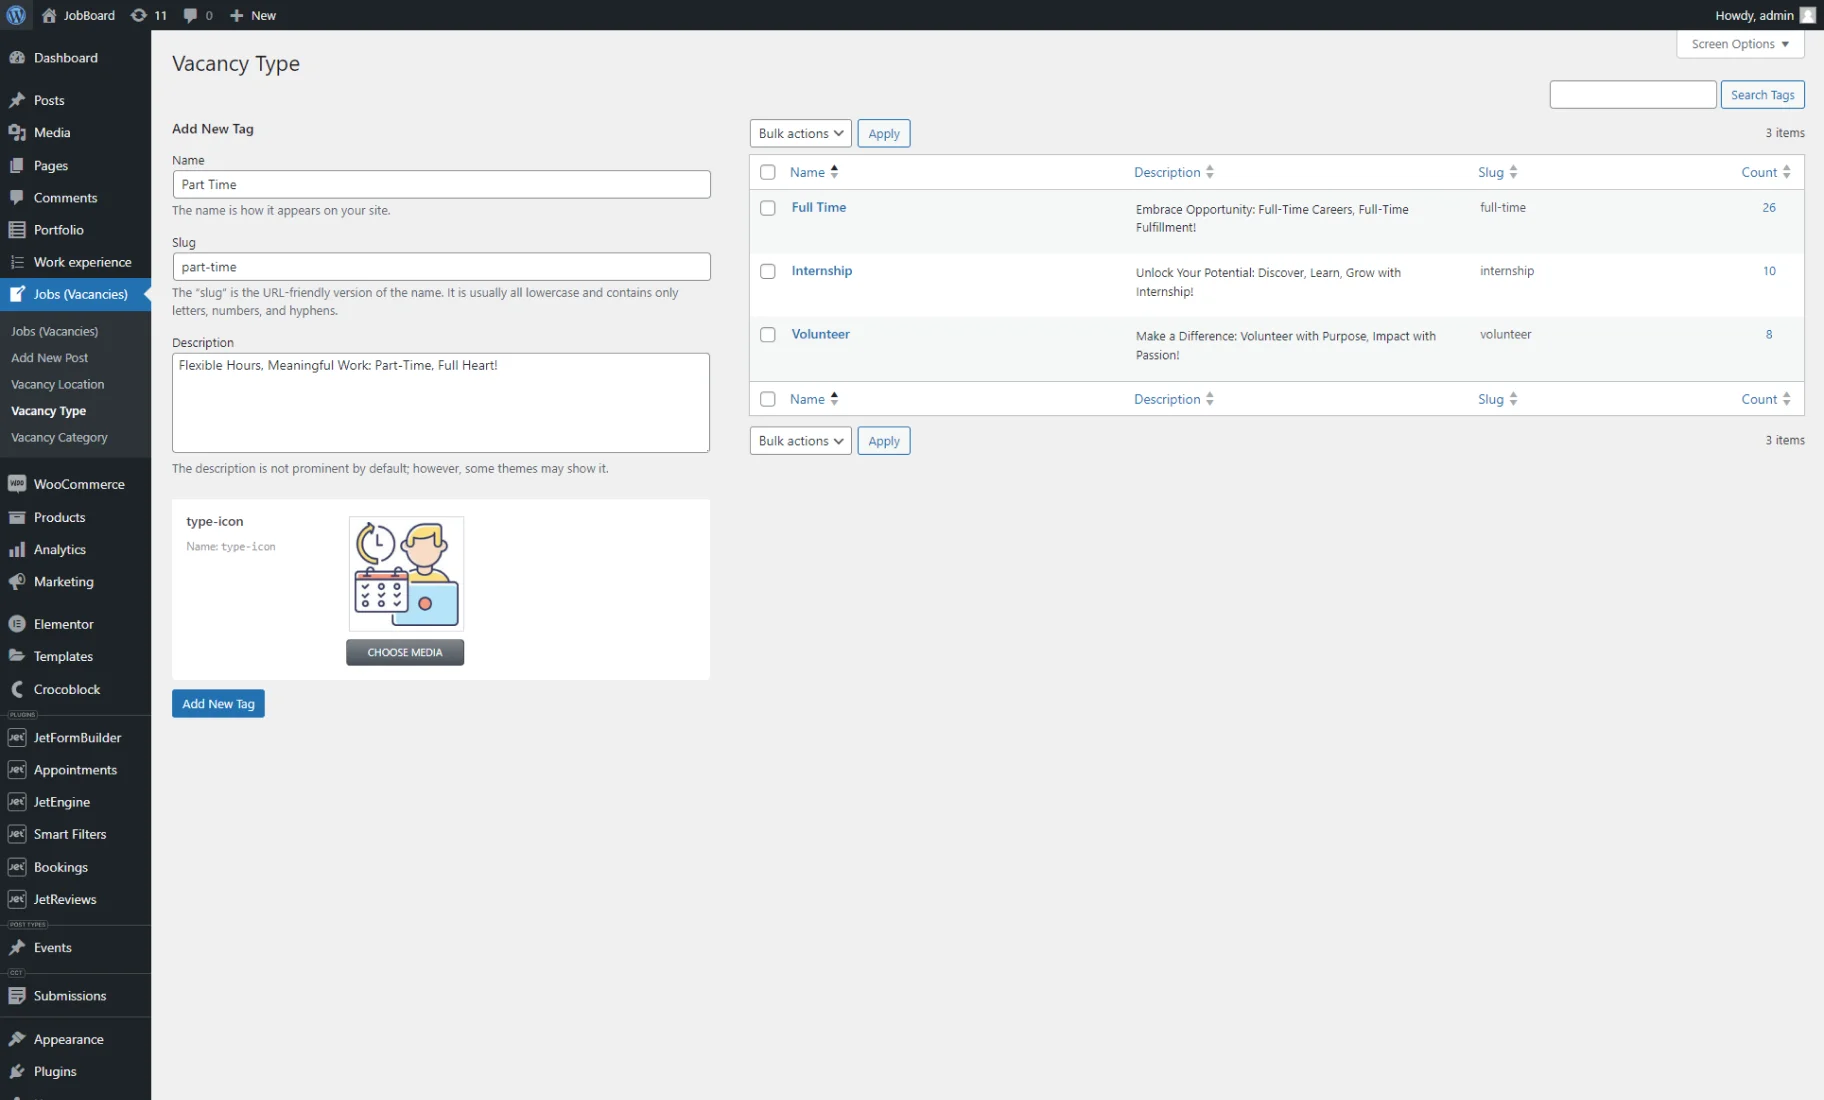
Then, go to the tab with the taxonomy name that belongs to the post type tab. For example, we visited WordPress Dashboard > Jobs (Vacancies) > Vacancy Type.
To add a new tag, enter the Name, Slug (ensure it’s all lowercase and contains only letters, numbers, and hyphens since it’s the URL-friendly version of the name), Description (optional), and fill in the needed meta fields. Then, press the “Add New Tag” button.
For example, we added a slogan as the Description and icon in the custom “Media” field.
After filling the fields, push the “Add New Tag” button.
Add as many tags as you require.
To attach posts to the tags, proceed to the CPT tab on the WordPress Dashboard and click to edit a post or create a new one.
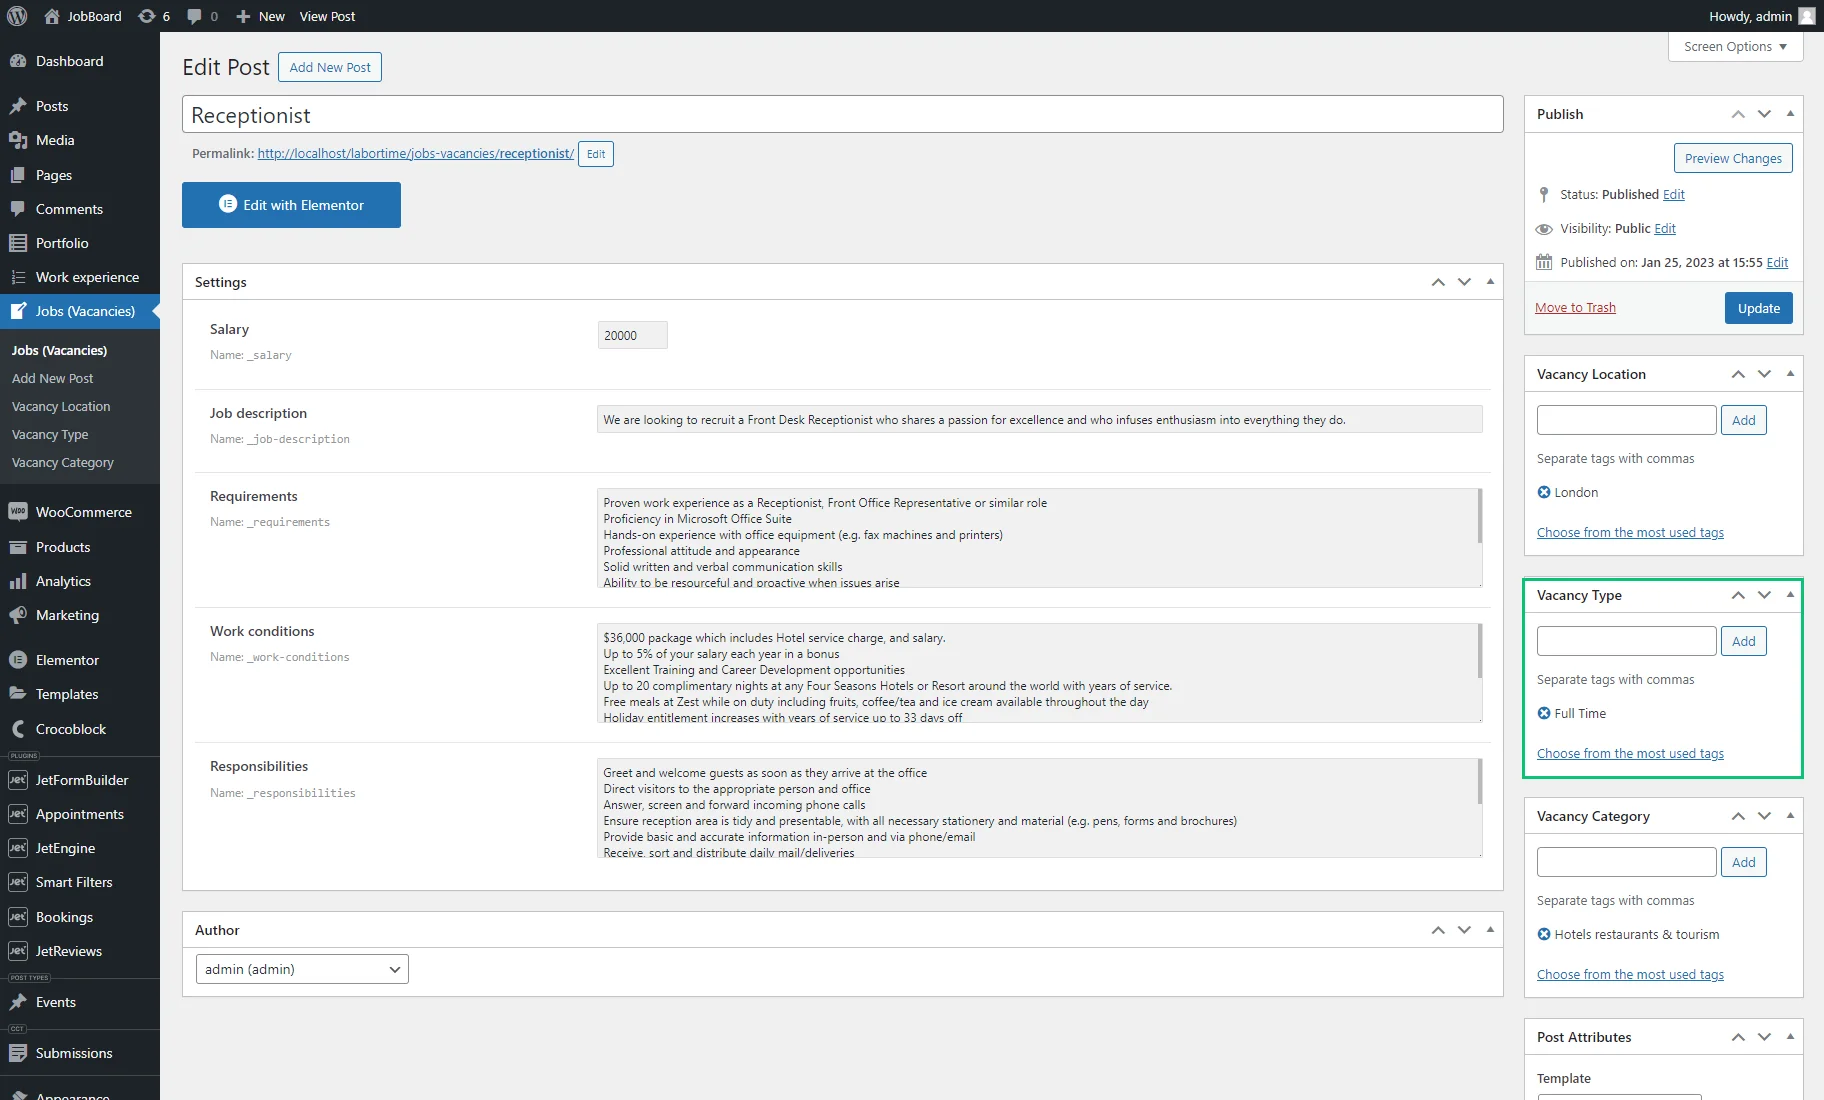
Save the changes by clicking the “Publish/Update” button.
Creating Filter for Category
Head to the WordPress Dashboard > Smart Filters > Add New tab to create a filter for categories.
Enter the Filter Name and pick the Filter Type. For the taxonomy data source, you can choose “Select,” “Radio,” “Checkboxes list,” and “Visual” filter types.
We created the “Radio” filter so that users can choose only one option from the filter on the front end. The “Select” filter is also suitable for our case. If we created the “Checkboxes list” filter, the user could select two or more options, and several banners would be displayed simultaneously. The “Visual” filter can have the behavior of either a radio or a checkbox.
After choosing the filter type, select the “Taxonomies” Data Source and choose the needed Taxonomy (“Vacancy Type,” in our case).
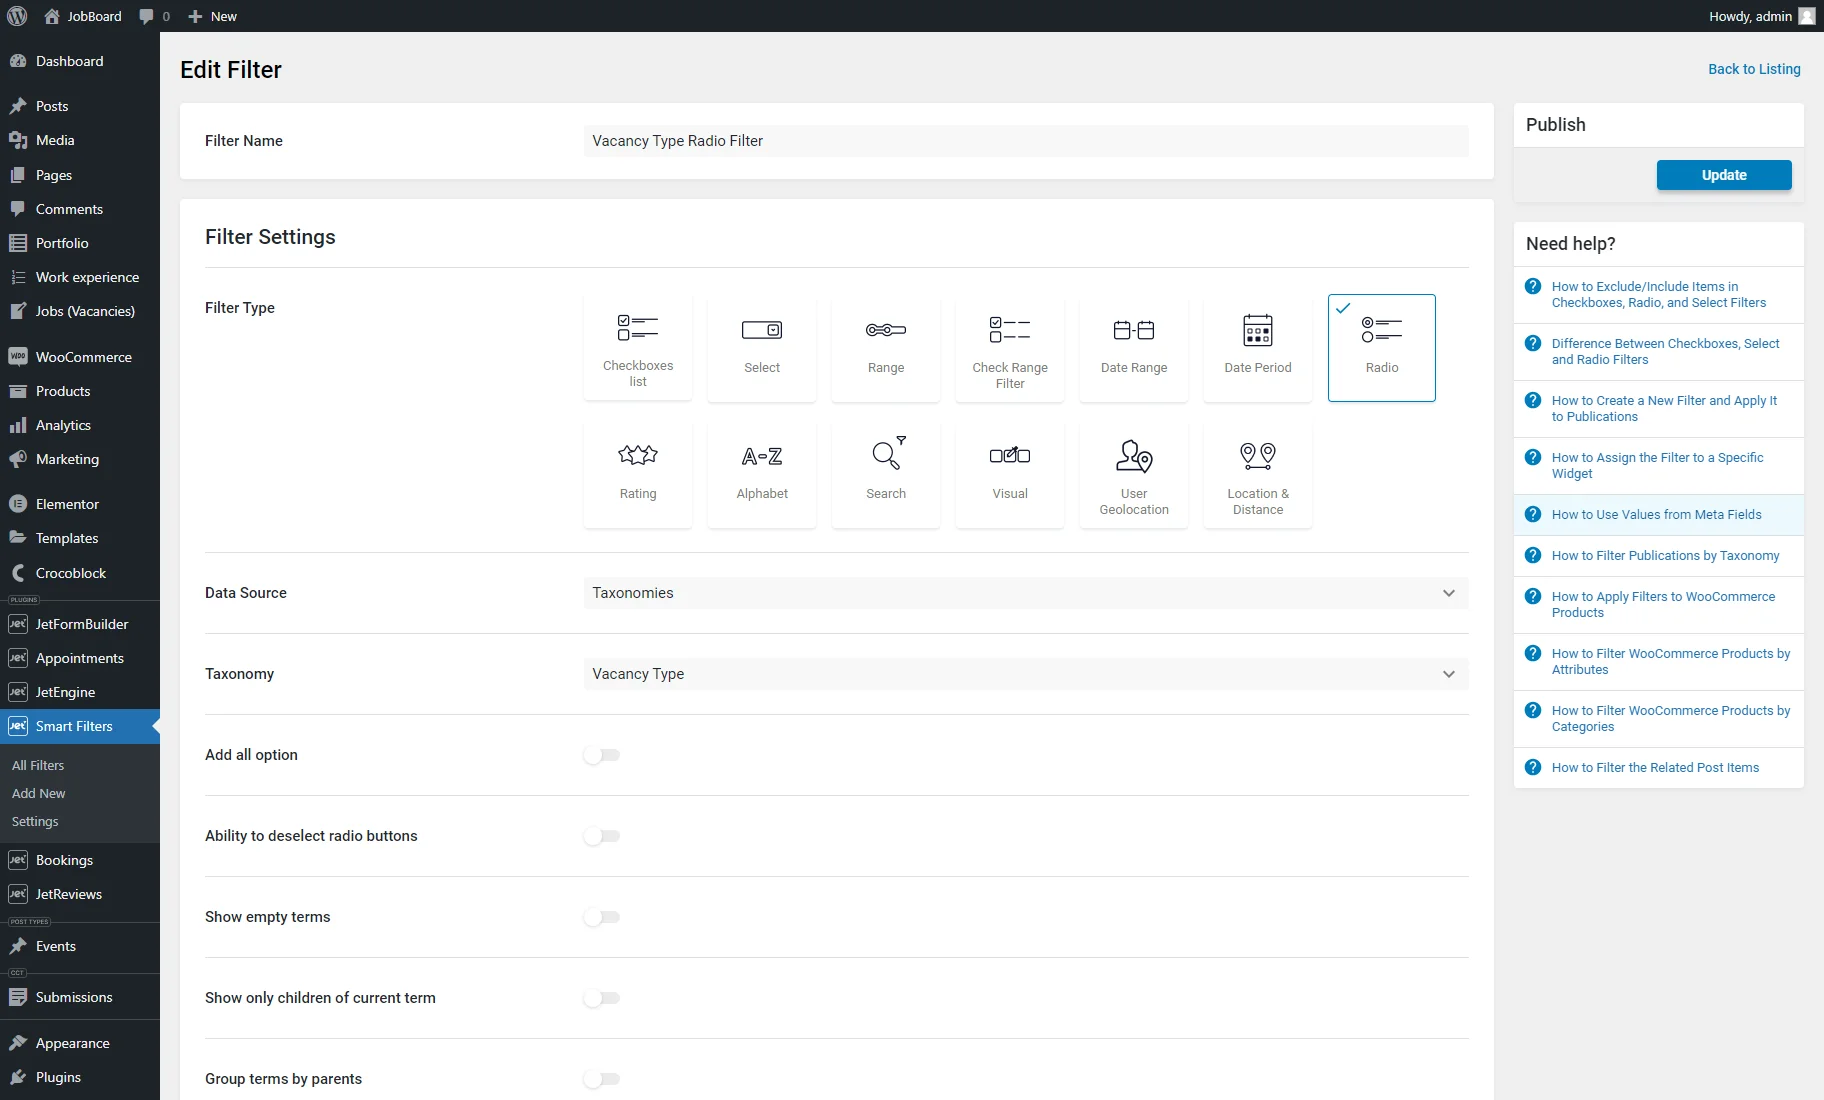
After that, you’re free to adjust options according to your needs.
For example, we enabled the Ability to deselect radio buttons and Show empty terms toggles, and set Filter Labels in the corresponding section.
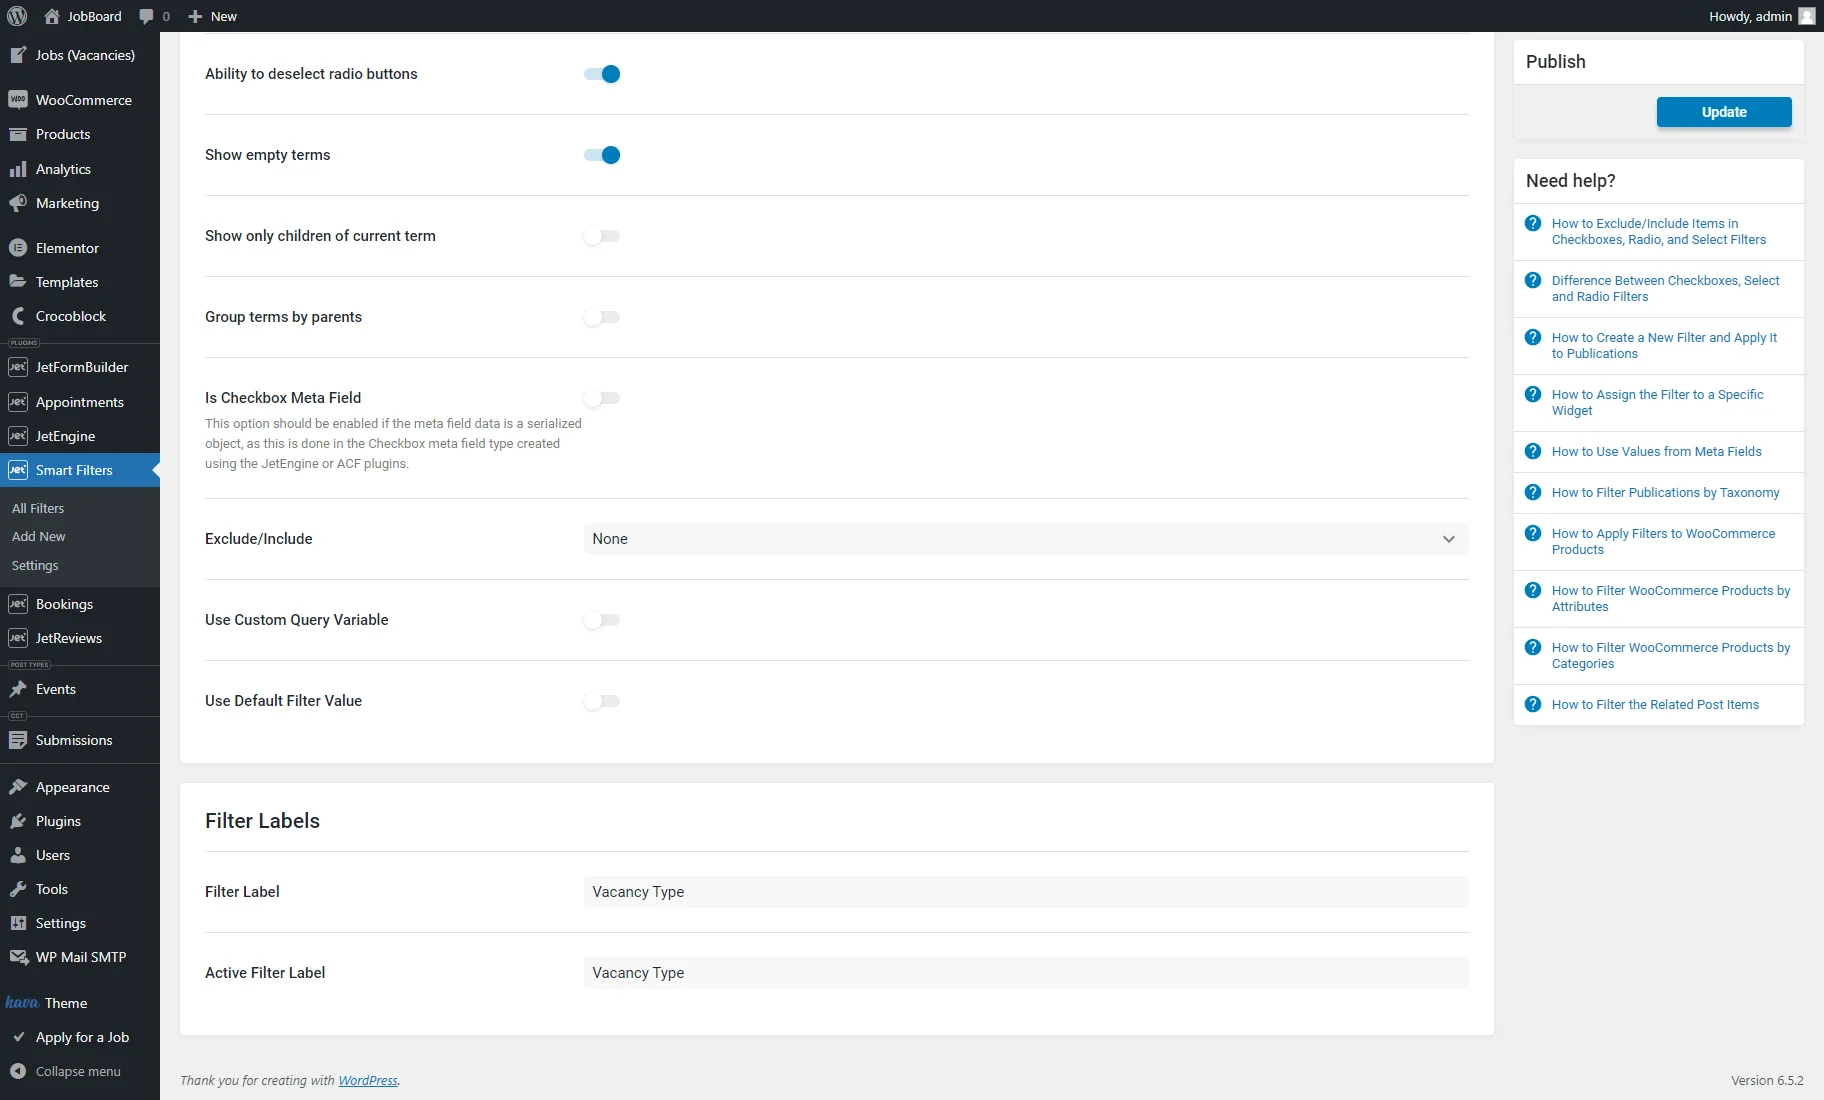
After adjusting the filter settings, push the “Update” button.
Setting a Custom Query
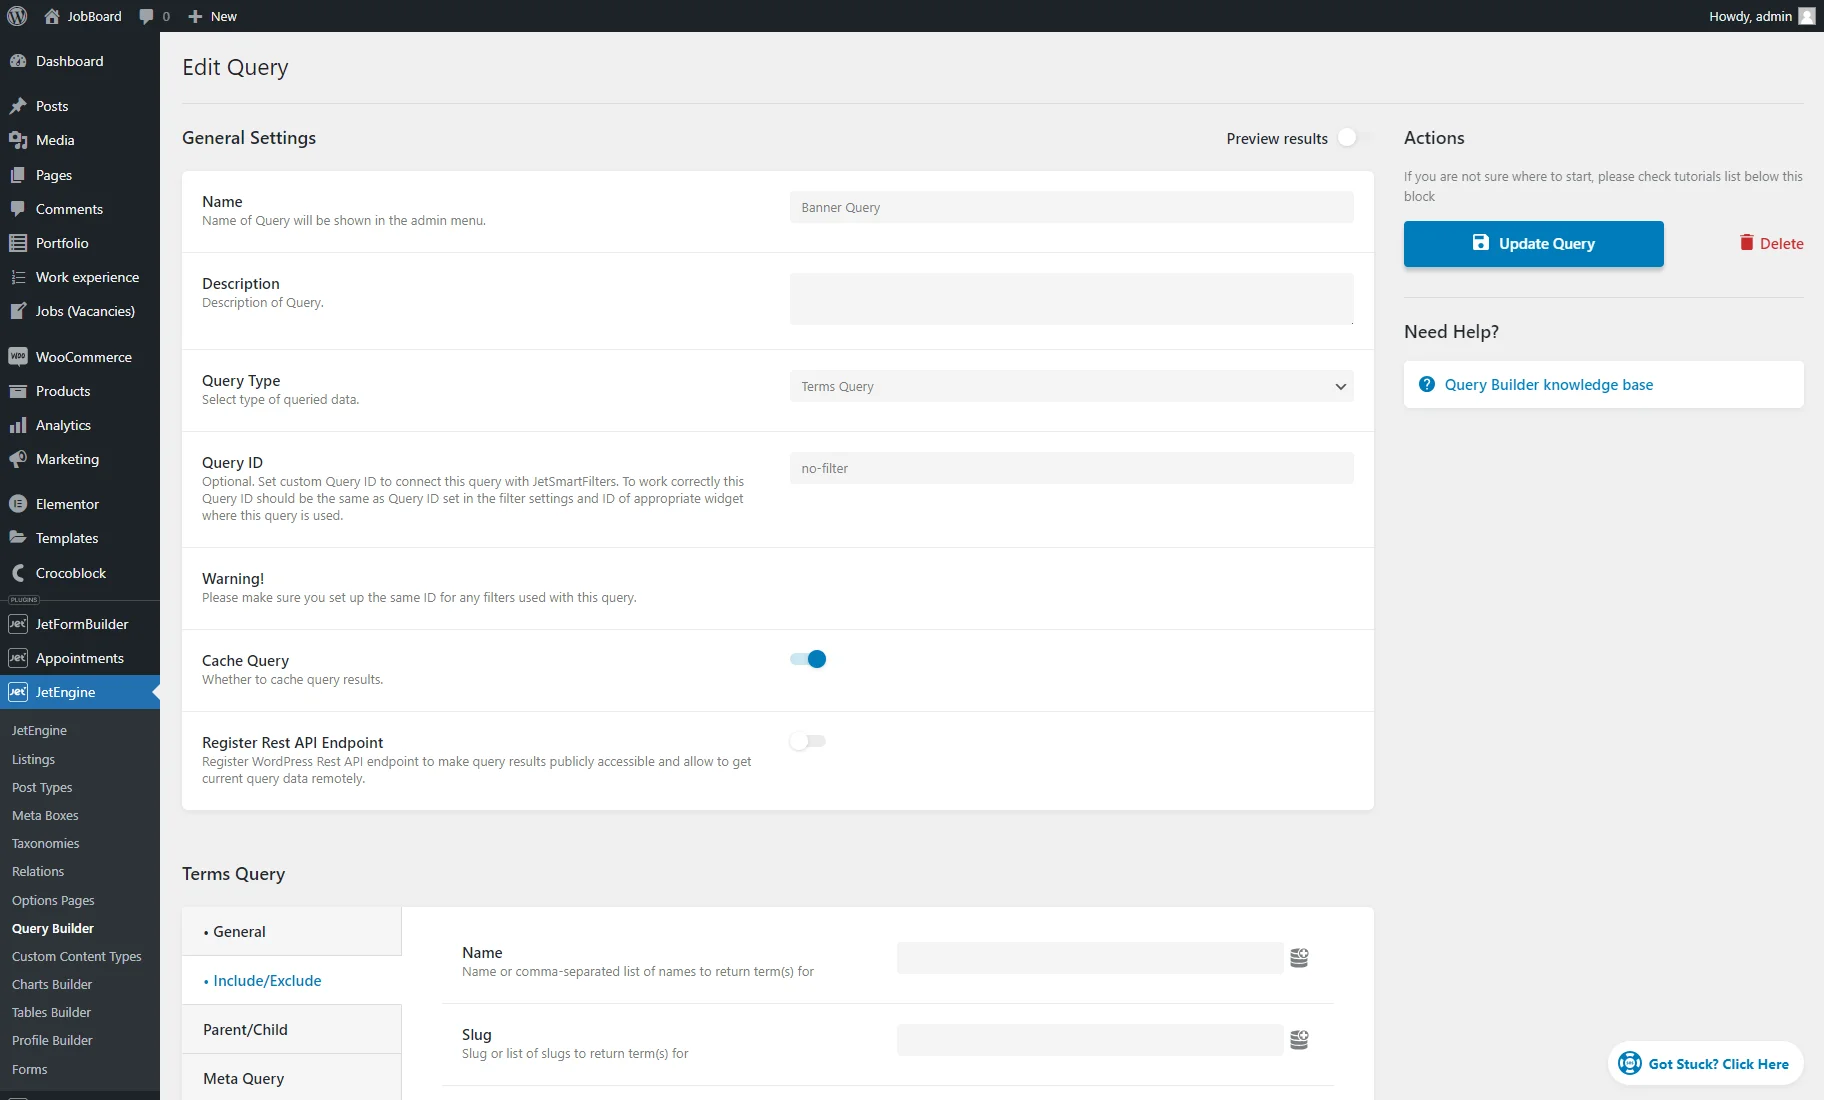
Follow the WordPress Dashboard > JetEngine > Query Builder directory and press the “Add New” button.
In the General Settings section, enter the Name and pick the “Terms Query” Query Type.
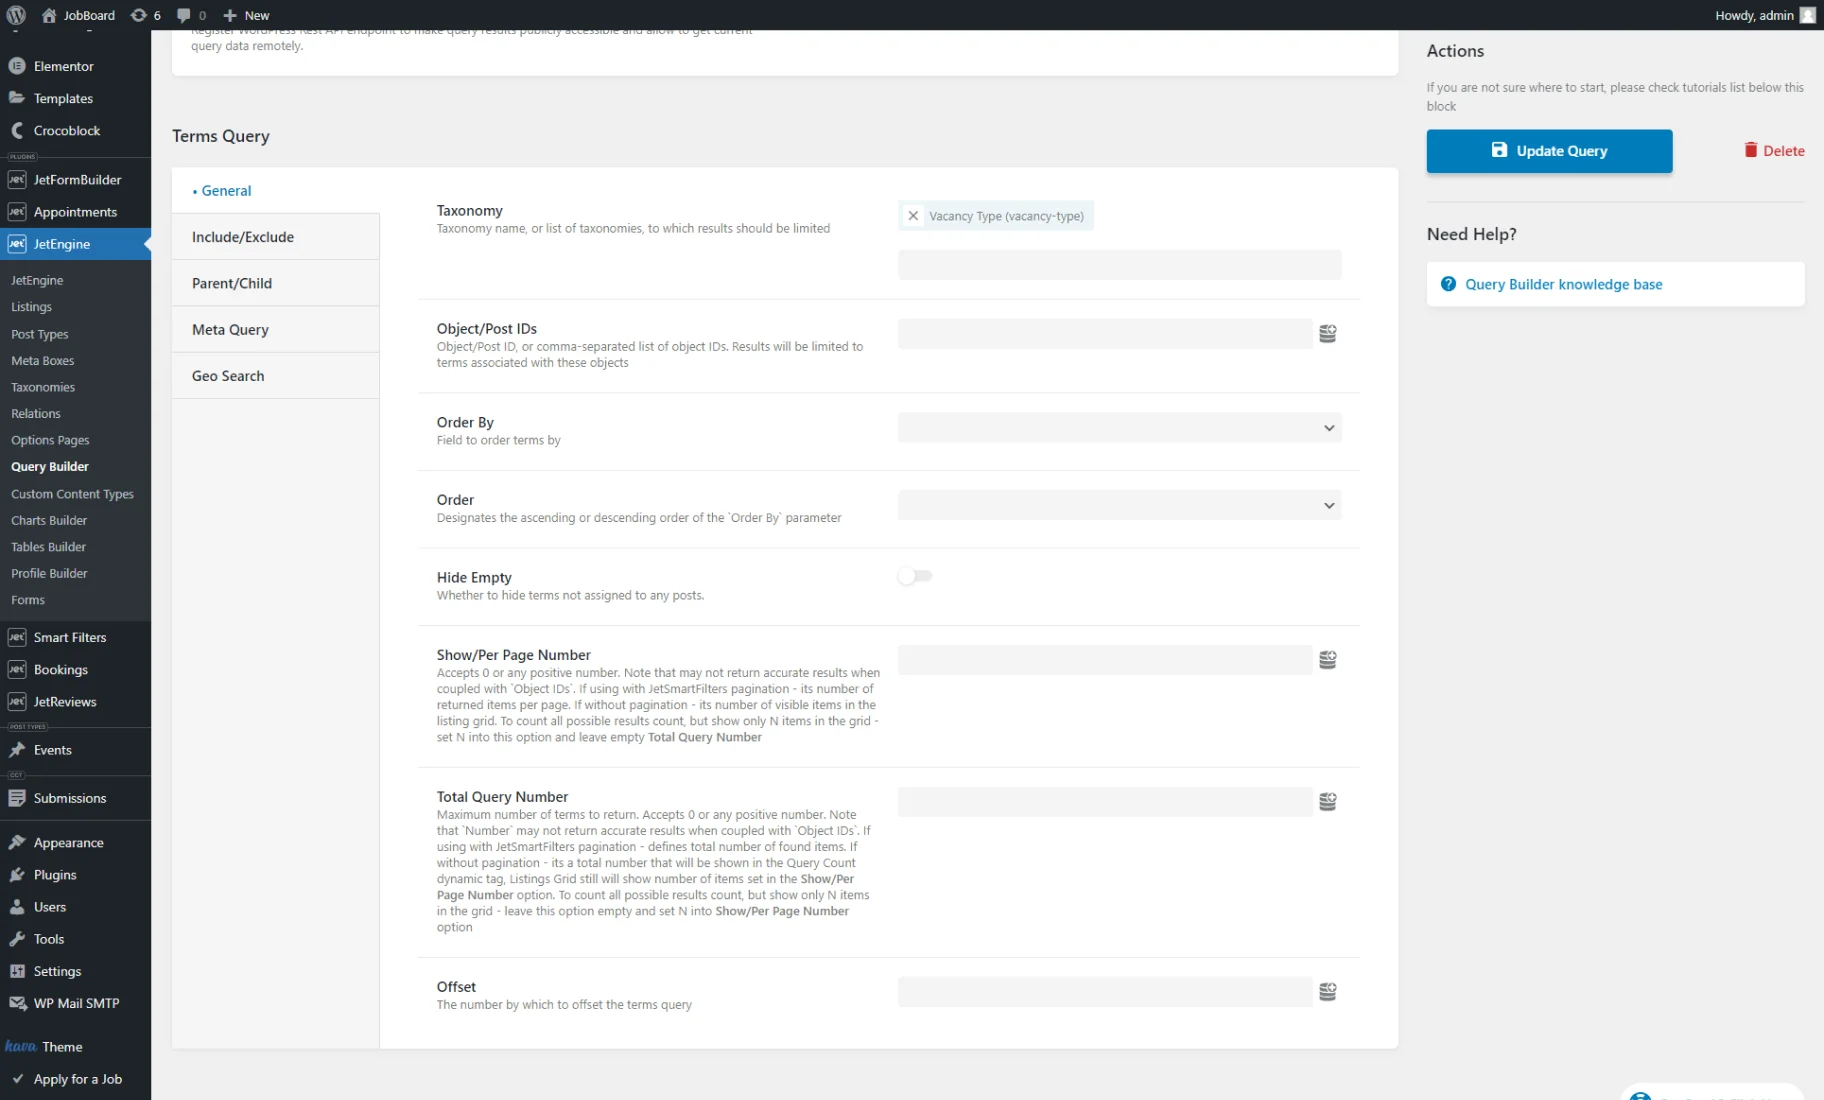
In the Terms Query section, proceed to the General tab and choose the needed Taxonomy.
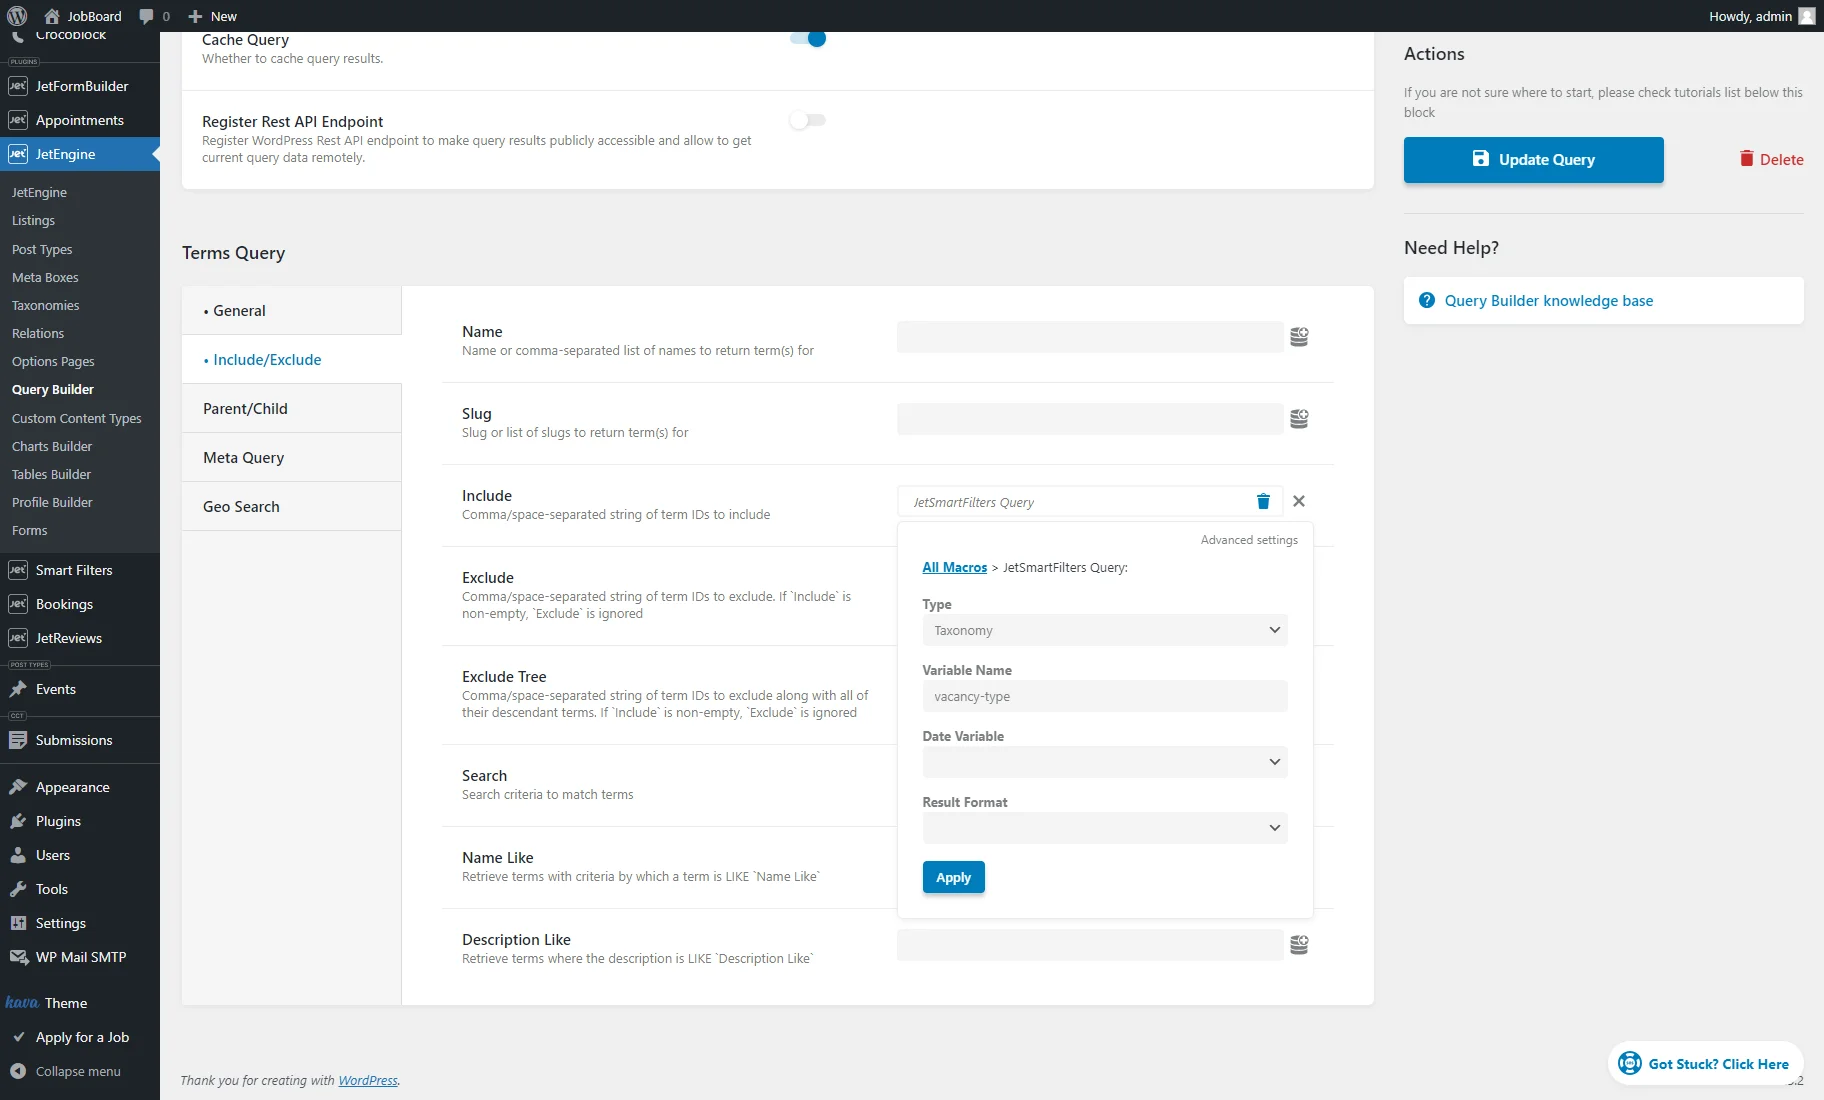
Open the Include/Exclude tab, press the “coin stack” icon next to the “Include” field, and select the “JetSmartFilters Query” macro.
In the opened pop-up, pick the “Taxonomy” Type and enter the taxonomy slug as the Variable Name.
Click the “Advanced settings” link, keep the “Default Object” Context, and enter “9999999” into the Fallback field. Doing this ensures that the listing with the query source will show the result only when the filter is applied. In other words, without the fallback, the banner listing will show all terms; setting the fallback ensures that the banner will be invisible until an option from the filter is chosen.
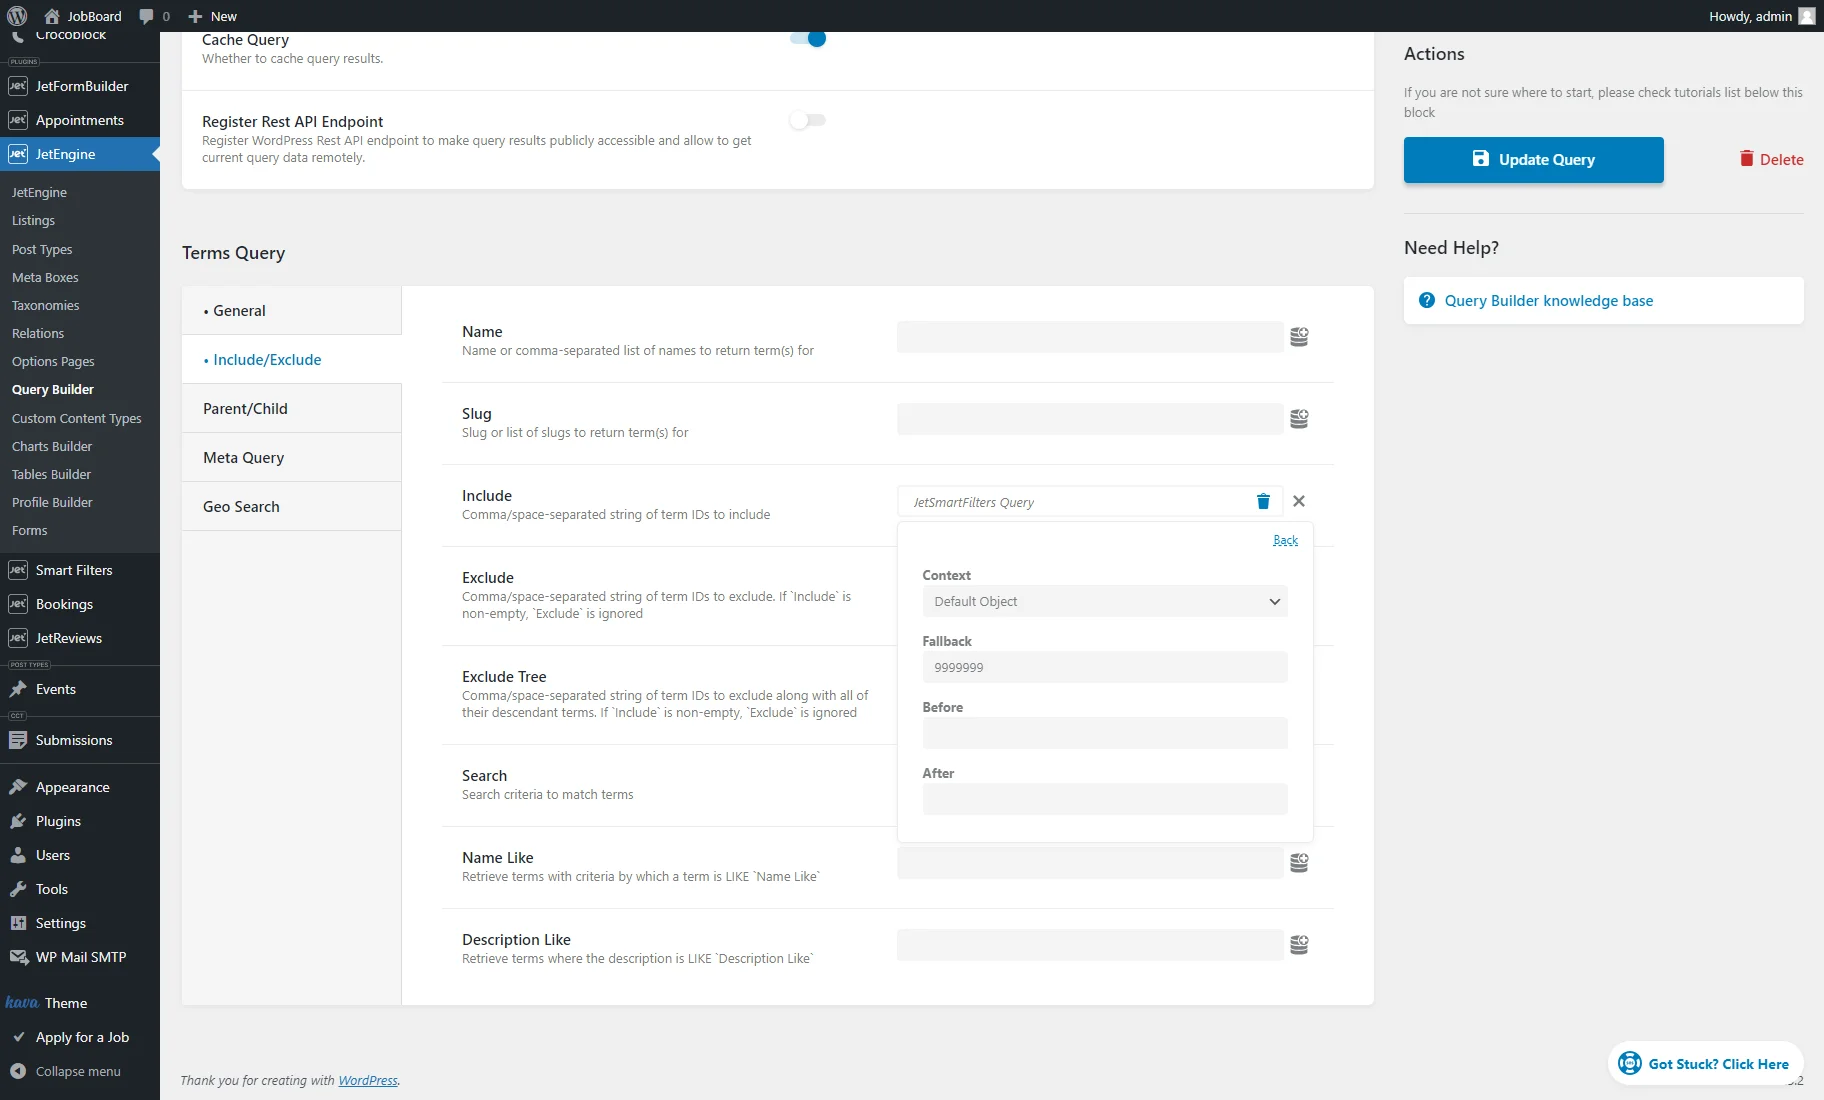
Then, hit “Back” and the “Apply” button.
Adjust other query settings if you fancy and hit the “Add/Update Query” button.
Creating a Listing
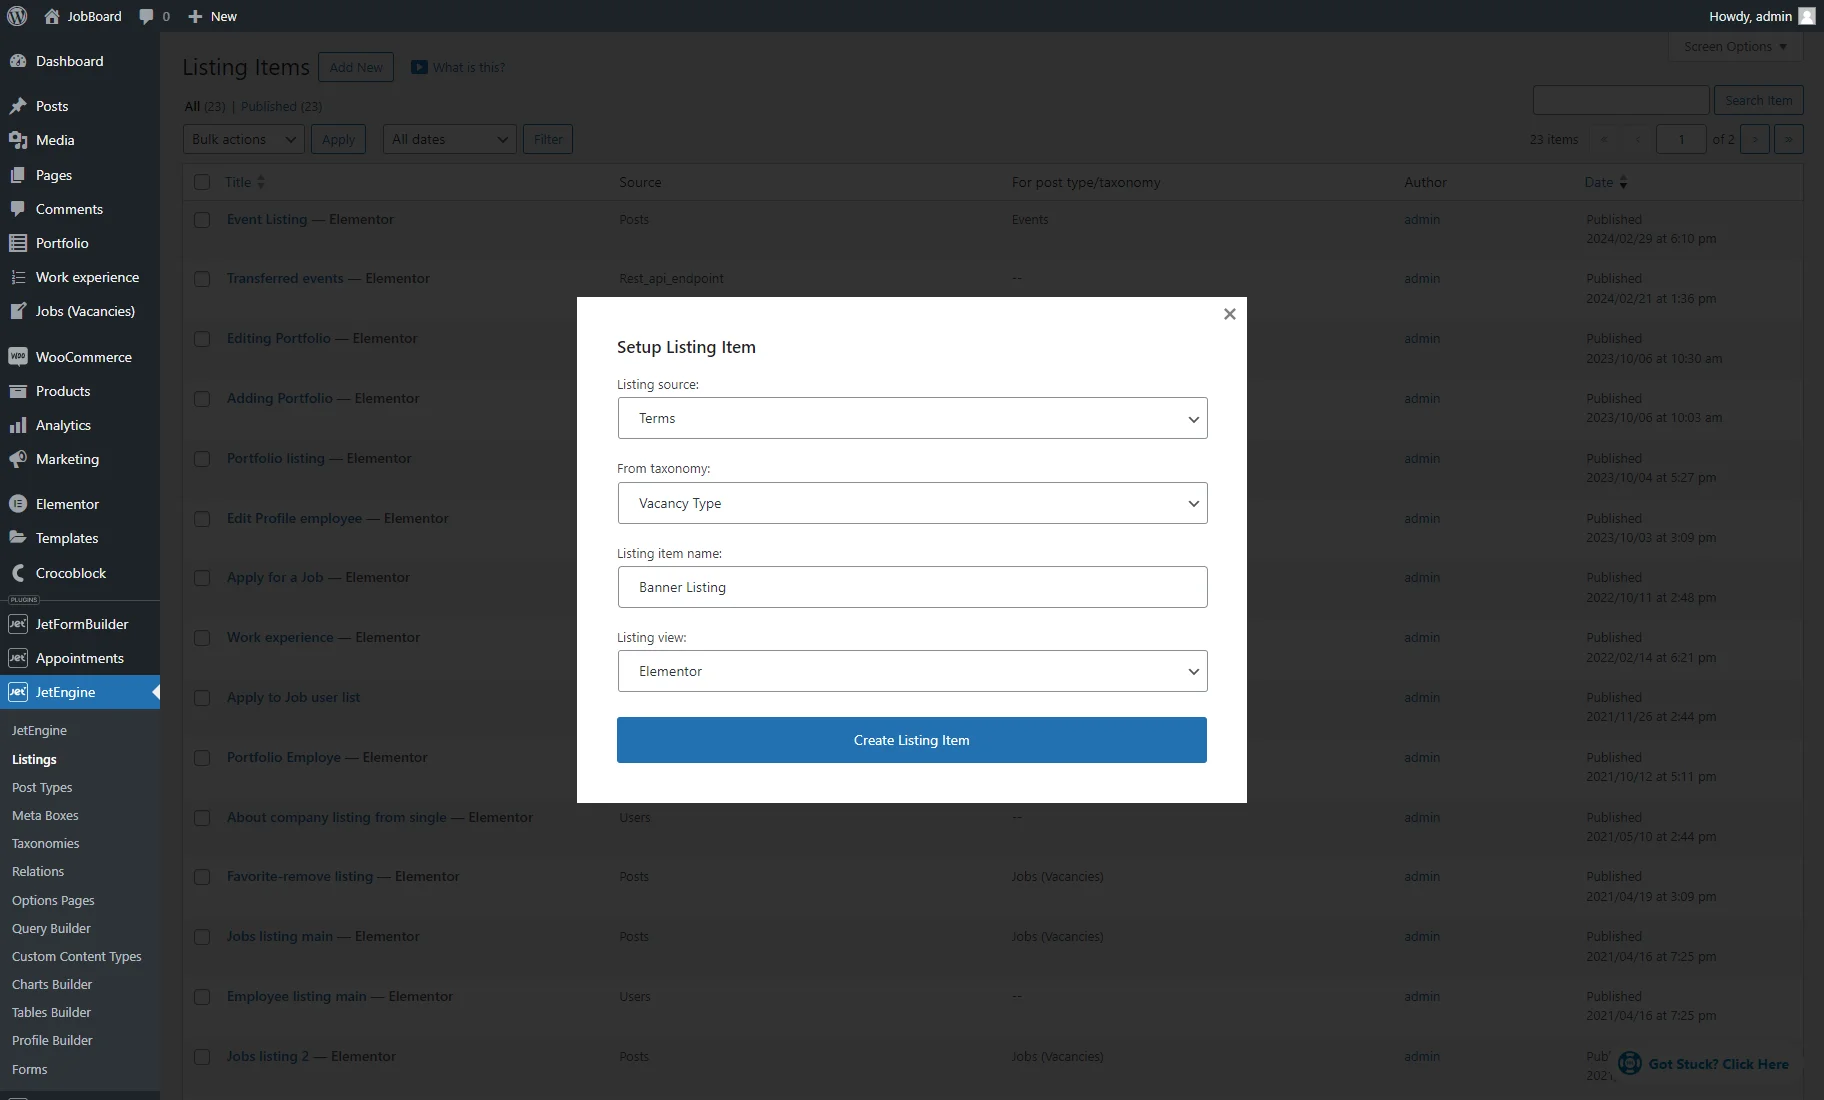
Head to WordPress Dashboard > JetEngine > Listings and click the “Add New” button.
Pick the “Terms” Listing source, set the needed taxonomy in the From taxonomy field, and enter the Listing item name. As the Listing view, you can select Elementor, Blocks (Gutenberg), or Bricks editors. For example, we chose the “Elementor” option.
Press the “Create Listing Item” button to open the editor.
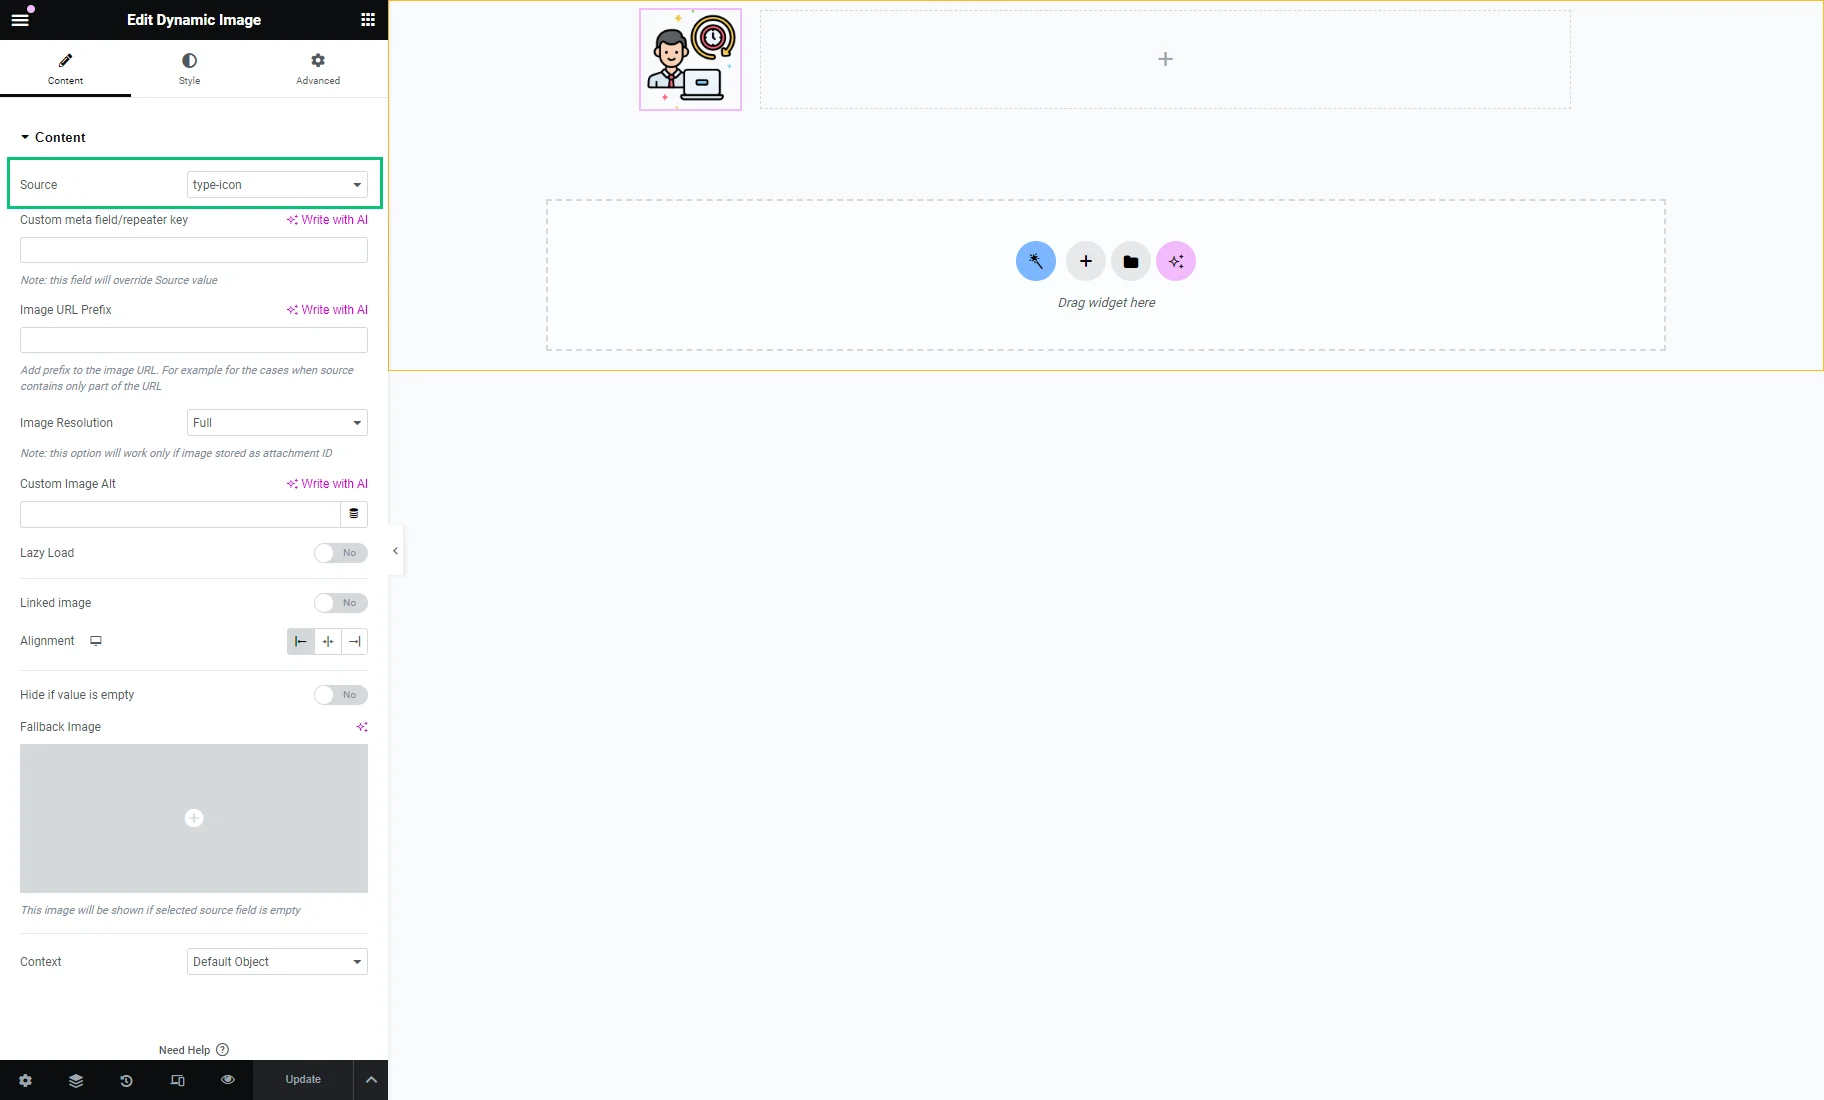
Here, you can customize the template to match the banner look. For instance, we drag-n-dropped the Dynamic Image widget and set the custom taxonomy “Media” field as the Source.
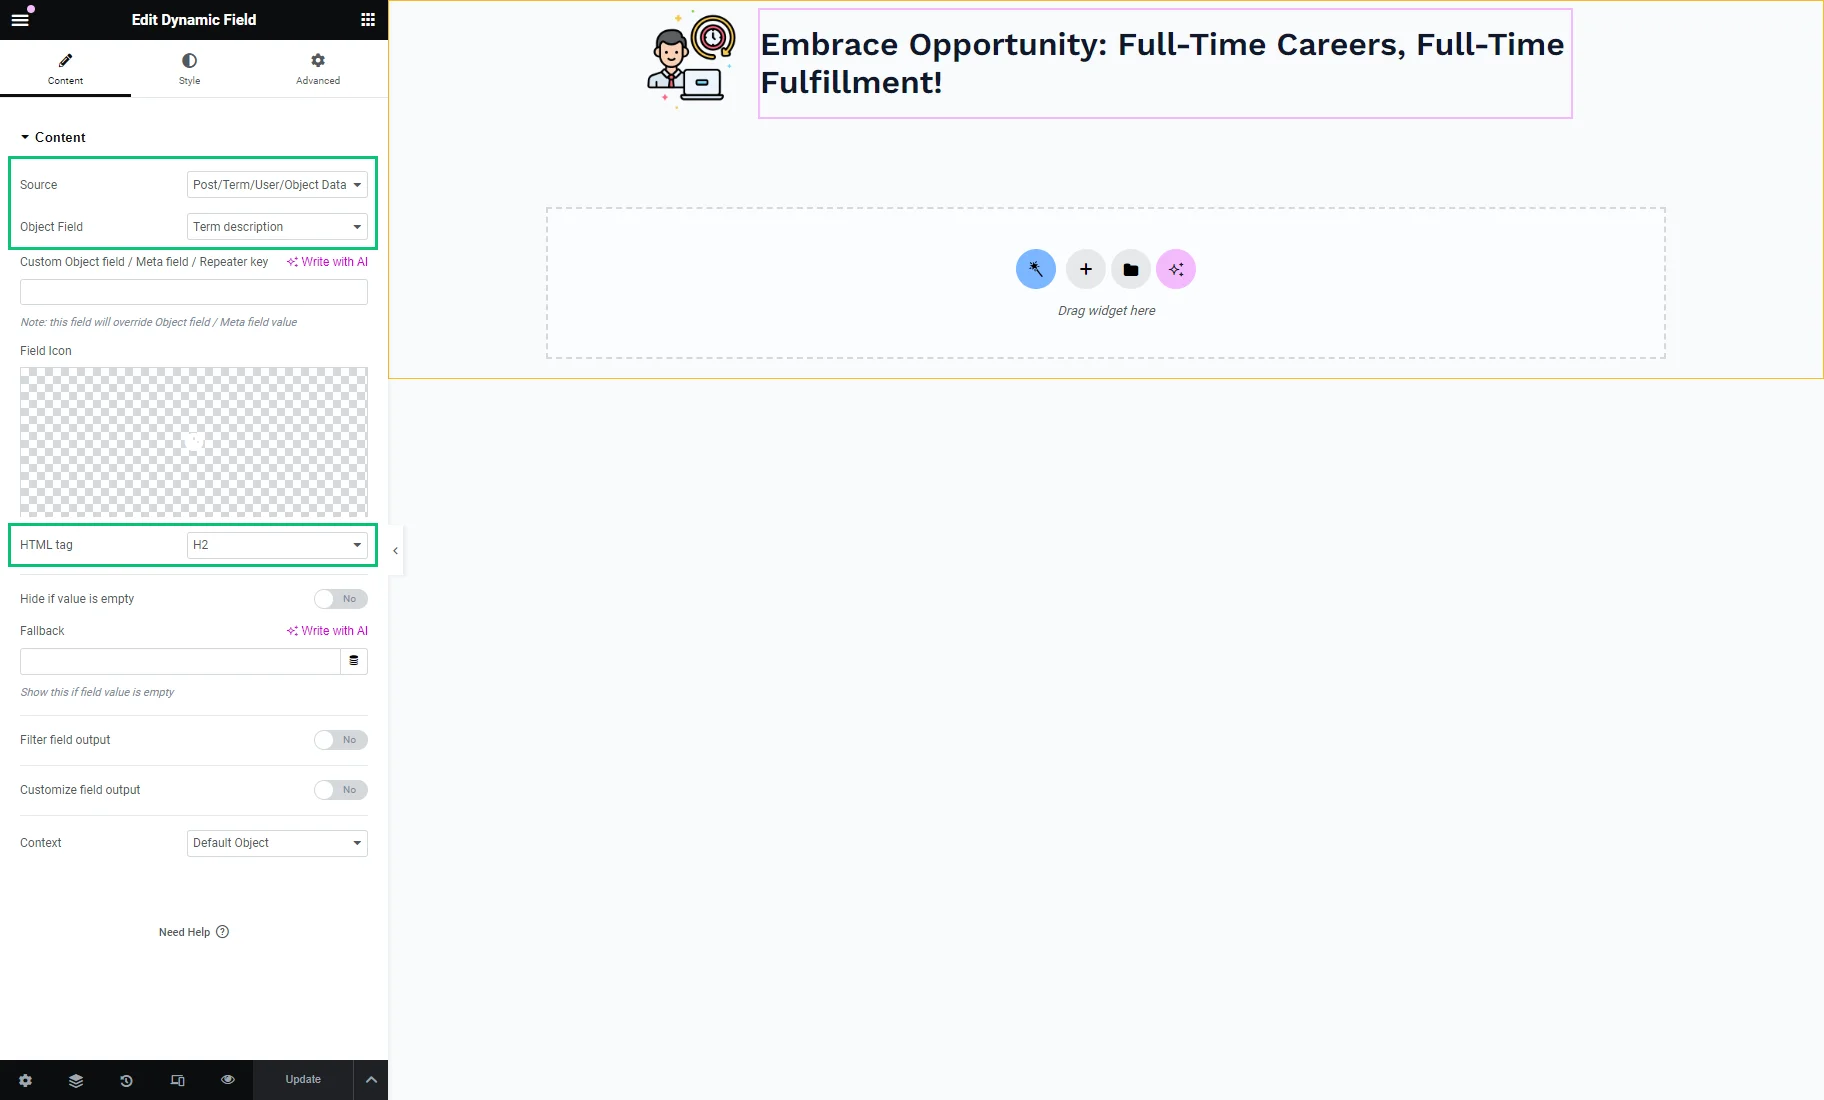
Then, we placed the Dynamic Field widget, for which we selected the “Post/Term/User/Object Data” Source, “Term description” Object Field, and “H2” HTML tag.
To put the banner in the frame, we opened the Style settings of the Section settings, unfolded the Border tab, and set the “Solid” Border Type. You can customize other style settings for the listing’s section, columns, and widgets if interested.

After adjusting all settings, we hit the “Update” button.
Customizing a Banner on the Page
Create a new page or open the needed one.
For instance, we went to WordPress Dashboard > Pages > Add New Page, typed the page name, and hit the “Edit with Elementor” button.
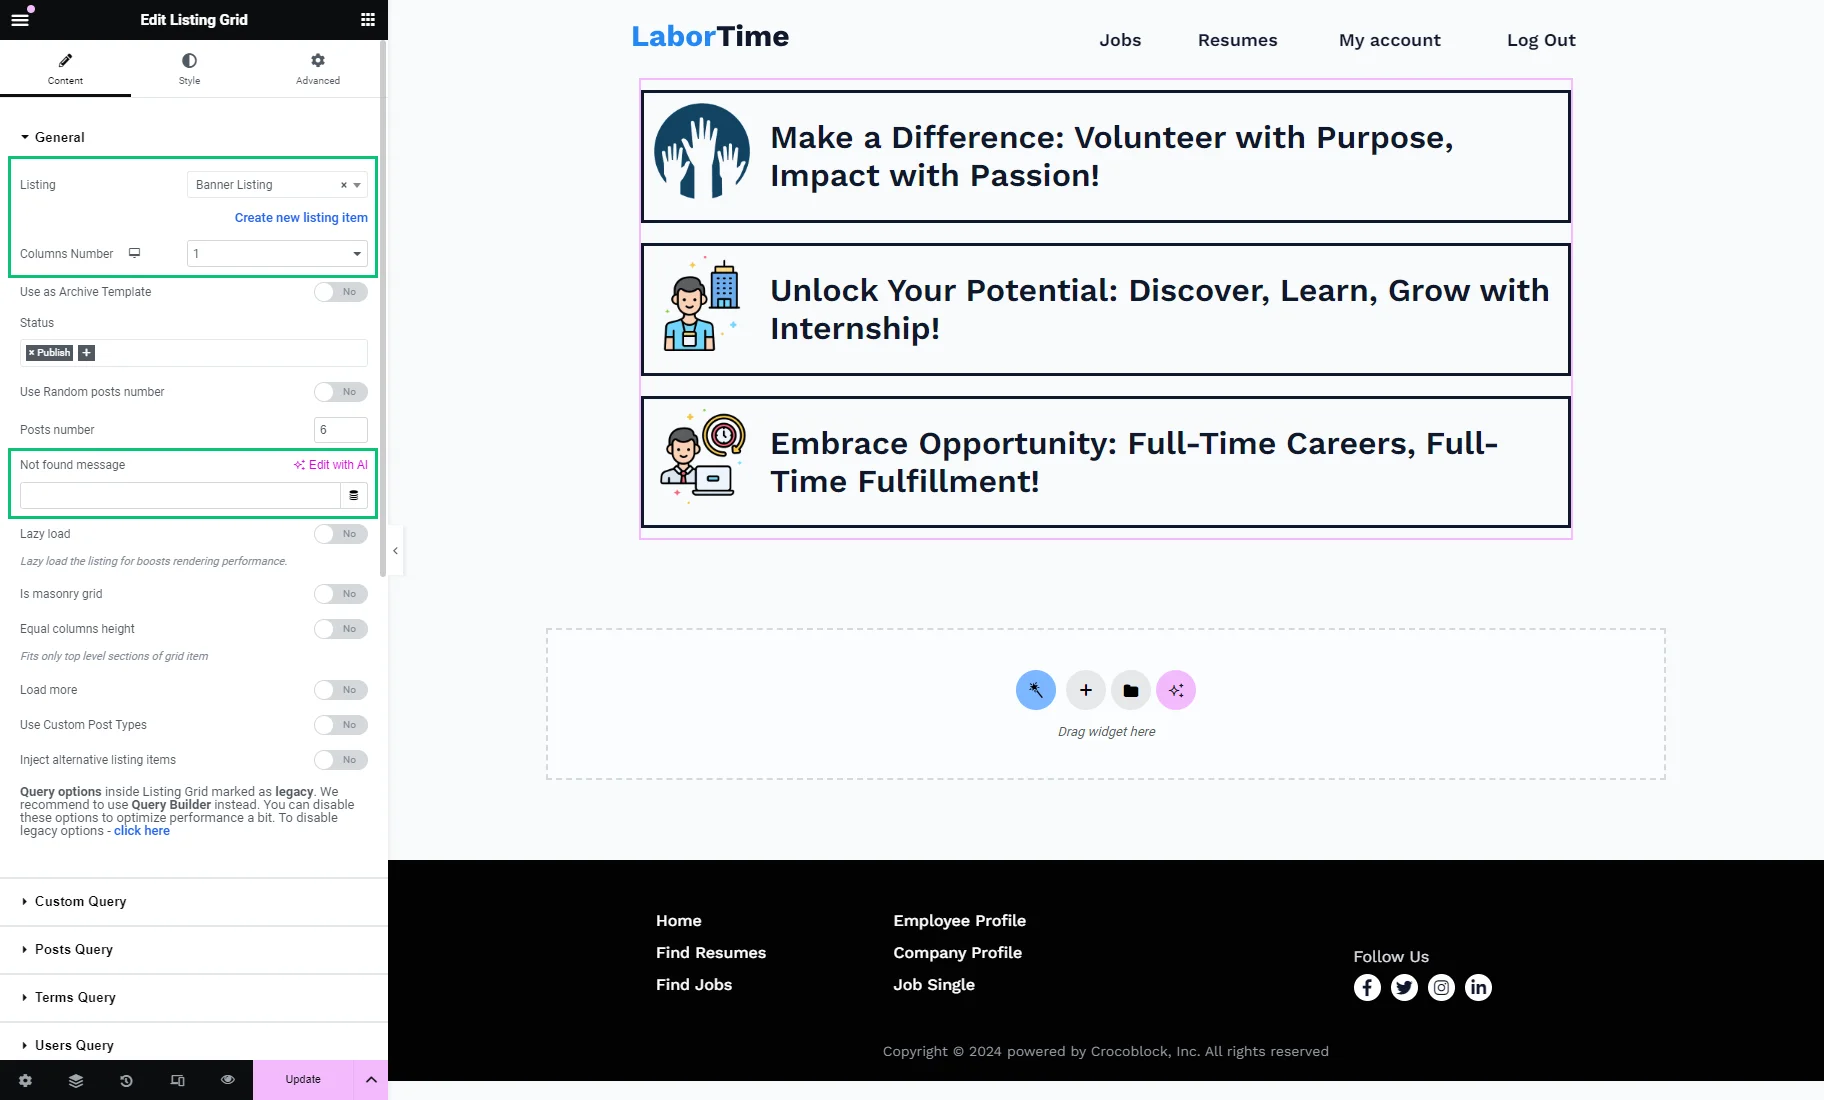
We placed the Listing Grid widget on the top of the page, chose the recently created Listing for the banner, and set the “1” value as a Columns Number.
After you apply a custom query to the Listing Grid, it will show the Not found message. You can leave this field empty to make the widget invisible until the filter is applied or set a custom message.
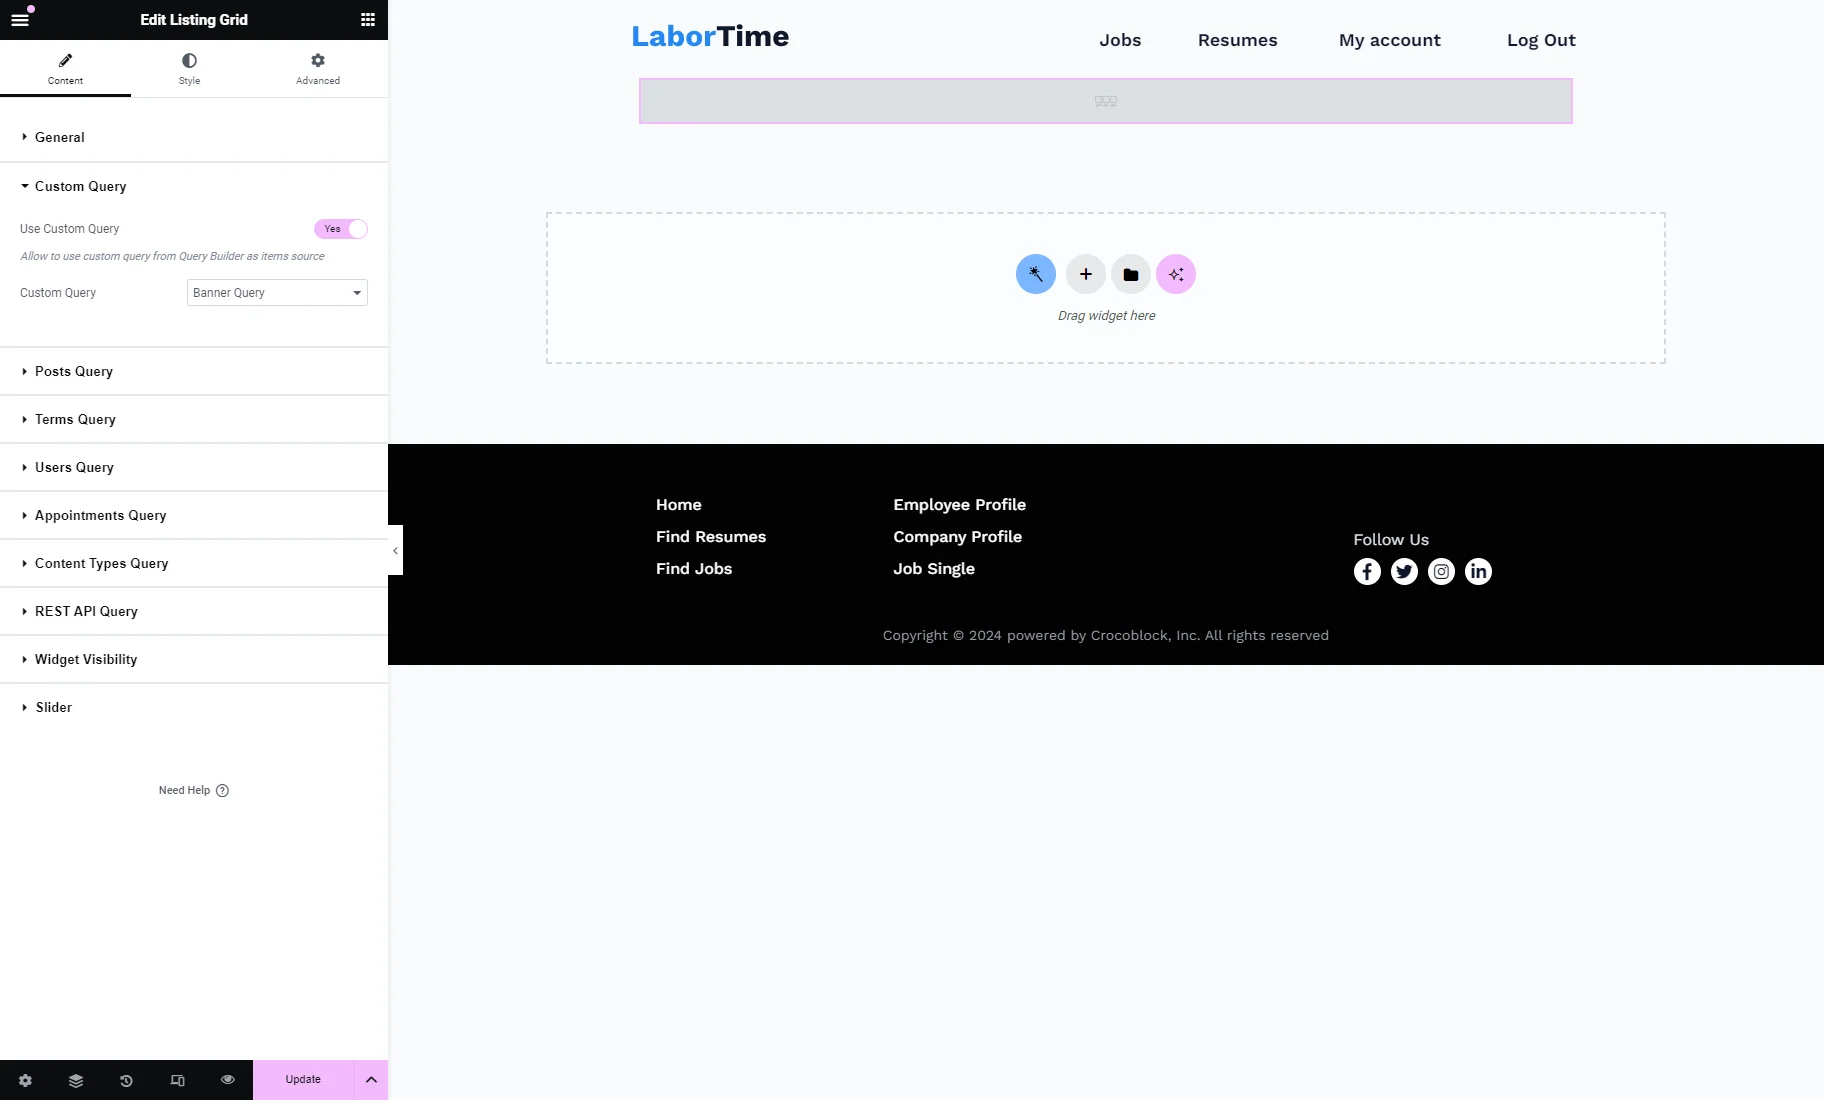
Then, we unfolded the Custom Query tab, enabled the Use Custom Query toggle, and picked the recently created Custom Query.
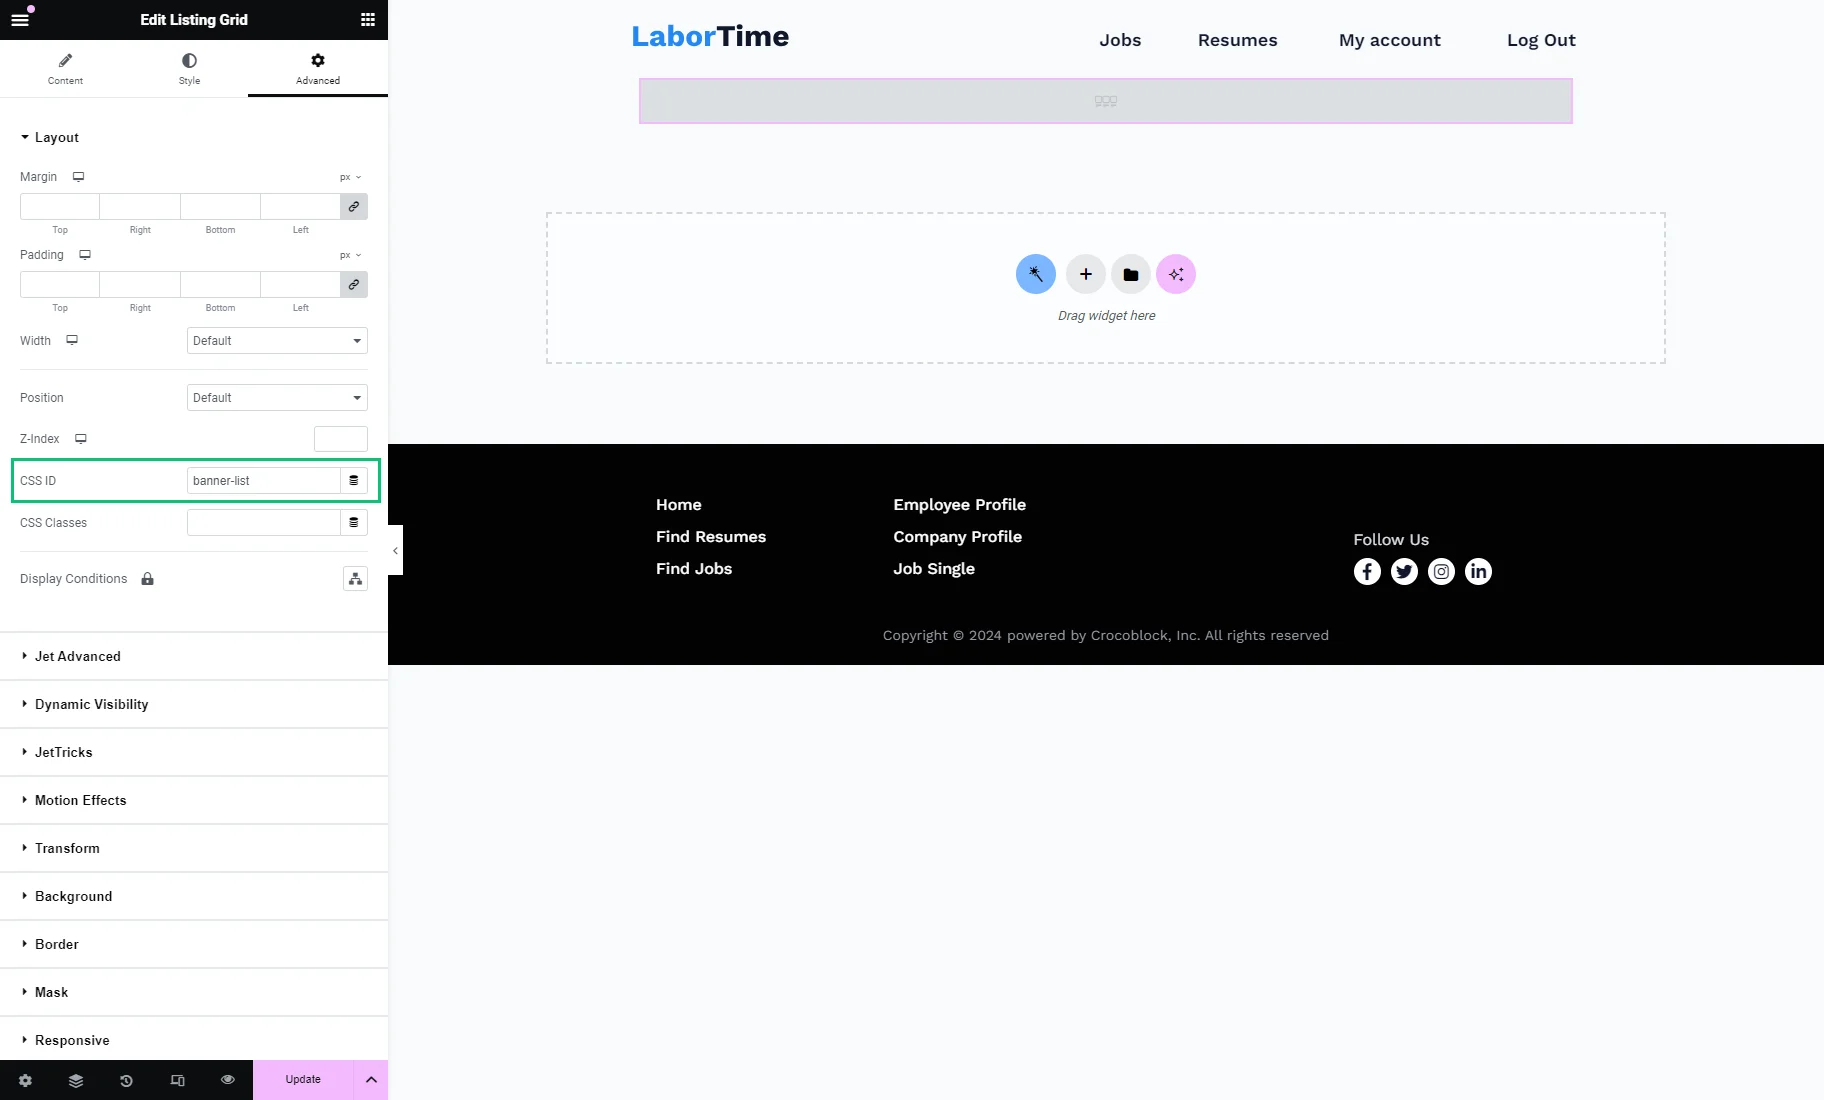
We opened the Advanced settings section and typed the CSS ID (e.g., it can be “banner-list”). We will use this ID in the filter settings later.
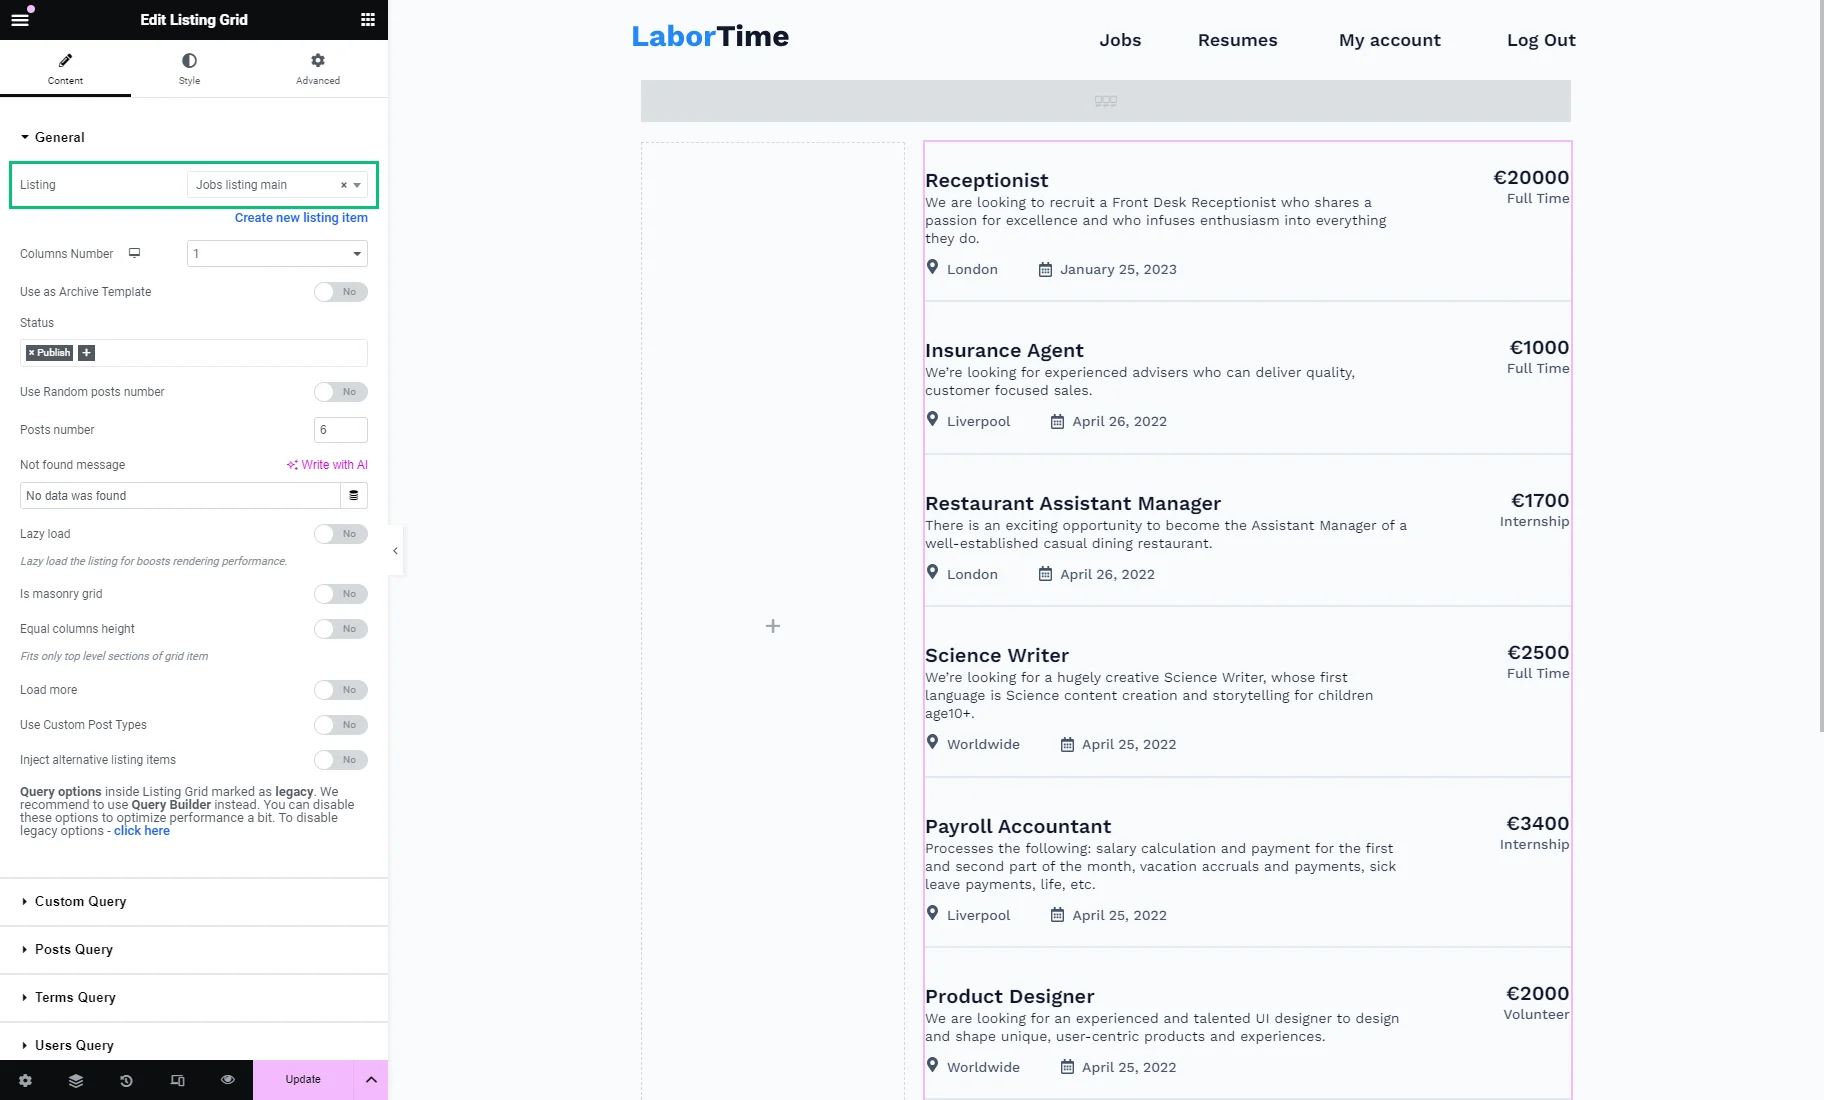
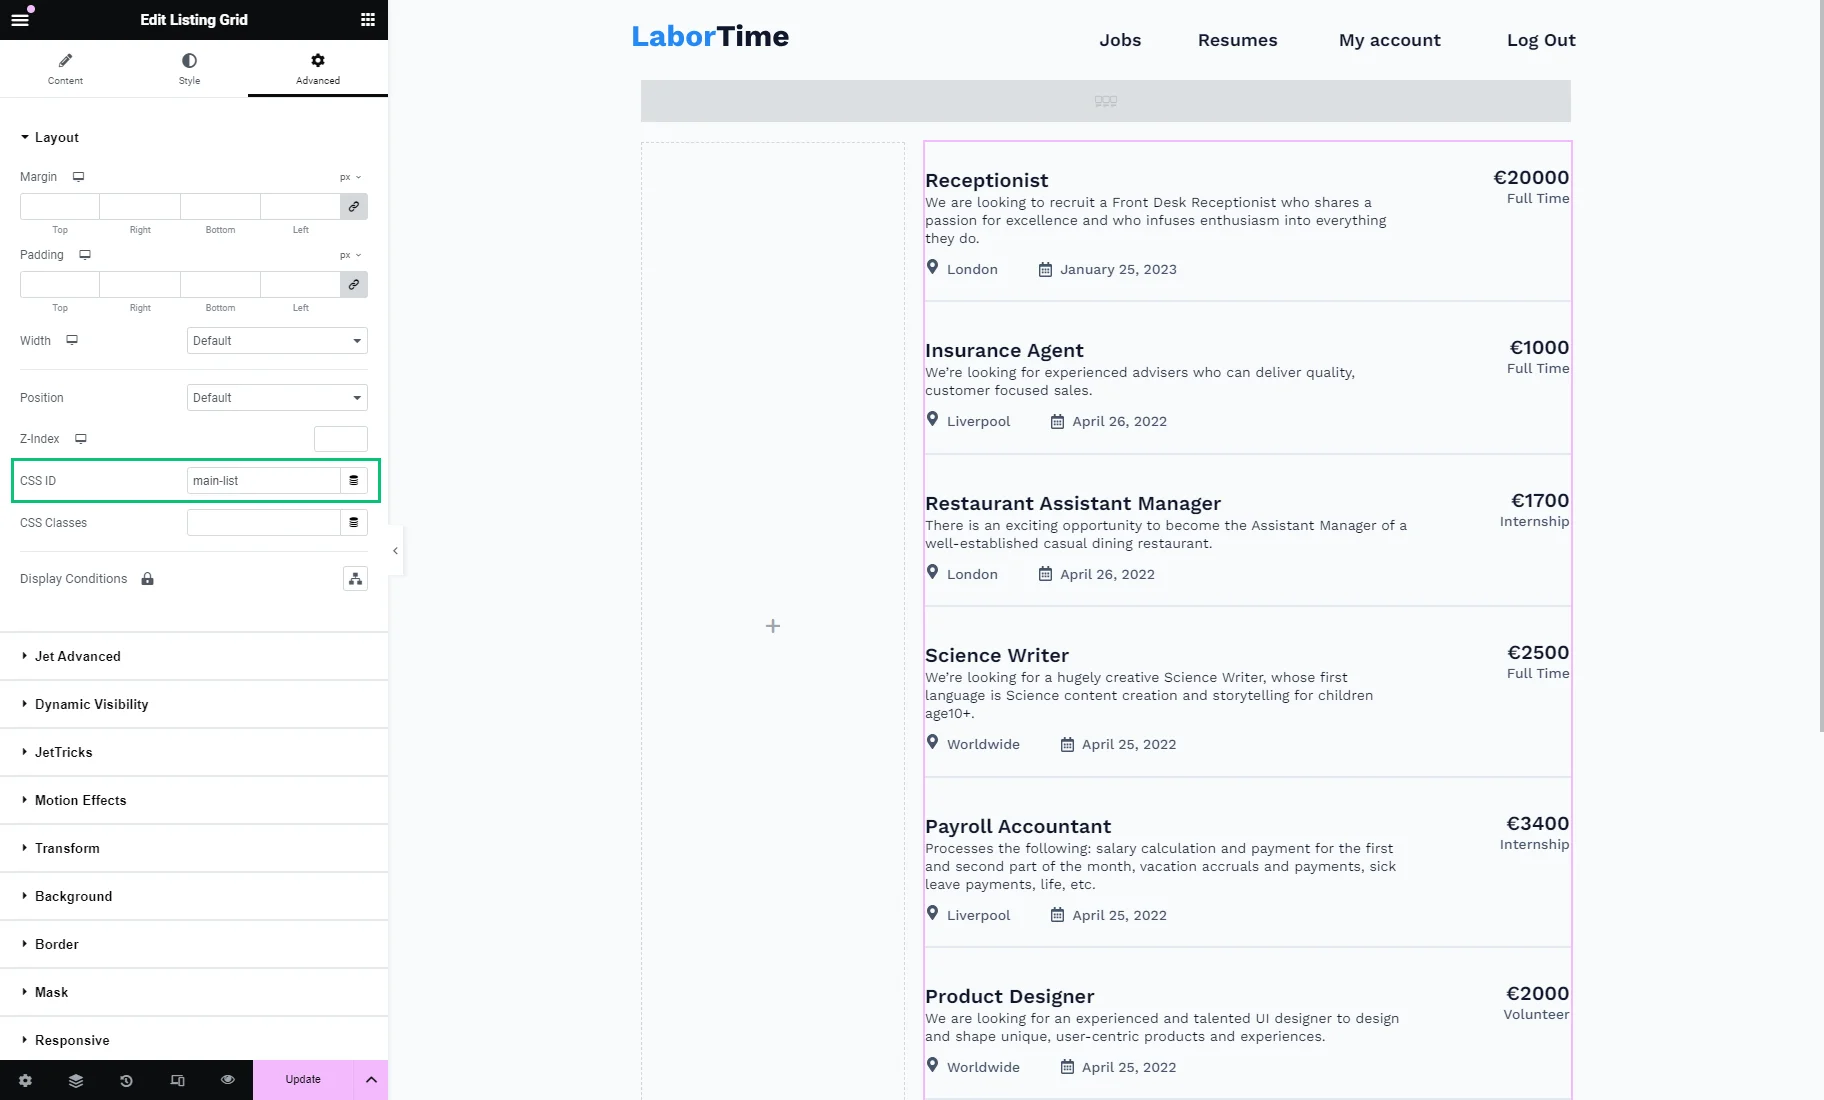
Next, we added two Columns and placed another Listing Grid to the second column. Here, we selected the Listing with vacancies created for the “Jobs (Vacancies)” CPT. To learn more, proceed to the How to Create a Listing Template for Post Types in Elementor tutorial.
We opened the Advanced settings section and typed the CSS ID as well (in our case, it’s “main-list”).
Eventually, we drag-n-dropped the Radio Filter widget. If you created the “Select” filter, you need to use the Select Filter widget respectively.
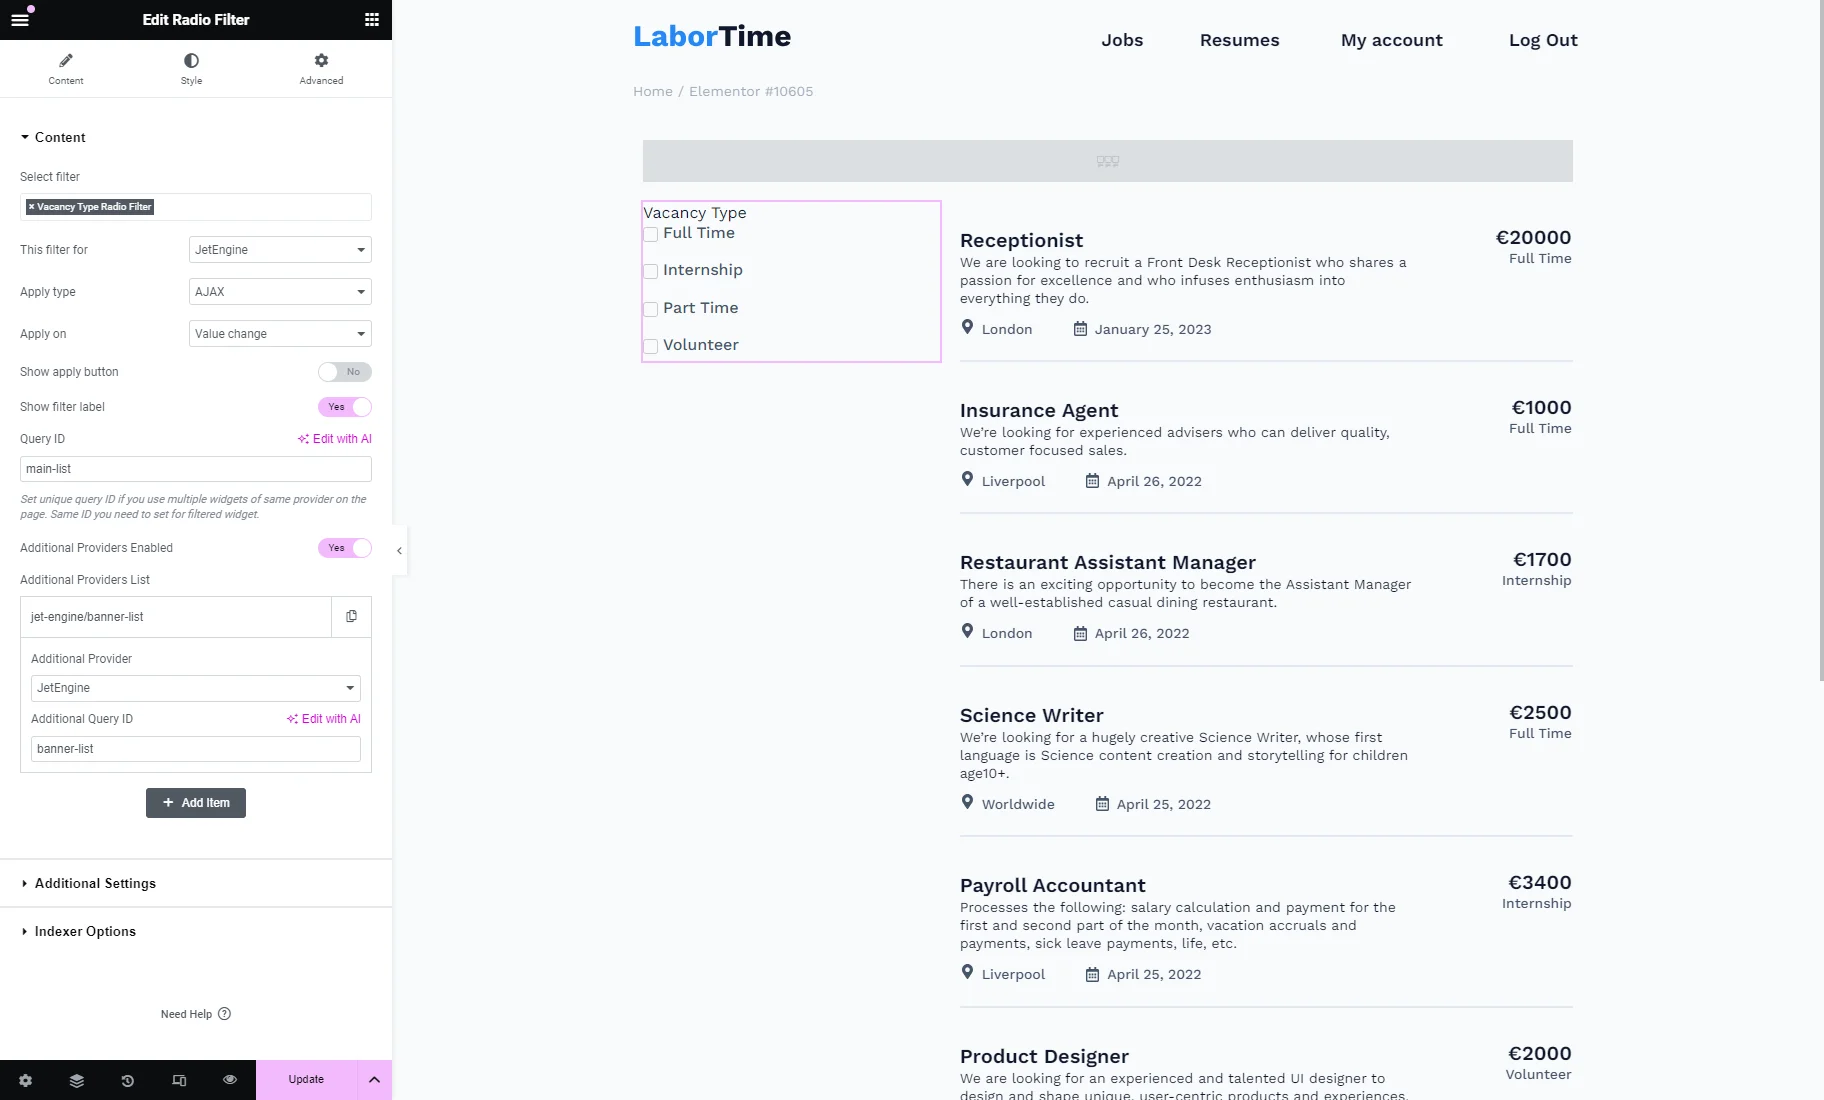
In the filter Content settings, we set the needed filter in the Select filter field.
The This filter for field is for the filter’s main provider. In our case, it’s the Listing Grid with vacancies, so we picked the “JetEngine” option. Learn what widgets, blocks, and elements can be used with the JetSmartFilters filters from the Filters Providers Overview.
Optionally, we set such settings: picked the “AJAX” Apply type and “Value change” Apply on and enabled the Show filter label toggle.
In the Query ID field, we entered the CSS ID of the main provider widget (in our case, it’s the “main-list” of the Listing Grid with vacancies).
To attach the filter to the Listing Grid with banners, we activated the Additional Providers Enabled toggle and pressed the “+ Add Item” button. Since the second provider is also a Listing Grid, we chose the “JetEngine” Additional Provider. Into the Additional Query ID field, we pasted the CSS ID (“banner-list,” in our case).
To learn more about the Additional Settings tab, proceed to the Additional Settings chapter of the Radio Filter Overview.
You can also set the Indexer Options. For that, we activated the Apply Indexer and Show Counter toggles. The counter will work correctly on the front end after applying the filter.

The essential settings have been adjusted, so you can now customize the style settings.
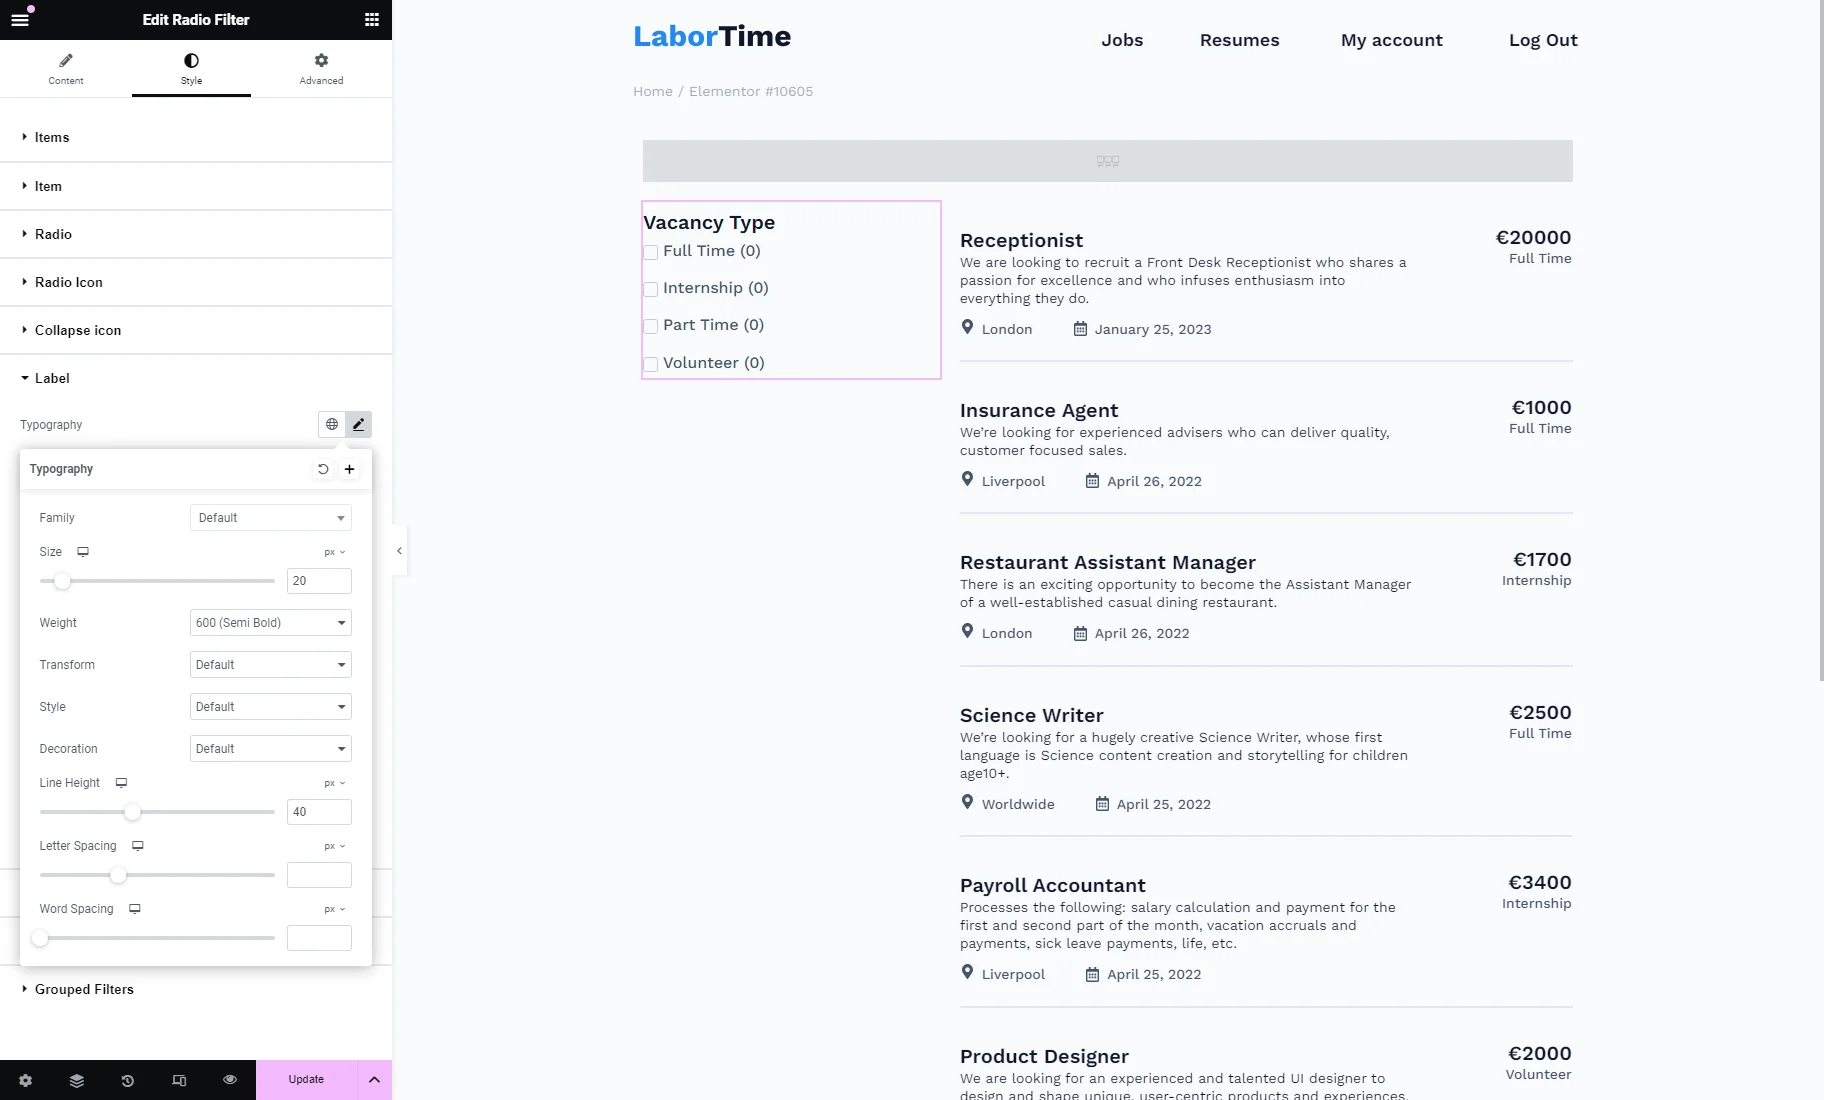
For instance, to customize the filter label, we opened the Style section tab of the Radio Filter widget and unfolded the Label tab. We clicked the “pencil” icon near the Typography to open a popup. Here, we set the “20” Size, “600 (Semi Bold)” Weight, and “40” Line Height.
After modifying all needed settings, hit the “Publish/Update” button.
Checking the Results
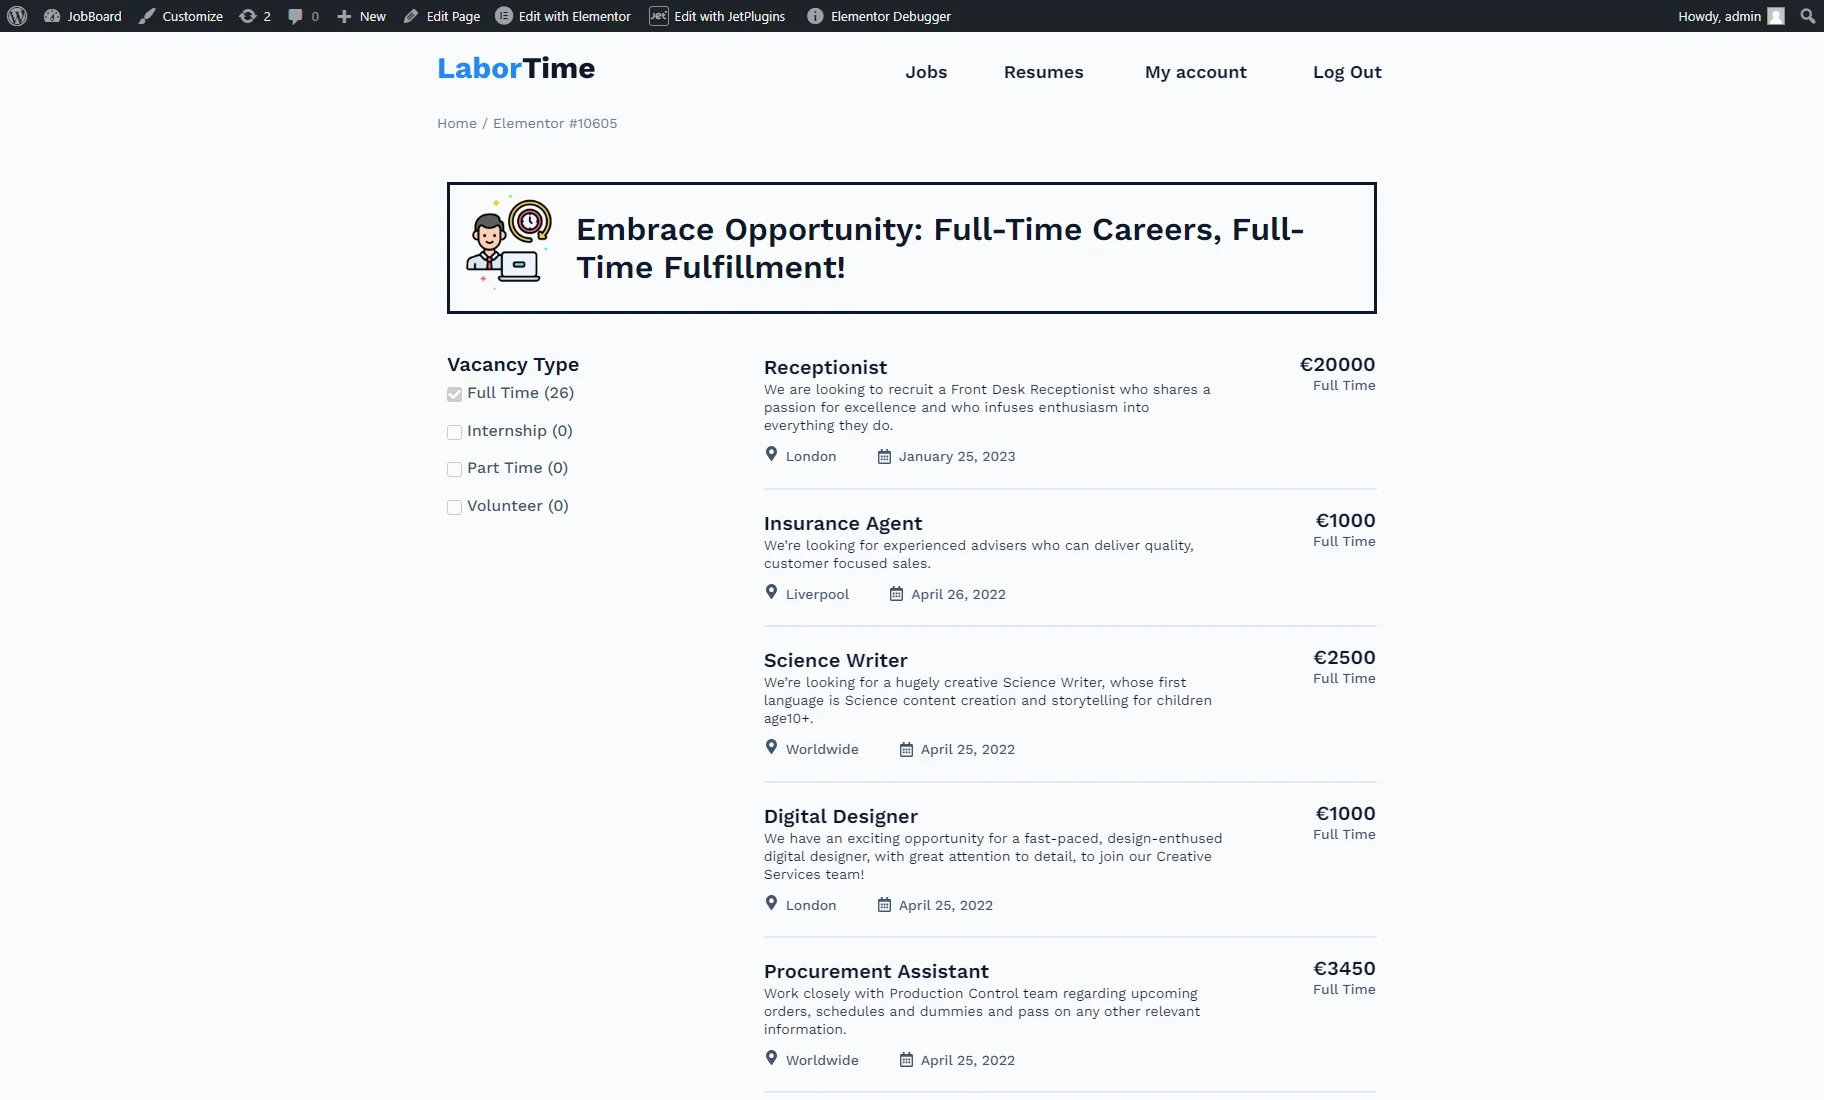
We opened the page on the front end. The banner hasn’t been shown since the filter hasn’t been applied yet.
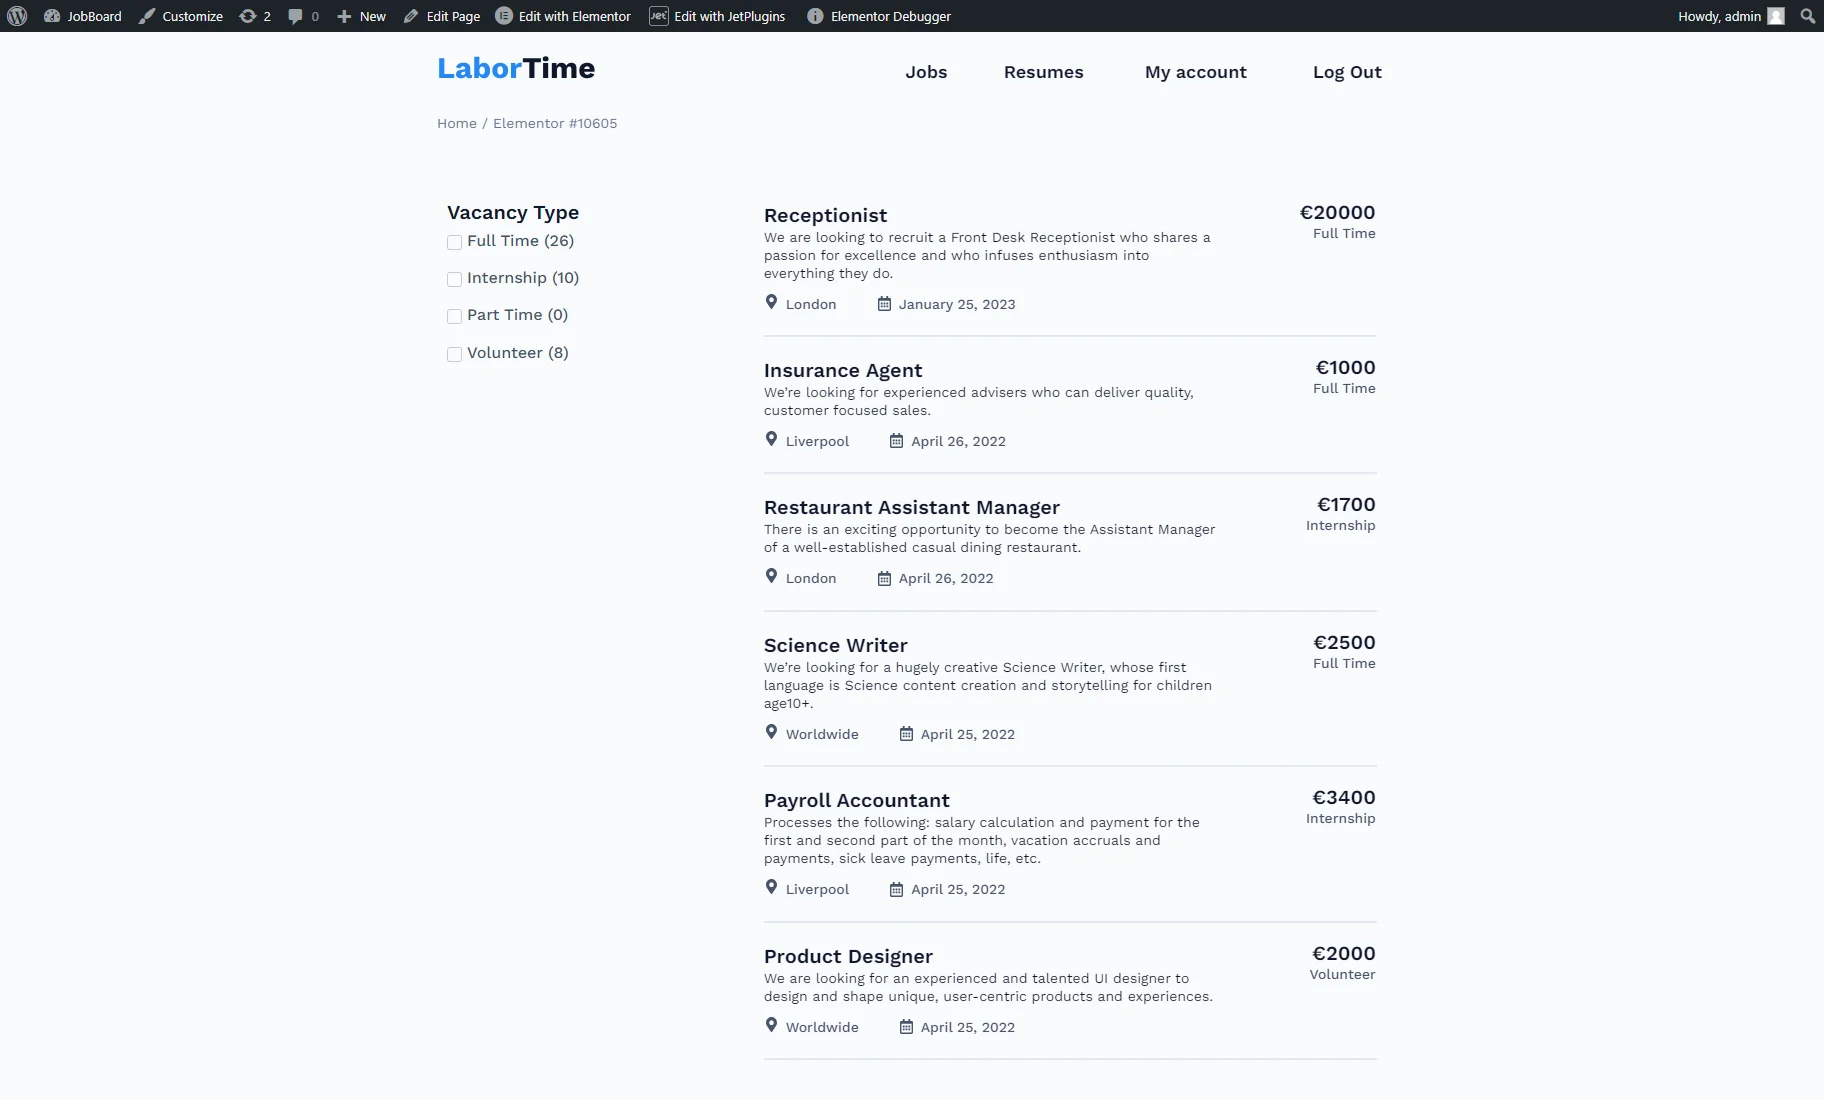
After we picked an option from the Radio Filter (the “Full Time” category), the appropriate banner appeared.
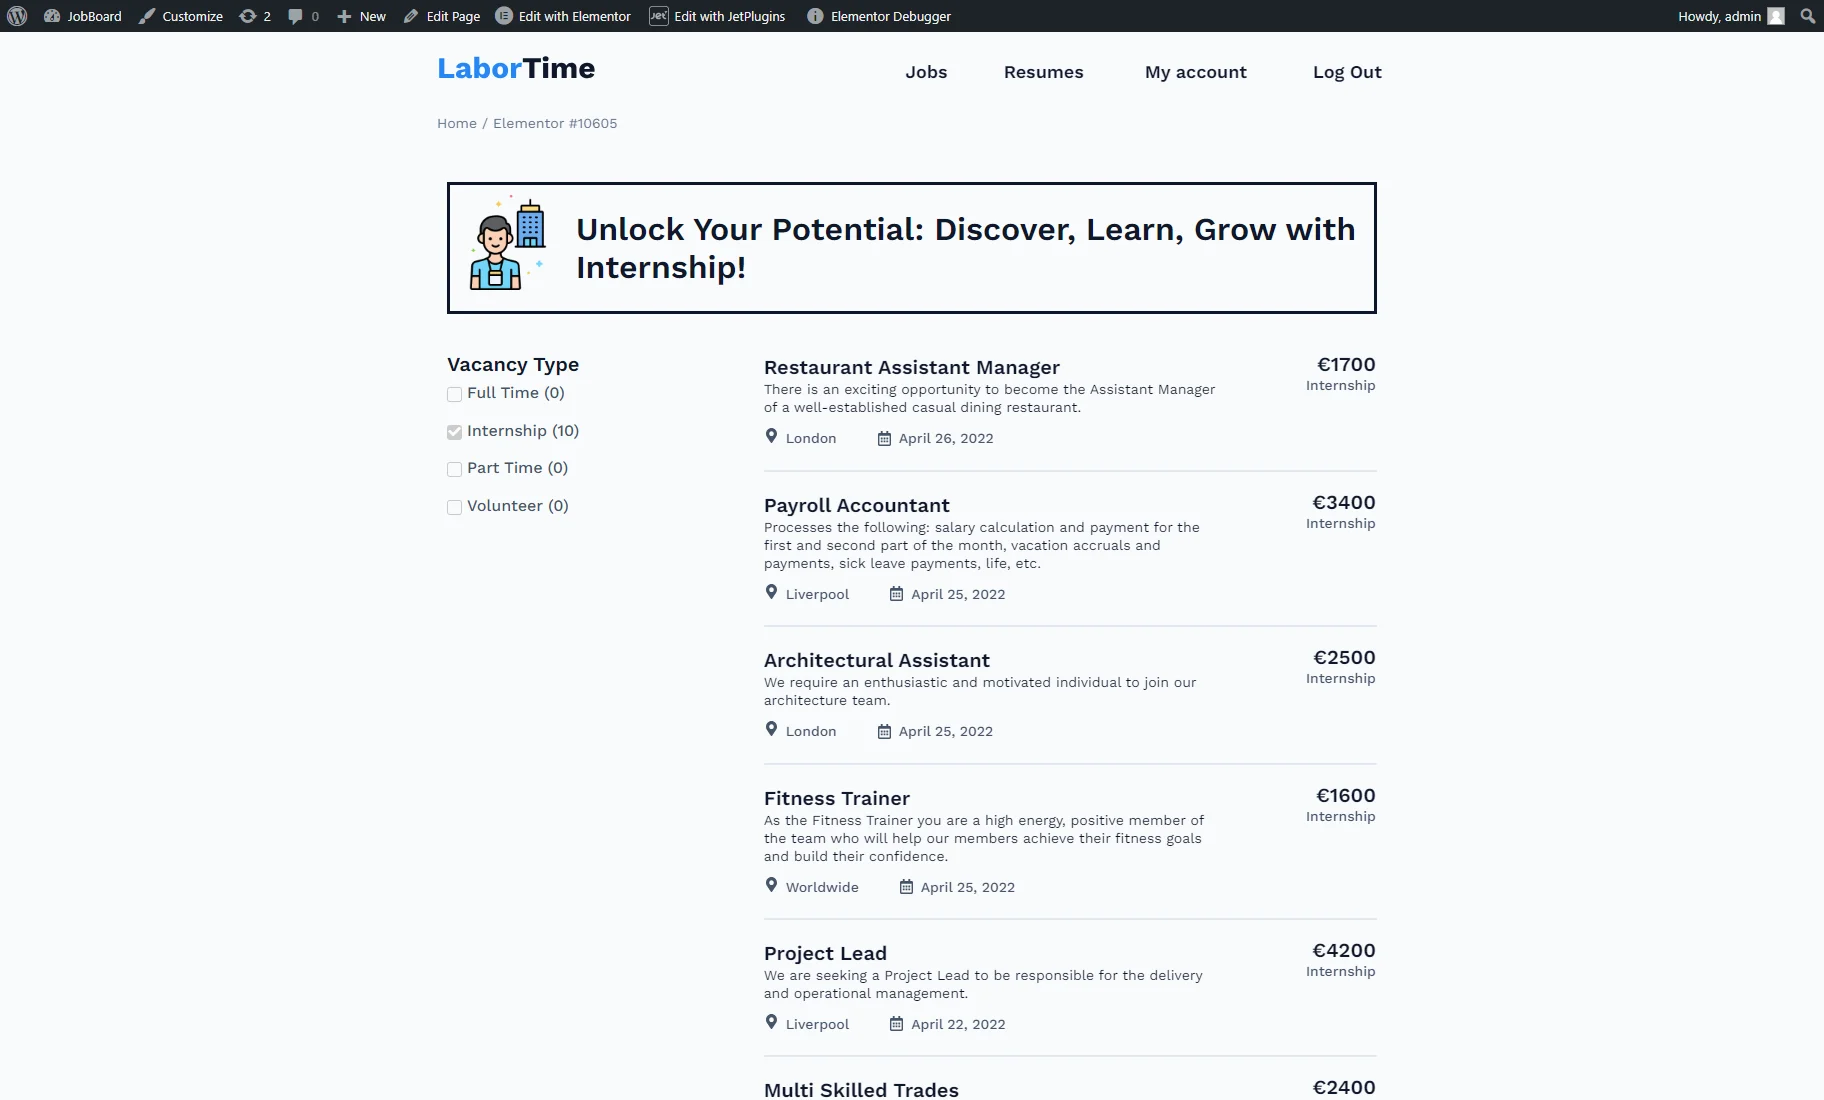
After we selected another option (the “Internship” category), another banner appeared.
That’s all. Now you know how to change the banner on the front end after filtering by category using the JetSmartFilters and JetEngine plugins on your WordPress website.