How to Filter Posts by Custom Date Range
This tutorial explains how to set date limits for users to filter with the custom date range for the Date Period and Date Range filters of the JetSmartFilters WordPress plugin.
Before you start, check the tutorial requirements:
- Elementor (Free version), or WordPress Block editor (Gutenberg), or Bricks
- JetSmartFilters plugin installed and activated
With the Custom Date Range option, it’s possible to set limits on dates for users to filter the content.
The purpose is to ensure users focus on recent or upcoming events, transactions, or content that align with their immediate needs and interests. This limitation can help users quickly find relevant information without having to sift through outdated or irrelevant data.
The Custom Date Range option can be used for such use cases:
- E-commerce — filtering products by availability date;
- Event calendars — filtering events by upcoming dates;
- Financial dashboards — viewing transactions within a specific period;
- Travel booking — selecting travel options within a date range;
- Project management — filtering tasks by deadlines.
This tutorial will present how to adjust the custom date range for the Date Range filter to sort events.
Preparations
Prepare posts or products you want to sort with the Date Range filter. You can sort by the value saved in the “Date,” “Datetime,” or “Advanced Date” custom meta fields or by the posted or modified date.
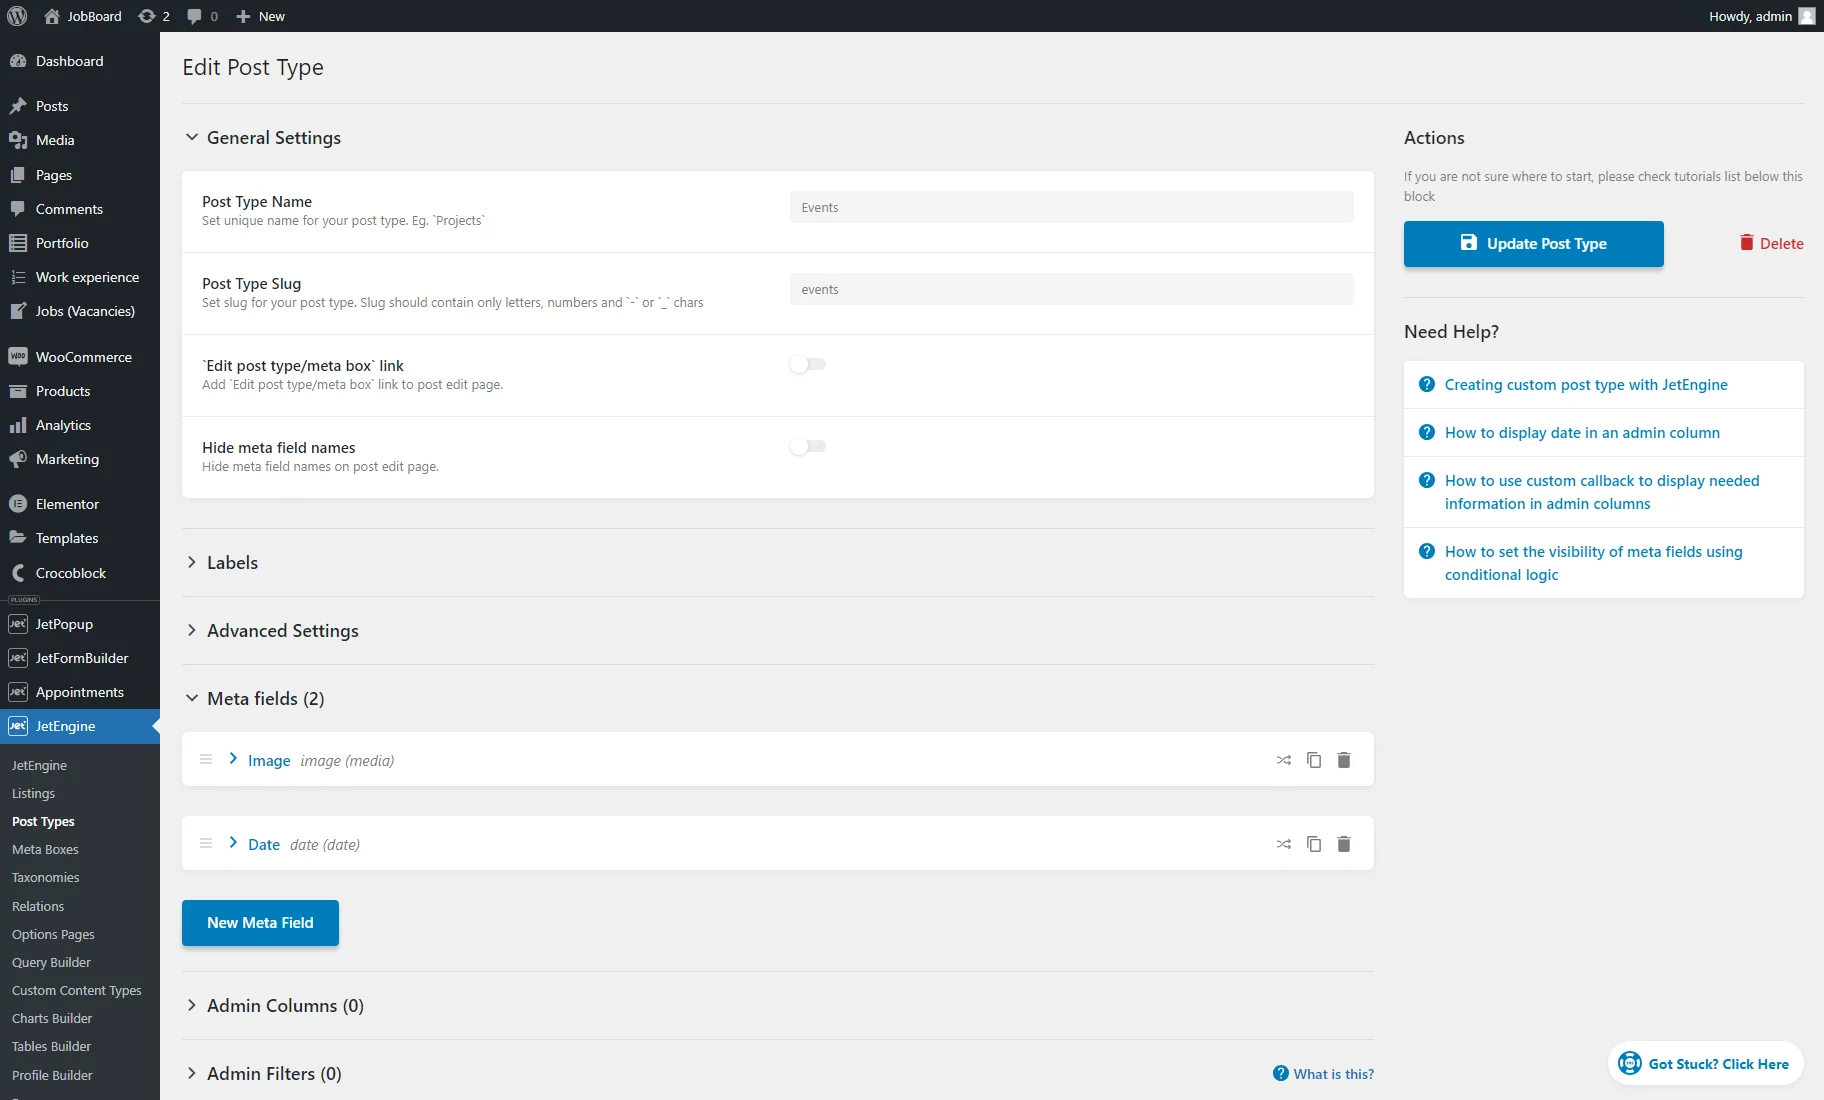
For example, we created the “Events” Custom Post Type in the WordPress Dashboard > JetEngine > Post Types tab by clicking the “Add New” button.
We entered the Post Type Name and Post Type Slug and added the “Media” and “Date” meta fields.
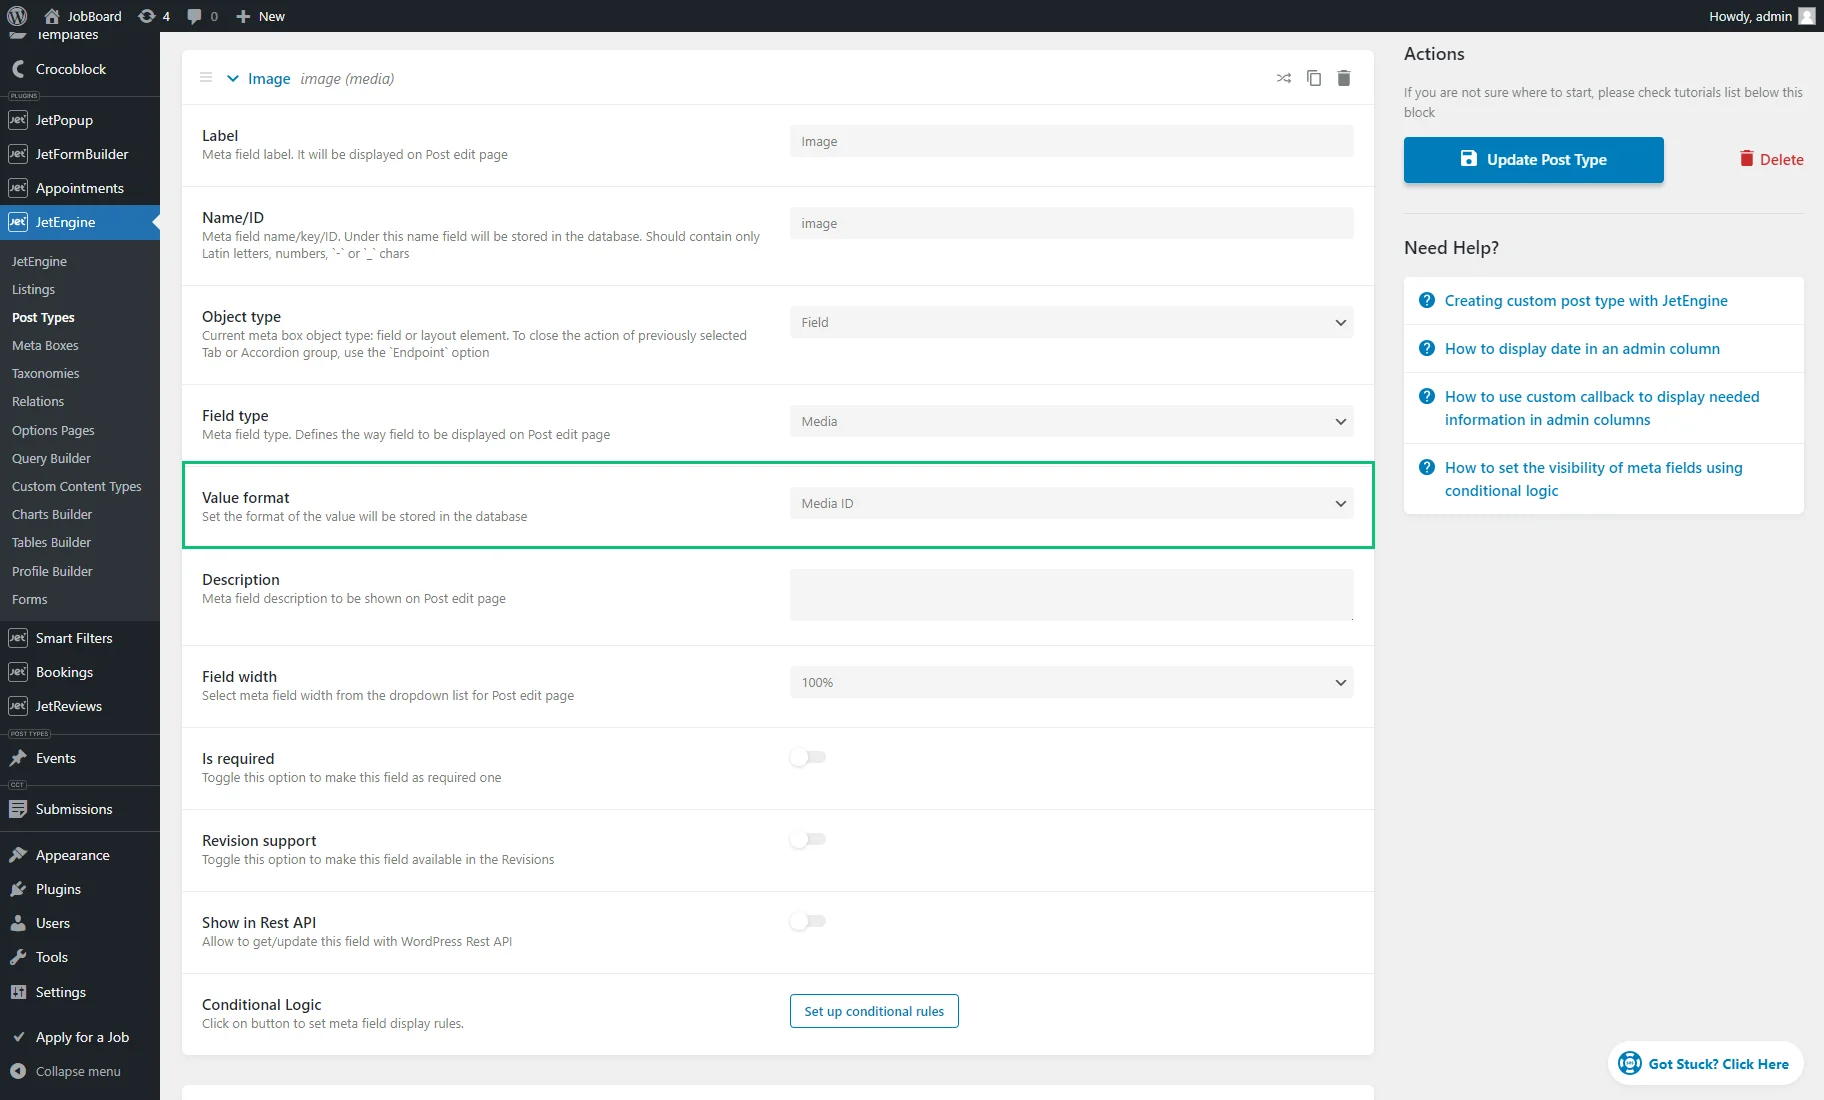
For the “Media” meta field, the Value format should be set to correctly store the value in the database and avoid further issues. For this tutorial, it’s immaterial what exact format is selected.
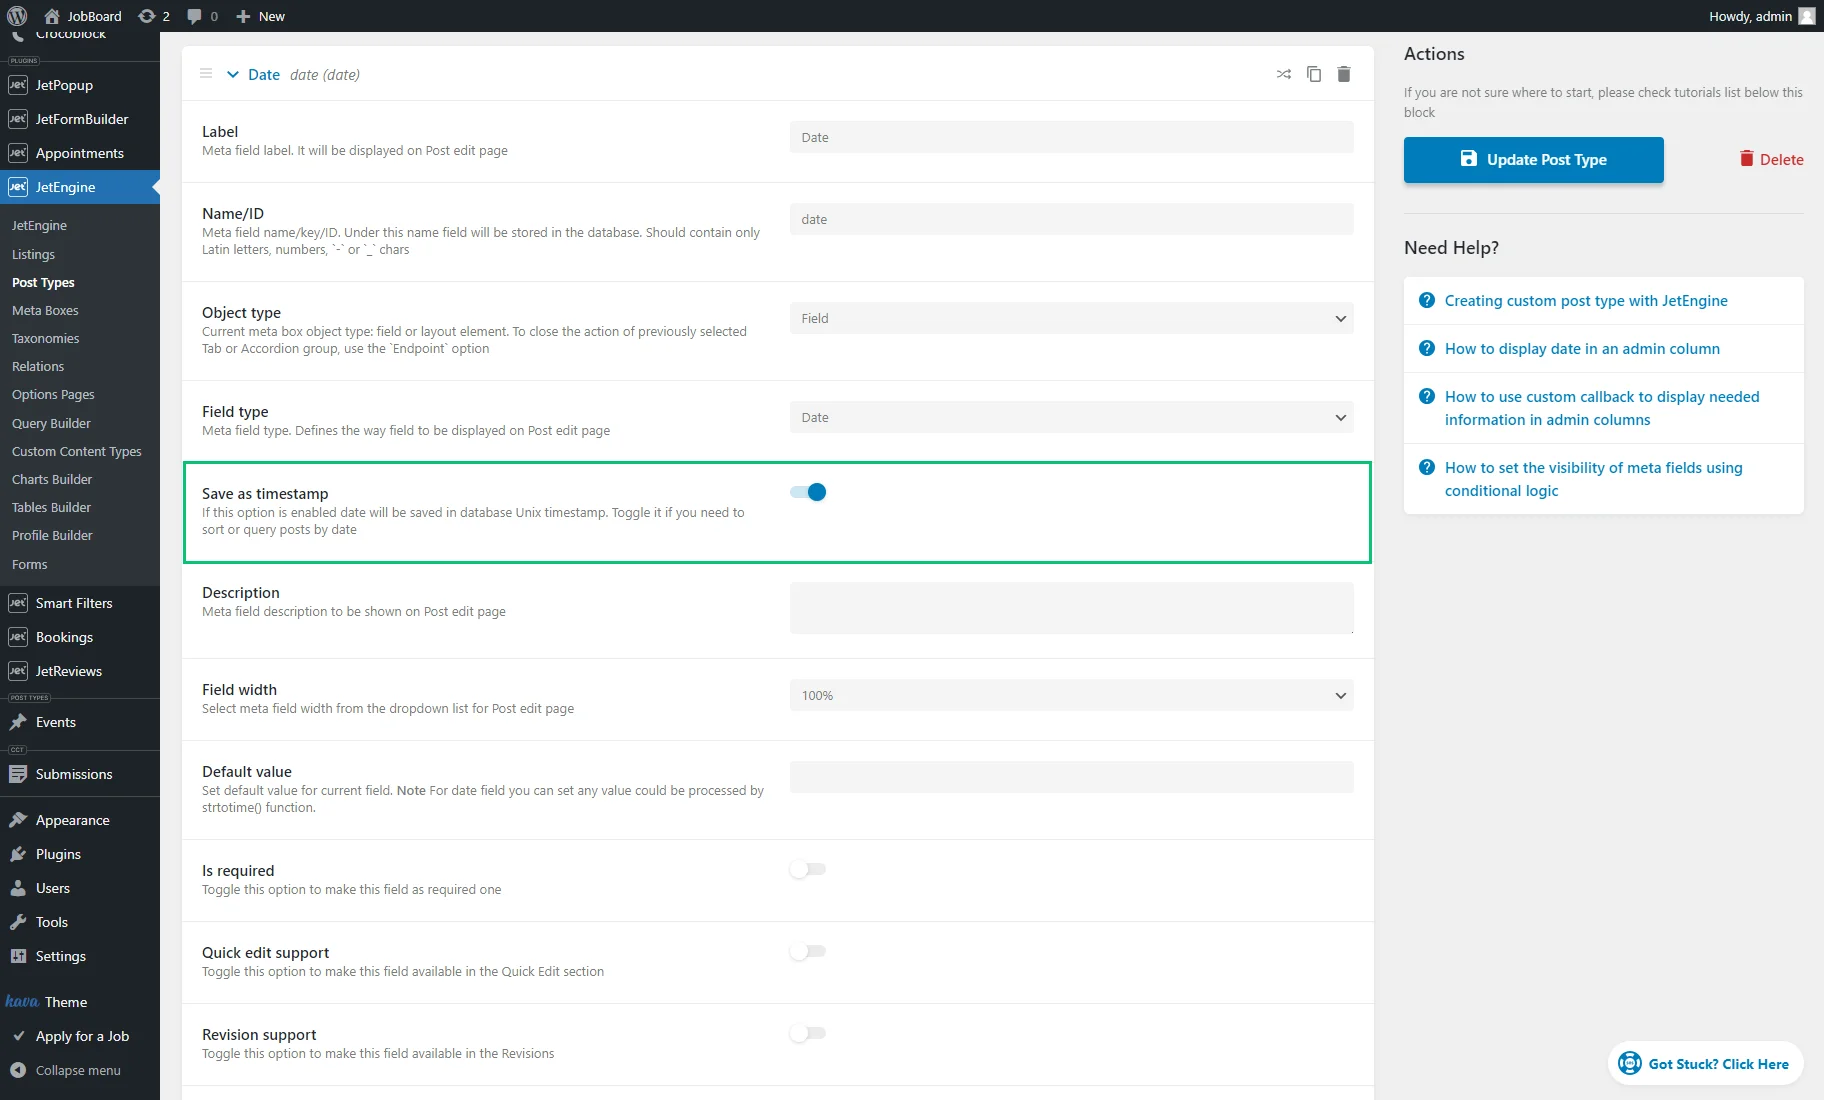
For the “Date” and “Datetime” meta fields, the Save as timestamp toggle should be enabled.
The CPT settings can be saved by hitting the “Add/Update Post Type” button.
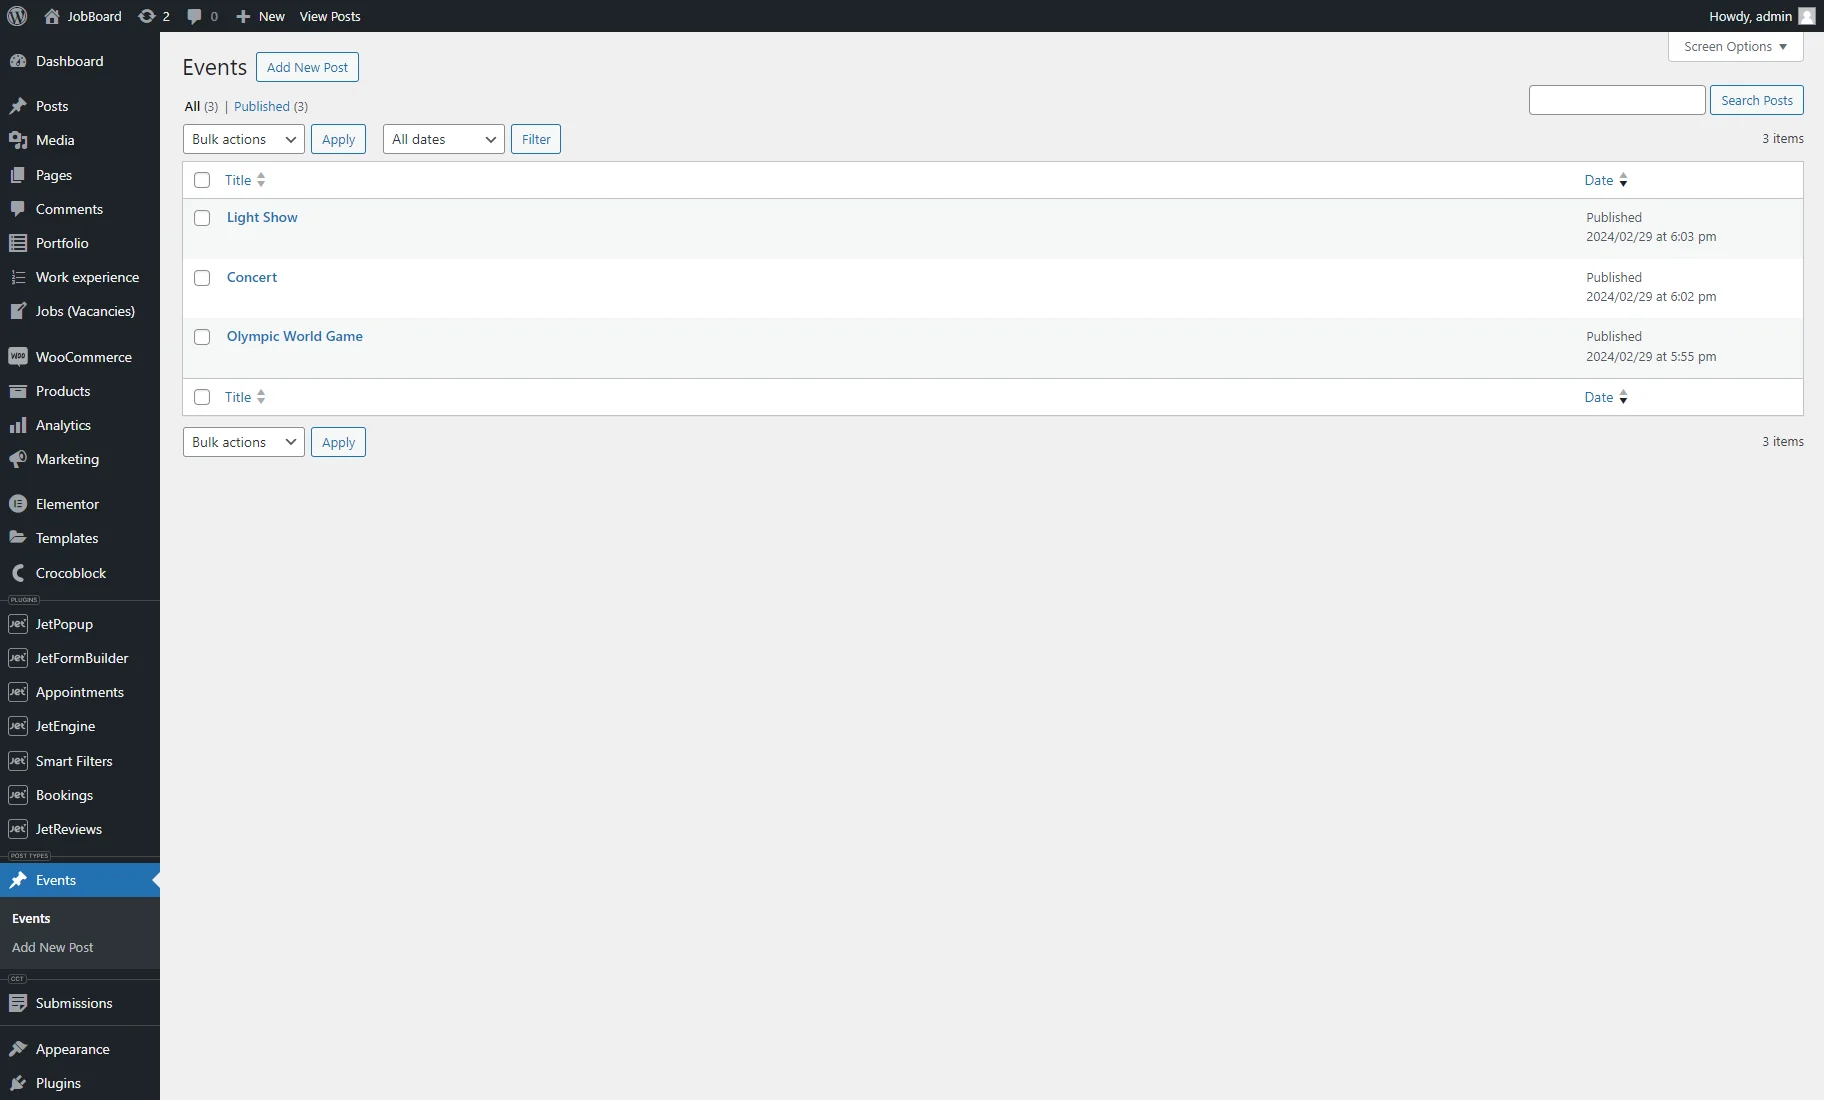
Then, we headed to the menu tab of the built CPT on the WordPress Dashboard and created several posts.
Posts can be displayed in the Listing Grid in the Elementor, Gutenberg, or Bricks editor. For that, the Listing Template should be created in advance.
Learn how to create a listing in Elementor, Gutenberg, and Bricks.
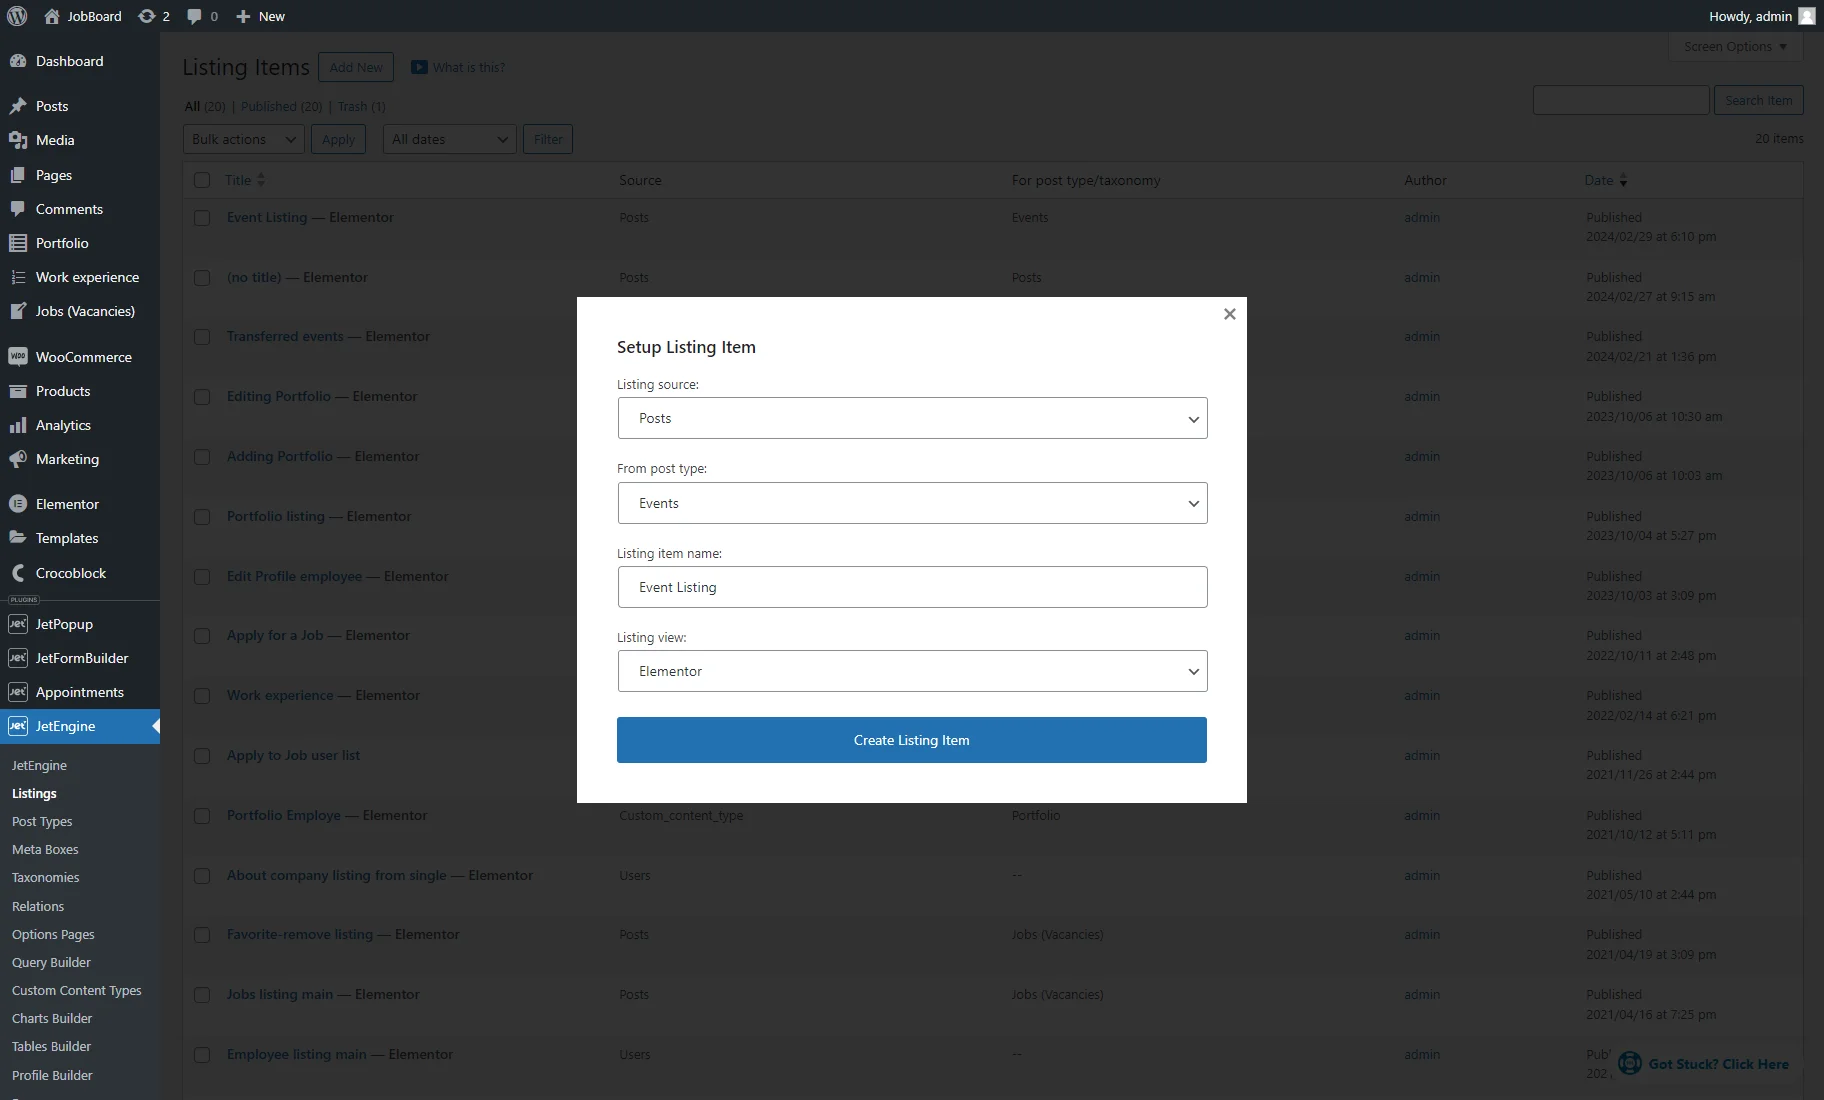
To craft a listing, we went to WordPress Dashboard > JetEngine > Listing and pressed the “Add New” button.
We picked the “Posts” Listing source and “Events” (recently created CPT) from the From post type drop-down menu, entered the Listing item name, and chose the “Elementor” Listing view. The “Blocks (Gutenberg)” and “Bricks” variants may be selected for this field as well. Then, we hit the “Create Listing Item” button.
After that, we proceeded to the Elementor editing page.
To display the post title, we placed the Dynamic Field widget and picked the “Post/Term/User/Object Data” Source and “Title” Object Field.
To display the image from the “Media” custom meta field, we drag-n-dropped the Dynamic Image widget and opted for the needed meta field as the Source.
To show the value from the “Date” meta field, we put the Dynamic Field widget and picked the “Meta Data” Source and the desired Meta Field.
Since the date is shown in the timestamp format, we enabled the Filter field output toggle and picked the “Format date” Callback. Read more about the Dynamic Field callbacks in the Filter Field Output Overview chapter.

The listing settings can be saved by clicking the “Update” button.
That’s one example; to learn what widgets, blocks, and elements can be filtered, read the Filters Providers Overview.
Create a Date Range Filter
Proceed to the WordPress > Smart Filters > Add New tab to create a new filter.
Enter the Filter Name and pick the “Date Range” option from the Filter Type section.
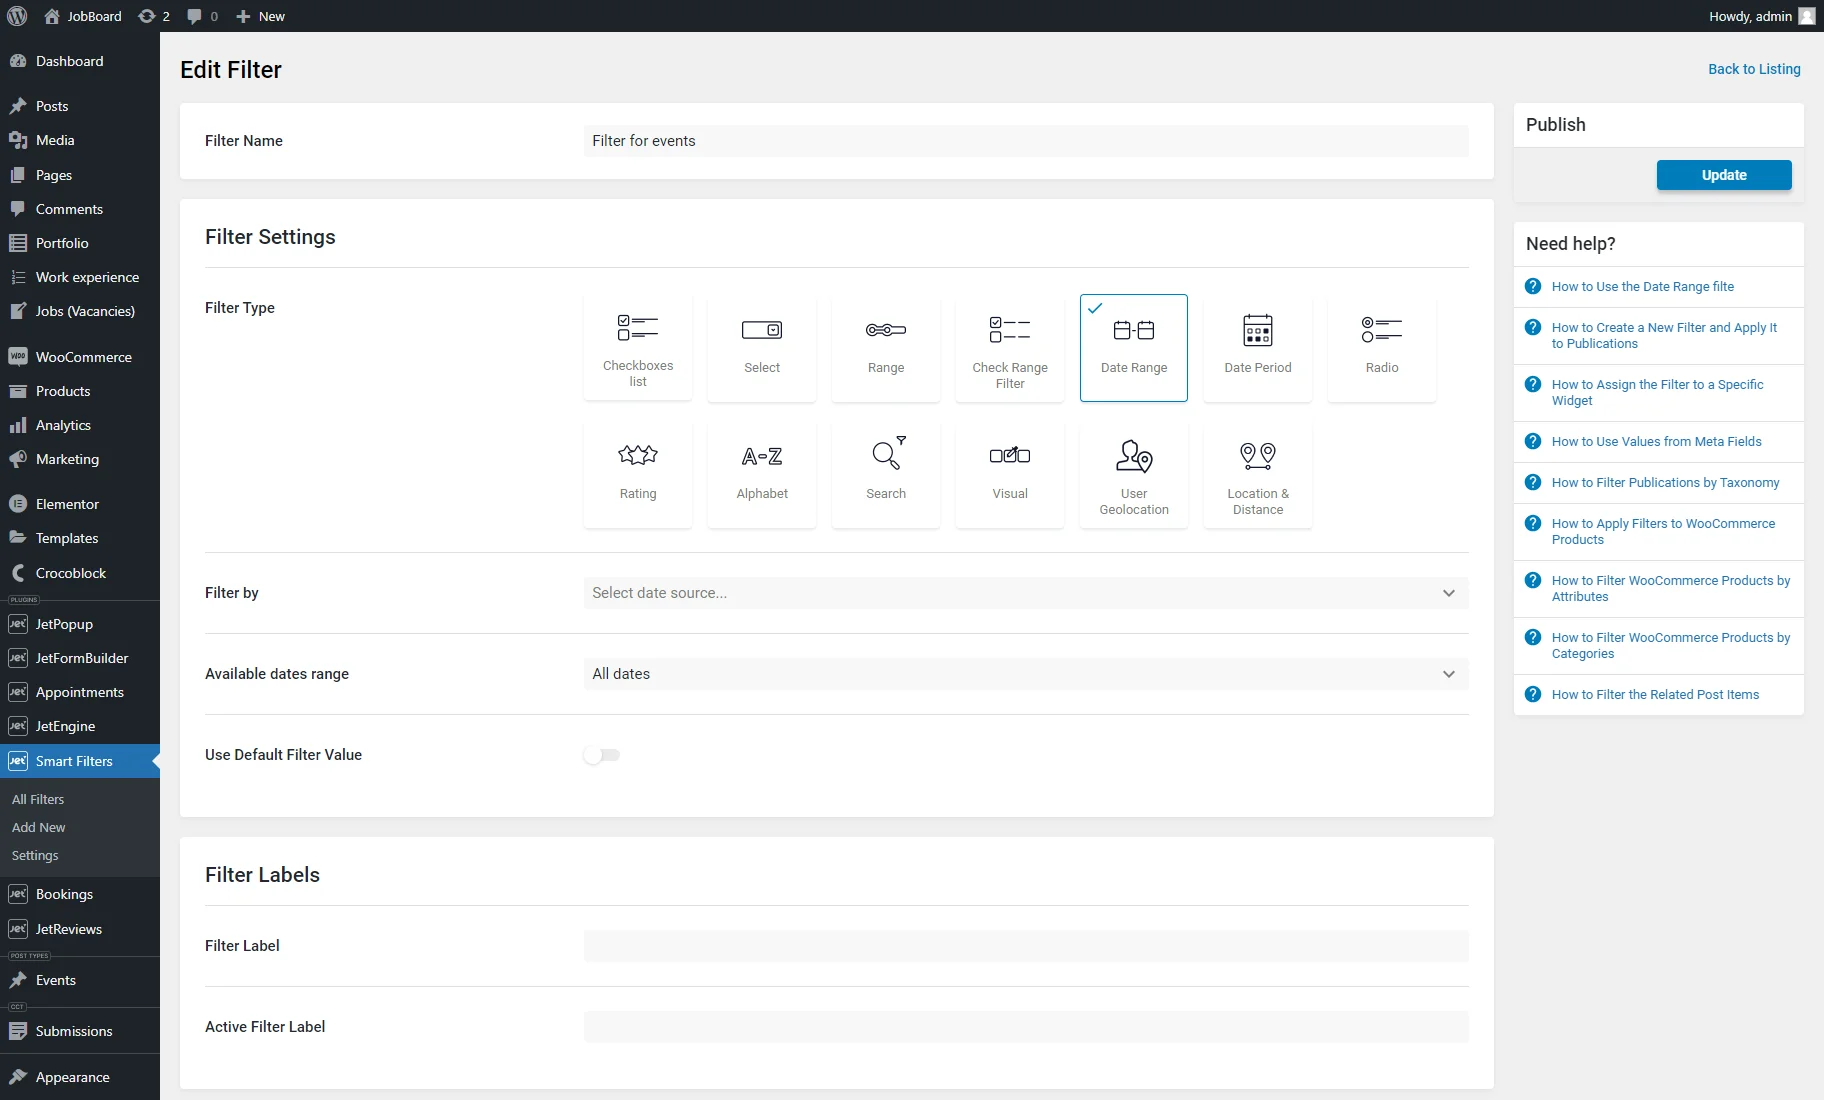
The next step is to set the Filter by option: pick “Meta Date” to filter content by the date set in the custom meta field or “Post Date” to filter content by the posted or modified date.
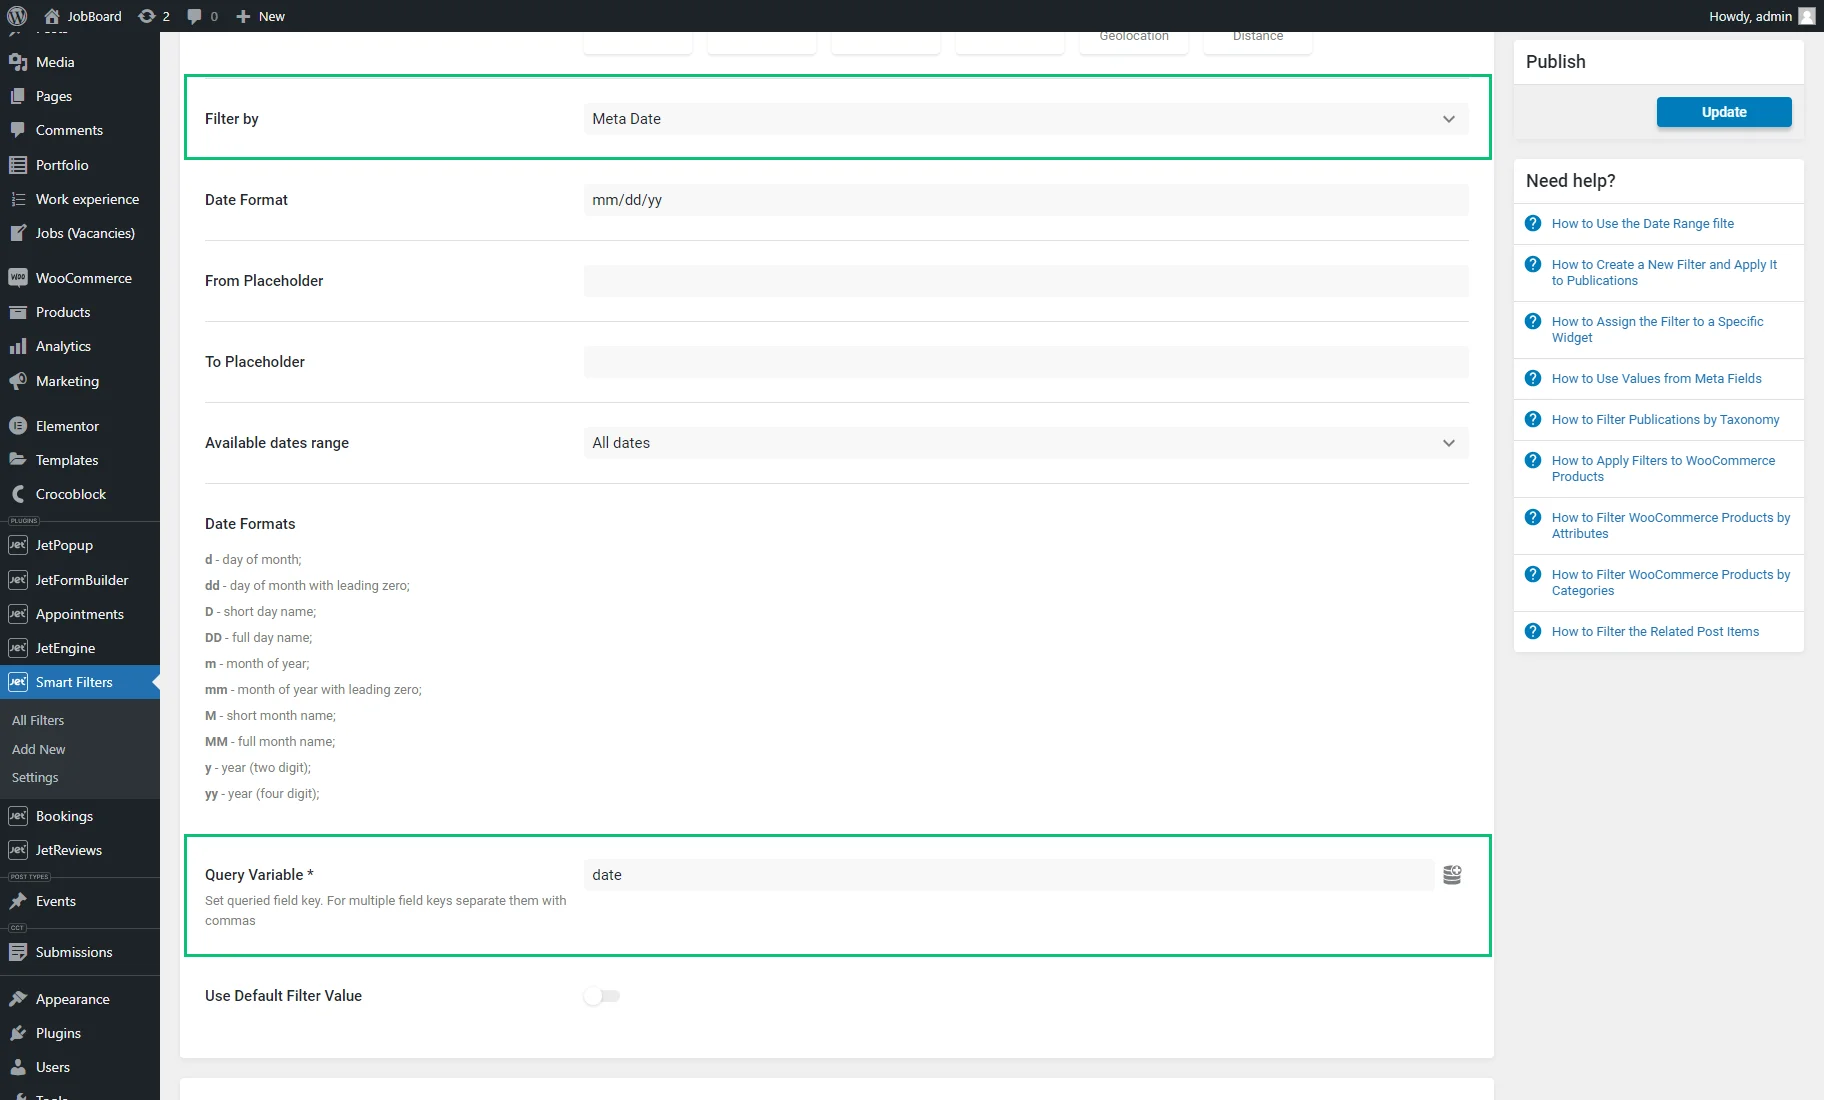
For our use case, we selected the “Meta Date” option since we want to filter by the values set in the “Date” custom meta field set for the “Events” CPT.
For the “Meta Date” option, the Query Variable field is required, so we set the “date” Name/ID of the “Date” meta field.
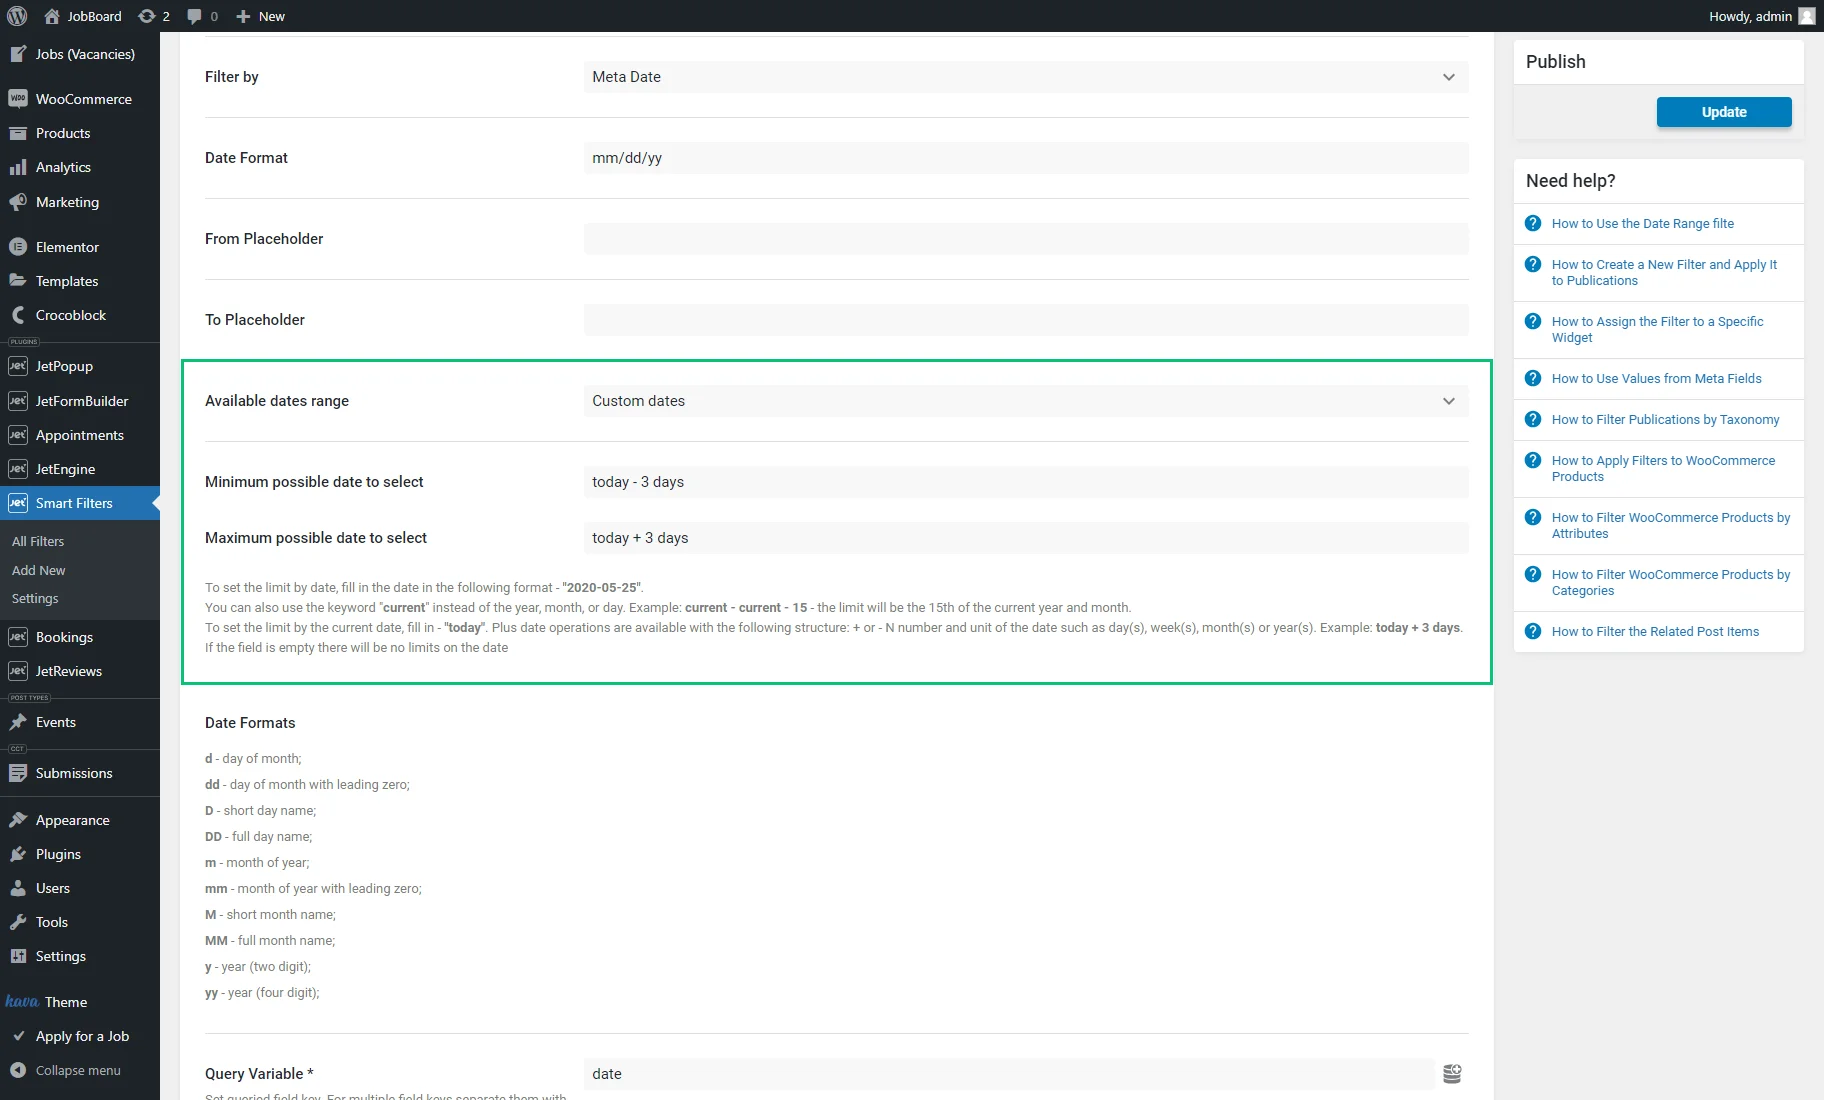
With the Available date range, you can set the date range for users to pick to “All days,” “Future days,” “Past days,” and “Custom days.” We picked the last option to explore it.
It activates the Minimum possible date to select and Maximum possible date to select fields. Here, the static dates can be entered in the “YYYY-MM-DD” format.

You can also use the keyword “current” instead of the year, month, or day. For example, if “current – current – 15” is specified, the limit will be the 15th of the current year and month.

To set the limit based on the current date, simply input “today.” Additionally, date operations can be performed using the following structure: + or – N number and unit of the date, such as day(s), week(s), month(s), or year(s). For instance, “today + 3 days.”
Here, we described all the required settings to set the custom date range. Read more in the Date Range Filter Overview.
Adjust the “Date Range” filter settings and hit the “Publish/Update” button.
Place a Date Range Filter on a Page
You can add the Date Range Filter widget, block, or element to any post, page, or template that can be edited in the Elementor, Gutenberg, or Bricks editor.
For example, we went to WordPress Dashboard > Pages > Add New Page and hit the “Edit with Elementor” button.
On the Elementor editing page, we drag-n-dropped the Date Range Filter widget.
In the widget Content settings, we set the recently created filter in the Select filter drop-down menu and picked the “JetEngine” filter provider from the This filter for drop-down list since the listing items and Listing Grid are the JetEngine features.
The widget settings can be adjusted according to your needs.

Under that, we placed the Listing Grid widget with the chosen Listing.
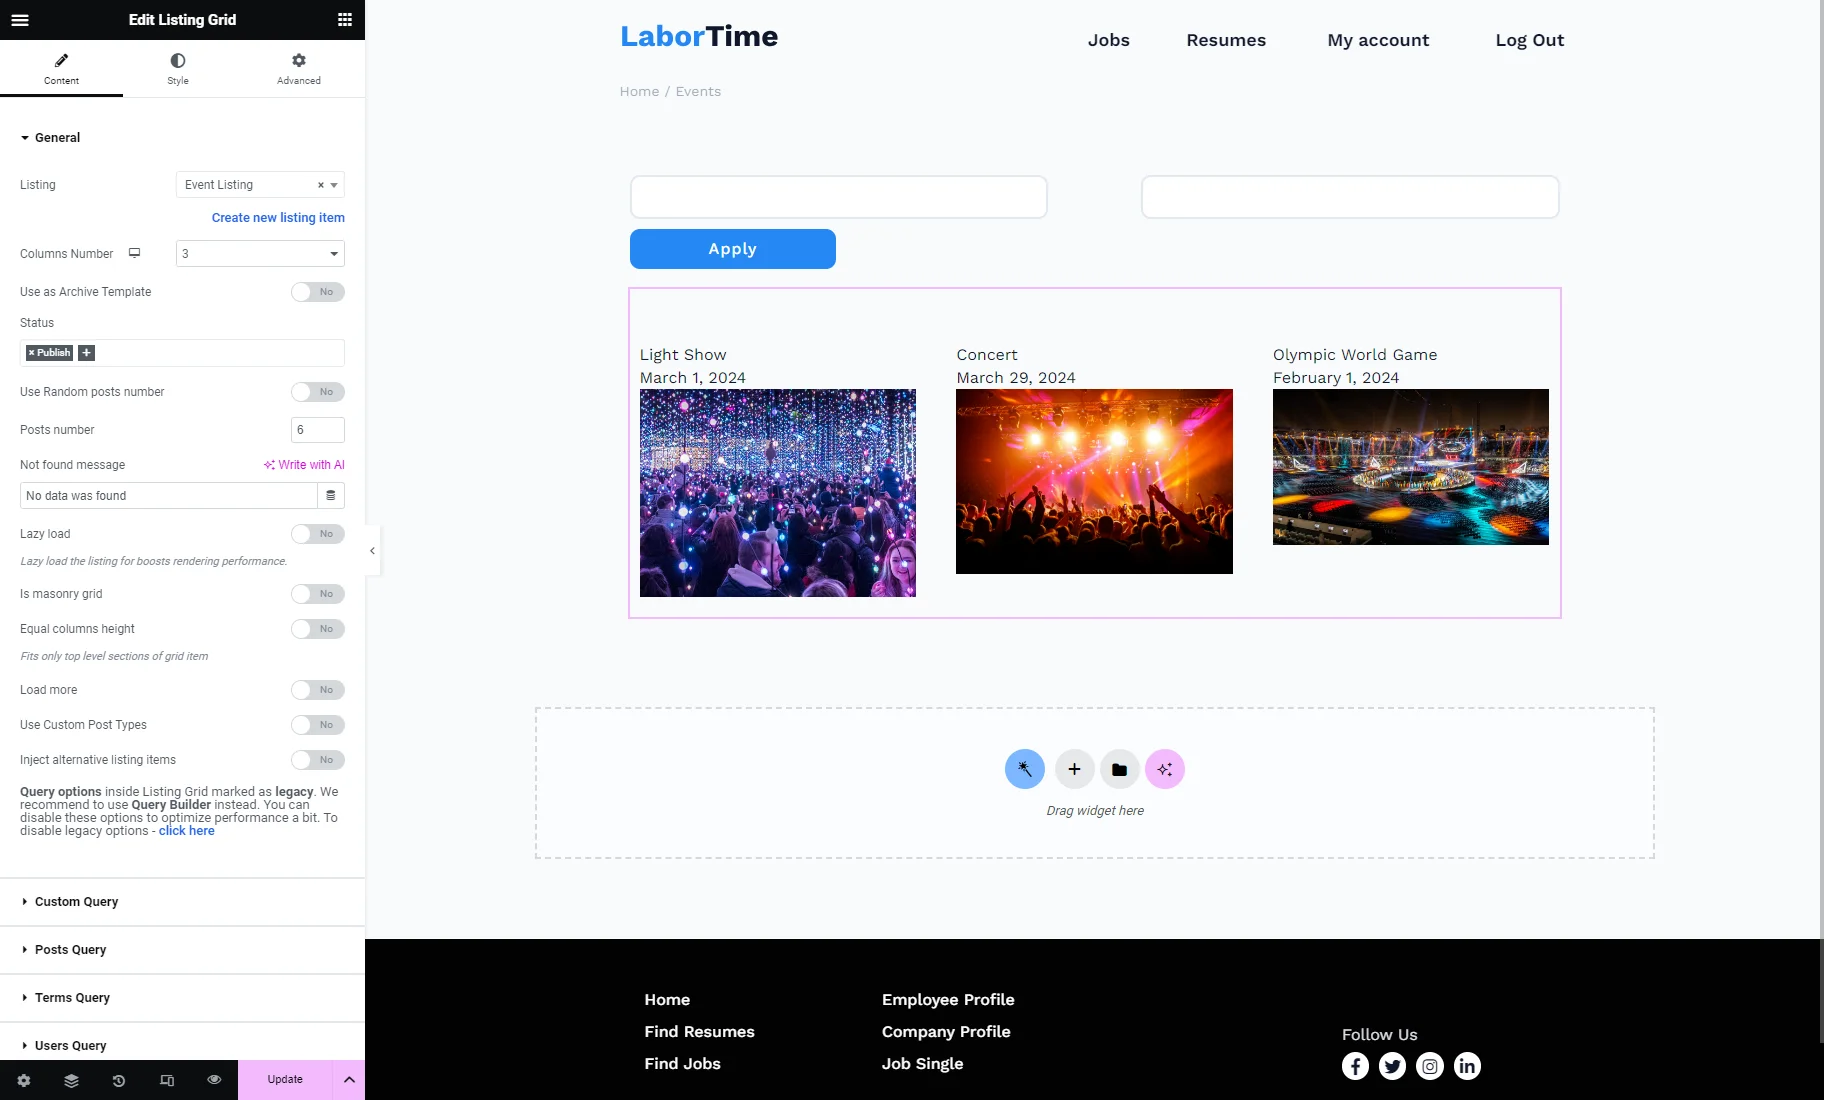
After that, we saved the page settings and opened the page on the front end.
Check the Results
On the front end, we will show how different Date Range filters work with different custom date ranges set.
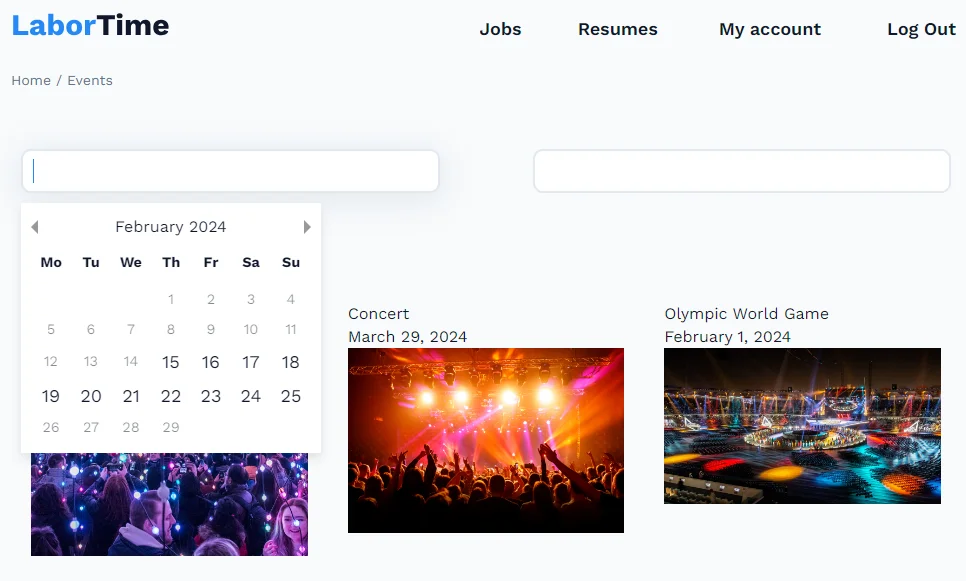
With the “2024-02-15” Minimum possible date to select and “2024-02-25” Maximum possible date to select, users can only select days within the specified time period from the filter’s calendar.
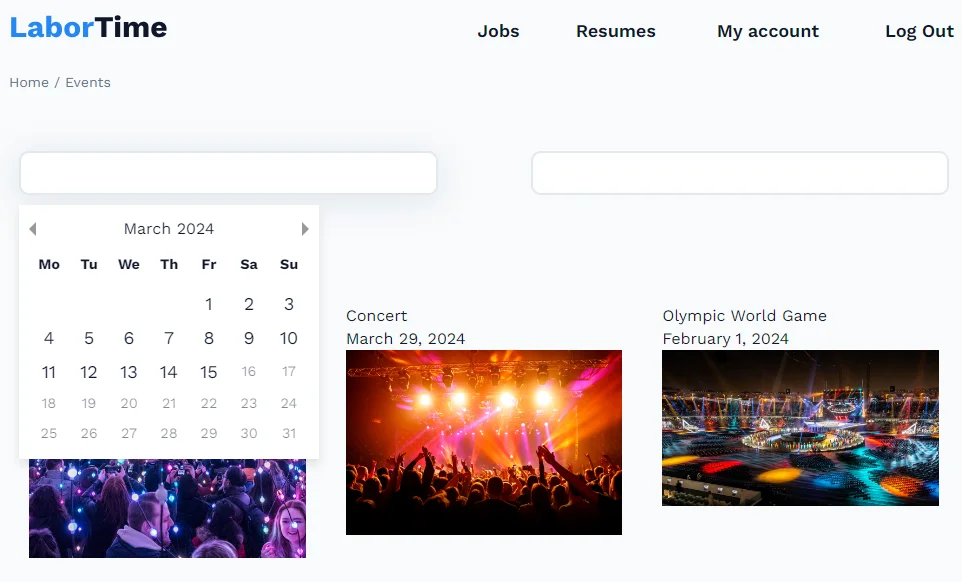
With the “current – current – 1” Minimum possible date to select and “current – current – 15” Maximum possible date to select,the limit is the date period from 1st to 15th of the current month and year.
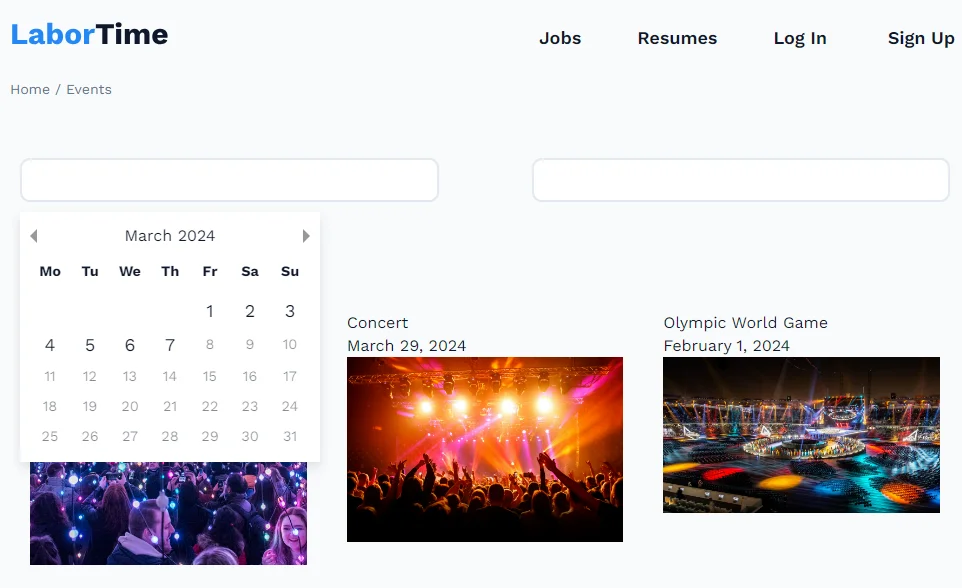
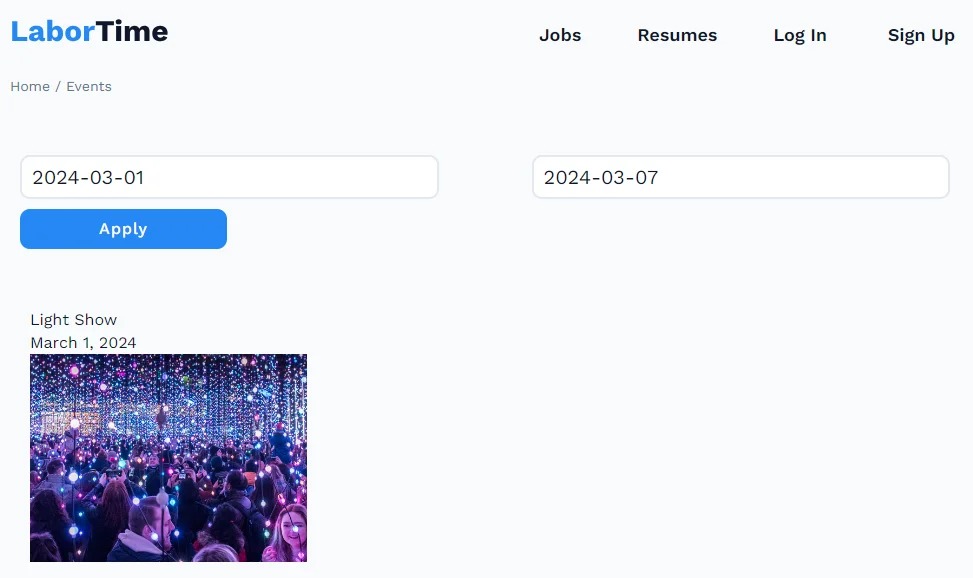
The tutorial was written on March 4th, so with the “today – 3 days” Minimum possible date to select and “today + 3 days” Maximum possible date to select,the limit is the date period from the 1st to the 7th of March.
Finally, let’s check how the filter works. We set the date range from the 1st to the 7th of March and hit the “Apply” button. As a result, only one event was shown, which happened on the 1st of March.
That’s all. Now you know how to enable filtering content by the custom date range for the Date Period and Date Range filters of the JetSmartFilters WordPress plugin.