How to Apply Filters to Bricks Query Loop
Discover how to apply the JetSmartFilters filters to the Bricks Query Loop. Use the JetEngine plugin to show dynamic data inside the loop on the WordPress website.
Before you start, check the tutorial requirements:
- Bricks theme installed and activated
- JetSmartFilters plugin installed and activated with created filters
The Query Loop builder is the Bricks theme feature that allows you to query your database based on specified parameters and display the desired results dynamically within the loop.
It is available for all layout elements, Accordion, Slider, Accordion (Nestable), Tabs (Nestable), and Slider (Nestable) elements.
With the JetSmartFilters plugin, you can create filtering solutions for the Bricks builder and apply filters to refine the Query Loop results.
The JetEngine plugin also integrates with Bricks. During the tutorial, we will describe some features you can use with the Query Loop.
Using the Query Loop, you can display posts, terms, or user info. With the JetEngine plugin, you can create Custom Post Types and custom taxonomies. If you want to work with native WordPress posts, users, and terms, you can add custom meta fields to them with the Meta Box feature.
Create a Query Loop
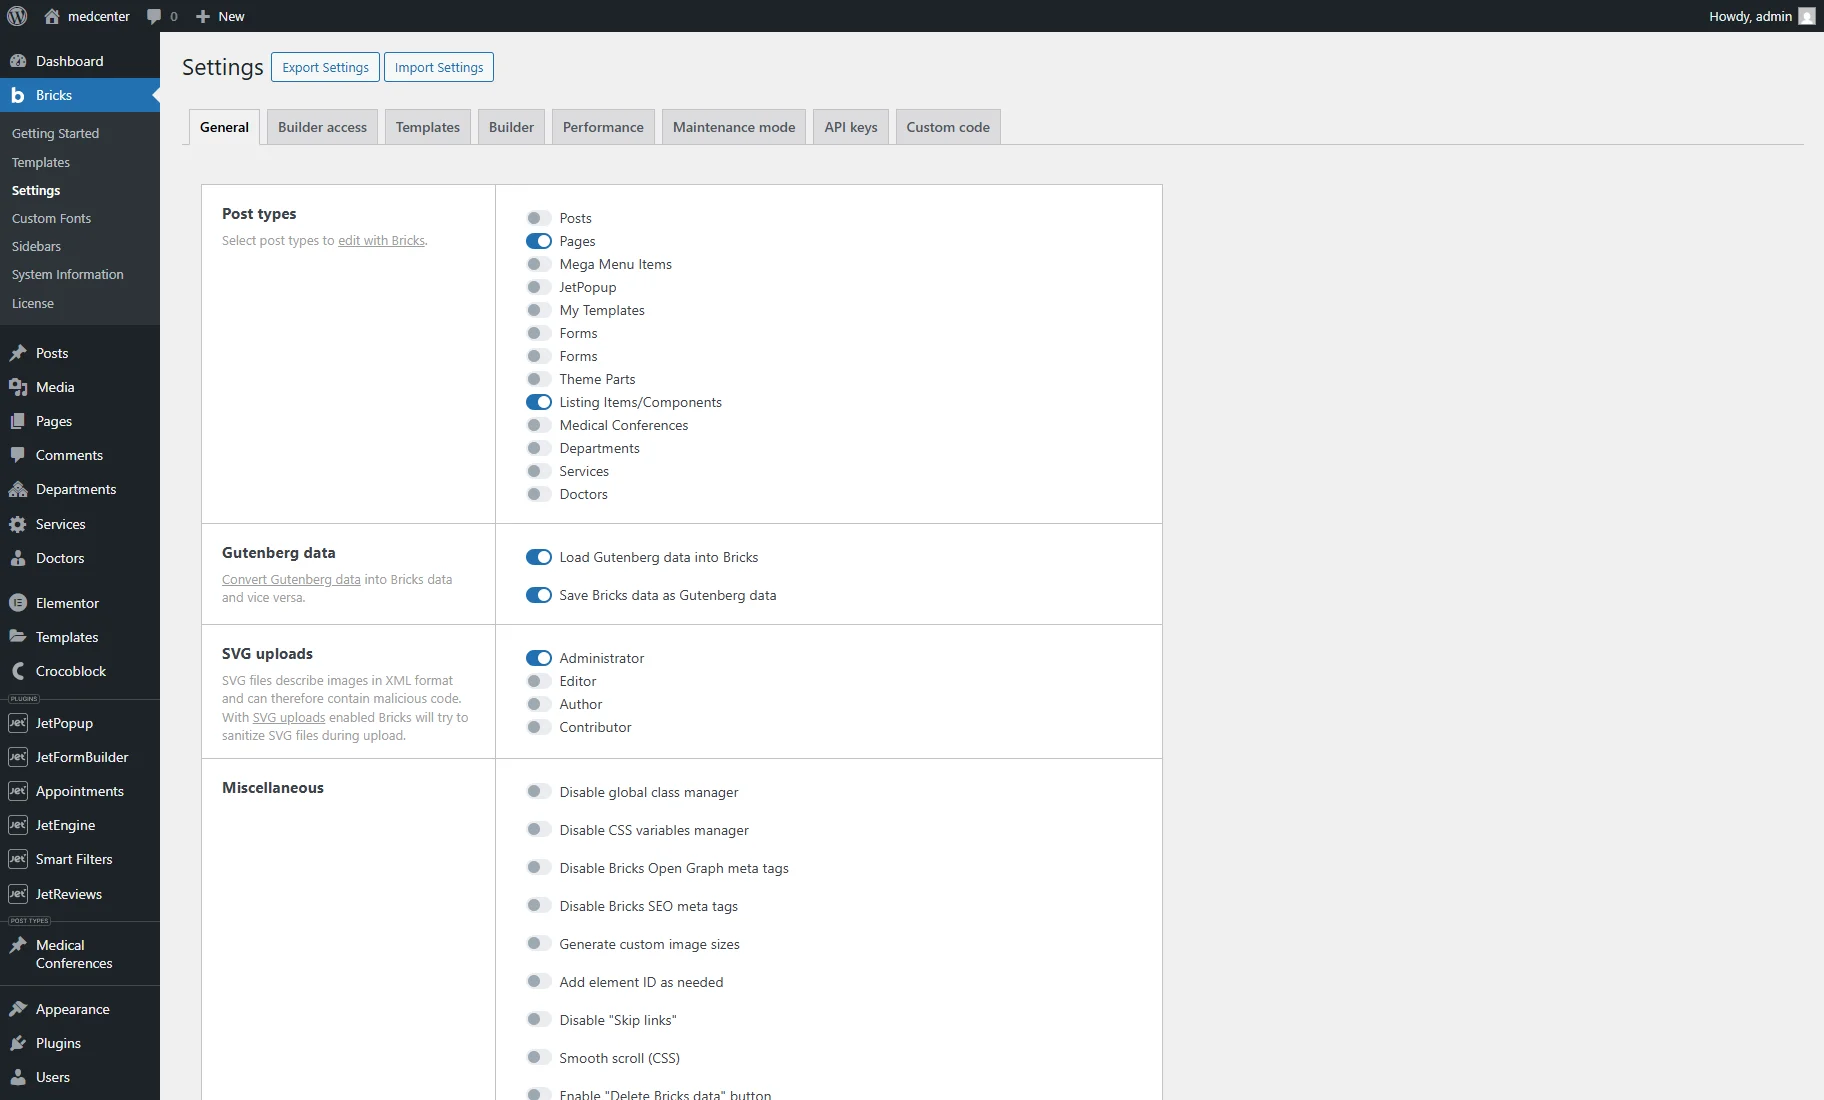
Before you start, proceed to the Bricks > Settings tab on the WordPress Dashboard. In the General section, you can enable the Post Types you want to edit with Bricks. Now, you need to ensure that the Page toggle is enabled.
Scroll down to the end of the settings page and hit the “Save Settings” button.
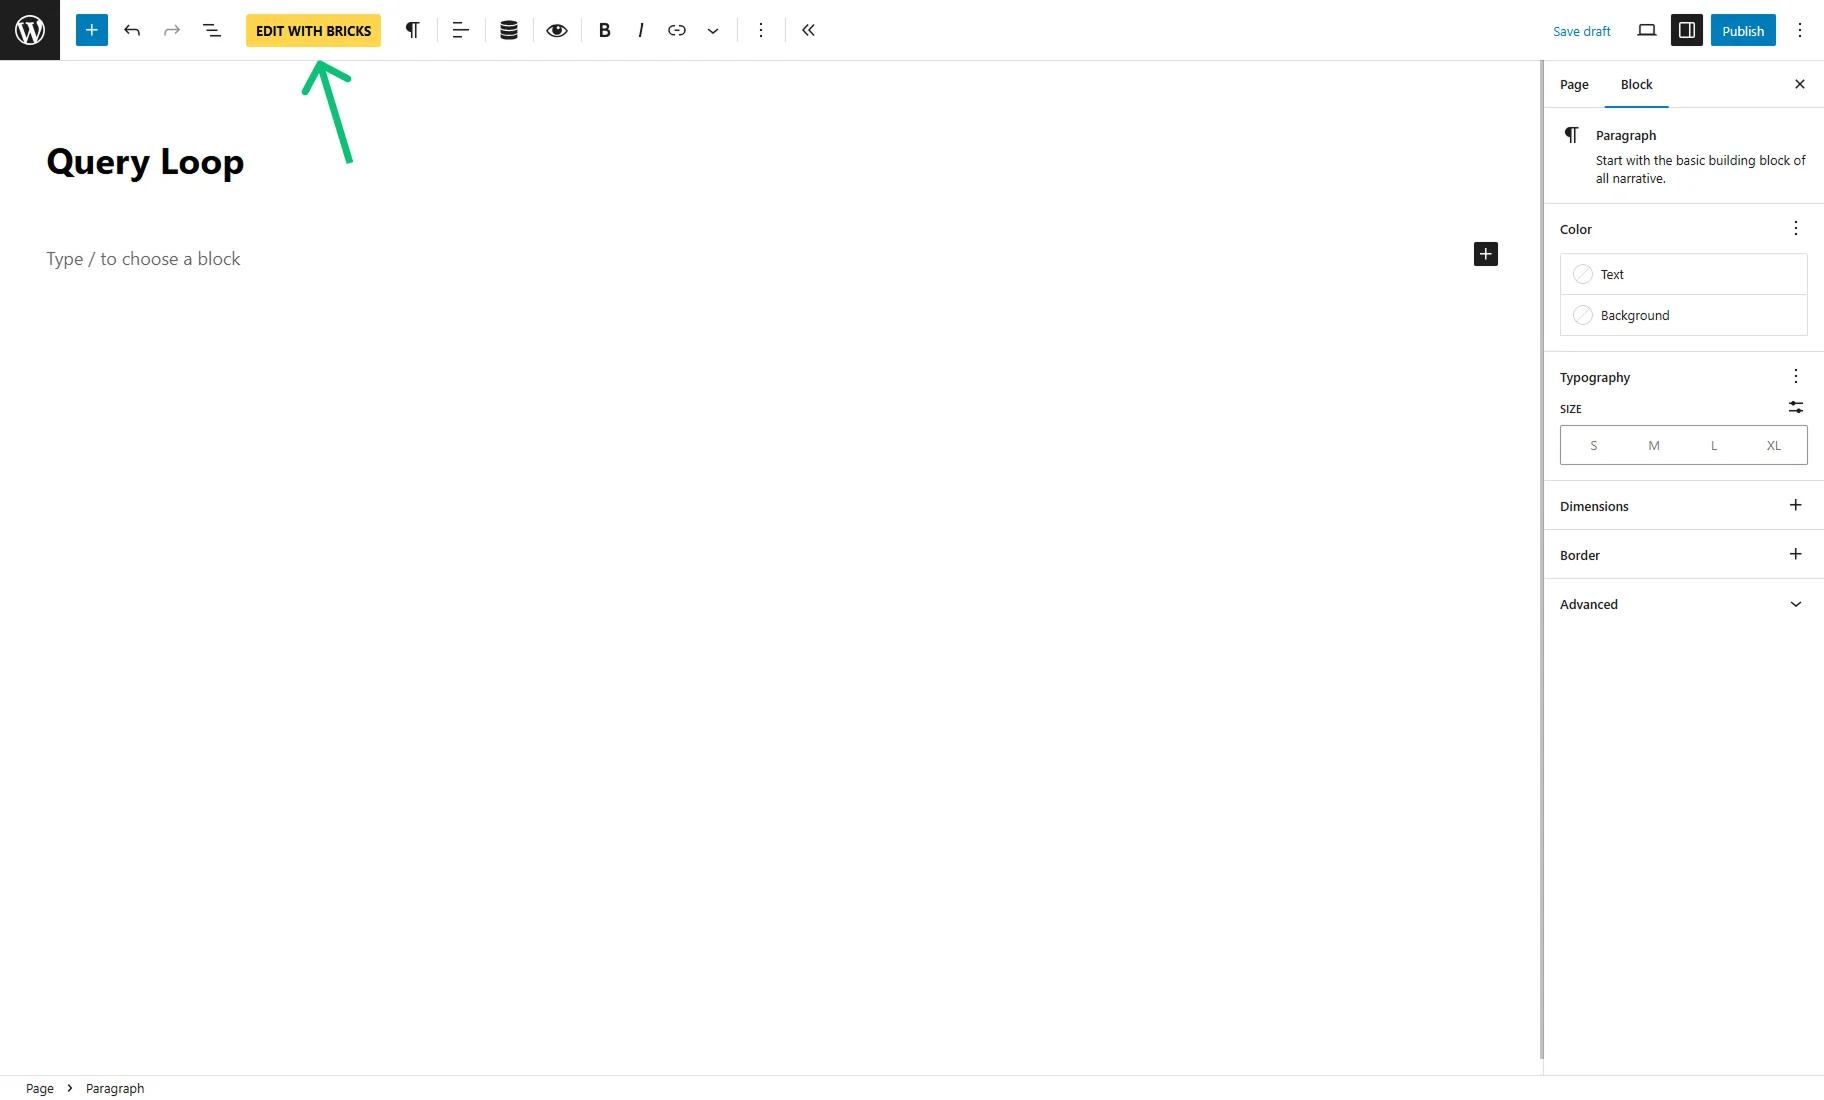
Then, follow the WordPress Dashboard > Pages > Add New Page path. Enter the page title and hit the “EDIT WITH BRICKS” button.
We will add a Query Loop and filters on this page. If you already have a page or template with such elements, you can proceed to it.
In this case, we will describe how to show posts in a grid with three columns, but you can modify any layout that suits your needs.
To learn more about the custom post loops setup, proceed to the Bricks Builder Tutorial.
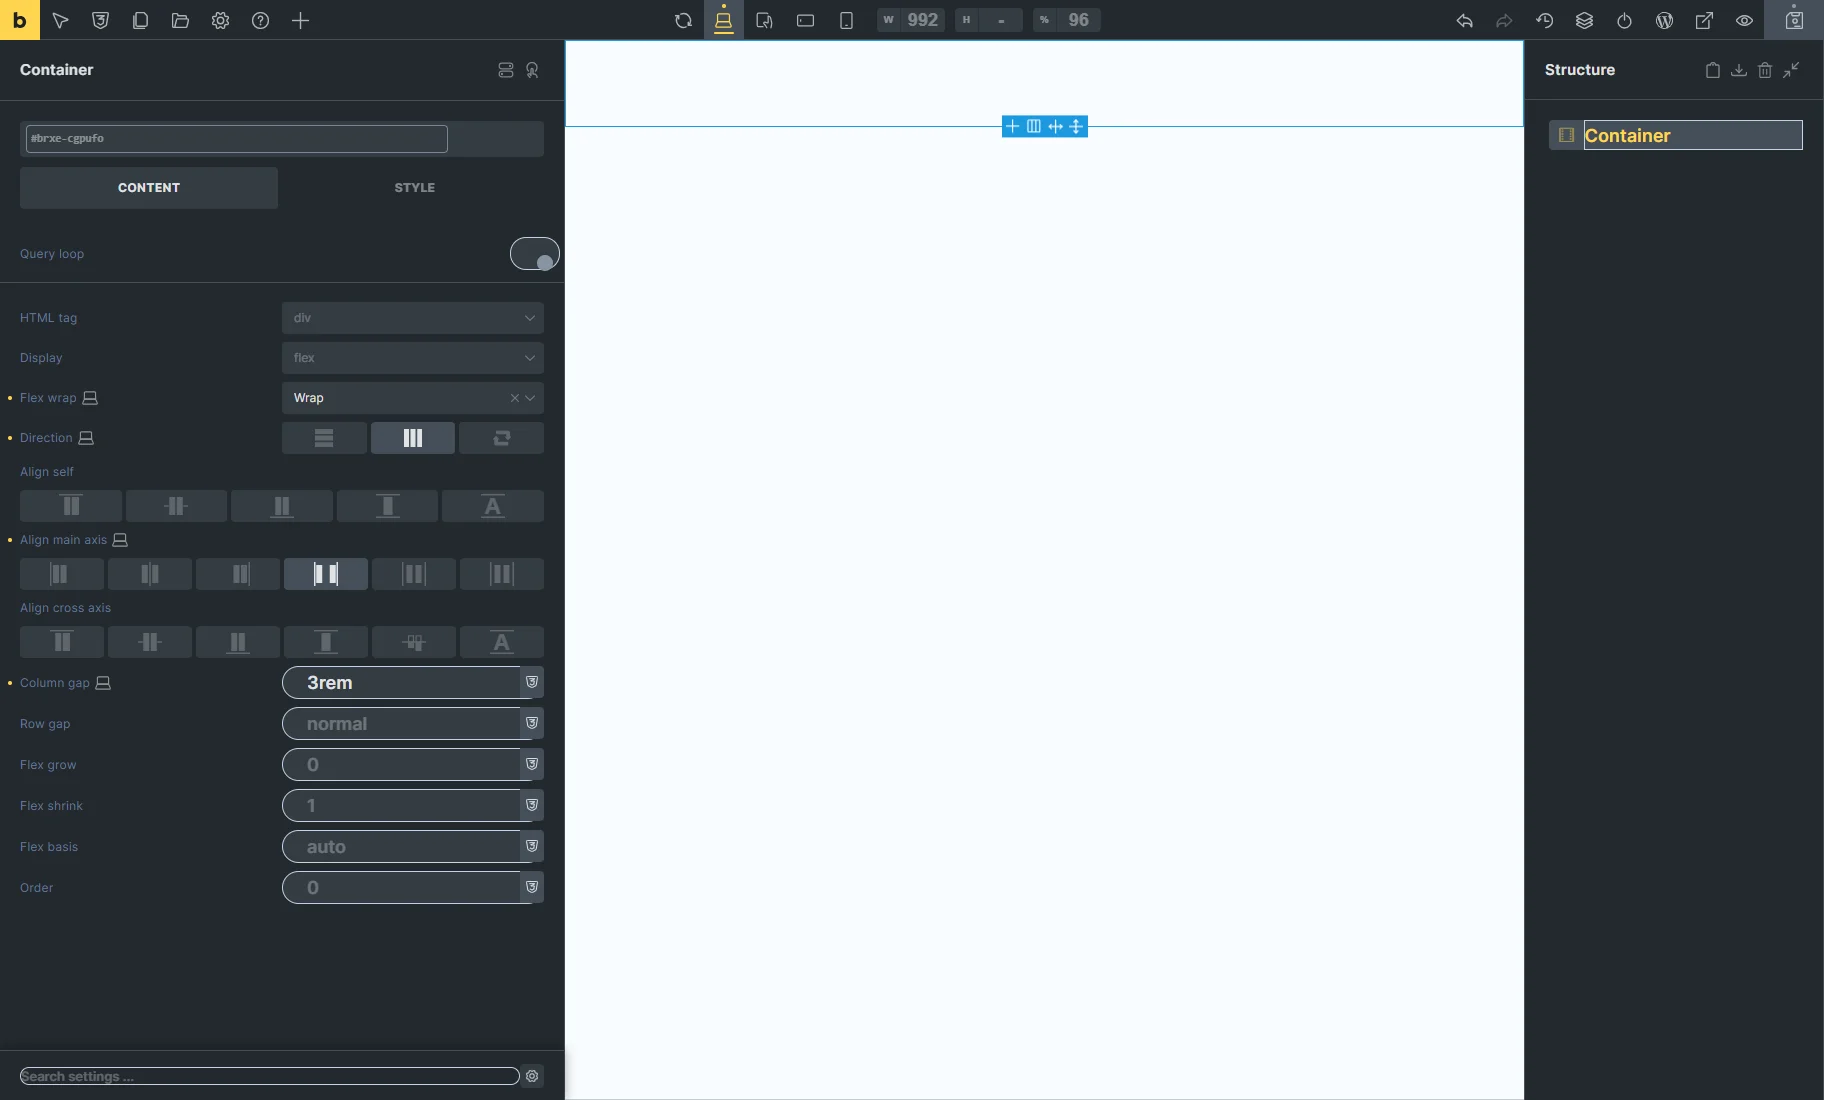
First, we add a Container and set the following options: “Wrap” for the Flex wrap, “Horizontal (row)” for Direction, “Space between” for Align main axis, and “3rem” for Column gap.
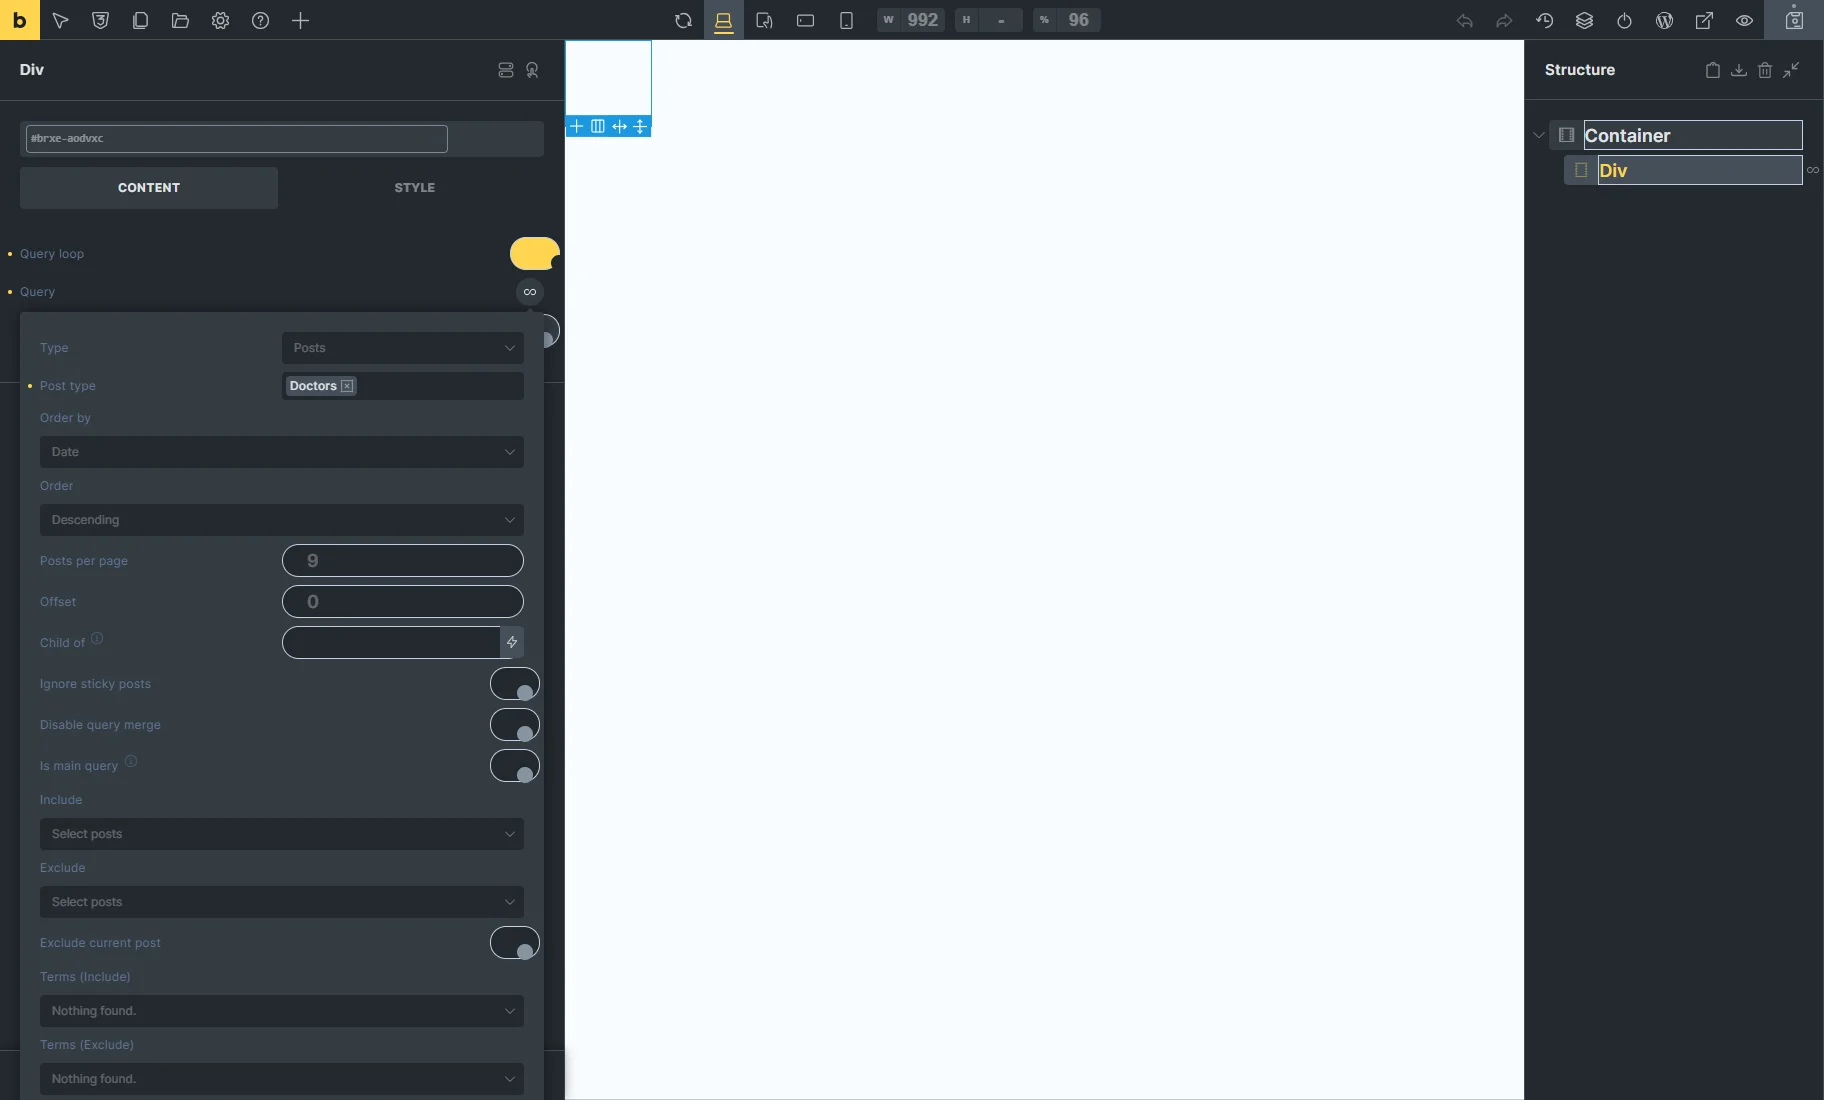
Then, we add the Div element to the canvas.
In its settings, we enable the Query loop toggle and press the “∞” icon for the Query field.
For example, if we want to display and filter posts, we keep the “Posts” Type and select the needed Post type (“Doctors” CPT in this case).
Also, with the JetEngine plugin, such sources are available in the Type dropdown menu:
- JetEngine Query Builder — to display a list using a custom query created with the Query Builder feature;
- JE Repeater — to show the items from the “Repeater” custom field;
- JE Posts — to show posts from the “Posts” custom field;
- JE Relations — to retrieve the related items.
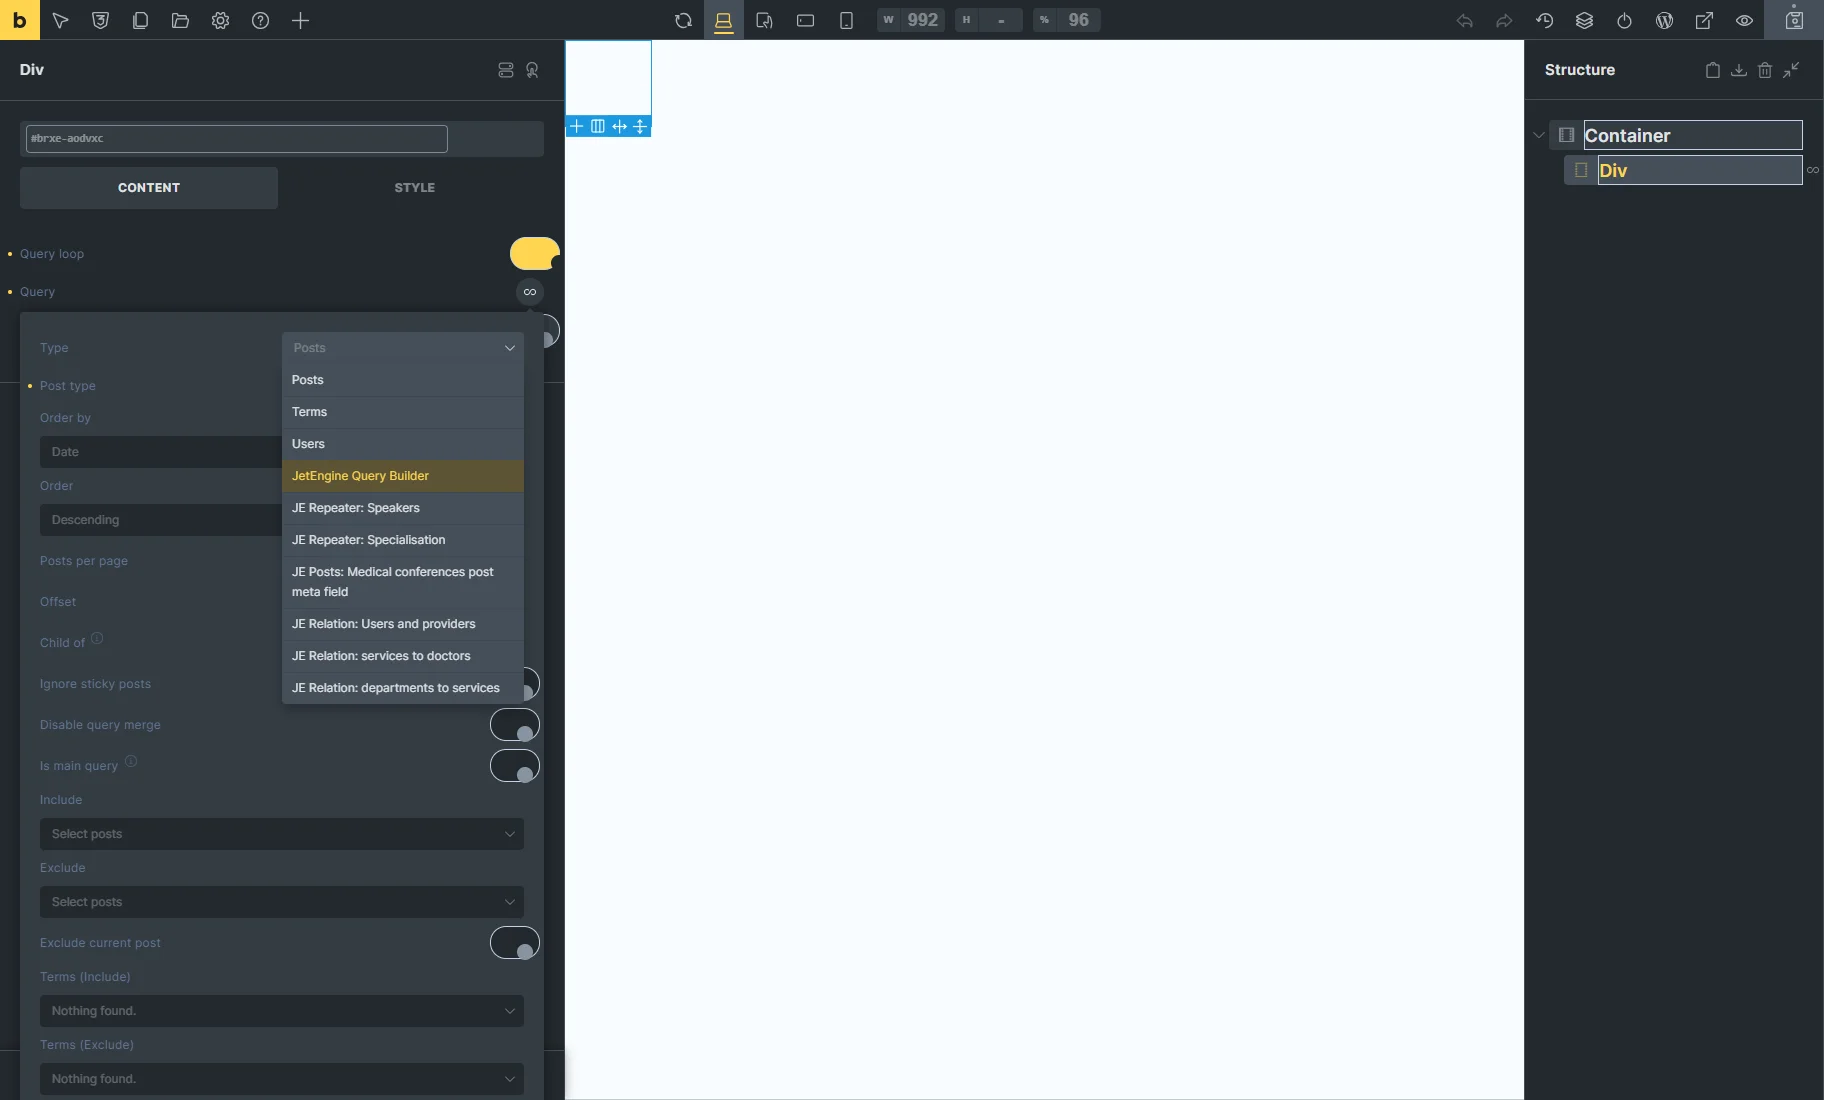
If you select the “JetEngine Query Builder” option, click the “∞” icon or the area beyond the pop-up to close it and select the needed query from the JetEngine Queries dropdown menu.

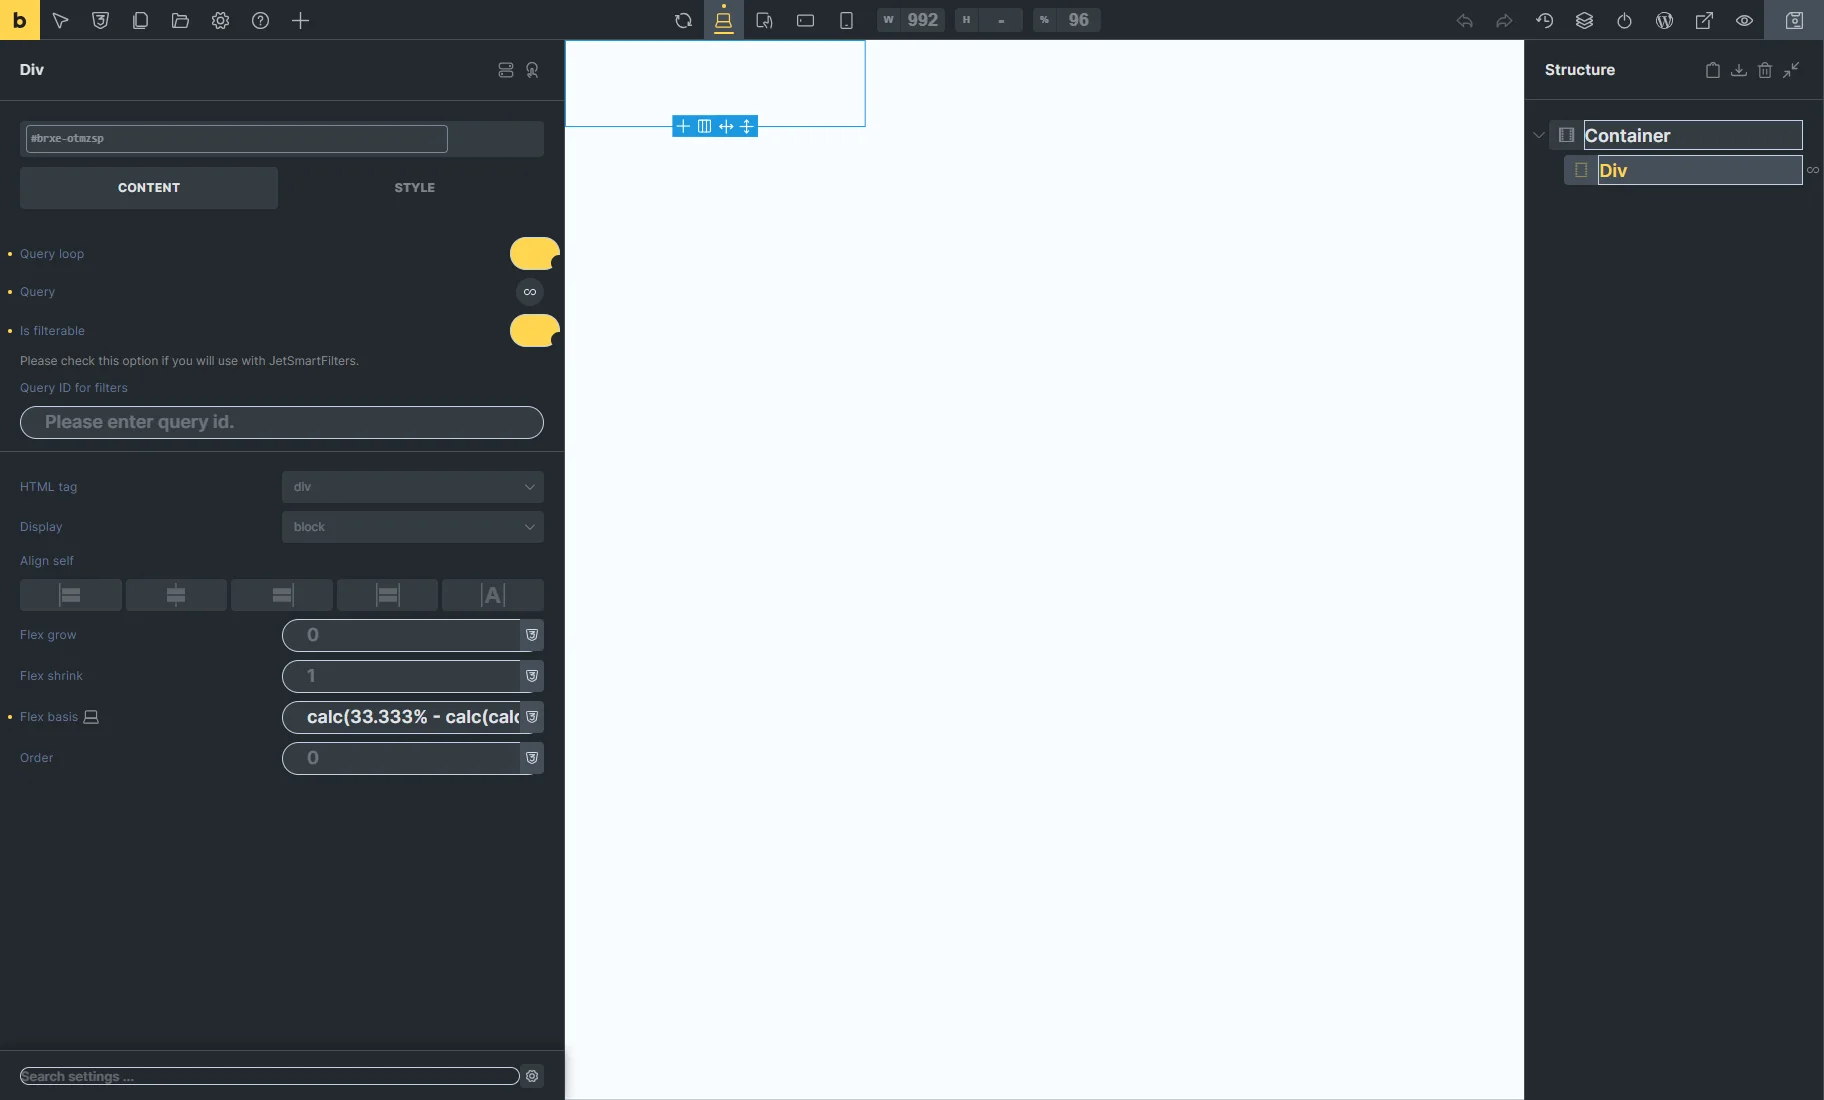
After setting the post source for the Query, we close the pop-up and enable the Is filterable toggle.
If you have several filters and filterable elements on the same page, you can assign a Query Loop to a filter with the Query ID for filters field. Enter a query ID into this field (e.g., query-loop). You’ll need to enter such an ID into the filter element further.
In this way, you can decide what elements can be filtered by assigning them to the filters using the query ID. Also, you can specify what element to assign to what filter.

Then, you can enter the “calc(33.333% – calc(calc(3rem * 2)/3))” formula into the Flex basis field. It allows us to display posts in three columns with gaps.
In the Query Loop tutorial, you can find examples of displaying the latest posts, media files, product categories, etc., with the default elements.
You can also display the different data using JetEngine’s Dynamic Field, Dynamic Image, Dynamic Link, and Dynamic Terms elements. The Components feature can also be used as described in the How to Use Components in Query Loop or Listing Grid tutorial.
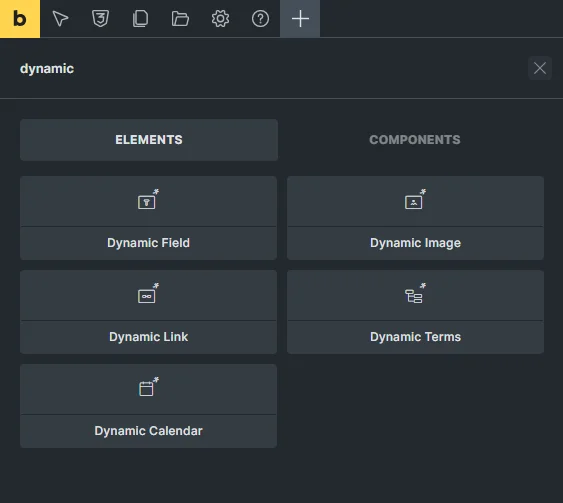
We add the Dynamic Field element to display the post titles and the Dynamic Image to display the post thumbnails.

Add a Filter
You can assign any filter type created with the JetSmartFilters plugin to the Bricks Query Loop. Push the “+” button, and type “filter” in the search bar.
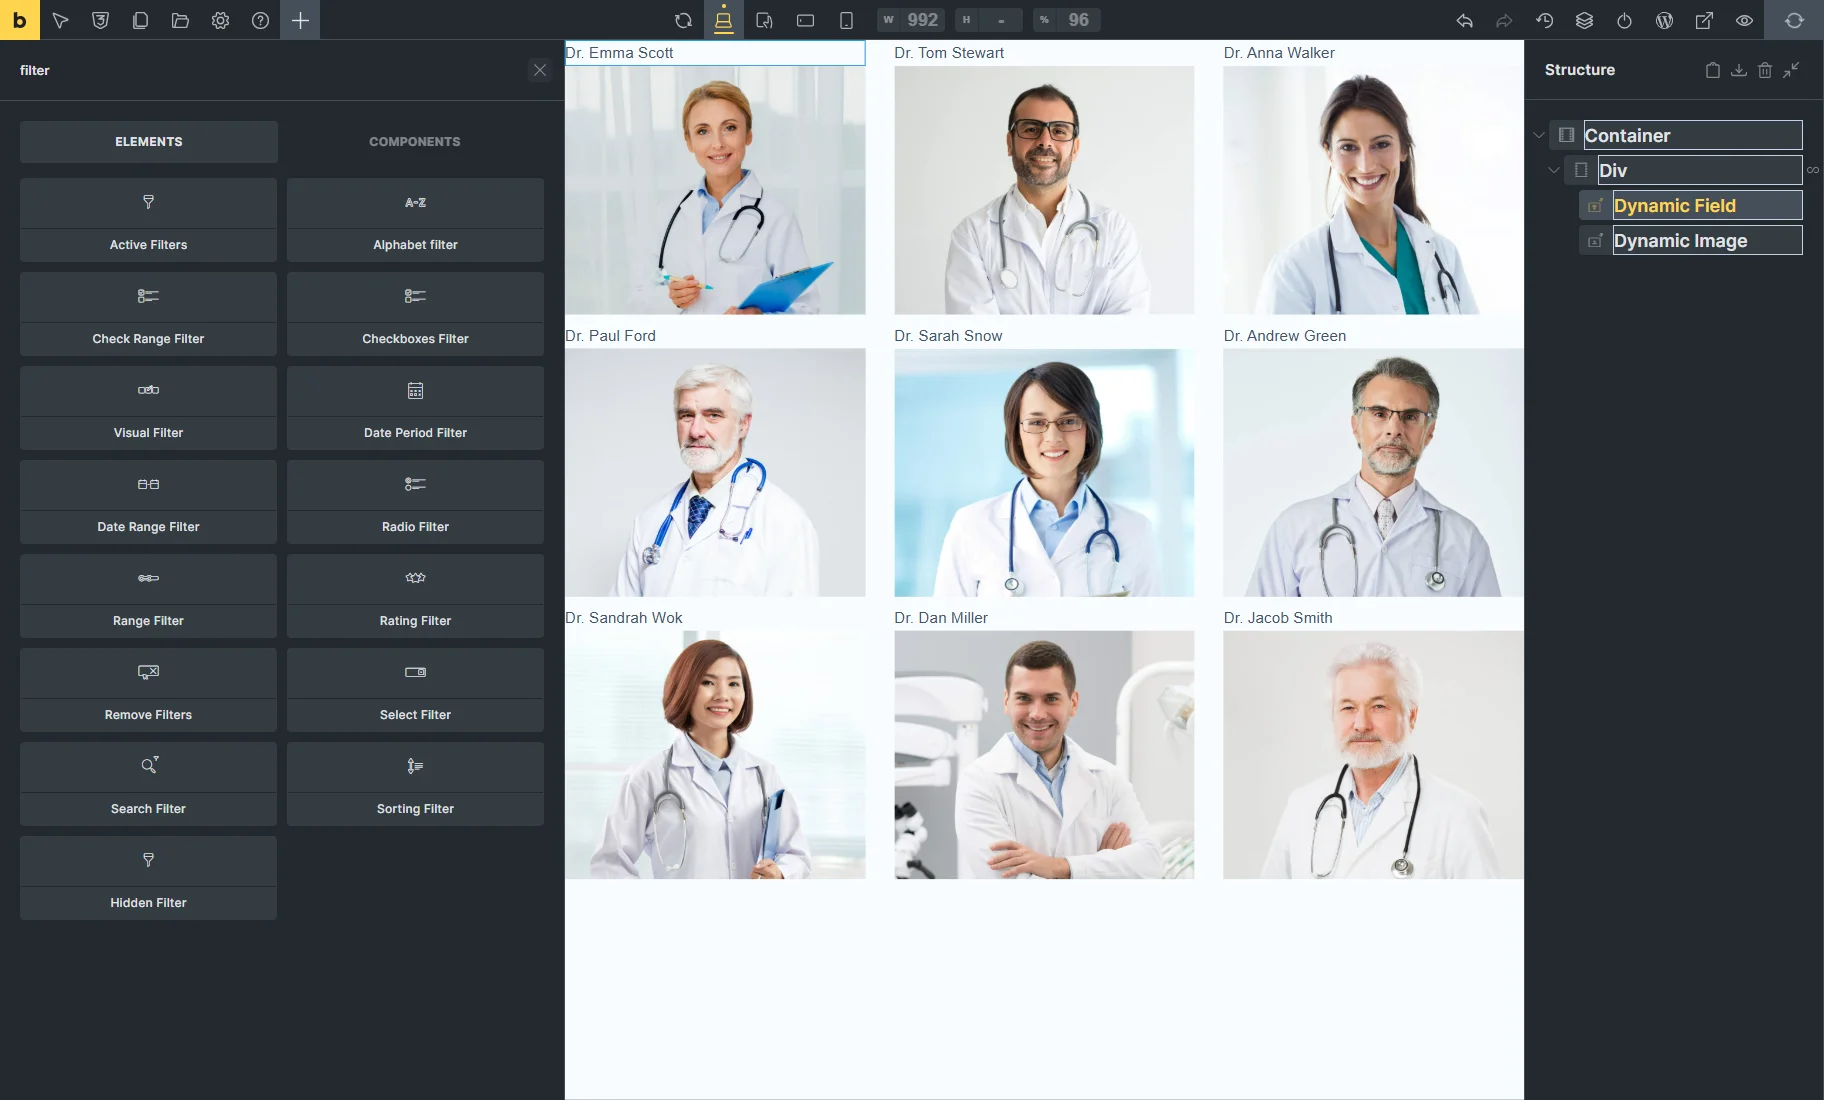
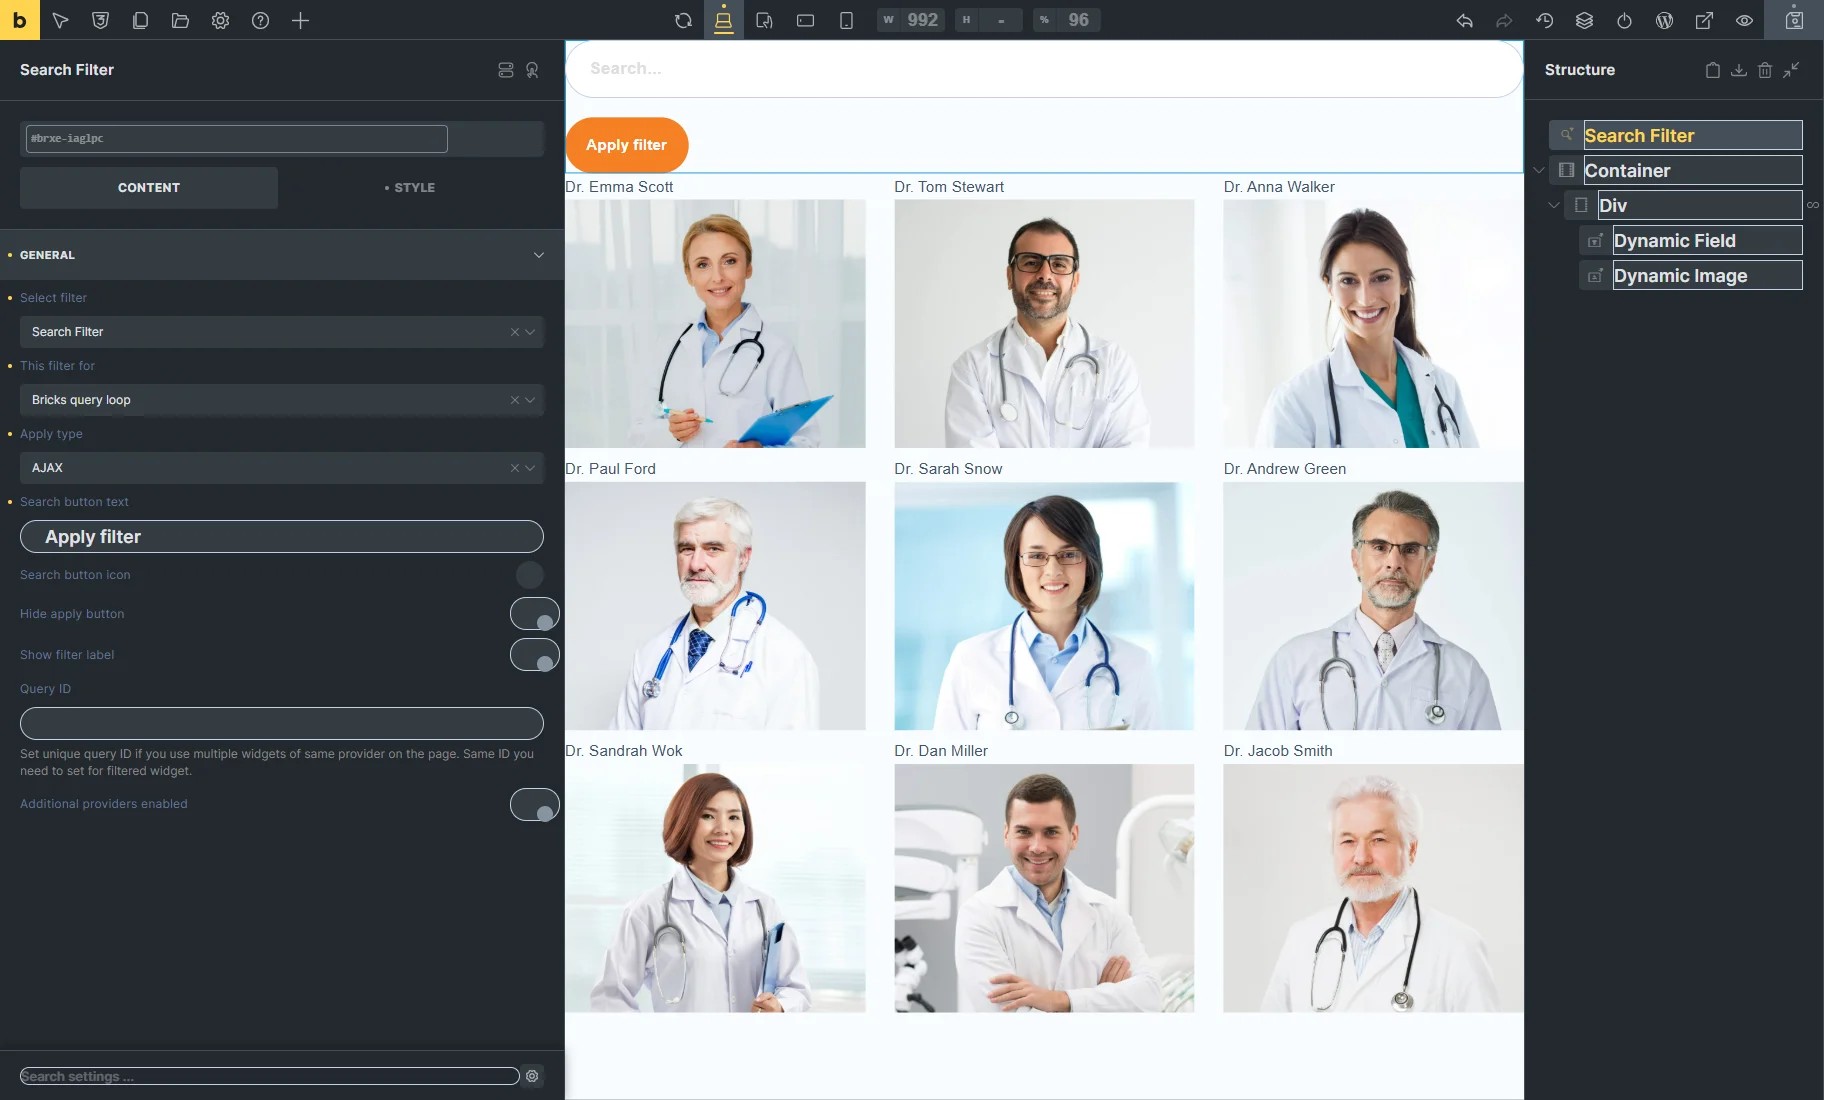
Place the needed filter element on the canvas. For example, we created a Search Filter and drag-n-dropped it above the Container.
The filter settings in the Content tab are pretty similar for all filter types:
- Select filter — pick the filter you created;
- This filter for — for our case, choose the “Bricks query loop” option. Learn more about the elements that can be filtered from the Filters providers overview;
- Apply type — this option lets you choose how the filtering results are displayed:
- AJAX — displays the filtered results instantly without reloading the page;
- AJAX on typing — specific to the Search Filter, this option updates the results dynamically as the user types in the search bar;
- Page reload — reloads the entire page to show the filtered results;
- Mixed — updates the results without reloading the page while modifying the URL, allowing you to copy and share the filtered results.
- Apply on — a field to pick when the filter is applied: once the value changes or by clicking the “Apply” button (absent for the Search Filter);
- Show/hide apply button — a switcher that activates or turns off the “Apply” button;
- Show filter label — a toggle that shows a filter label above the filter;
- Query ID — a field that can be used if there are several elements of the same type on the same page, and one is supposed to be used as a provider. For instance, if there are two Query Loops on the page and only one should be filtered, its unique name should be set in the Query ID for filters field and then put here, in the Query ID field of the filter;
- Additional Providers Enabled — a toggle that should be enabled if several elements should be filtered. Read more about this option in the Additional Providers List Option Overview. You can also check the How to Apply Filters to Several Widgets on a Page tutorial.
After setting all the options, click the “Save draft” button.
Filter with Query Loop on the Front End
Proceed to the front end to check how the filter works. For example, we type a request into the search bar, press the “Apply Filter” button, and the Query Loop showcases the results.
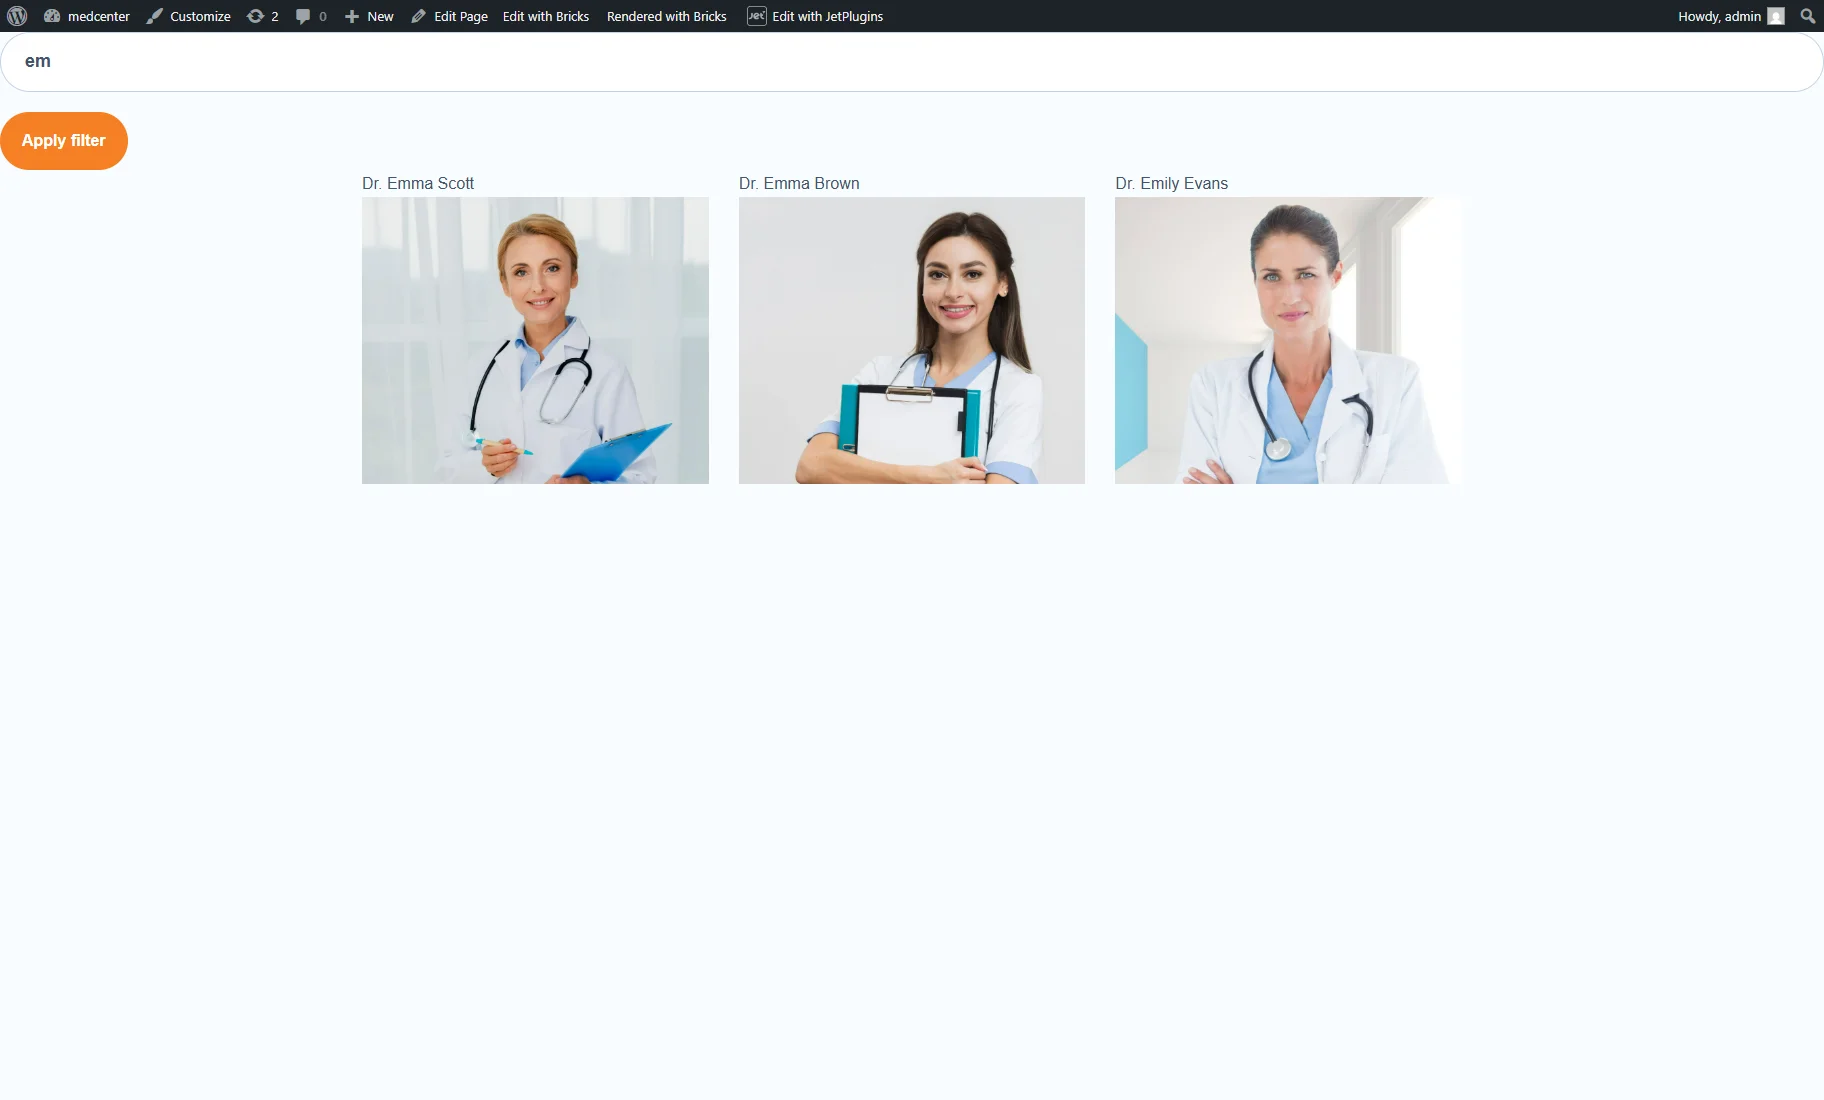
That’s all. Now you know how to apply the JetSmartFilters filters to the Bricks Query Loop on your WordPress website.