How to Create Visual Filter with the Posts Data Source
With the help of a Visual filter, you can range not only the products but also publications, such as posts from different post types.
Before you start, check the tutorial requirements:
- Elementor (Free version) or Block editor (Gutenberg)
- JetSmartFilters plugin installed and activated
- JetEngine plugin installed and activated with the relation built
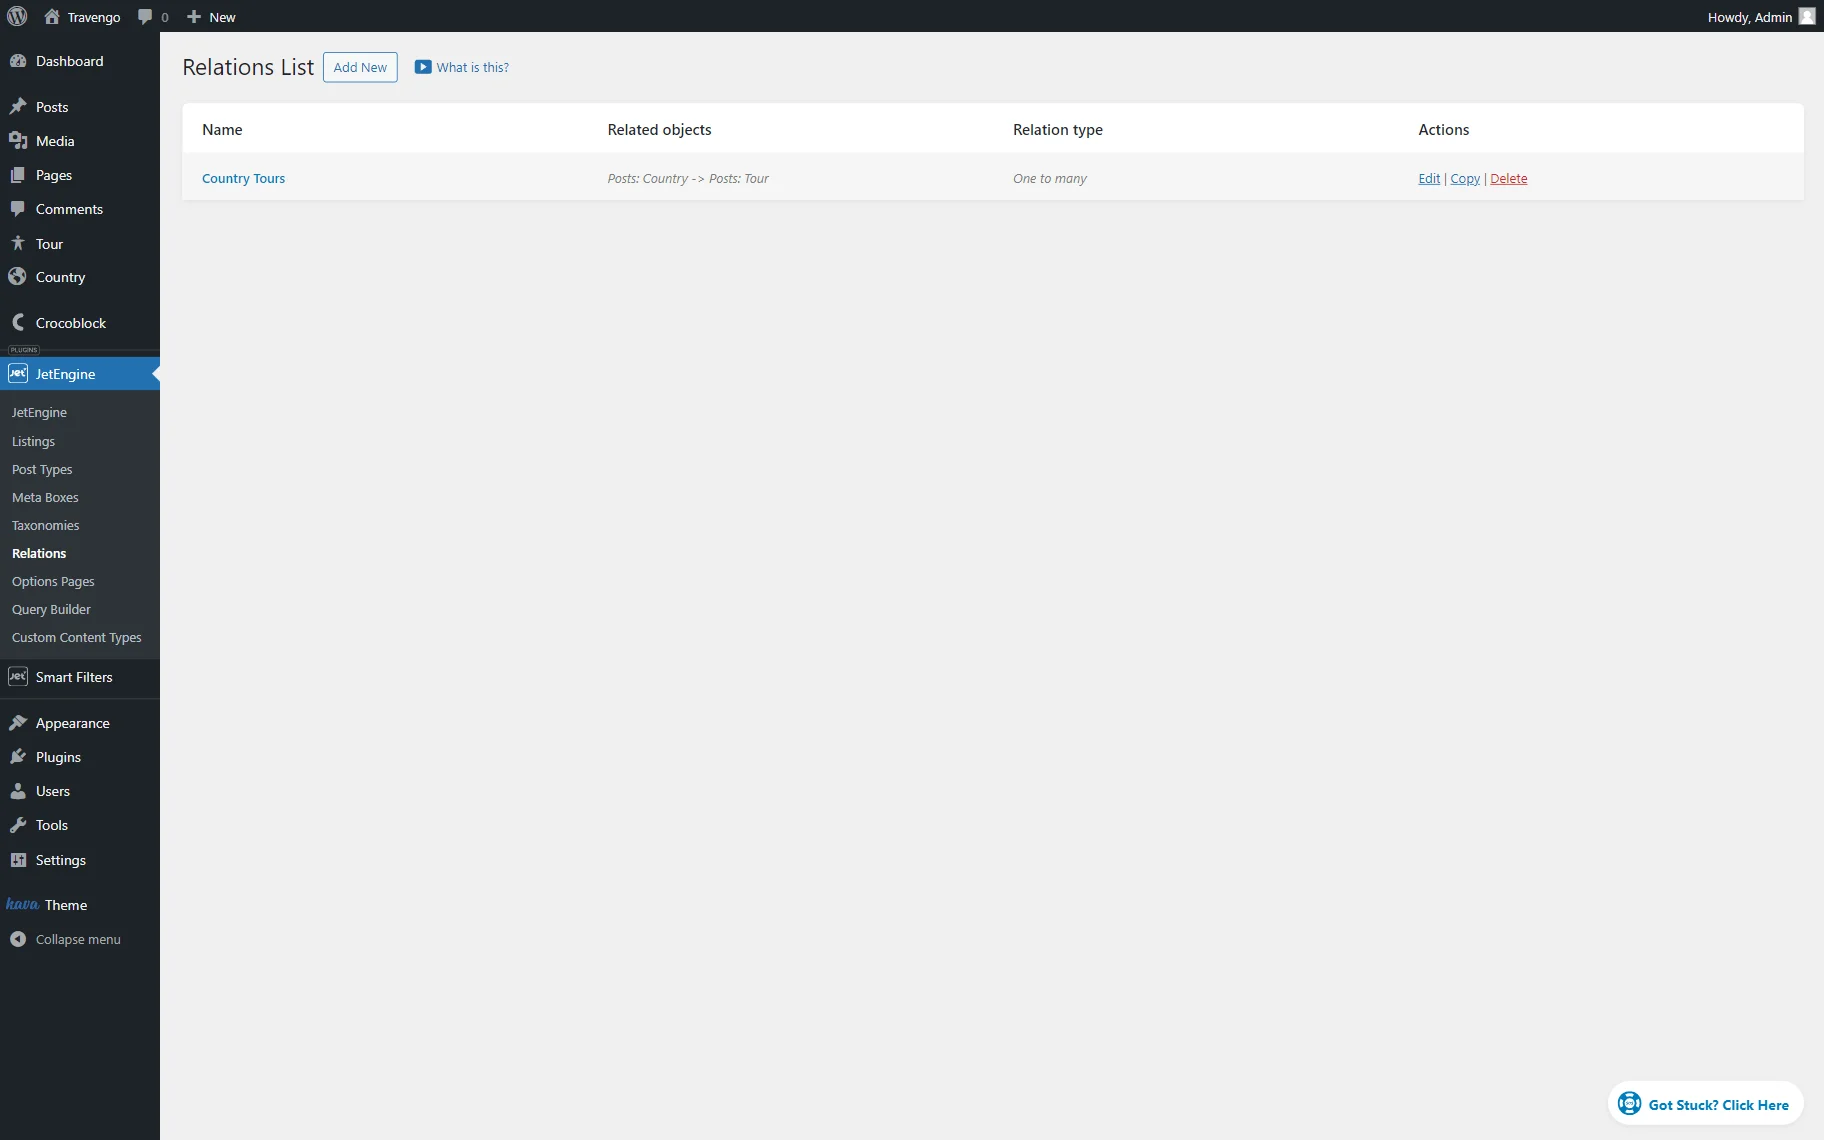
Before creating a Visual Filter, make sure that you have added a post relation. It can be one-to-one, one-to-many, or many-to-many — it doesn’t matter which type of relation you create, but choose only one to add the filter for.
In our tutorial, we use a one-to-many post relation with the “Country” Custom Post Type as a parent object and the “Tours” Custom Post Type as a child.
Add a New Filter
Go to the WordPress Dashboard > Smart Filters > Add New directory.
Initially, you should define the Filter Name and select the “Visual” Filter Type to enable filtering by colors or images.
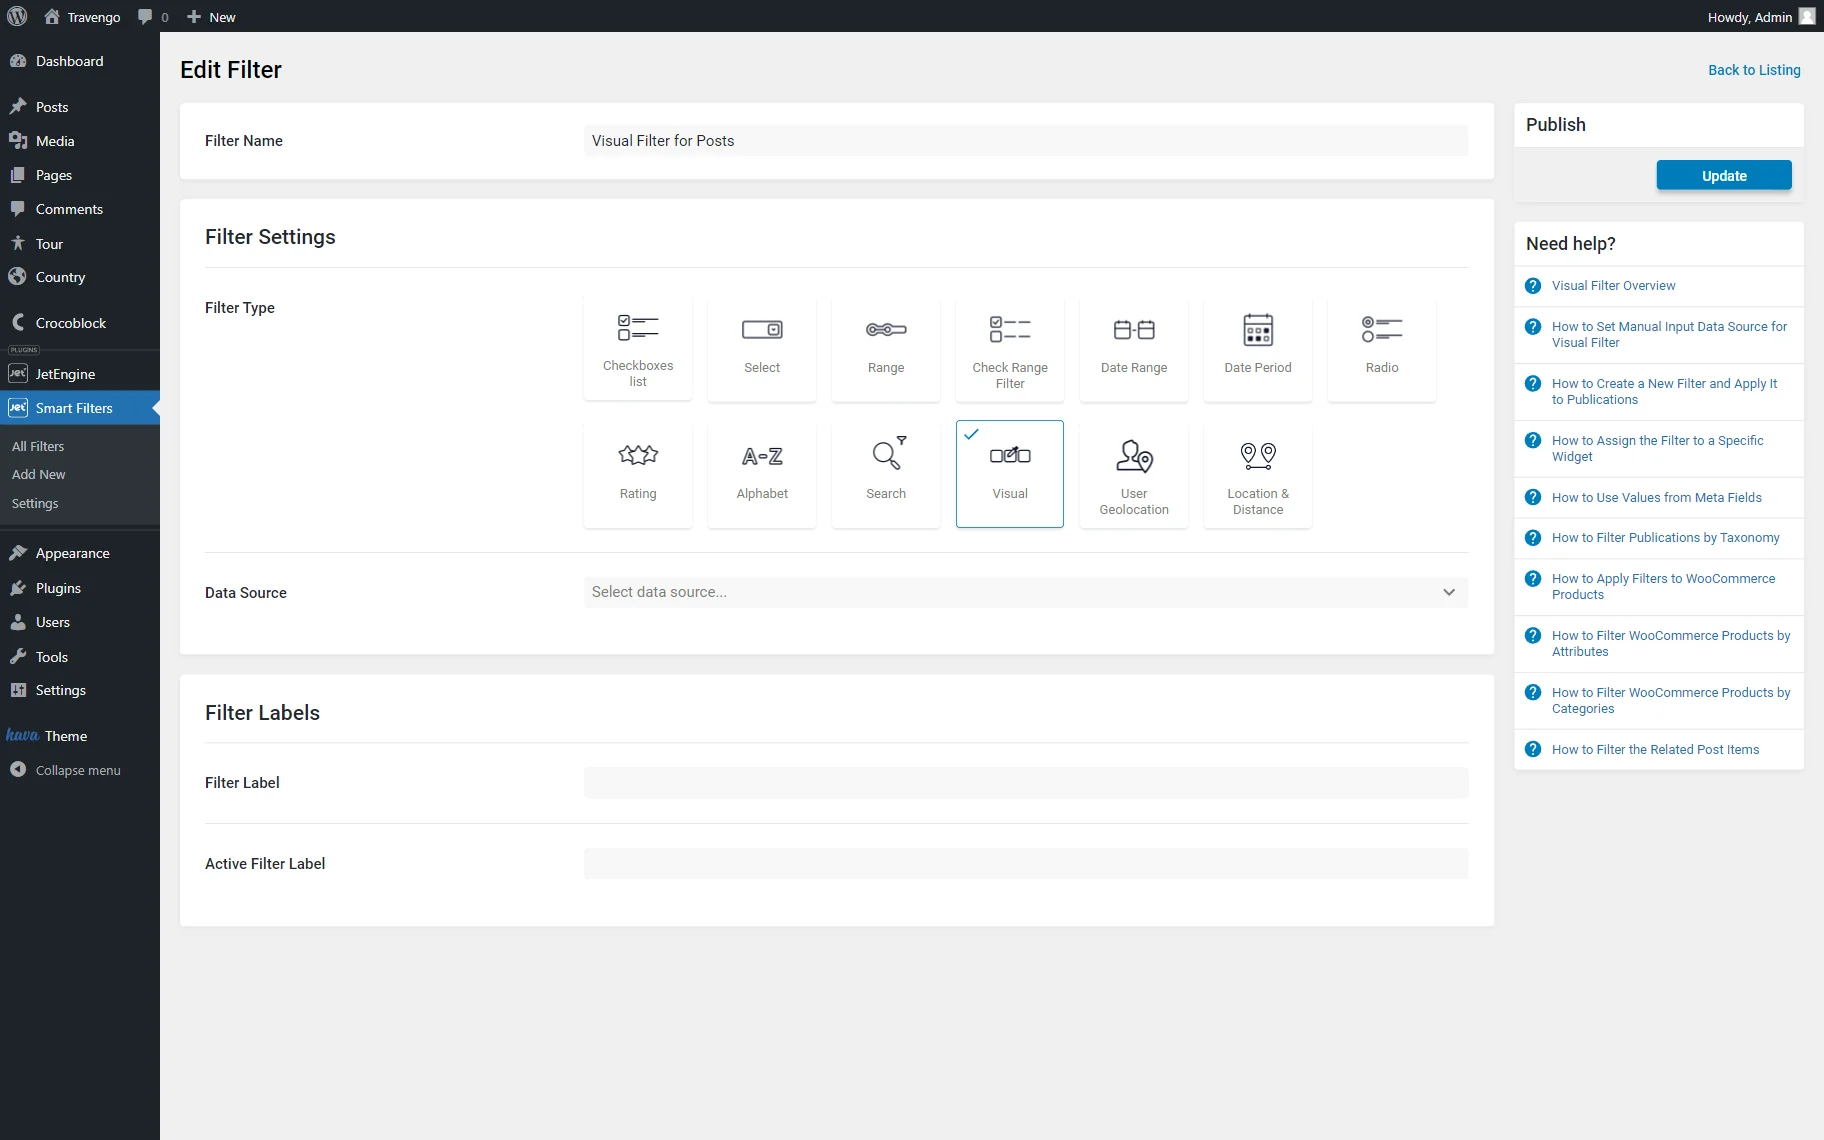
Then, choose the “Posts” Data Source.
In the Post Type drop-down menu, you should pick the post type that you’ve assigned as a parent in the post relation.
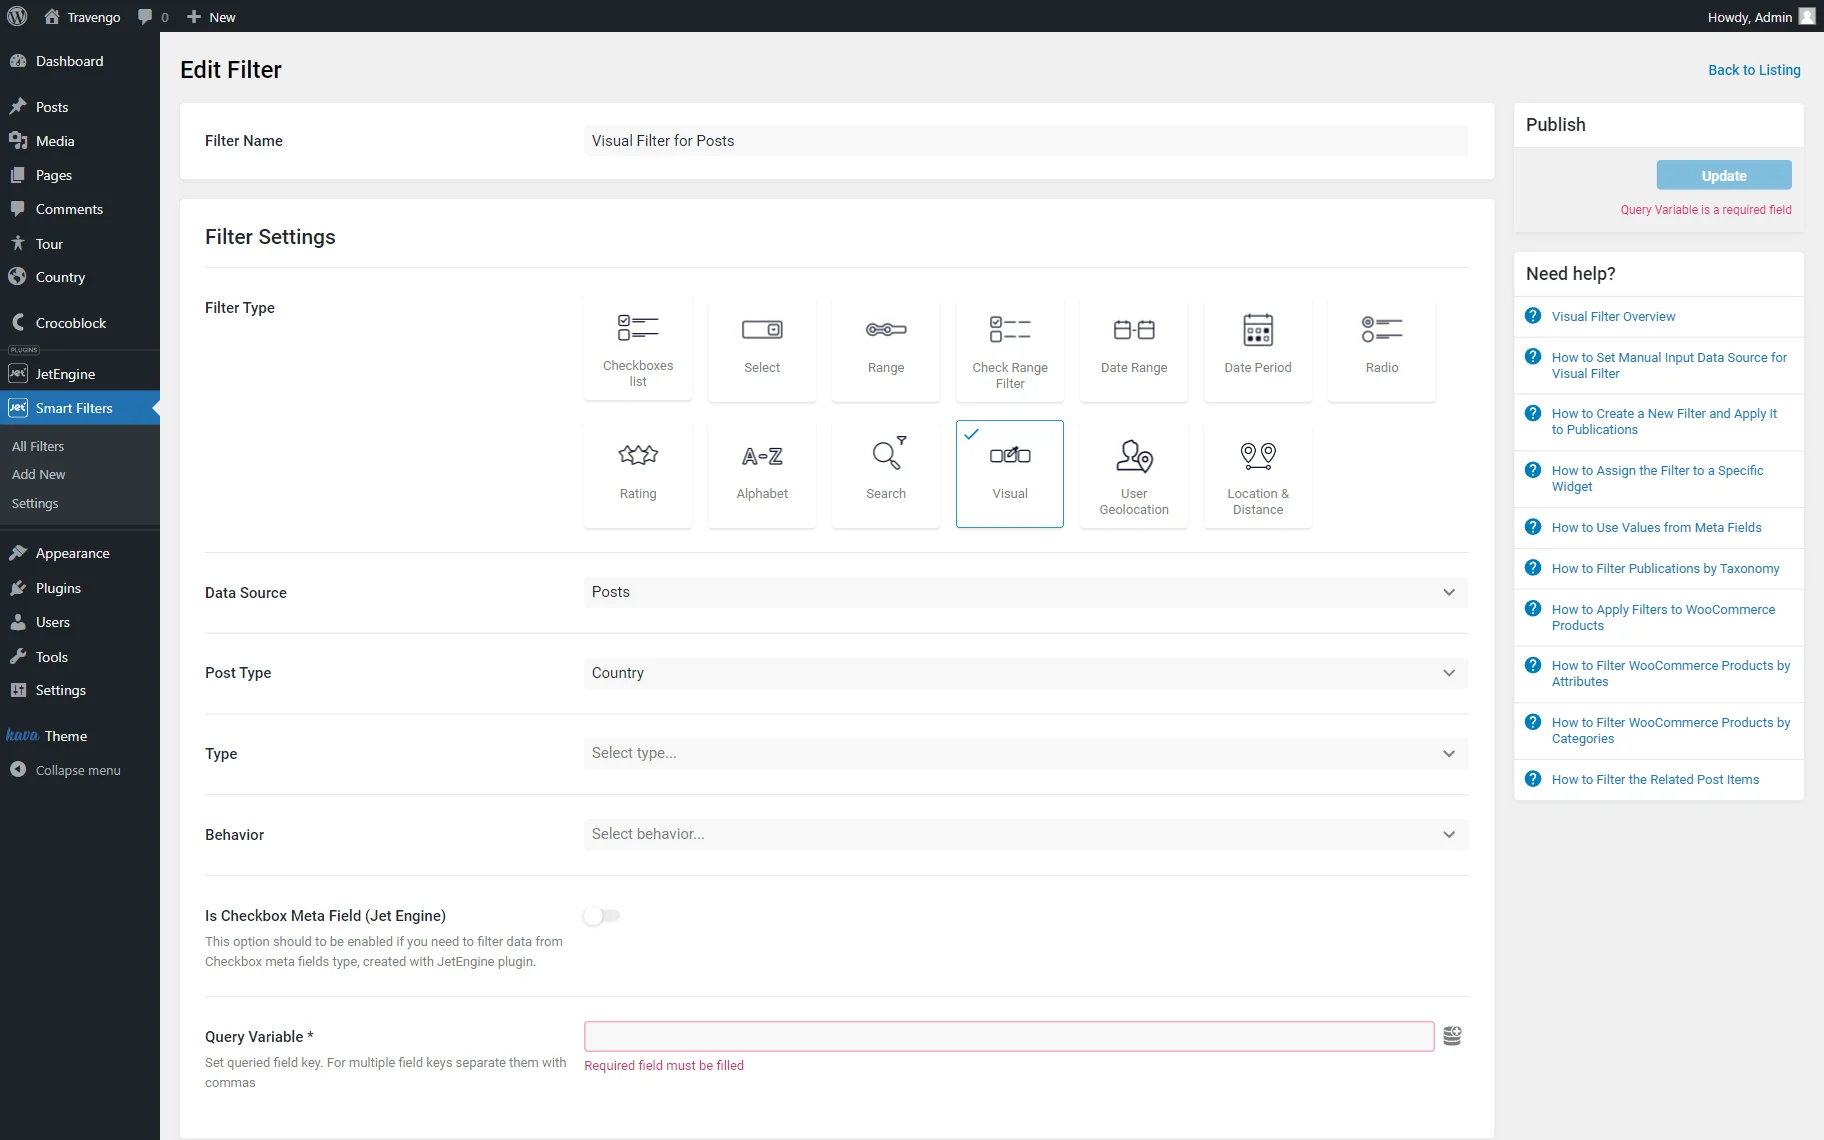
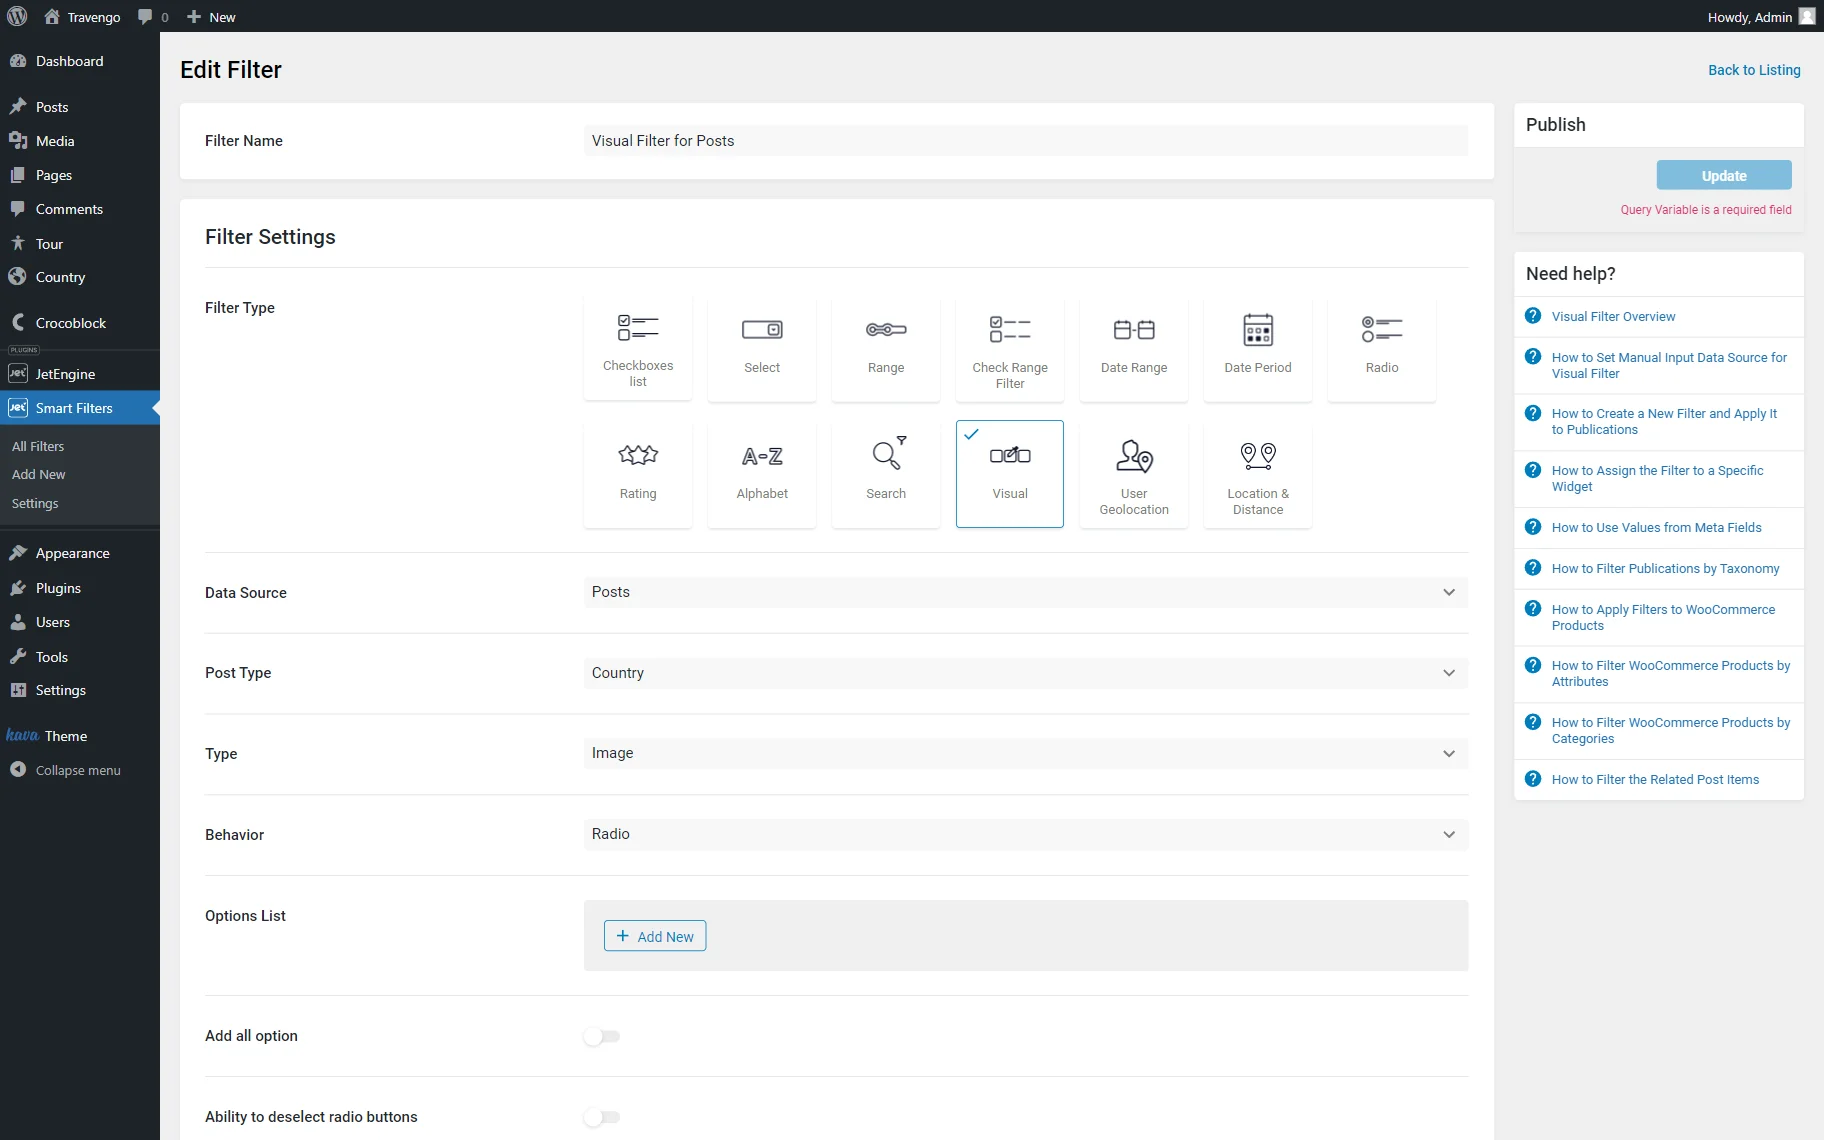
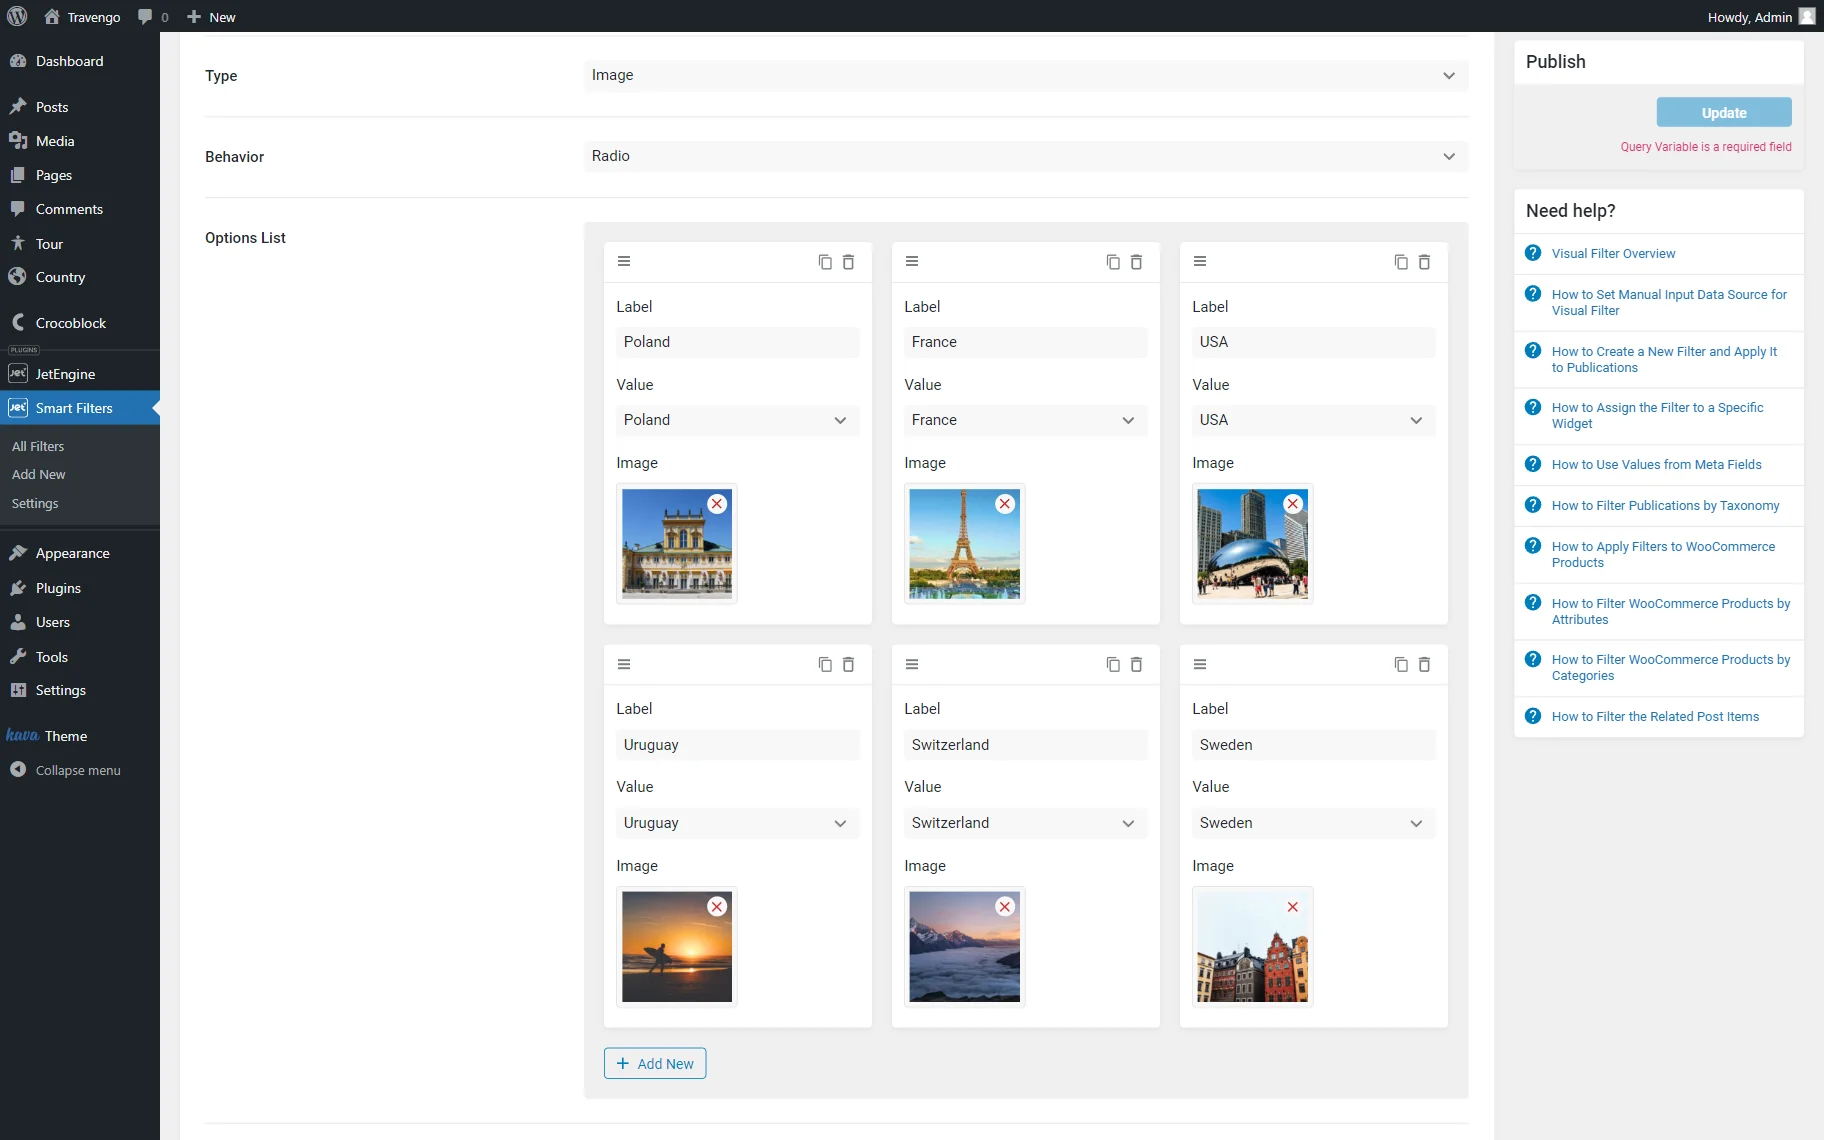
Next, select the Type of Visual Filter: a “Color” or an “Image” option. Then, define its Behavior, which can be either a “Checkbox” or “Radio.” These options refer to workflows similar to the Checkboxes Filter and Radio Filter, respectively.
Then, press the “Add New” button next to the Options List label to adjust the filter options according to the ones you have in the parent post type.
The Label field is optional. It’s common for the visual type to leave this field empty, as the color or image is more informative than the text.
Choose the needed Value from the drop-down list (these values must comply with the posts from the parent post type).
Then, specify the color if you’ve chosen a “Color” Type, and in case you’ve selected an “Image” Type, select a certain image.
If you select the “Radio” Type, additional options appear:
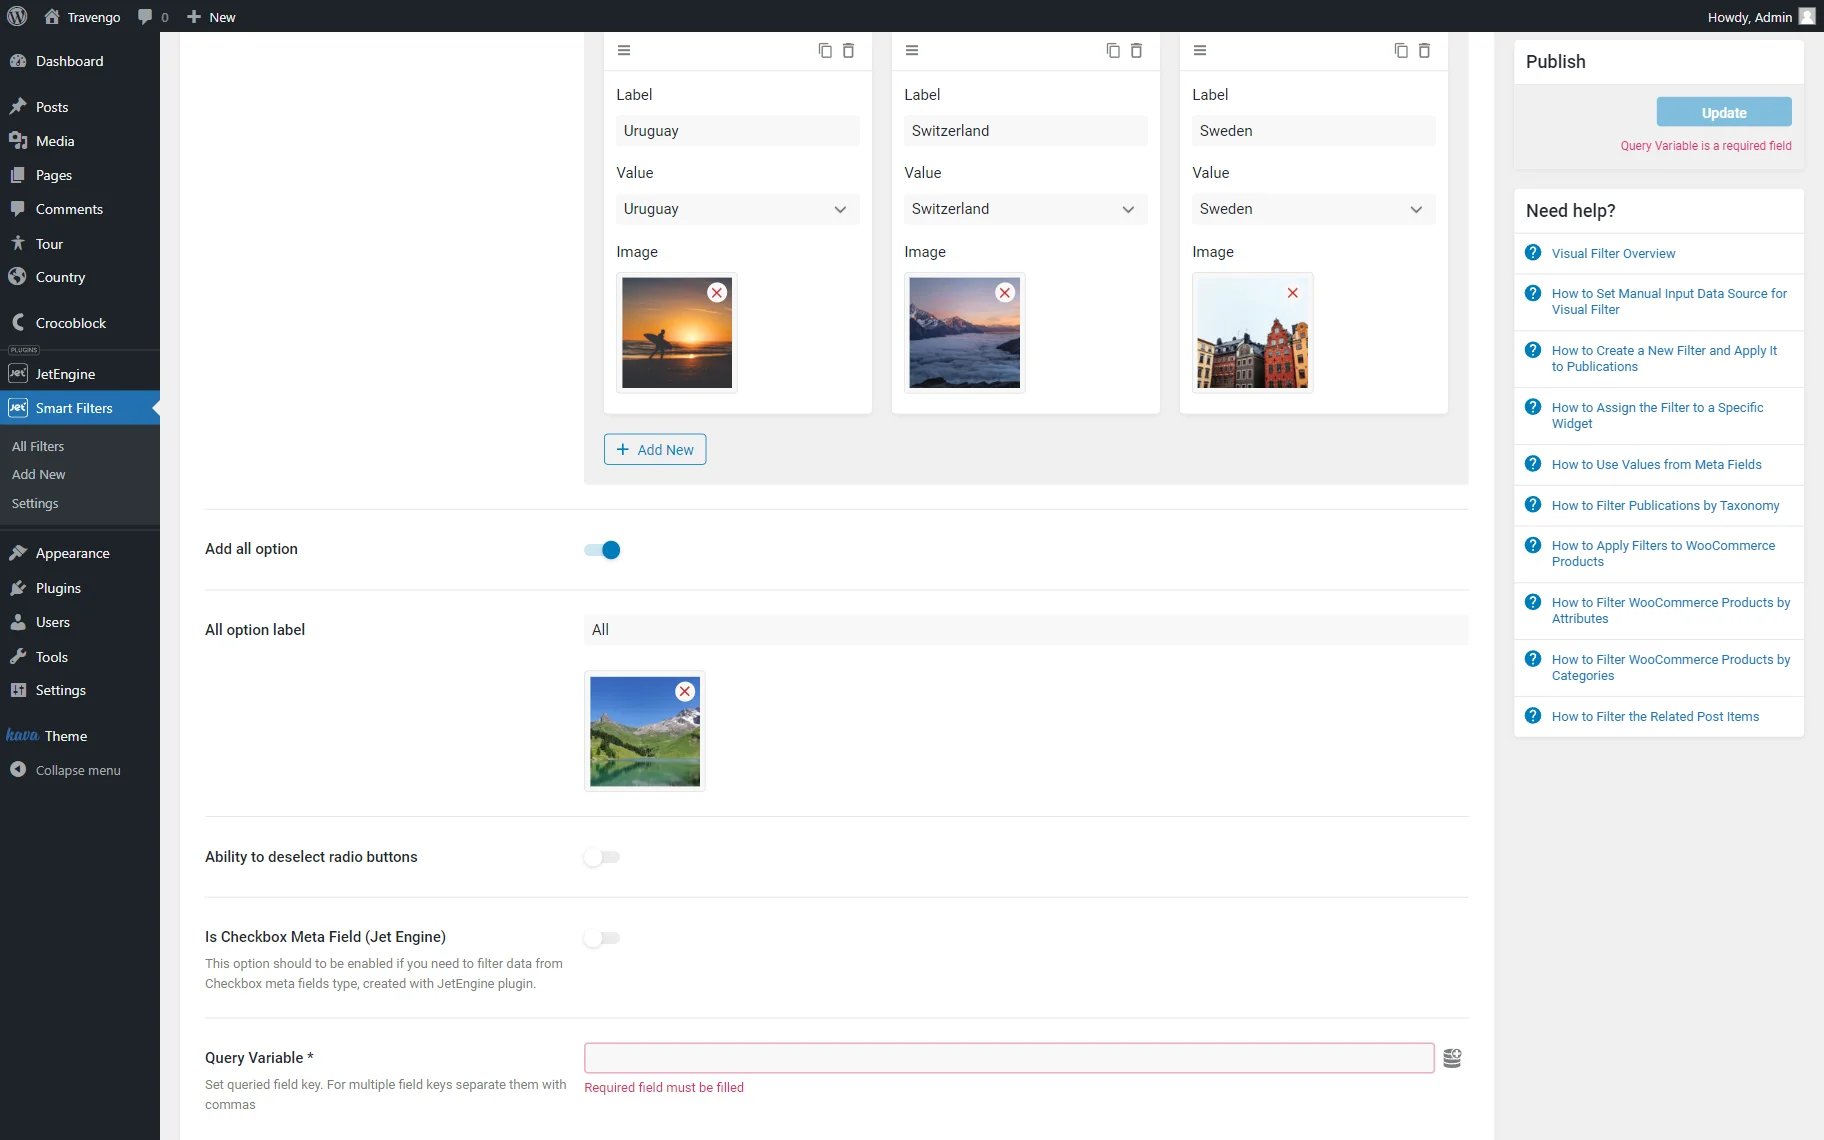
- Add all option — a toggle that adds the extra option to the list, allowing users to show all content at once;
- All option label — a field that allows changing the default “All” label into any desired text. Below the text field, there is also a “Choose an image” button, which helps set the image for the “All” option (if desired);
- Ability to deselect radio buttons — a toggle that deactivates the selected option fixation.
The following Is Checkbox Meta Field (Jet Engine) toggle should be activated only if the options are taken from the JetEngine’s meta box.
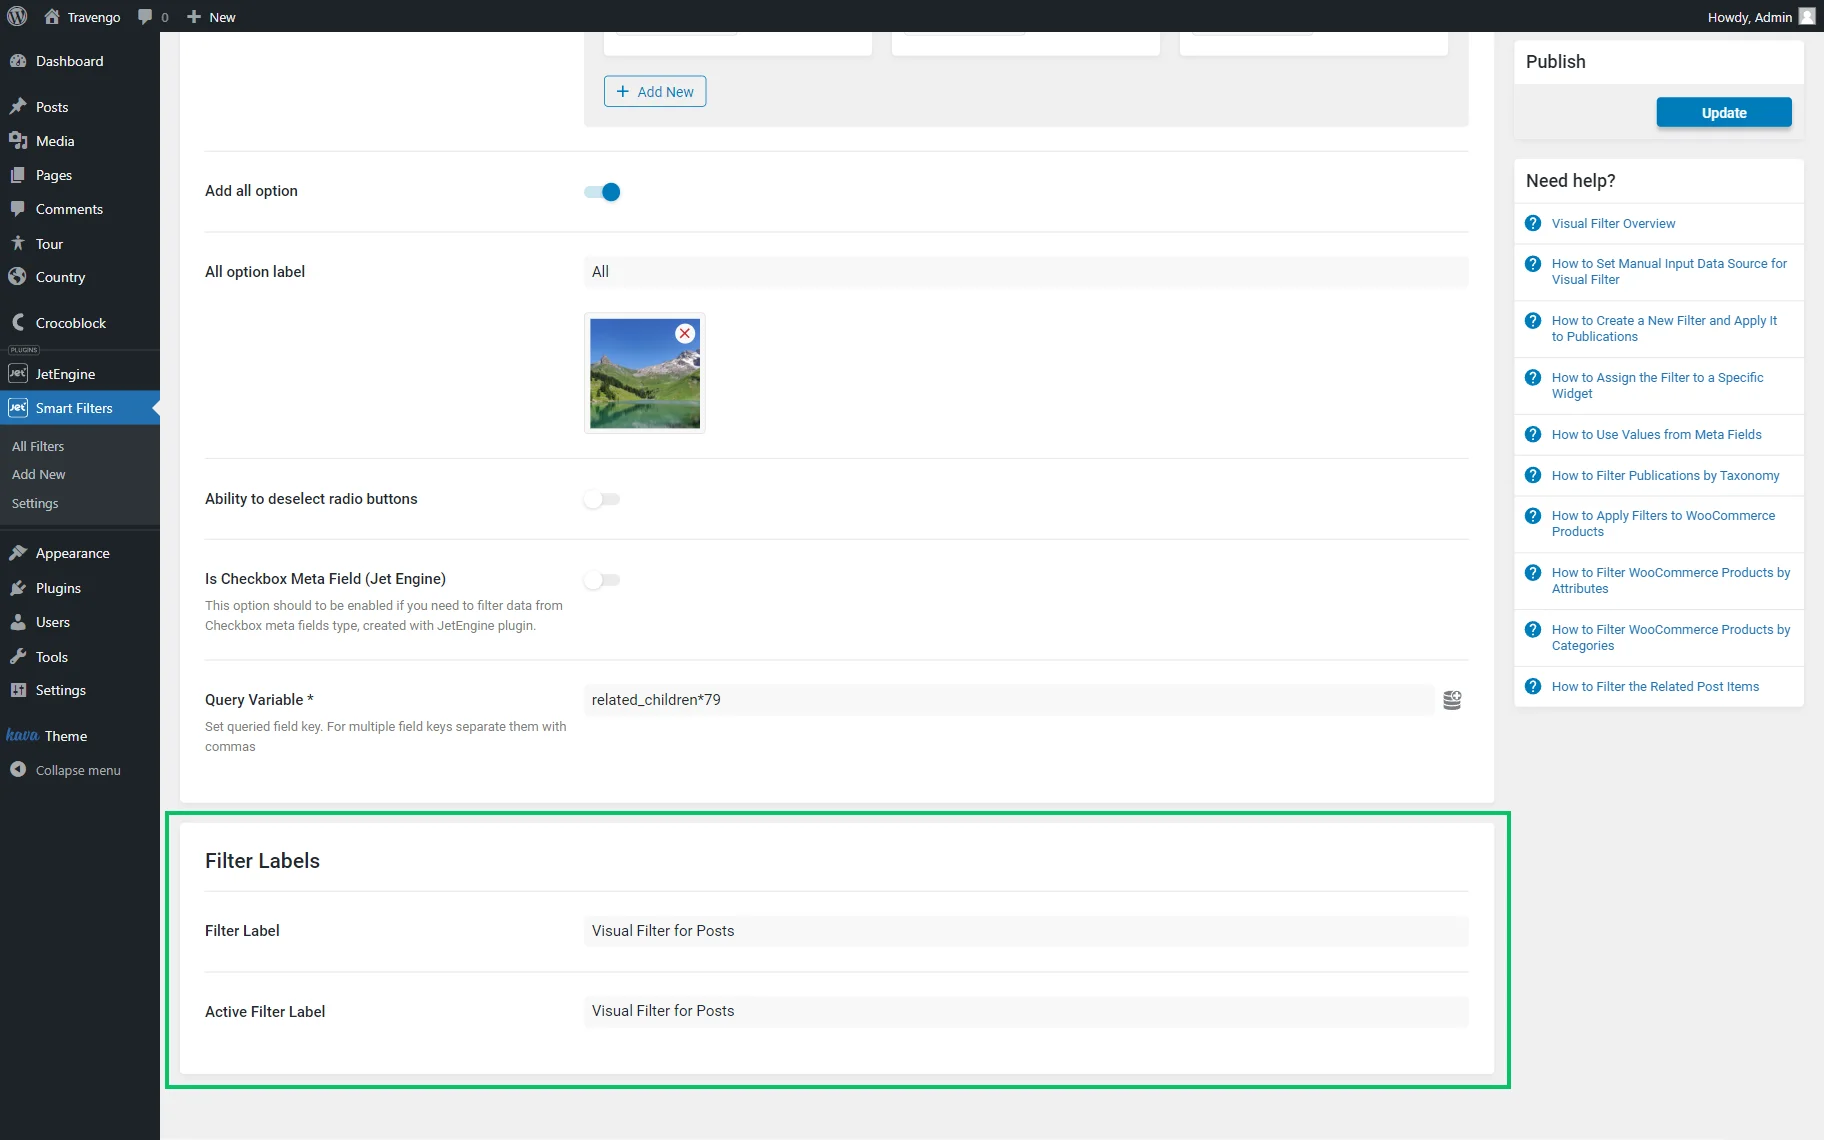
After that, you should set the queried field key in the Query Variable field. To find the necessary value, click the “Dynamic Tags” button next to the Query Variable field.
Here, pick the “JetEngine: filters children items by parent IDs” option and specify the Relation you work with.

In the last section of the filter settings, complete the Filter Label field with the value that will appear next to the filter and the Active Filter Label used with the Active Tags and Active Filters widgets/blocks/elements.
The following video tutorial additionally shows how to build custom Visual Filters with JetEngine, JetSmartFilters, and the free Listing as Filter add-on, allowing Listing Templates themselves to act as interactive filters.
Put Visual Filter on the Page
Open the page editor where you want to place your filter. It can be either Gutenberg, Elementor, or Bricks. For instance, we work with Elementor.
Find the Visual Filter widget/block/element and drag it to the canvas.

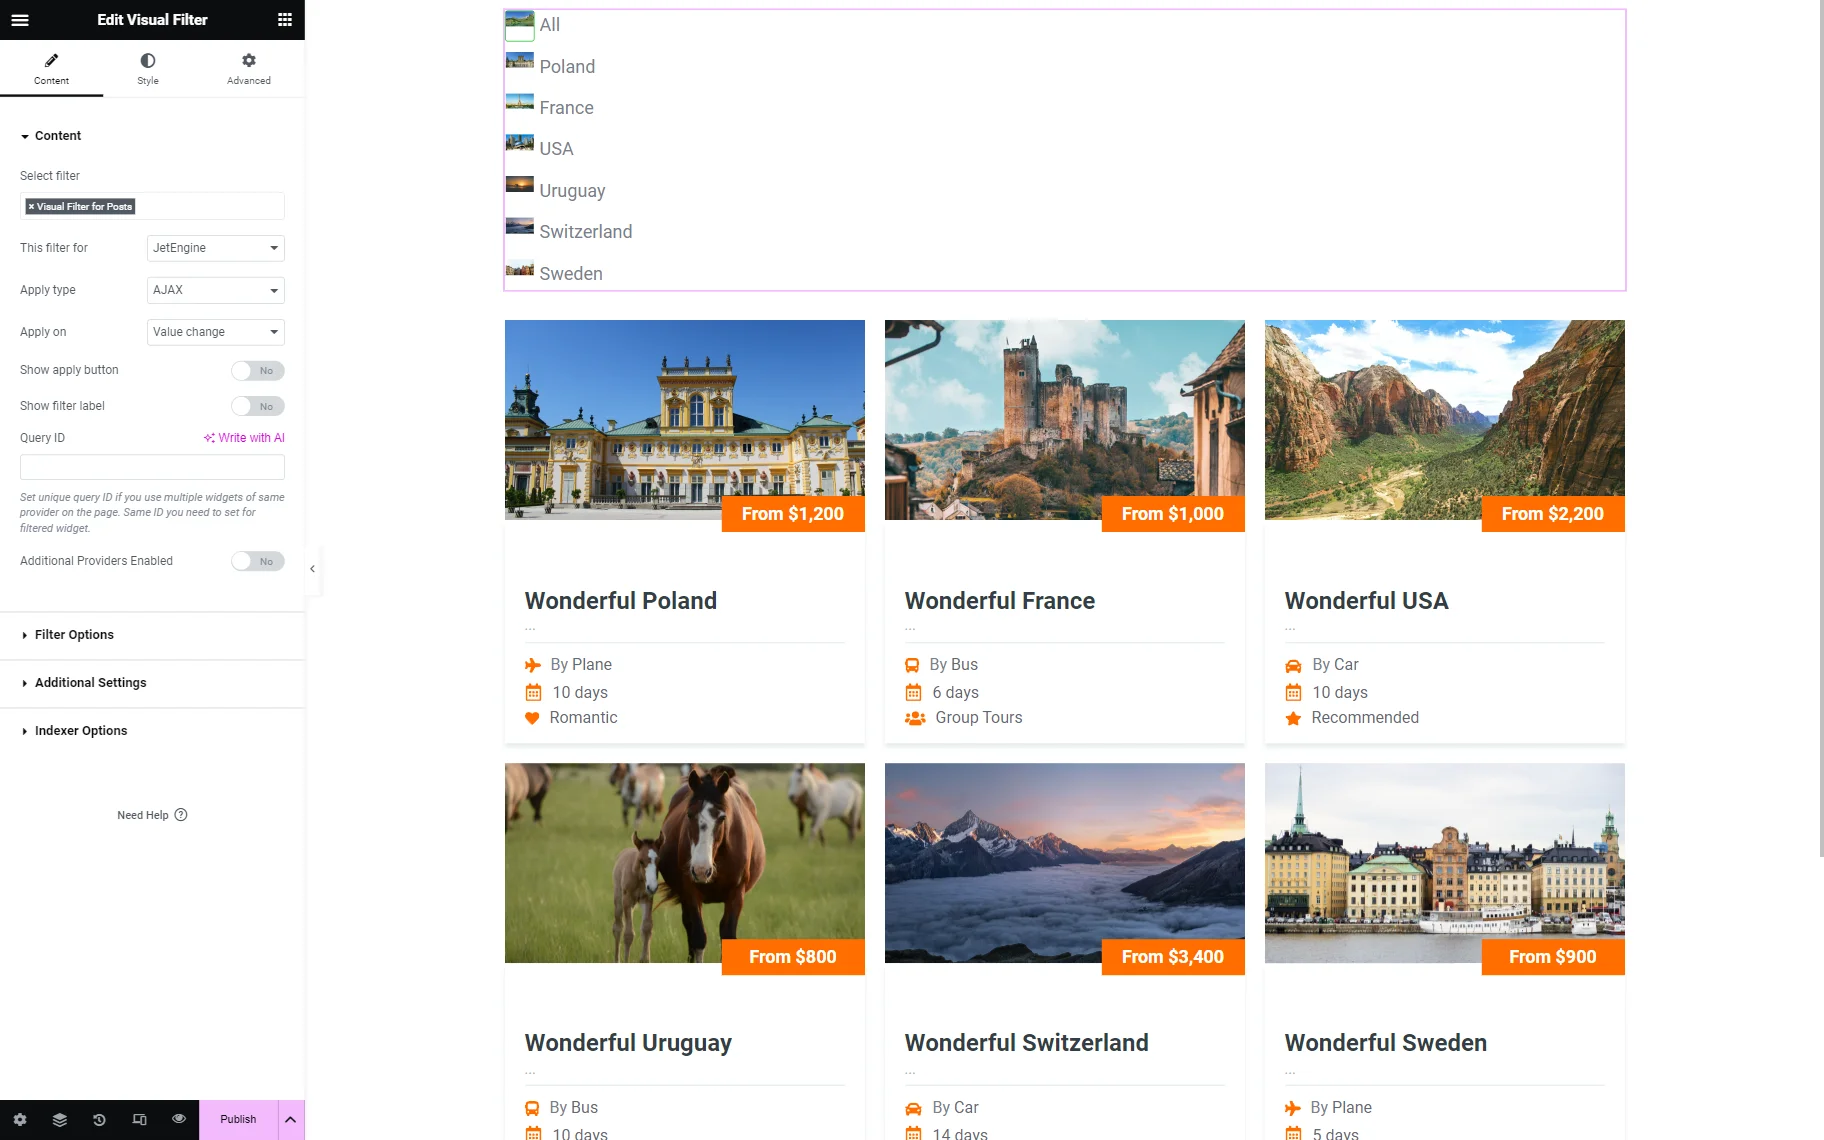
In the Select filter field, choose the filter that you’ve previously created.
In the This filter for menu, specify the content provider. We add the filter to the listing based on the posts, so we select the “JetEngine” option.
After that, choose the Apply type, either “AJAX” or “Page reload,” and the Apply on trigger.
Enable the Show apply button option and then the Show filter label one if you need it.
In the Query ID field, enter the ID of the section you want to apply the filter to in case you have several sections on the same page.
You can also activate the Additional Providers Enabled toggle to apply the filter to several providers.
In the Filter Options tab, you can disable the label next to the options with the help of the Show items label option.
In the Image Size drop-down menu, you can choose the size that will suit the general appearance.

Customize the appearance of the filter in the Style tab and press the “Publish/Update” button to save the changes.
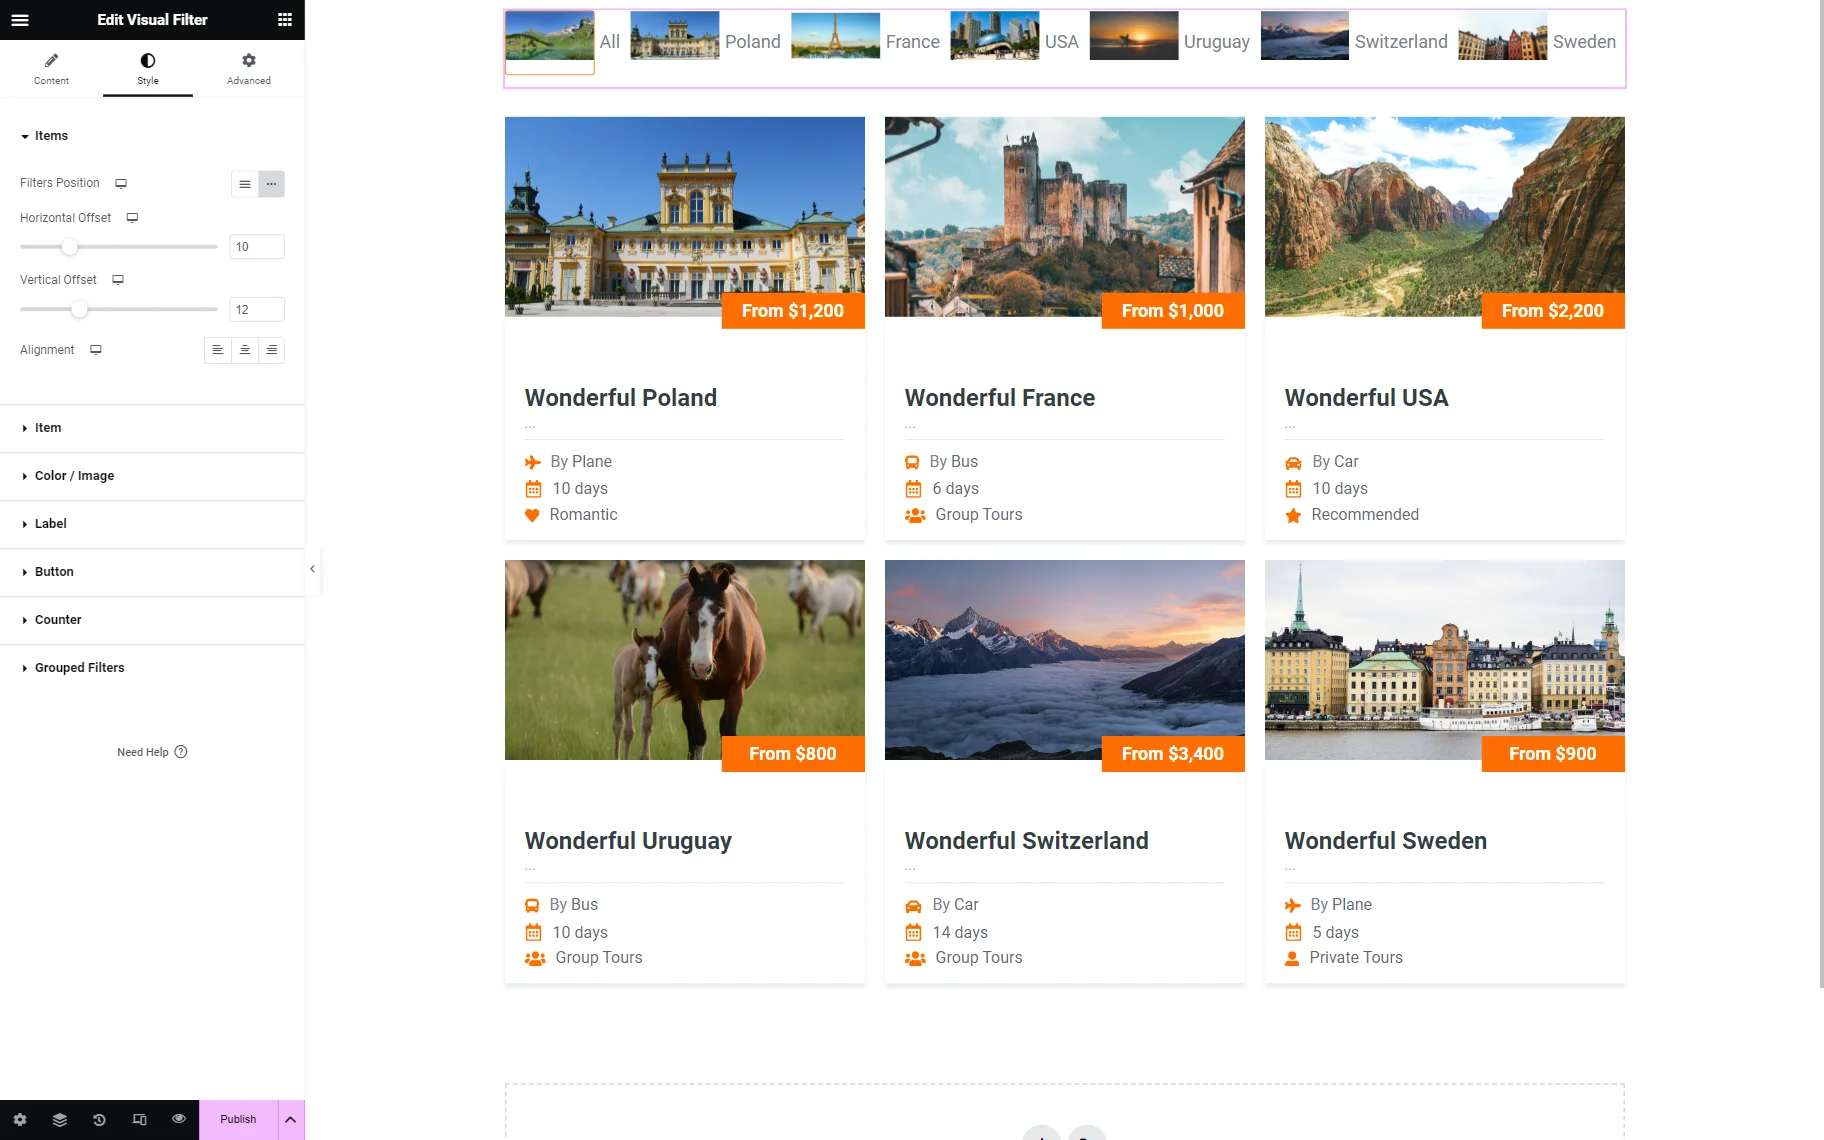
Check the Result
Proceed to the front-end page to check the result.
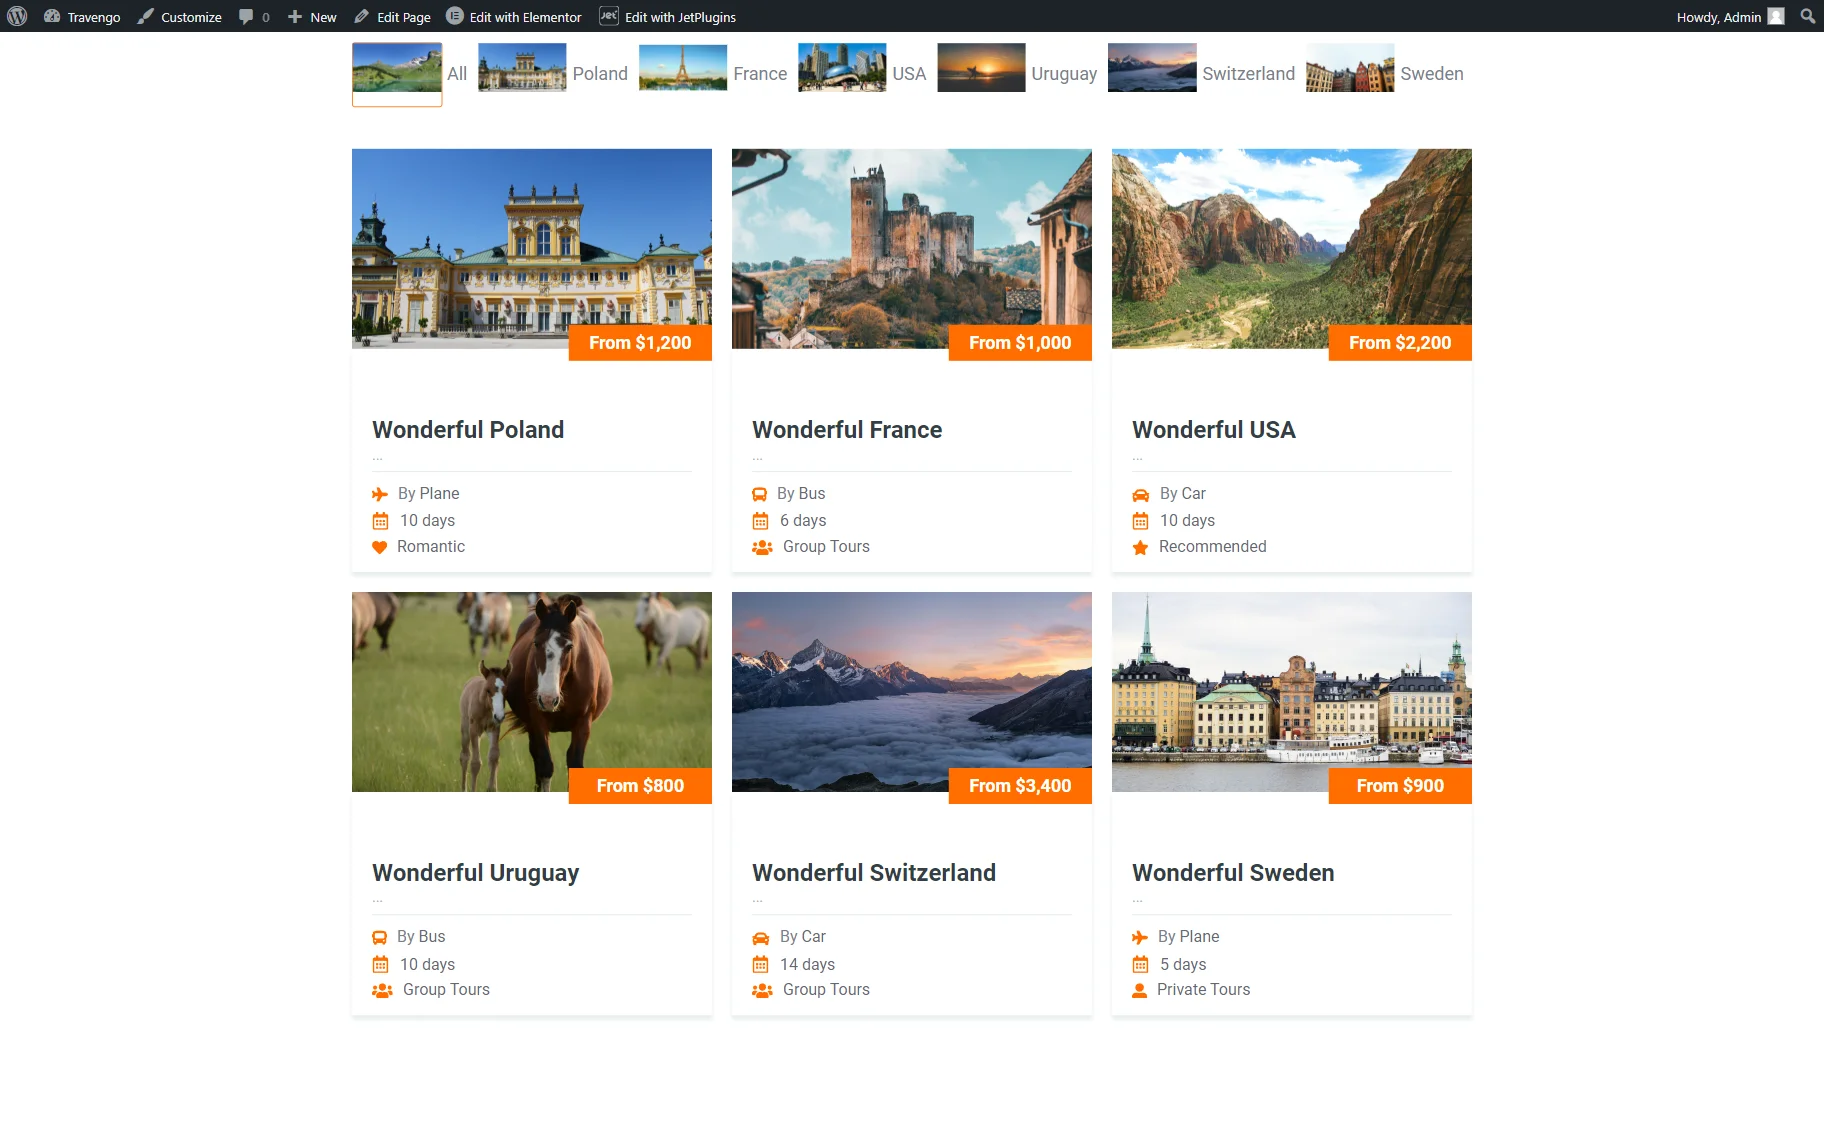
Pick the needed options to see if the filter works properly.
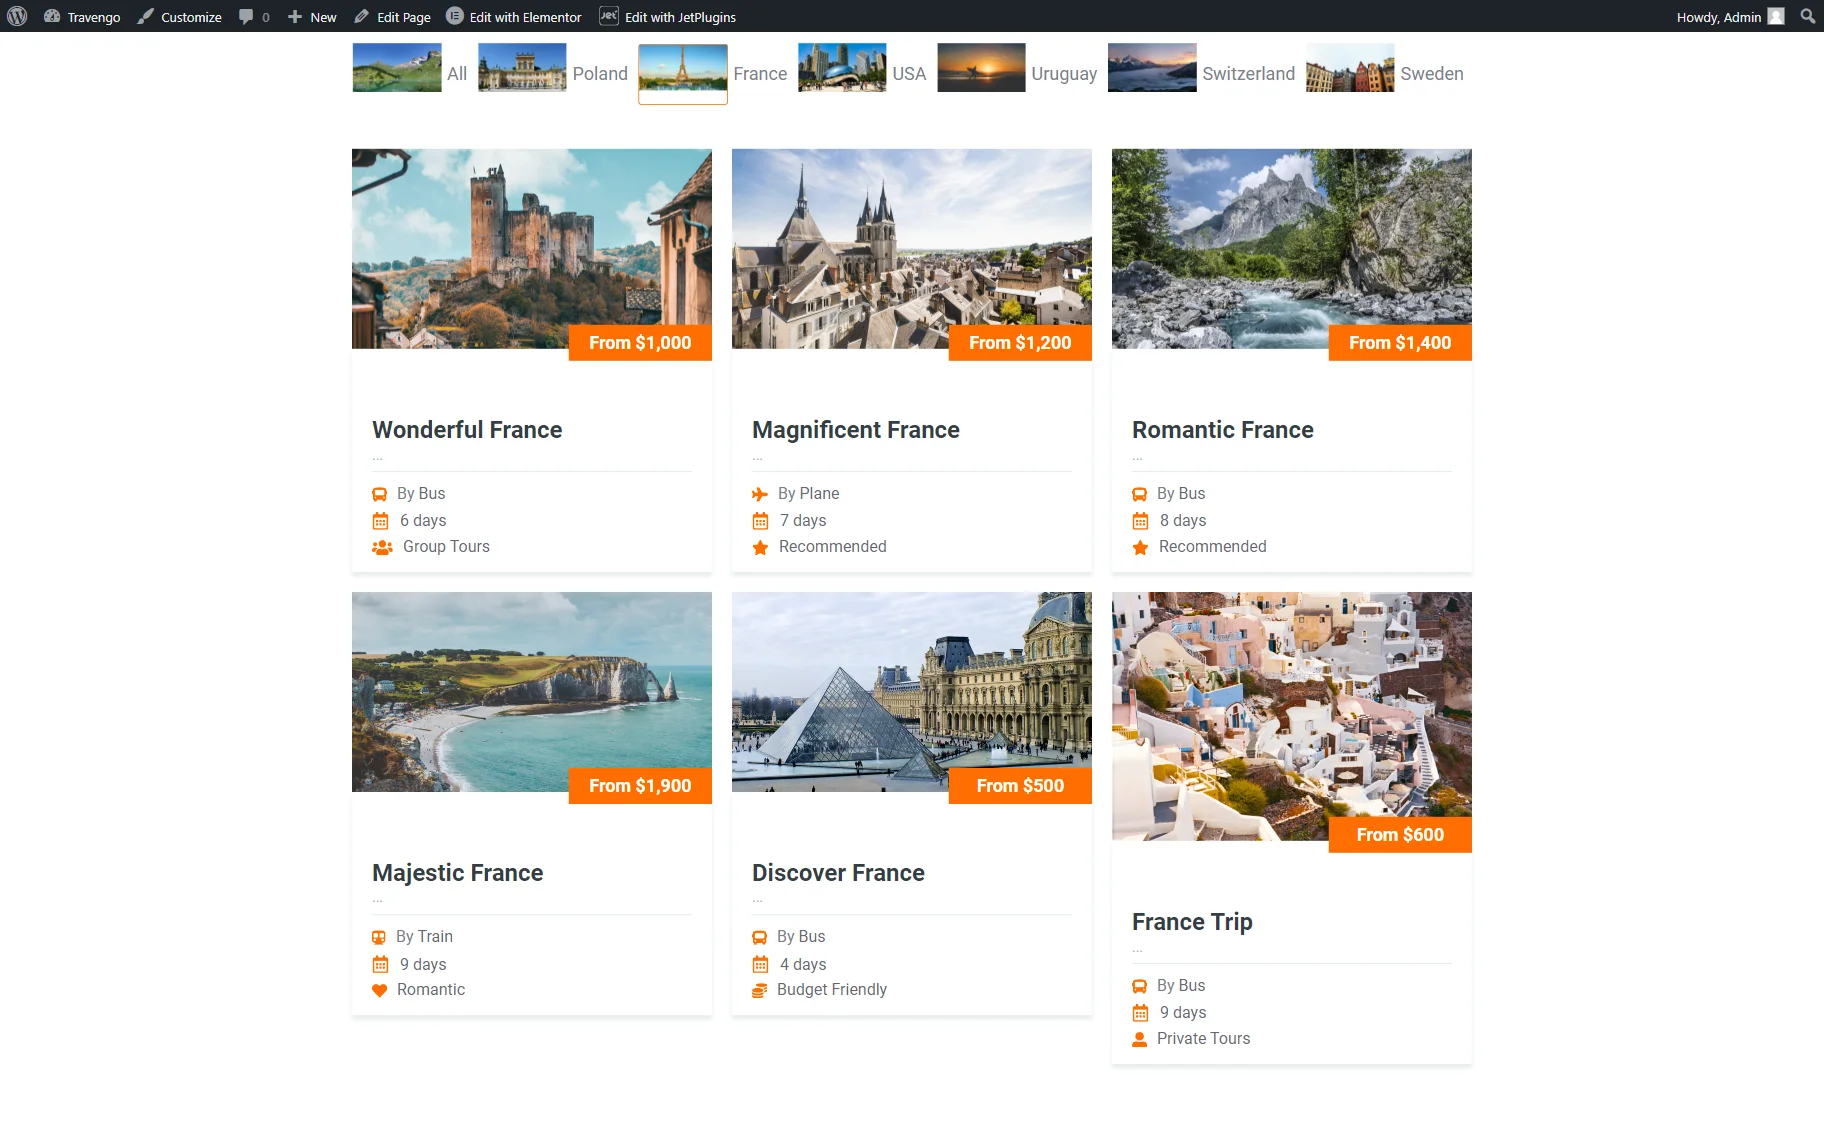
Now you know how to create a Visual Filter with the “Posts” Data Source based on the JetSmartFilters plugin for your WordPress Dashboard.