
Comfortable site navigation is vital. So, it is crucial to build a well-organized and easy-to-follow custom menu for users. However, the website does not always need a uniform menu through all pages because each page has its own purpose. In that case, you could build several menu templates, aka conditional menus, and apply them whenever necessary on the website. Want to learn how to create and set them to different WordPress pages?
Stay tuned. 😎
Table of Contents
Different Menu per Page: Use Cases
Before we delve into the page-specific menus, their creation, and plugins that have such functionality, you need to understand whether you need a conditional menu on the site. Look through the use cases below – they will help you single out a particular implementation. Once you see a case suitable for the website you are building, then this is it: you ought to add a different menu to some webpage.
Space-saving purposes
Sometimes, you don’t want to clutter the homepage more than it already is. Why not fit the menu into a compact hamburger? It will look neat and classy on the homepage, while the remaining website pages can have a regular horizontal menu in the header.
Design preferences
Having a conditional menu can be beneficial in the following case: you want to make the header sticky and place the nav menu into it. As a result, the header is always visible to users, and so is the menu.
Another case is making the header transparent so that it suits the webpage design. You can spot such a use case implementation on Findero, our real estate dynamic template. The header on a single Agent page is different from the one on the homepage, so can be the menu. It can include different items and subitems, those reflecting the on-page content and its purpose.
WooCommerce mega menu
Let’s say you are building a WooCommerce storefront. Once the visitors reach the homepage, they may want to see what you have at once. The best way to showcase the product line is through a WordPress mega menu. There could be a product categories section, quick contacts, a shortcut to the cart, links to a shipping policy, and even a range preview fitted into a Products Grid. As to the remaining pages, the menu there could be simpler since the shop page is already a “product window,” and it’s just one example.
Registration-based menu items
Sometimes, you may want to hide certain menu items from logged-out users and those not registered. For example, you run a blog/online courses website, where some content is only available to registered members. Why leave a menu item for not signed-up users if they won’t be able to switch over to its URL? For that reason, you might want to create two custom menus and calibrate their visibility conditions.
Compact mobile menu
About 59% of web traffic comes from mobile devices, so it’s worth optimizing a desktop website. You may need to redesign (adjust the main desktop menu visually) for it to look good on mobile. Alternatively, one can create a totally different menu specifically for mobile users and set visibility conditions different from those on desktop.
Best Different Menu per Page Plugins
Are you wondering whether it’s challenging to implement different WordPress menus per page? It can be, but not when you have the right tools.
JetMenu
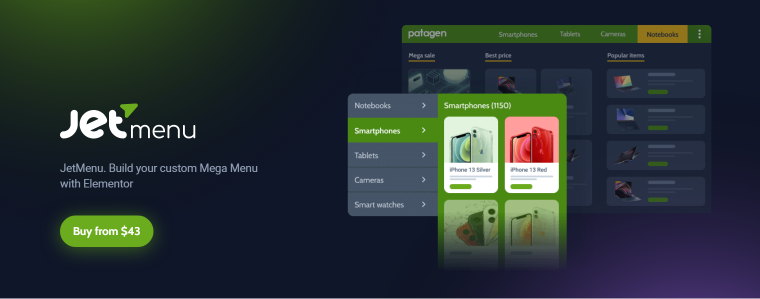
First and foremost, there is JetMenu by Crocoblock. It is a mega menu plugin for Elementor and the default WordPress block editor. What is impressive – JetMenu can help you create both conditional and desktop-independent mobile menus. The plugin has a foolproof UI and is 100% visually editable, which means every tiny thing about a menu item/subitem can be customized and stylized in the drag-and-drop editor.
Key features:
- Building a content-rich mega menu – you can add anything to it: from shop offers, contacts, and blog articles to multimedia and dynamic content.
- Choosing from three popular menu layouts and menu positioning – horizontal, vertical, and hamburger options are available. Plus, you can position the main menu items in the header and left/right sidebar.
- Creating a mobile render/responsive menu – you can build a mobile menu differently from the desktop, embed mobile-friendly content into it, and make it adaptable to every screen size:
- use breakpoints to set the viewport width you need, so the menu layout changes its layout from the dropdown to horizontal/vertical;
- roll up the horizontal menu items outside the menu container;
- apply the animation effect you like to the mega menu and its submenu; slide-in/out, push, fade, dropdown, move up/down, move left/right.
- Checking multiple stylization options – JetMenu is extremely versatile. It allows you to stylize every little thing about a custom WordPress menu: dropdown arrows, icons and badges, border and background, typography, box shadow, and padding.
- Mastering the advanced managing features – there is a preset manager (to preserve all style settings for later), a reset option (to roll back to default styles), and export/import (to save the main & conditional menu settings for further use).
Pricing:
JetMenu costs $43/year for one website and $88/year for unlimited websites. The package includes plugin updates and customer support for one whole year.
Pros:
- highly intuitive UI;
- Elementor and Gutenberg compatibility;
- ability to design content-rich menus;
- flexible menu positioning – header/footer area, a sidebar, a hamburger panel;
- custom mega menu creation and customization;
- ability to build a separate menu for mobile;
- extensive documentation;
- best used with JetBlocks and JetThemeCore.
Cons:
- no free version, only a 30-day money-back guarantee;
- may require additional JetPlugins to showcase its potential to the fullest.
How to create a different menu per page with the JetMenu plugin?
NOTE
Before you proceed to build a conditional menu, make sure that you have a corresponding plugin installed via the WordPress dashboard.
First things first, build as many different menus as necessary in the Appearance > Menus tab. It can be a simple navigation menu, a hamburger menu, or a horizontal mega menu, to name a few.
Next, open the page where you want to place the menu in the page builder you prefer. Use the JetMenu widgets (Vertical Mega Menu and Mega Menu) to output the menu in the desired page section.
Proceed to stylize the menu items, their appearance, animation effects, margins and padding, layout view – anything you wish. Once you customize the menu appearance, you need to press the “Save” button.
Repeat the procedure as many times as necessary for different web pages.
To ease out the process, you might want to get some other plugin, like JetThemeCore. It allows you to build custom theme parts and templates. So, it would take literally no time to assign different headers with page-specific menus to different pages.
For more detailed instructions, please refer to the video below.
JetThemeCore
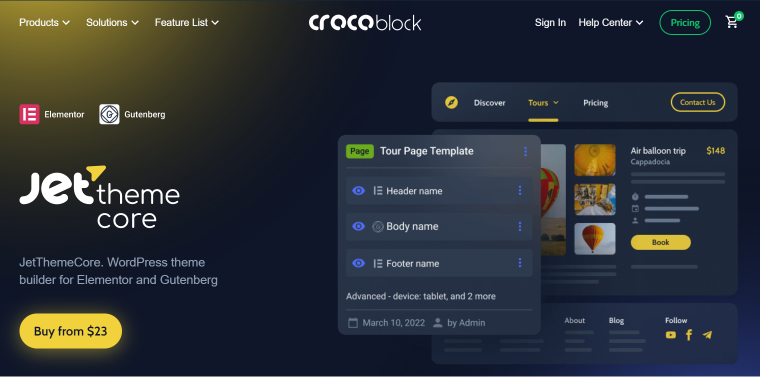
Secondly, JetThemeCore is a powerful theme-building plugin allowing you to create custom theme parts, fine-tune their visibility conditions, and arrange page templates. The WordPress Theme Builder by Crocoblock is extremely flexible because you can achieve a solid structure for any page template. You are free to choose and set where the created template will be rendered. How will it help to build a conditional menu? We’ll find out in a bit.
Key features:
- creating and editing custom page templates via a robust dashboard;
- setting advanced visibility conditions for theme parts;
- enabling/disabling a particular theme template for the necessary page;
- setting different visibility conditions for separate page/theme templates;
- applying custom theme parts to individual website pages;
- searching and filtering custom page templates;
- duplicating, exporting, and importing the page templates;
- building custom theme templates for WooCommerce projects.
Pricing:
JetThemeCore comes at a fixed yearly rate: $23 for one project and $47 for unlimited. It is subject to one-year updates and dedicated support.
Pros:
- super intuitive dashboard;
- Elementor and WordPress block editor compatibility;
- ability to apply custom templates to the page’s header, body, and footer;
- popular themes compatibility: Astra, Kava, Elementor Hello, Ocean WP, Blocksy, and GeneratePress;
- inbuilt template library, storing manually created and imported theme parts;
- intricate visibility conditions allowing you to fine-tune where every theme template appears and when;
- ability to preview the page template in the Elementor editor.
Cons:
- no free version, only a 30-day money-back guarantee;
- no preview functionality for Gutenberg editor;
- may require JetMenu to demonstrate its full potency.
How to create a different menu per page with the JetThemeCore plugin?
Although JetThemeCore does not cover website menu creation, it is absolutely great when it comes to conditional settings. It is possible to use the default WordPress menu builder and embed custom menus into different header templates.
For starters, build as many WordPress menus as needed in the Appearance > Menus tab. Now proceed to the Crocoblock > Theme Templates section, press “Add New,” and create multiple header templates.
At the editing stage, use the default menu widgets to output the recently created menu in the header template. Save the changes and proceed to adjust the header visibility conditions in the Crocoblock > Theme Builder section.
Locate the page template where you wish to apply the configured header and press “Add header.” Now, to fine-tune the visibility settings, press three dots next to the page template name and click “Edit conditions.” In the newly opened window, you can add as many rules as required, so the header with a custom menu appears just where you intend.
UberMenu
Primarily, UberMenu is a mega menu plugin whose settings range is quite impressive. Using it, you can output menu items in rows, columns, and tabs. There’s a possibility to create a custom menu configuration and insert widgets and shortcodes from the default WordPress widget section. For the mobile view, one can adapt a desktop menu and make it responsive.
Key features:
- fully responsive and touch-enabled;
- ability to build advanced submenu layouts thanks to the column grid system;
- mobile-ready and works excellent on Apple and Android devices;
- integrated with WordPress 3 Menu Management System;
- high flexibility: you can adjust the menu’s animation effect, event triggers, breakpoints, etc., and apply various style settings to menu items;
- support for 25 Google Fonts;
- ability to build vertical and horizontal menus;
- multiple menus can be set up independently.
Pricing:
The core plugin costs $26, and extensions are purchased separately (Icons, Flat Skins Pack, Sticky, Conditionals – $8 each). So, the price total for a Lifetime license would be $58. It includes 6-month support, which can be extended for a little extra.
Pros:
- low-priced one-time investment;
- the extensive feature set, which is highly customizable;
- four extensions to handle the menu layouts and visibility conditions;
- flexible stylization due to general settings configurations;
- LESS stylesheets for developers.
Cons:
- A theme compatibility issue that needs to be resolved manually (by integrating the UberMenu code snippet into the default menu code).
- A relatively high learning curve. Despite the plugin’s friendly UI, you’ll have to spend some time learning before you understand the finer points.
How to create a different menu per page with the UberMenu plugin?
NOTE
Before you start building a conditional menu, make sure to install the UberMenu core plugin and its Conditionals add-on.
First, build a regular nav menu through Appearance > Menus, and then you can start customizing its visibility. Every menu item has a button, which opens the Menu Item Settings Panel when clicked. Last on the list will be the Conditionals tab.
You can set User and Page conditions. To refine the menu appearance a bit, there are additional parameters. Using them, you can show a particular menu item on a specific page or hide it from a certain user role. It is possible to combine conditions for the same item.
Do you want to see how to mix and match conditions? Check out the examples.
Conditional Menus
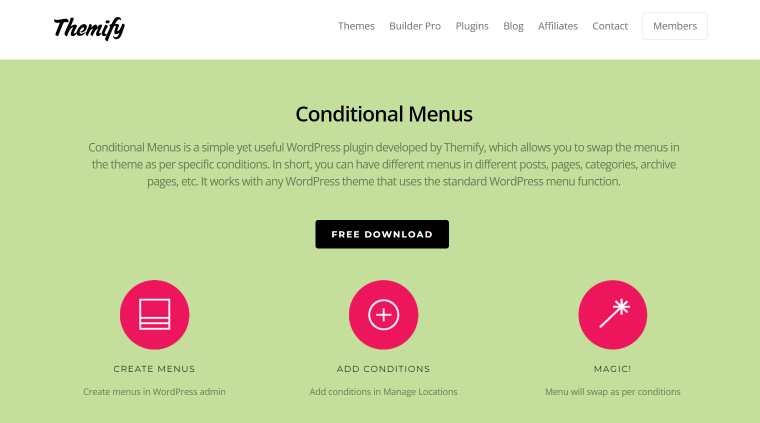
A robust page-specific menu plugin? Look at Conditional Menus by Themify. It is a free plugin developed to “swap the menus in the theme” according to certain conditions. To put it otherwise, it helps you to set different menu views for different posts and pages. The plugin gathered quite a following – so far, it’s got more than 70k active installations.
Key features:
- ability to configure conditional settings for website pages, post types, taxonomies, categories, user roles, and more;
- conditional settings can be applied to subpages automatically;
- ability to disable the menu wherever it’s not needed.
Pricing: free.
Pros:
- no need to pay for the plugin;
- compatible with any WordPress theme which uses the standard menu function;
- extremely easy to use;
- multiple menu visibility conditions can be mixed and matched;
- can be used for language switching.
Cons:
- it’s impossible to set visibility conditions for one particular menu item;
- using two menu plugins simultaneously may cause a glitch.
How to create a different menu per page with the Conditional Menus plugin?
First and foremost, install and activate the plugin from the WordPress Dashboard. Now follow the Appearance > Menus pathway and open the Manage Locations tab. You will see a clickable “Conditional Menu” link. Press it to assign a page-specific menu to the desired theme location. It is possible to disable the menu, too.
You might want to create a conditional menu before assigning it to posts and pages. To do so, open the Edit Menus tab in the same directory and create a new custom menu.
Assign the conditions you find suitable, and don’t forget to save the changes.
Read the following tutorial to learn more about how the plugin works.
If Menu

Lastly, there is If Menu, a page-specific menu plugin by Layered. It helps website developers to fine-tune every menu item’s visibility by setting separate rules. There are basic and advanced plugin plans, which give access to more refined settings. One can mix and match the needed visibility rules and get a different-looking menu each time. The plugin has already helped 80k+ users to customize their menu visibility.
Key features:
- A basic set of visibility settings includes user state and roles, page type, archives, and visitor device.
- Advanced visibility settings include visitor location and language, user groups and membership level, WooCommerce subscriptions and memberships, and allows restricting content.
- You can set multiple rules by using the AND/OR operators.
- Premium members can add custom rules.
Pricing: free and premium, starting from $20 for one website.
Pros:
- easy to customize;
- operates on a show-and-hide basis;
- ability to mix and match visibility settings;
- allows you to adjust each menu item separately;
- extensive visibility rules set.
Cons:
- free users are entitled to support through wordpress.org, which is not always fast;
- advanced visibility rules are only available in the premium version.
How to create a different menu per page with the If Menu plugin?
Now, the If Menu plugin is fairly simple to use.
First, install and activate it from the WordPress Dashboard. Next, create a menu in the Appearance > Menus tab. Once done, press the dropdown arrow next to the menu item name and check the Enable visibility rules checkbox.
First, you choose whether to show or hide the given menu item/subitem and then pick under which conditions. Easy as a pie! Once done, make sure to save the changes.
For more details, refer to the following tutorial.
WordPress Menus FAQ
The concept refers to the so-called conditional menus, which means every website page can have its own menu, different from the main one. To build such a menu, you might need to set up separate visibility conditions.
There are two ways to do it: write some code or use dedicated plugins. If you lack coding skills, the second option would be best. Although the routine may differ from plugin to plugin, the basics are to create a regular menu, install a preferred plugin, and adjust visibility rules.
The given article reviews five suitable plugins: JetMenu, UberMenu, JetThemeCore, Conditional Menus, and If Menu. You could compare them and see what’s best for you.
Summing Up
As you can see, conditional menus can be quite helpful regarding space-saving, design decisions, mobile view, and more. We’ve reviewed five plugins today, which will help you achieve different purposes and bring into being the abovementioned use cases.
JetMenu is a must-have to create a desktop-independent mobile menu and content-rich mega menu layouts.
UberMenu will help you set up to two conditions per menu item and, thus, manage its visibility.
Conditional Menus and If Menu plugins are pretty similar, except that If Menu gives you more flexibility regarding menu items.
JetThemeCore lets you manage theme parts and templates, assign them to pages and configure different visibility rules.
Have you tried to build a page-specific menu yet? Let us know in the comments below.

