How to Apply a Preset for User Account Page
This tutorial describes how to set up the User Account page using the JetEngine preset feature. Import the pre-set forms and account subpage templates on your WordPress website.
Before you start, check the tutorial requirements:
- Elementor (Free version)
- JetEngine plugin installed and activated
Profile Builder is a feature of the JetEngine plugin that allows users to create personal accounts and submit information directly from the WordPress website’s front end.
To simplify the crafting process, you can import the pre-made Account page and subpage templates with forms from the JetEngine Dashboard.
Importing Presets
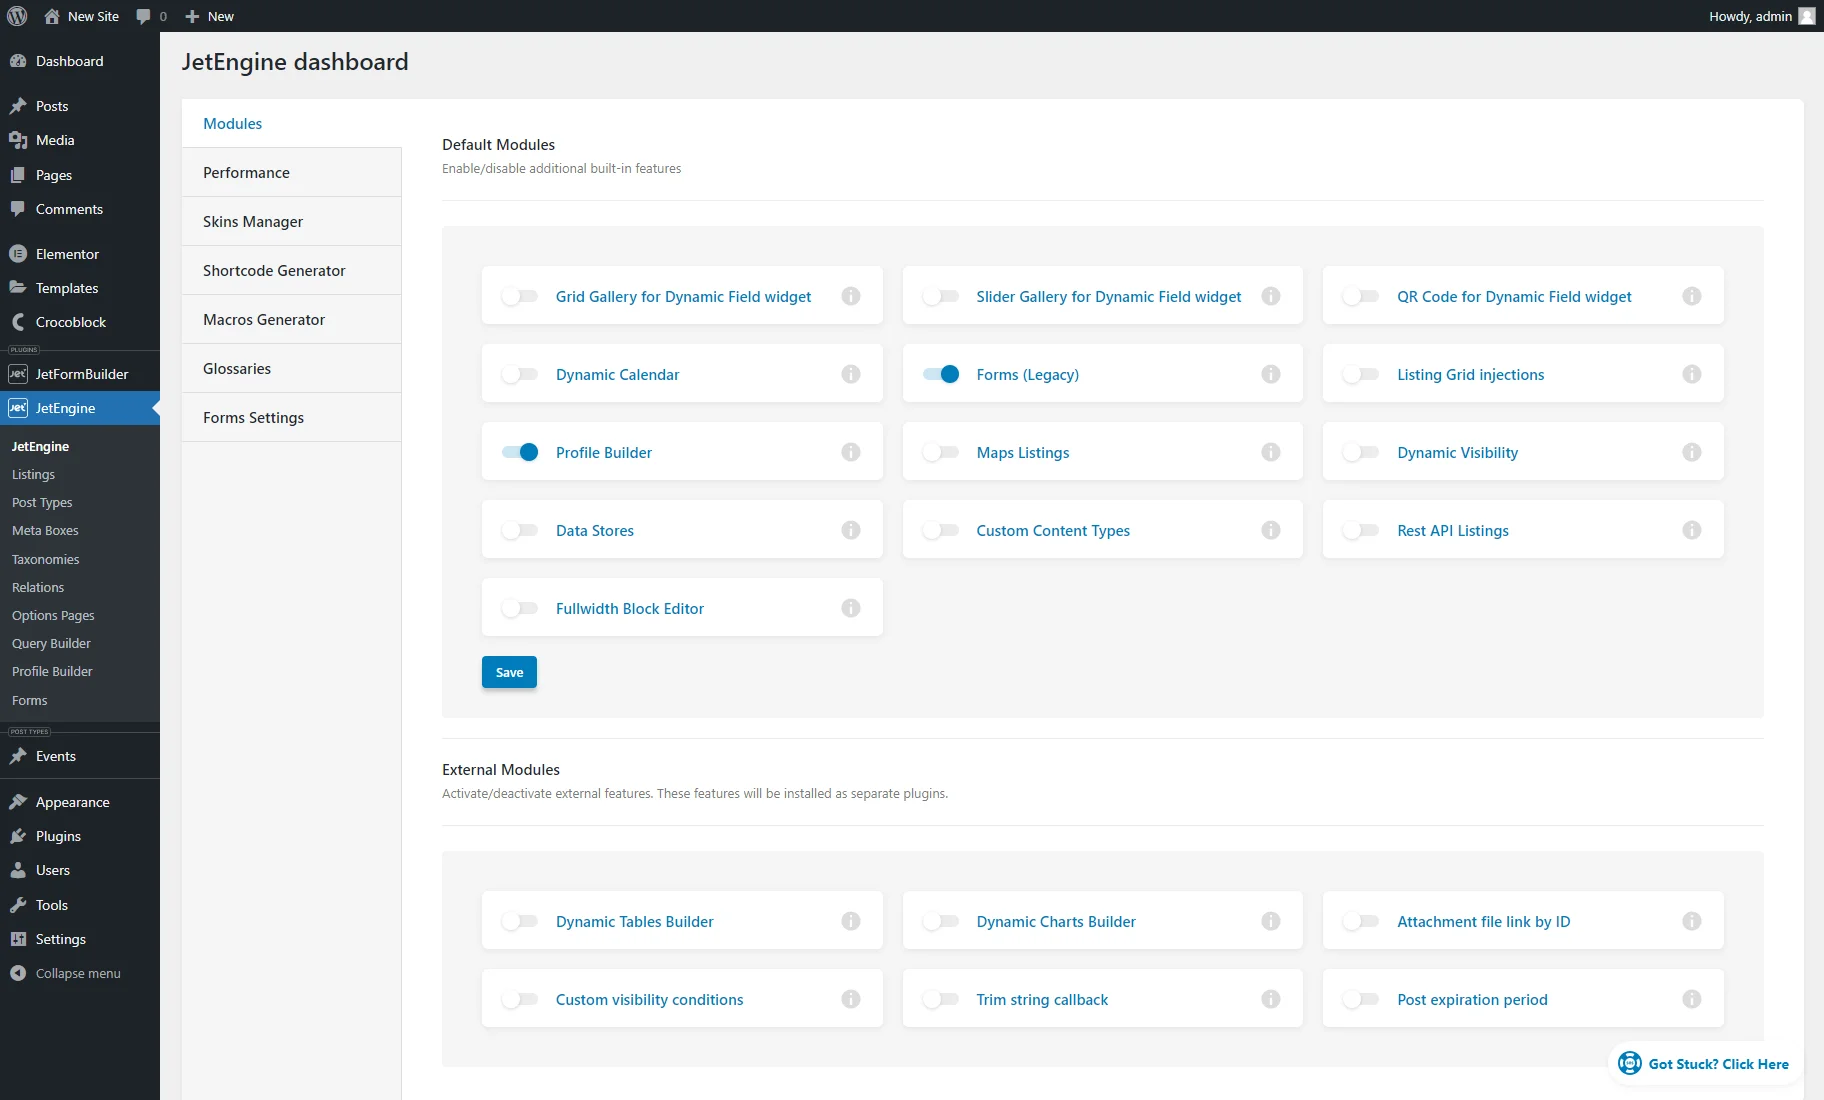
Head to the WordPress Dashboard > JetEngine > JetEngine > Modules tab and ensure the Profile Builder toggle is enabled in the Default Modules section.
Then, open the Skins Manager and unfold the Presets tab.
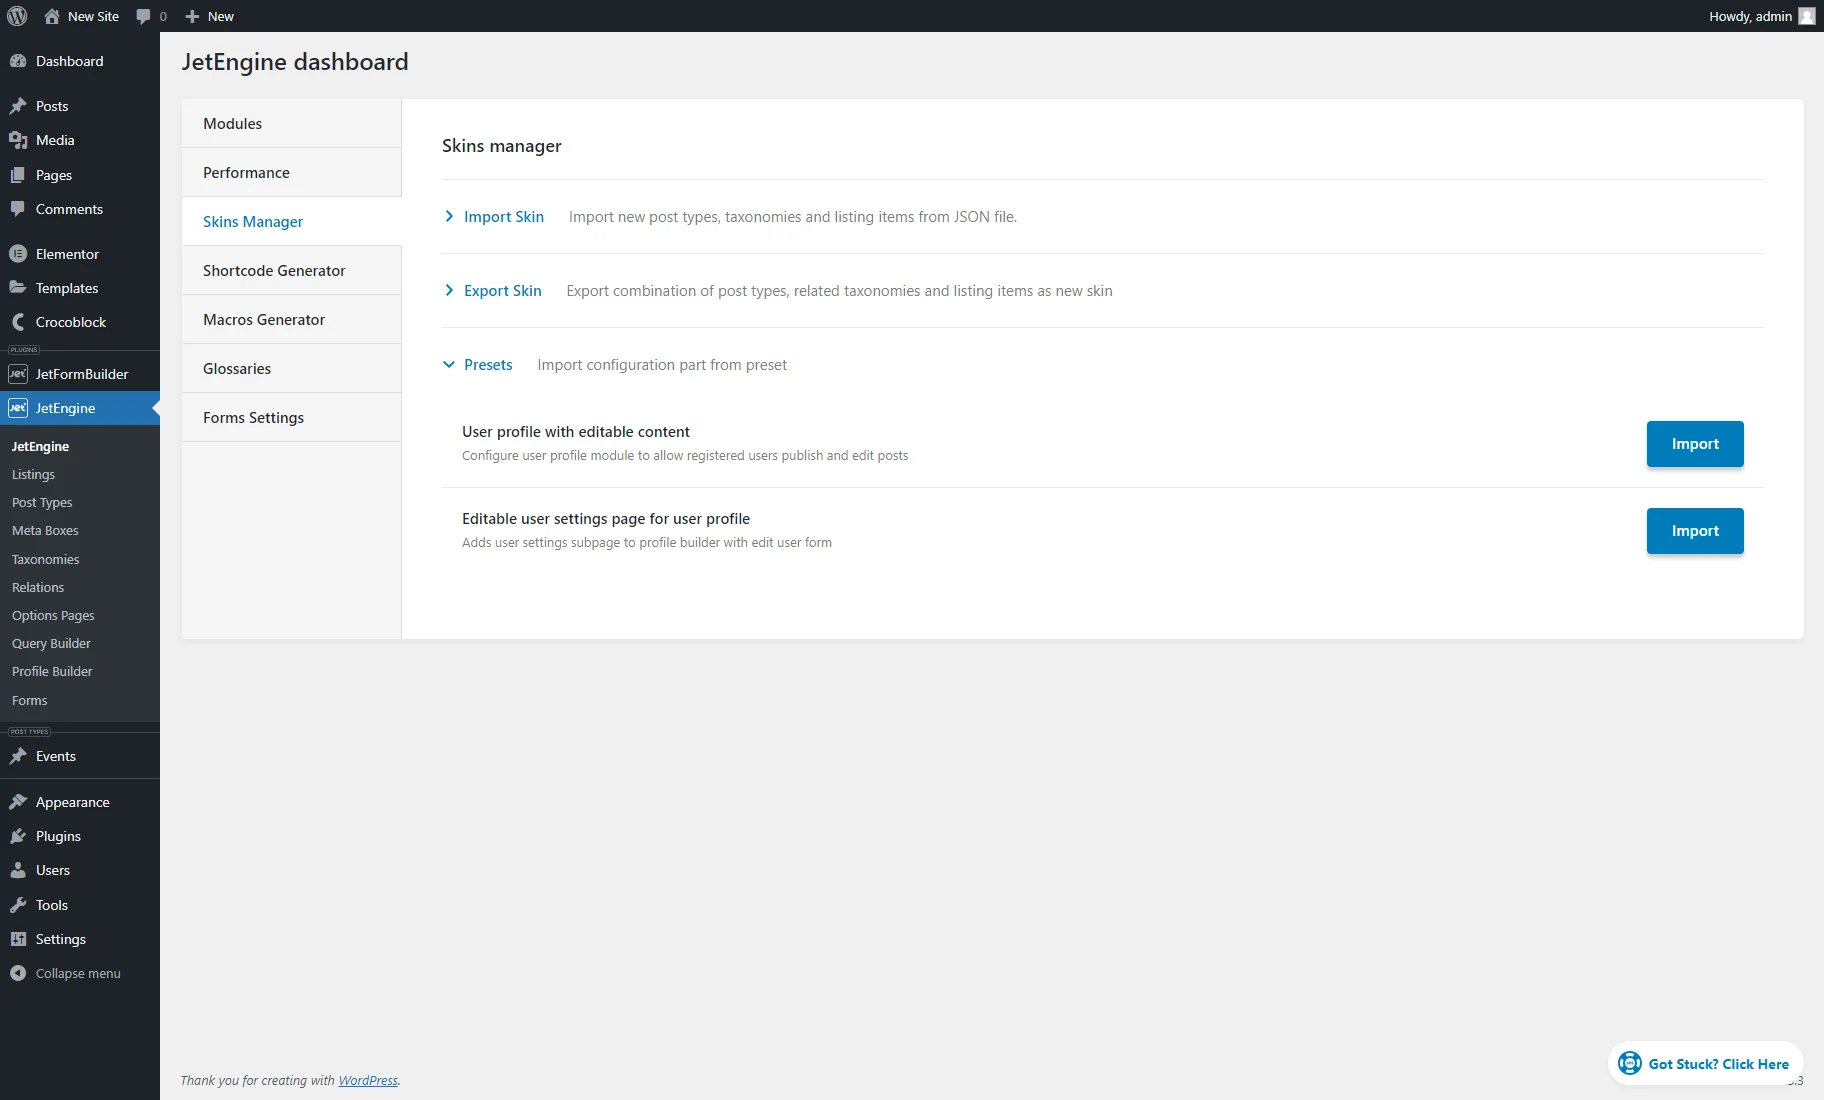
First, you can click the “Import” button near the User profile with editable content, which triggers a pop-up.
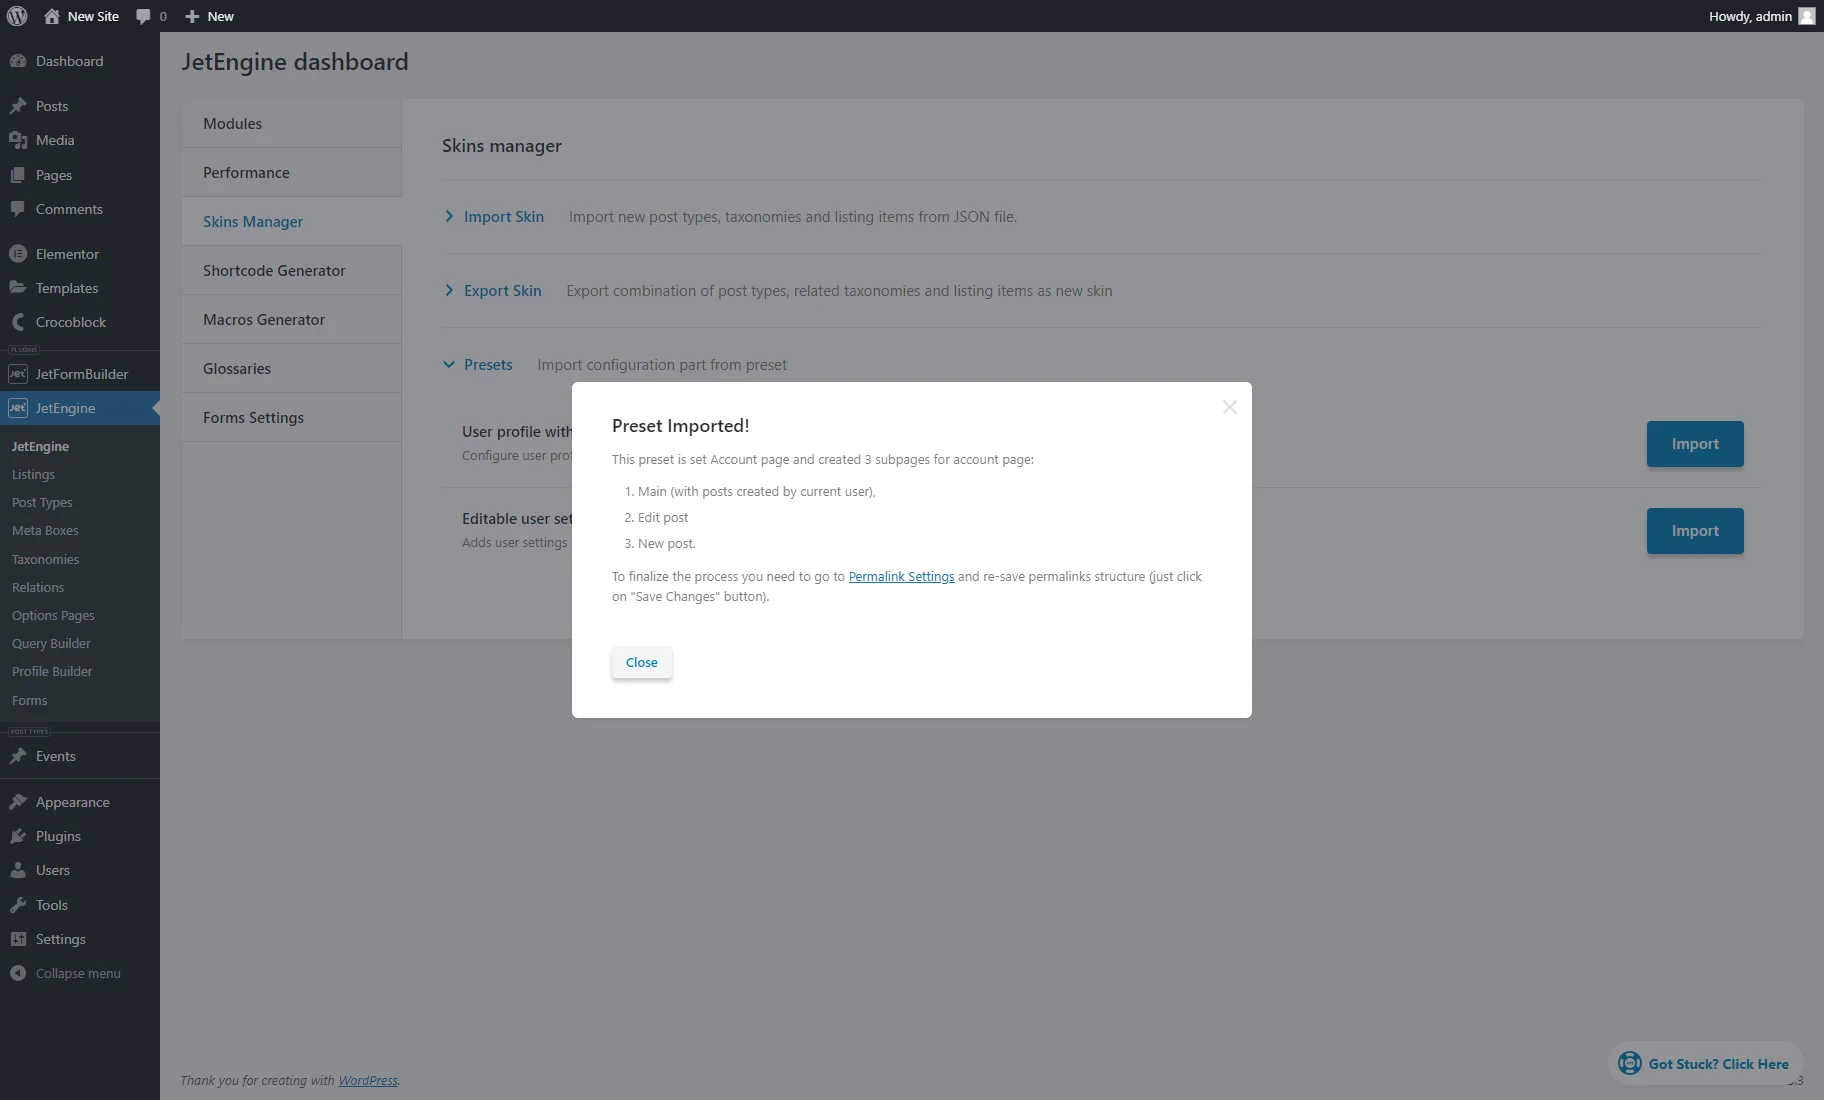
As is written in the pop-up, the Account page with three subpages is imported and configured on your website. The subpages are:
- “Main” with the Listing Grid that displays posts created by the current user;
- “Edit post” with the “Edit post” form;
- “New post” with the “New post” form.
To close the pop-up, push the corresponding button.
Clicking the “Import” button near the Editable user settings page for user profile triggers another pop-up.
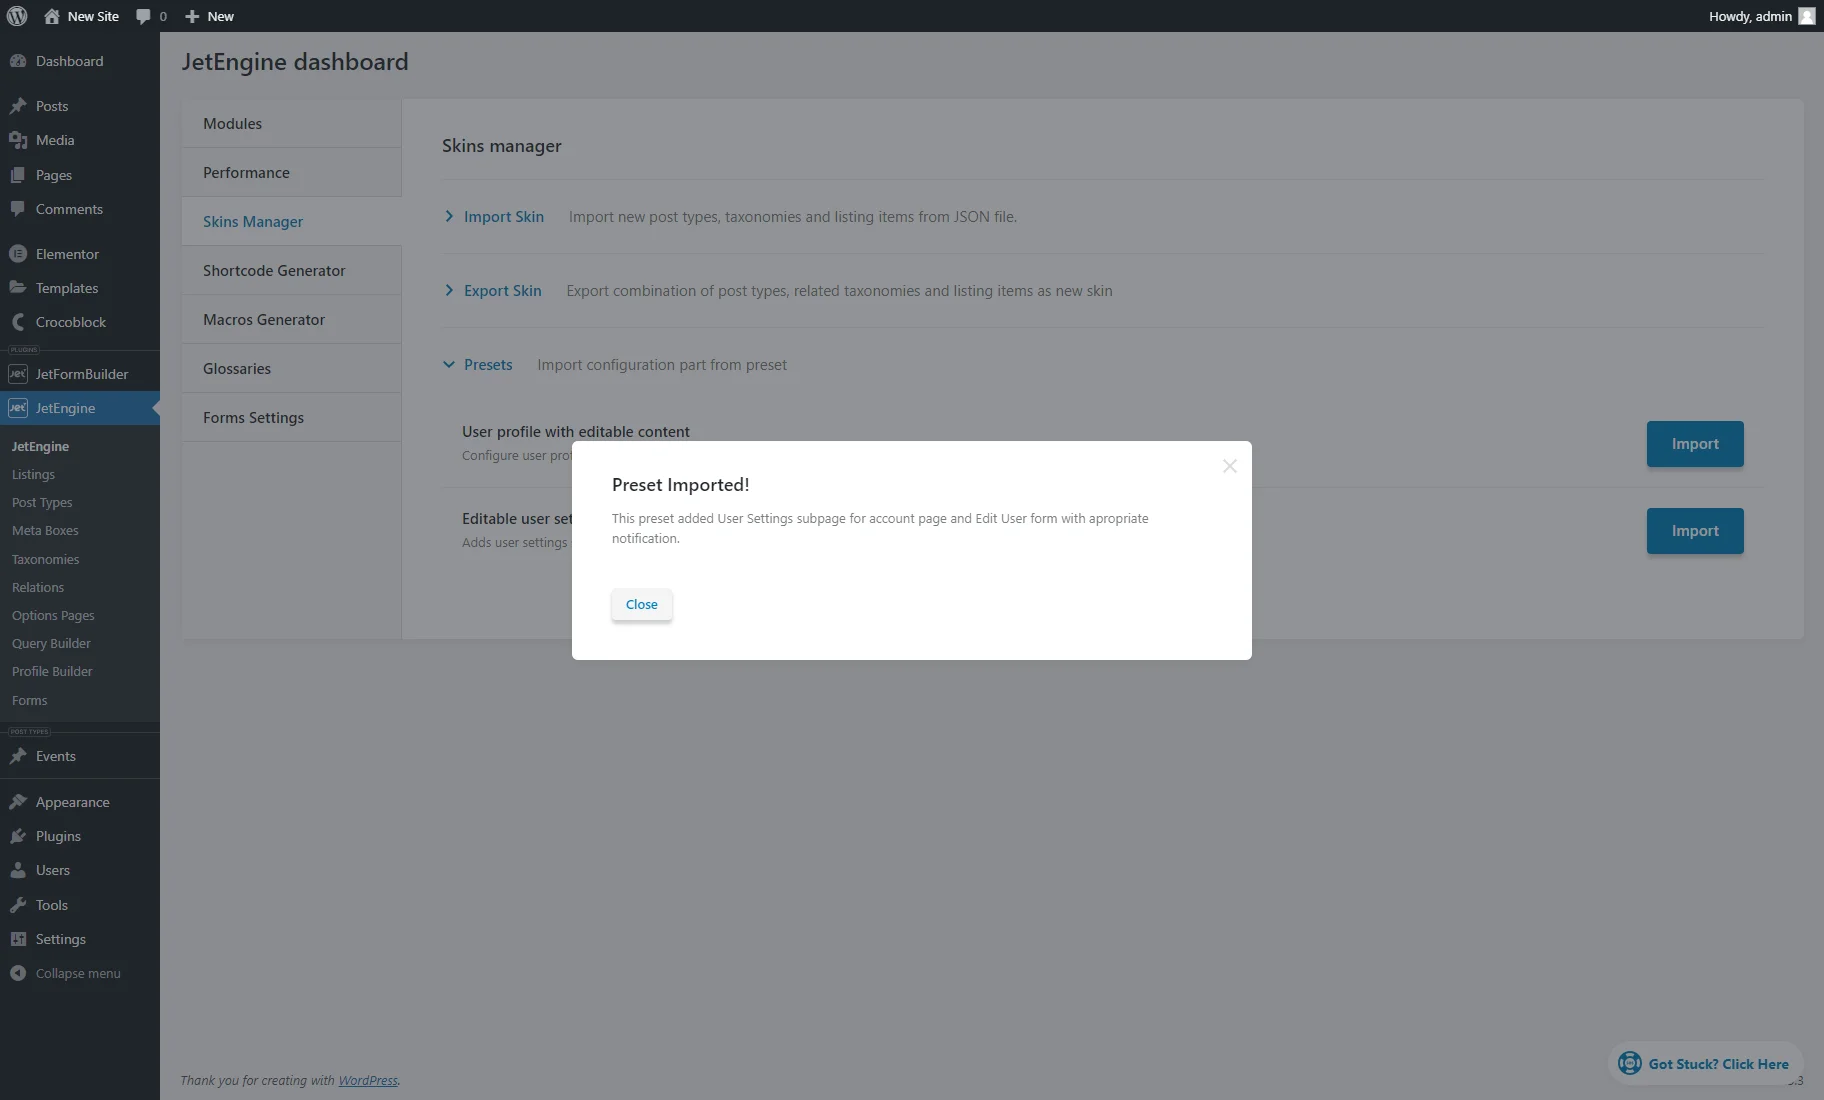
This pop-up means that the “User Settings” subpage with the “Edit User” form is added to the Account page.
Re-saving Permalinks
After importing presets, you should re-save the permalink structure.
Move to WordPress Dashboard > Settings > Permalinks and click the “Save Changes” button at the bottom of the page.

Adjusting Profile Builder Dashboard Settings
Go to the WordPress Dashboard > JetEngine > Profile Builder directory. In the Pages tab, the automatically created Account page is set as the Account Page option.
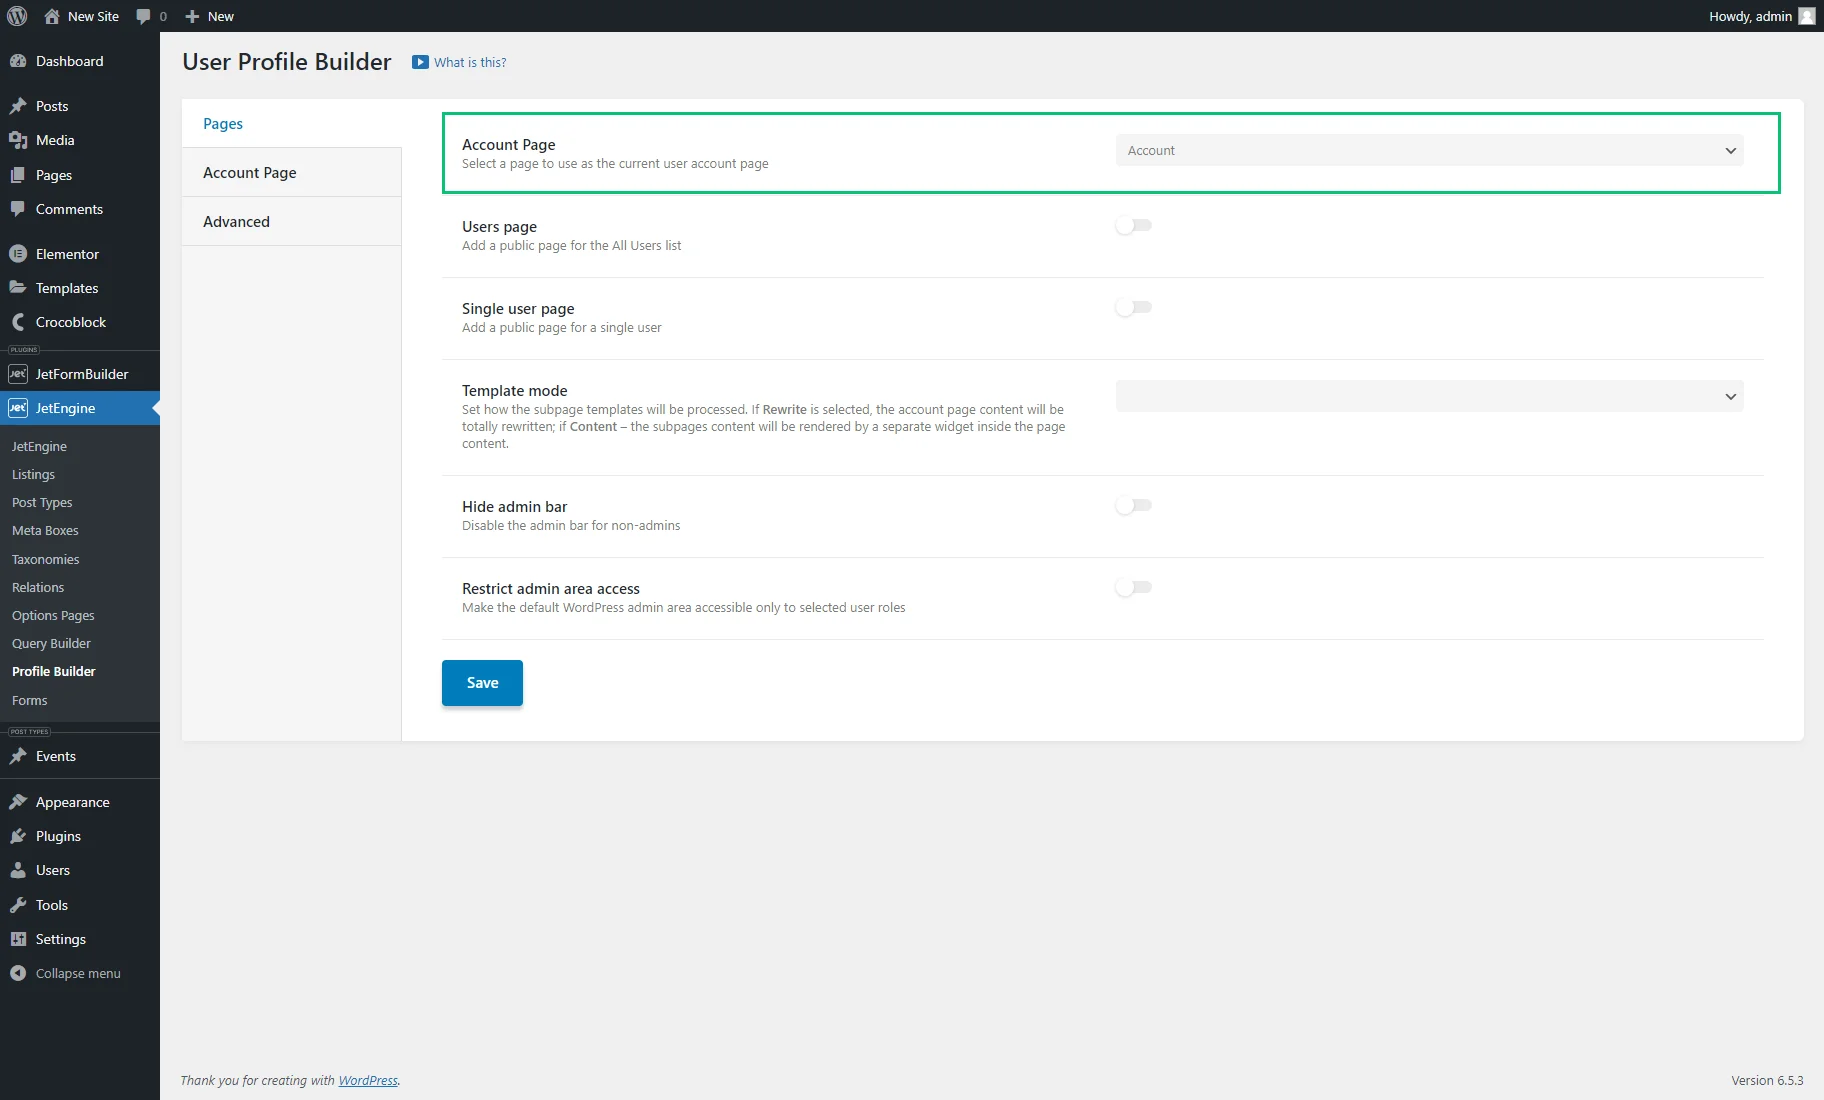
Here, you can configure other settings described in the Profile Builder Overview.
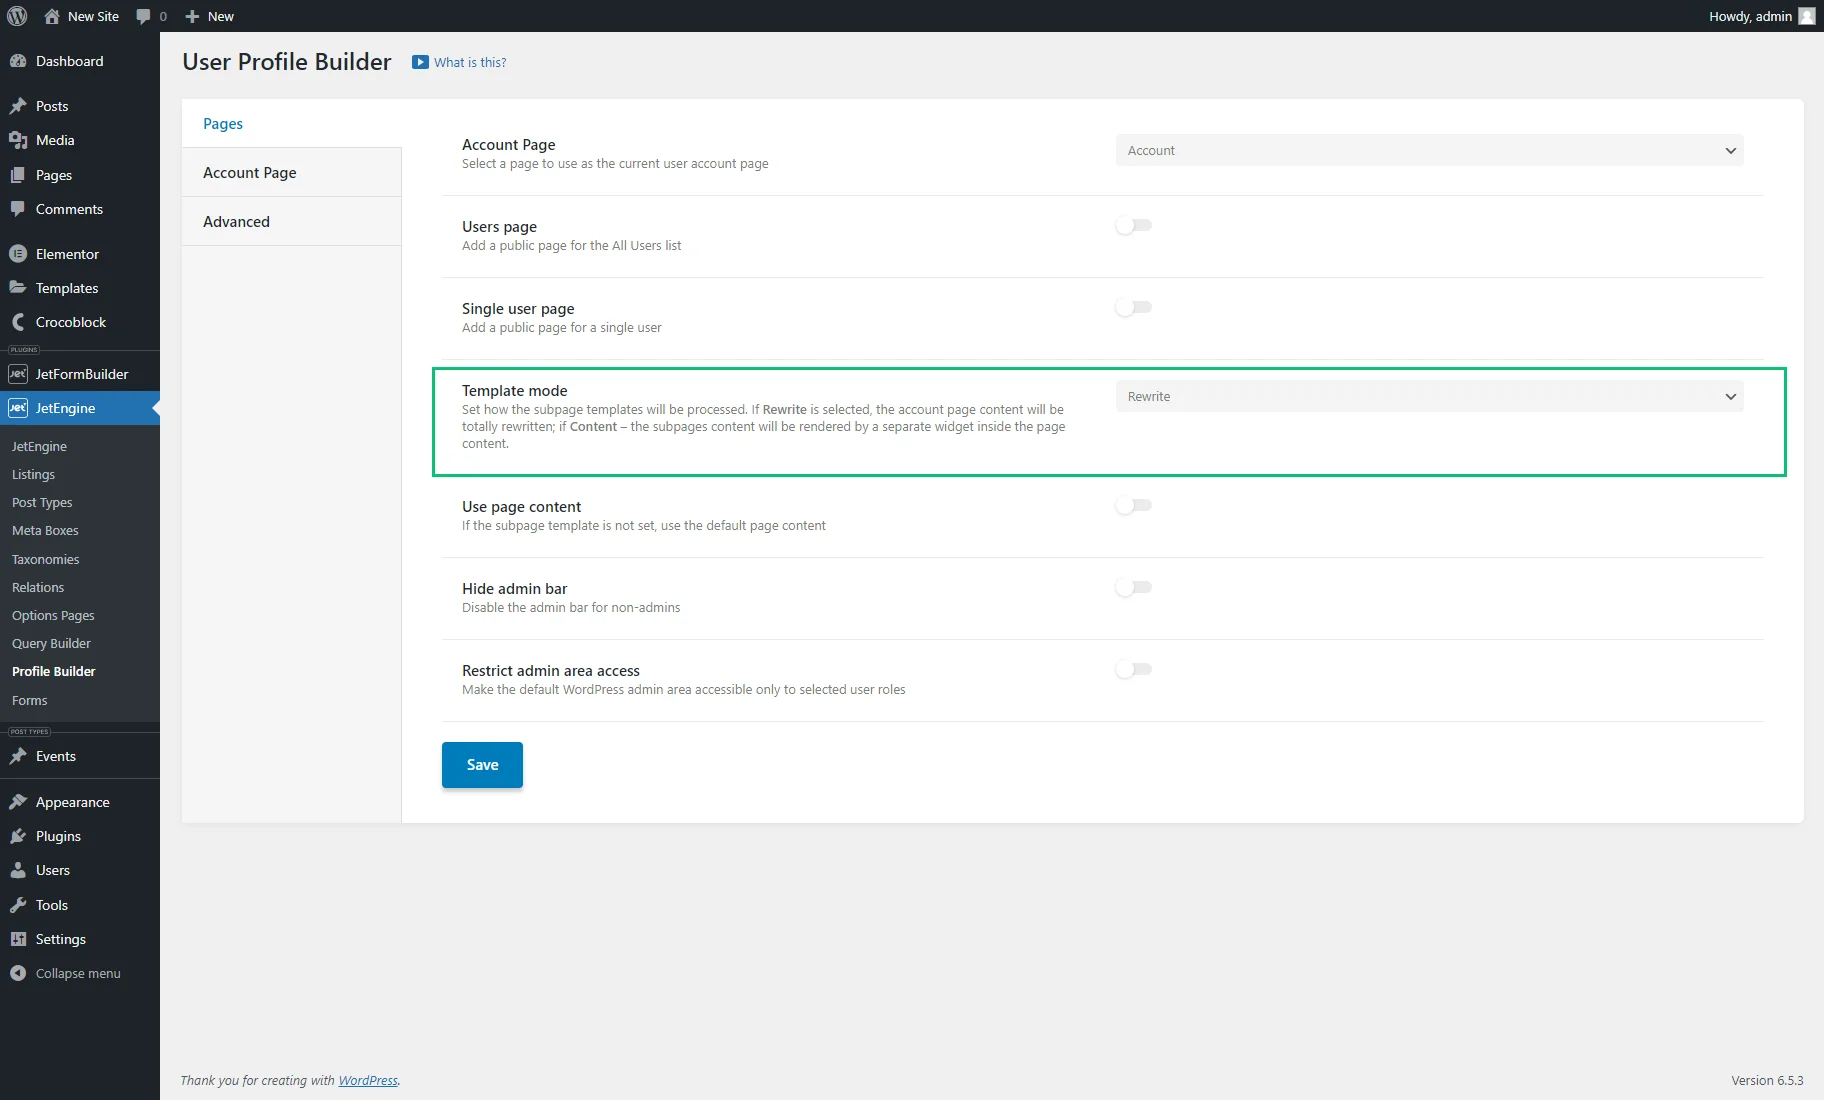
For example, in the Template mode field, you can choose whether the templates of the Account subpages will be processed via templates or using page content.
For the Account page and its subpages imported with presets, the “Rewrite” Template mode is more suitable. If you want to use the “Content” Template mode, you should rebuild the Account page and its subpages.
Learn more about the difference between the “Content” and “Rewrite” Template modes from the Creating User Account Page With Different Dashboard Structures tutorial.
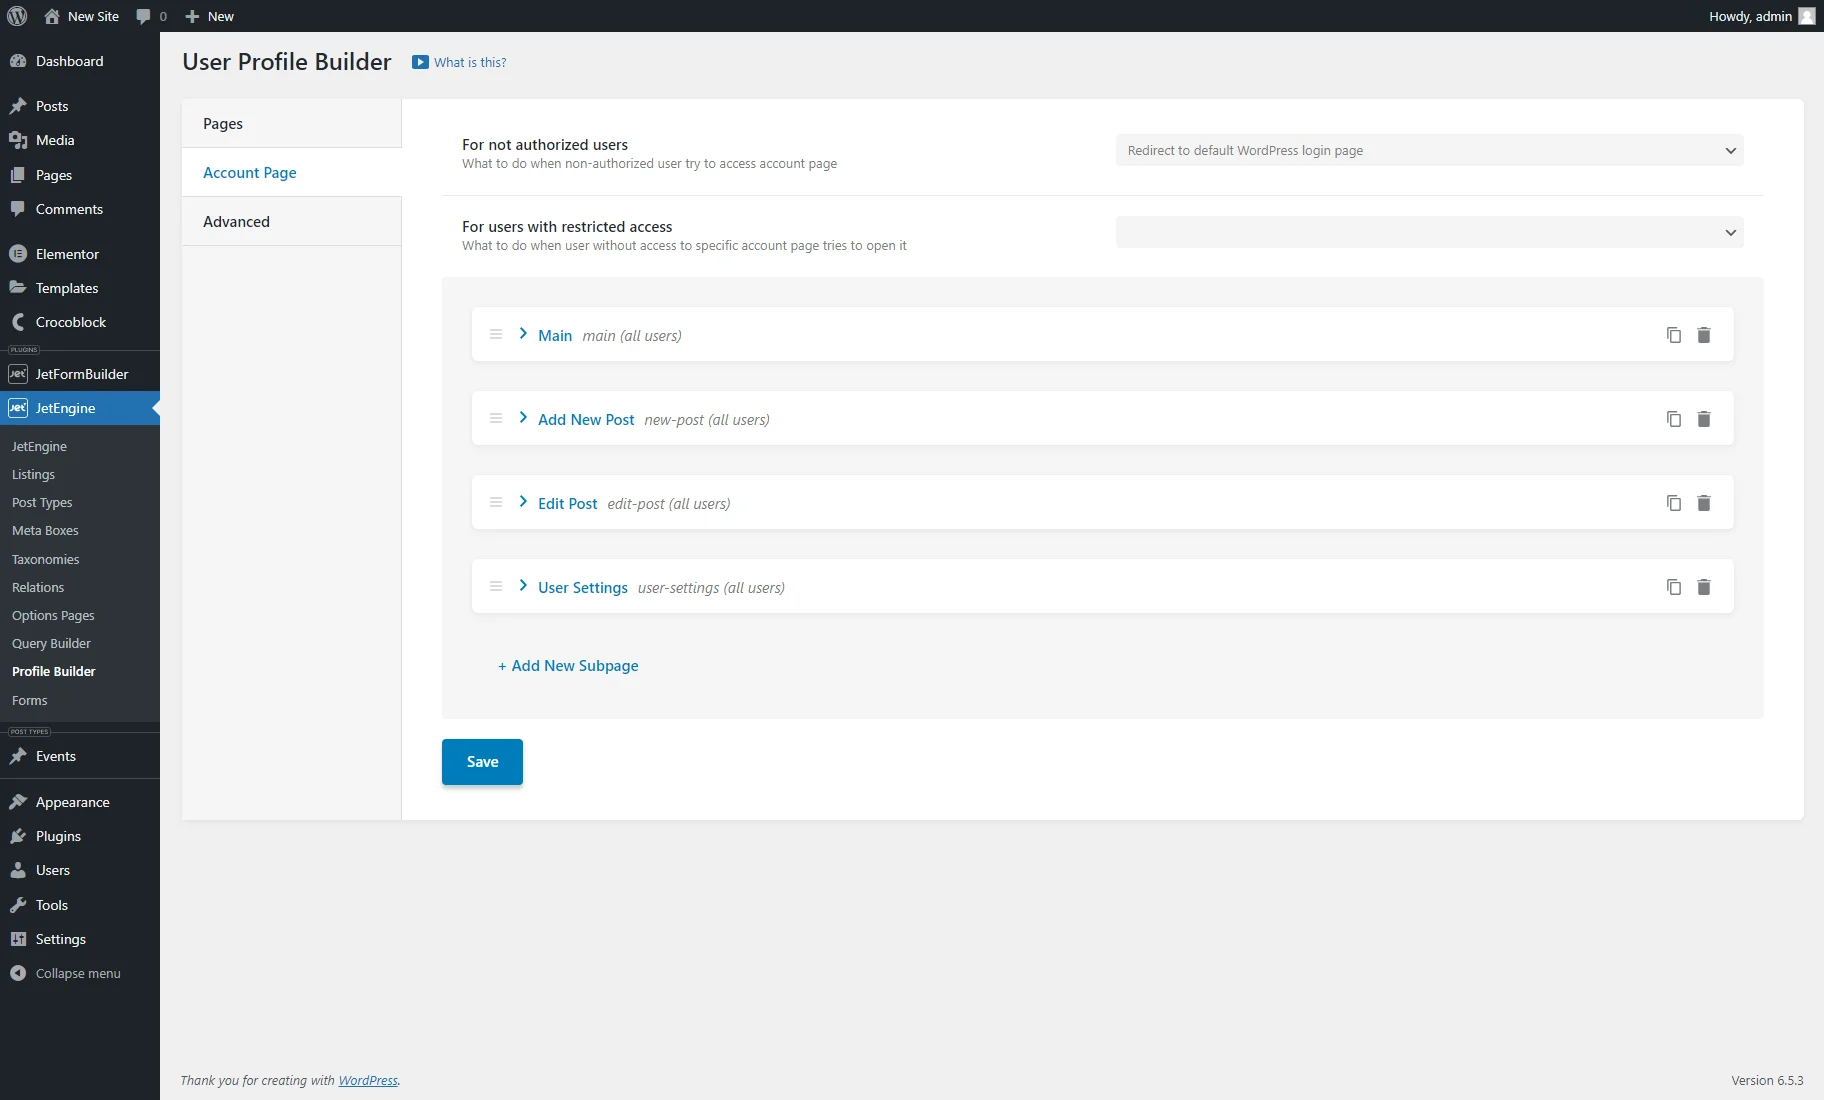
Then, open the Account Page to observe the attached subpages. The User profile with editable content preset allows the import of the “Main,” “Add New Post,” and “Edit Posts” subpages. The Editable user settings page for user profile preset configures the “User Settings” subpage.
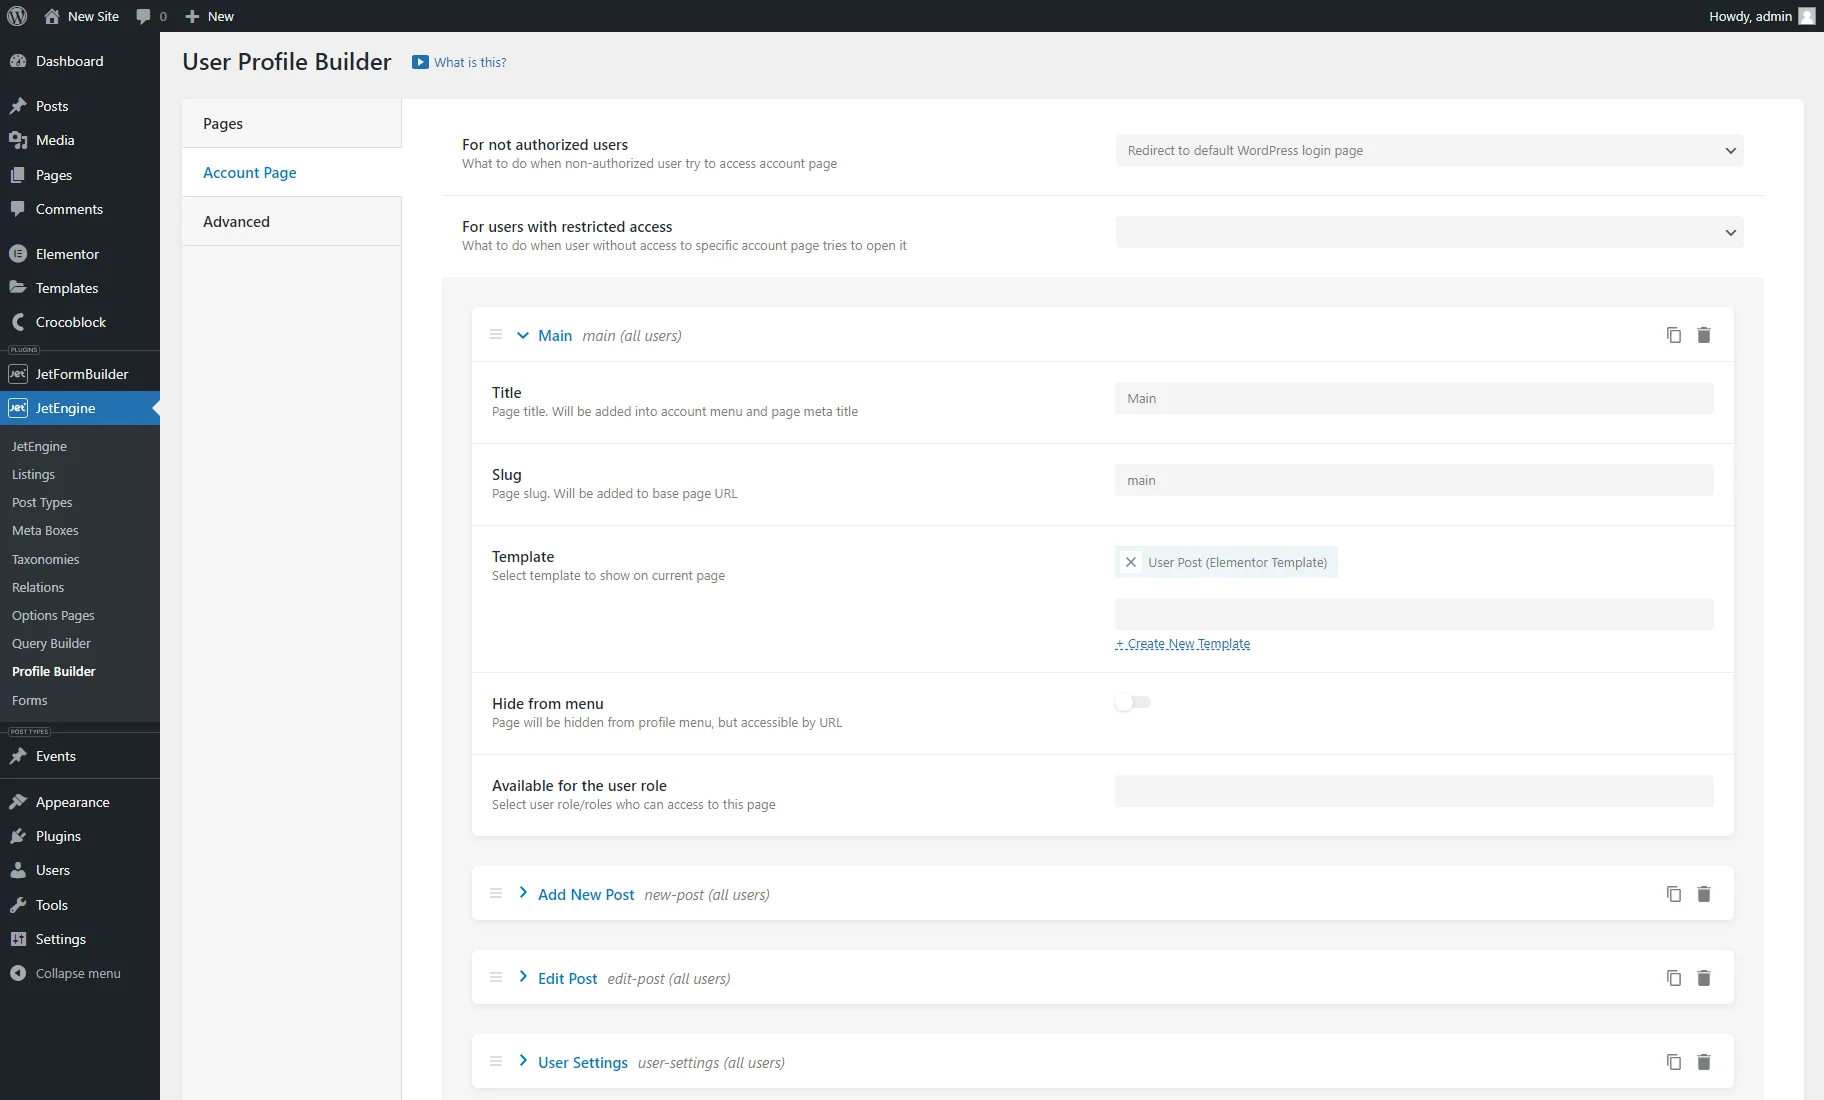
Unfold one of the subpages to observe its settings. All subpages have configured the Title, Slug, and Template options. You can rename the subpages and attach other templates to them if needed.
These subpages also represent items on the menu placed on the Account page. You can conceal some subpages by activating the Hide from menu option, but they will still be accessible by URL.
You can also set user roles for whom the menu item will be shown in the Available for the user role field.
To add new subpages, hit “+ Add New Subpage,” enter Title and Slug, attach the pre-made Template, adjust other settings, and hit the “Save” button.
Observing Elementor Templates
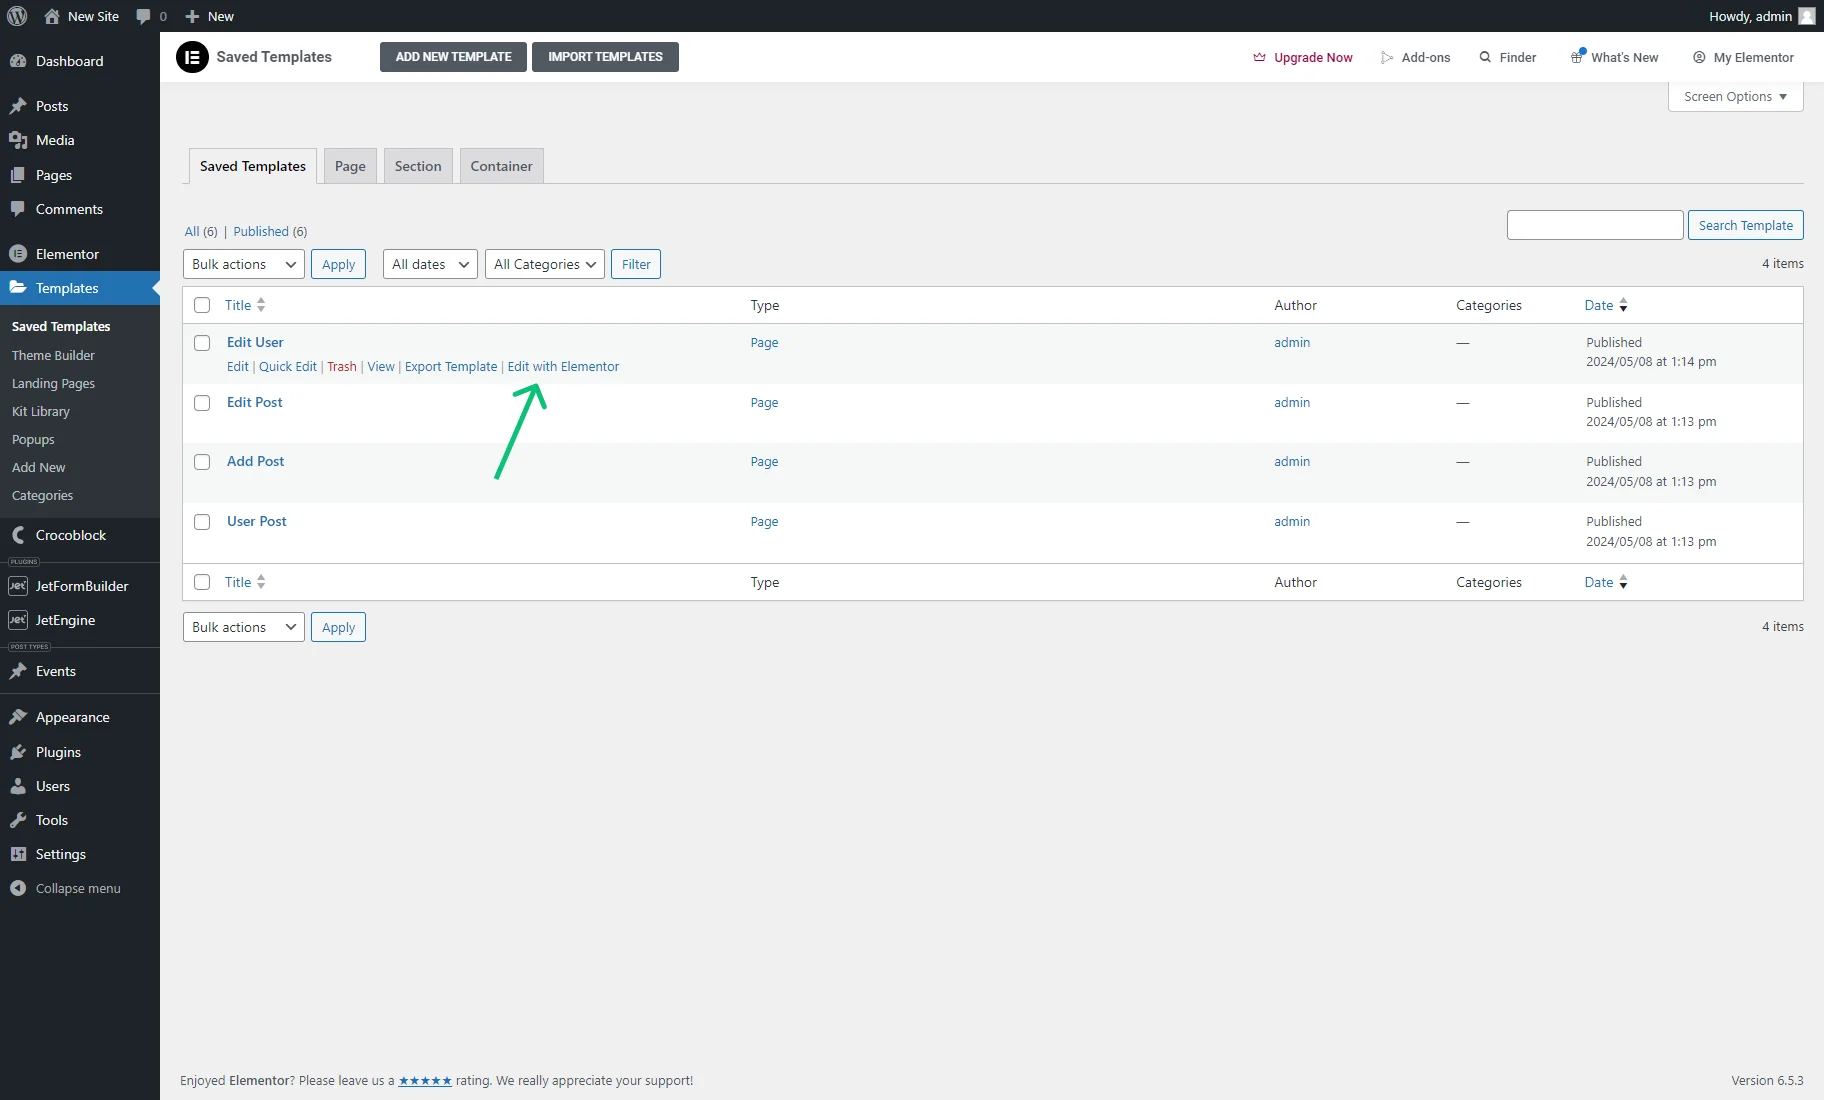
To check the imported subpage templates, navigate to the WordPress Dashboard > Templates tab, which is located under the Elementor tab. If you imported two presets, the Saved Templates tab will contain the “Edit User,” “Edit Post,” “Add Post,” and “User Post.”
To observe template content, hit the “Edit with Elementor” button.
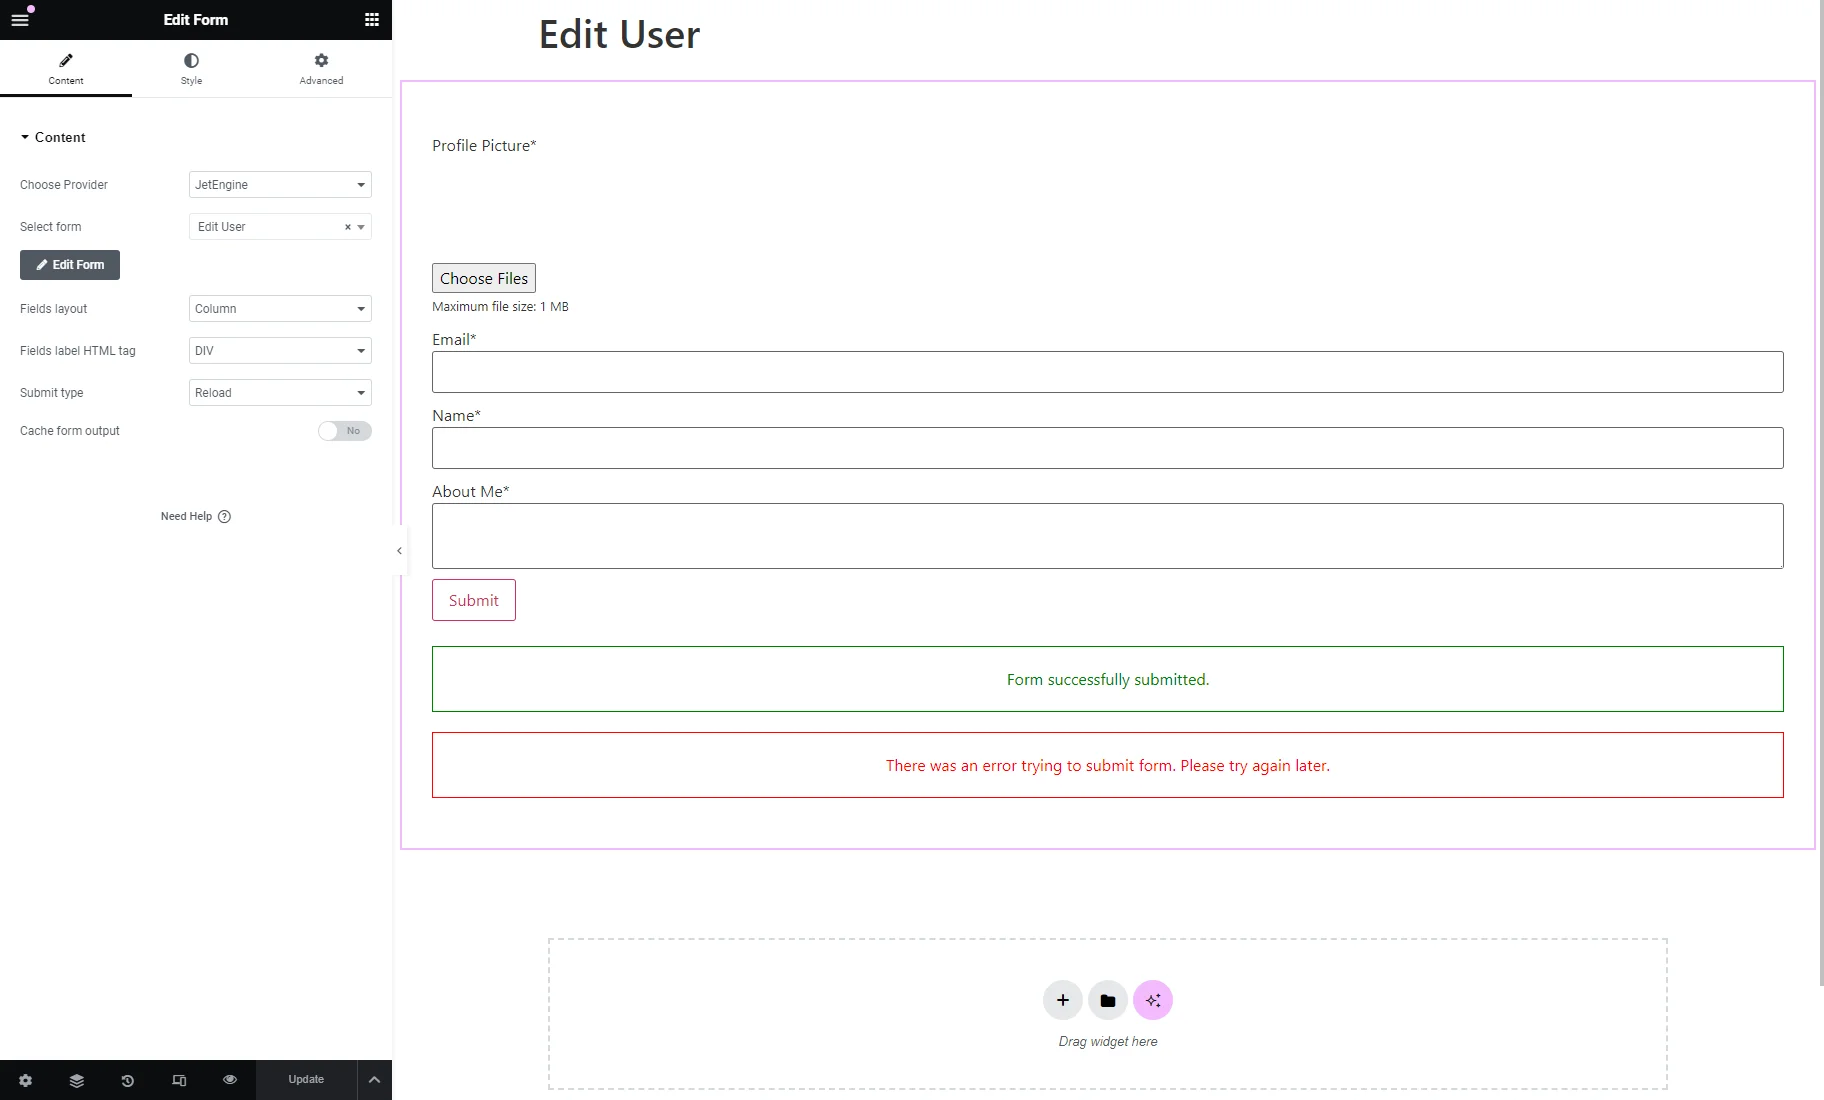
The “Edit User” and “Edit Post” templates contain the JetEngine “Edit User” and “Edit Post” forms placed with the Form widget.
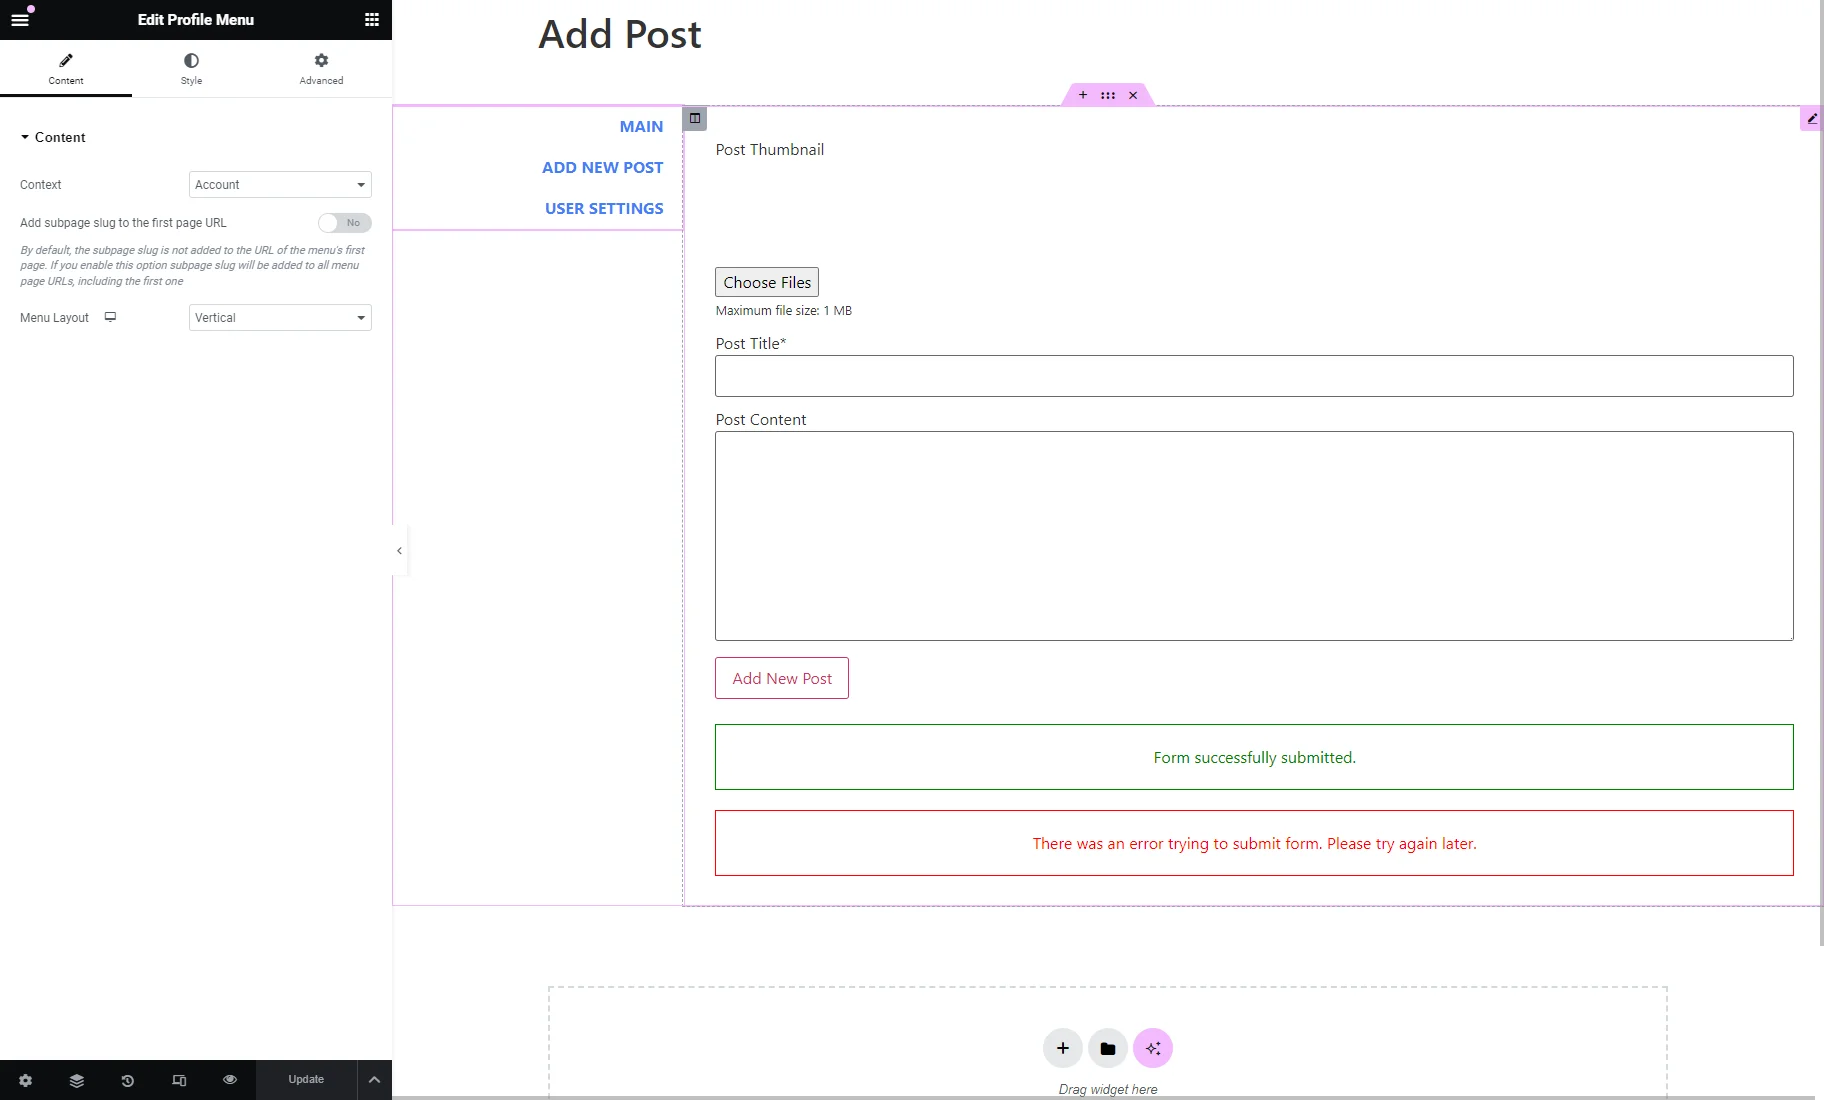
The “Add Post” template contains the JetEngine “New Post” form and Profile Menu widget.
The Profile Menu shows the Account subpages as menu items by clicking which, users can proceed to the corresponding page. To learn more about its settings, proceed to the Profile Menu Widget Overview for Elementor.
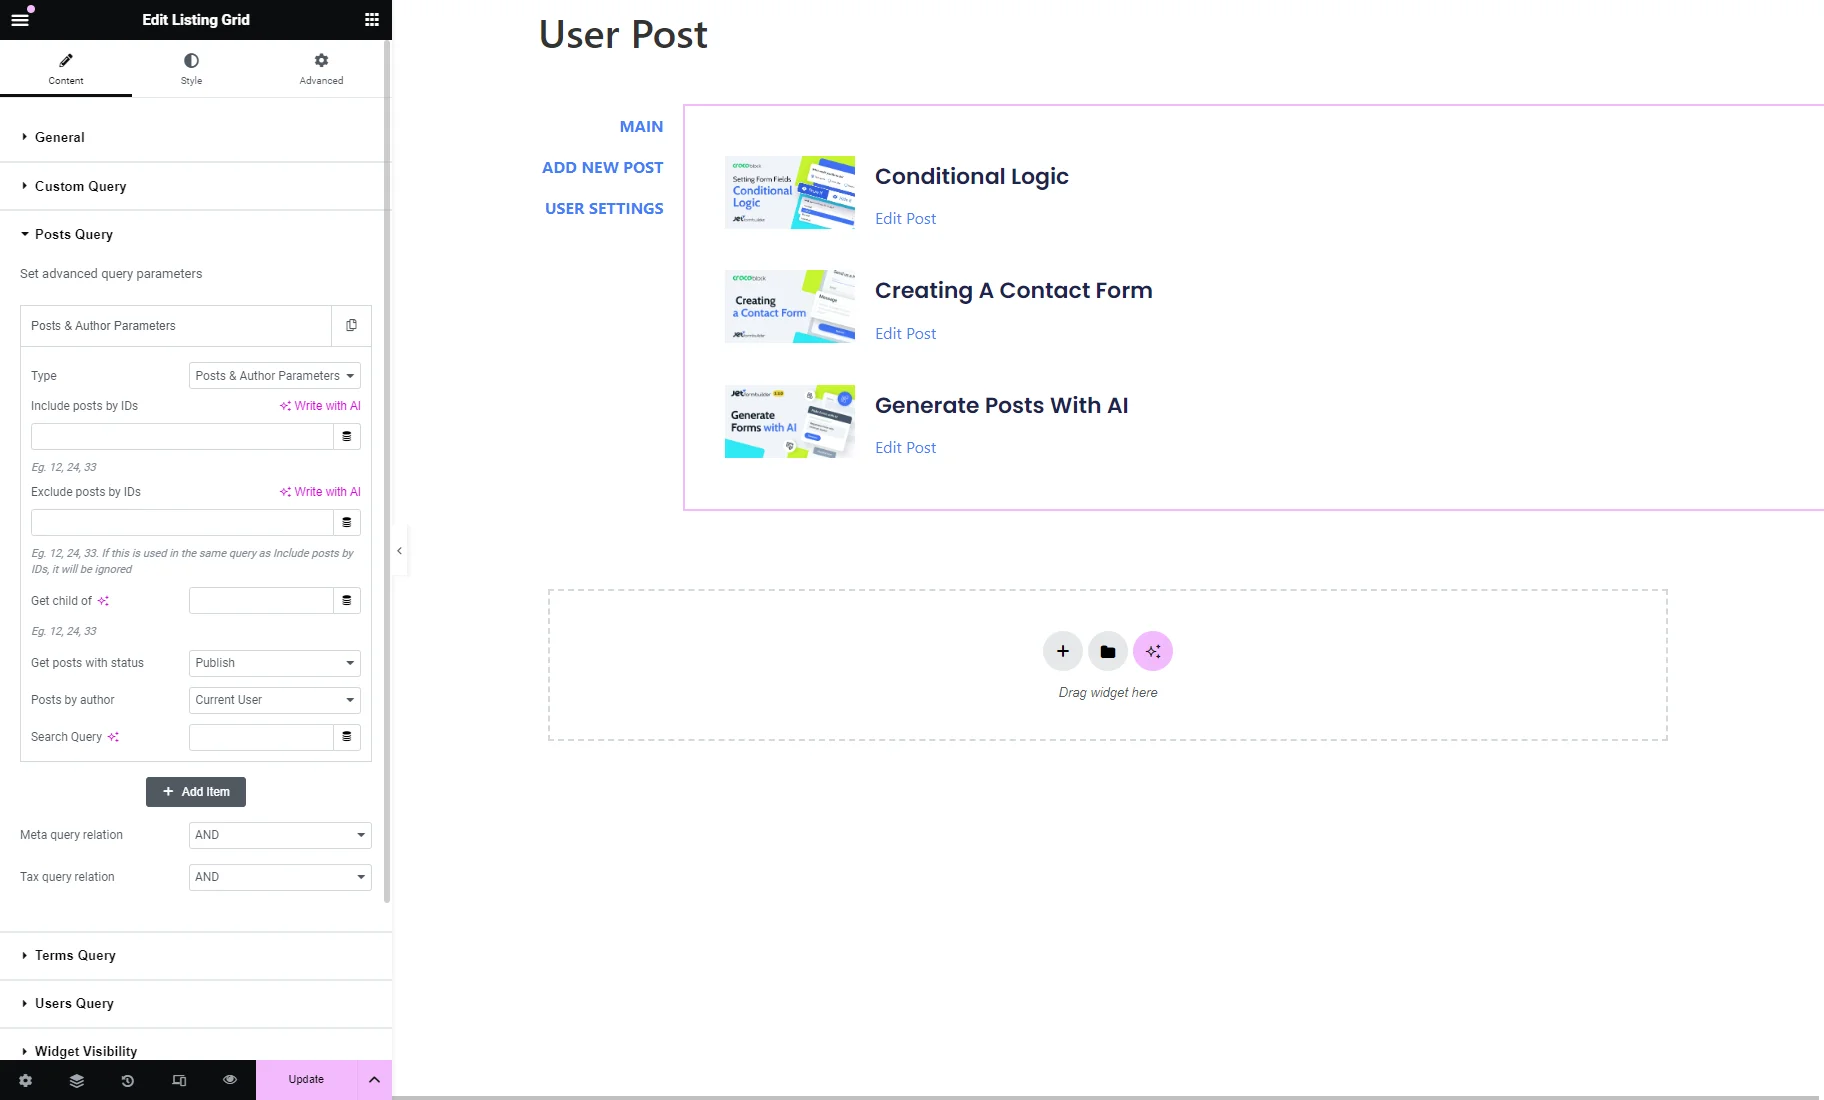
The “User Post” template contains the Profile Menu and Listing Grid widgets.
The Listing Grid displays the Listing template created for posts.
Unfold the Post Query tab and unroll the “Posts & Author Parameters” tab. It has the correspondent Type, the “Publish” option set for the Get posts with status field, and the “Current User” chosen set for the Posts by author field. With such settings, the Listing Grid displays only the published posts of the current user.
To observe the listing template settings, hit the “pencil” icon.
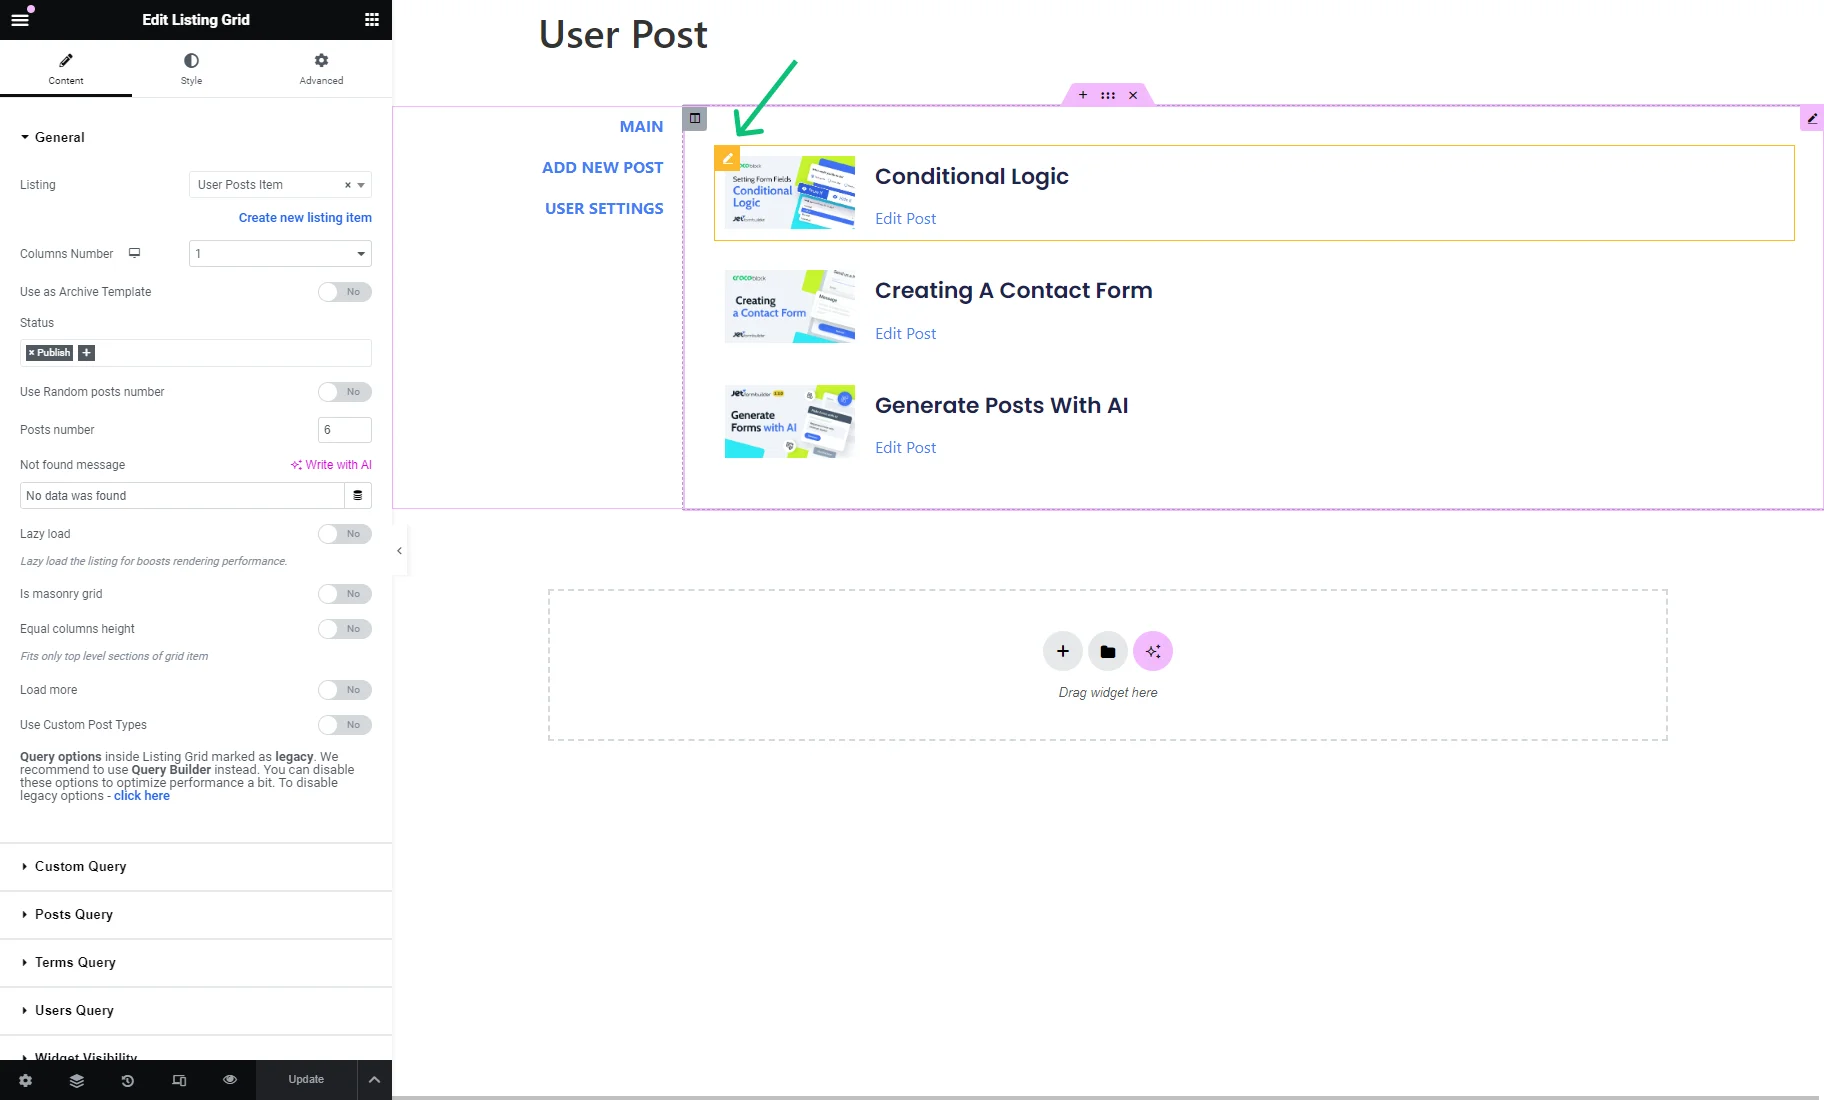
If you hit the “gear” icon, you will open the Listing Item Settings.
The Listing Settings tab contains such options:
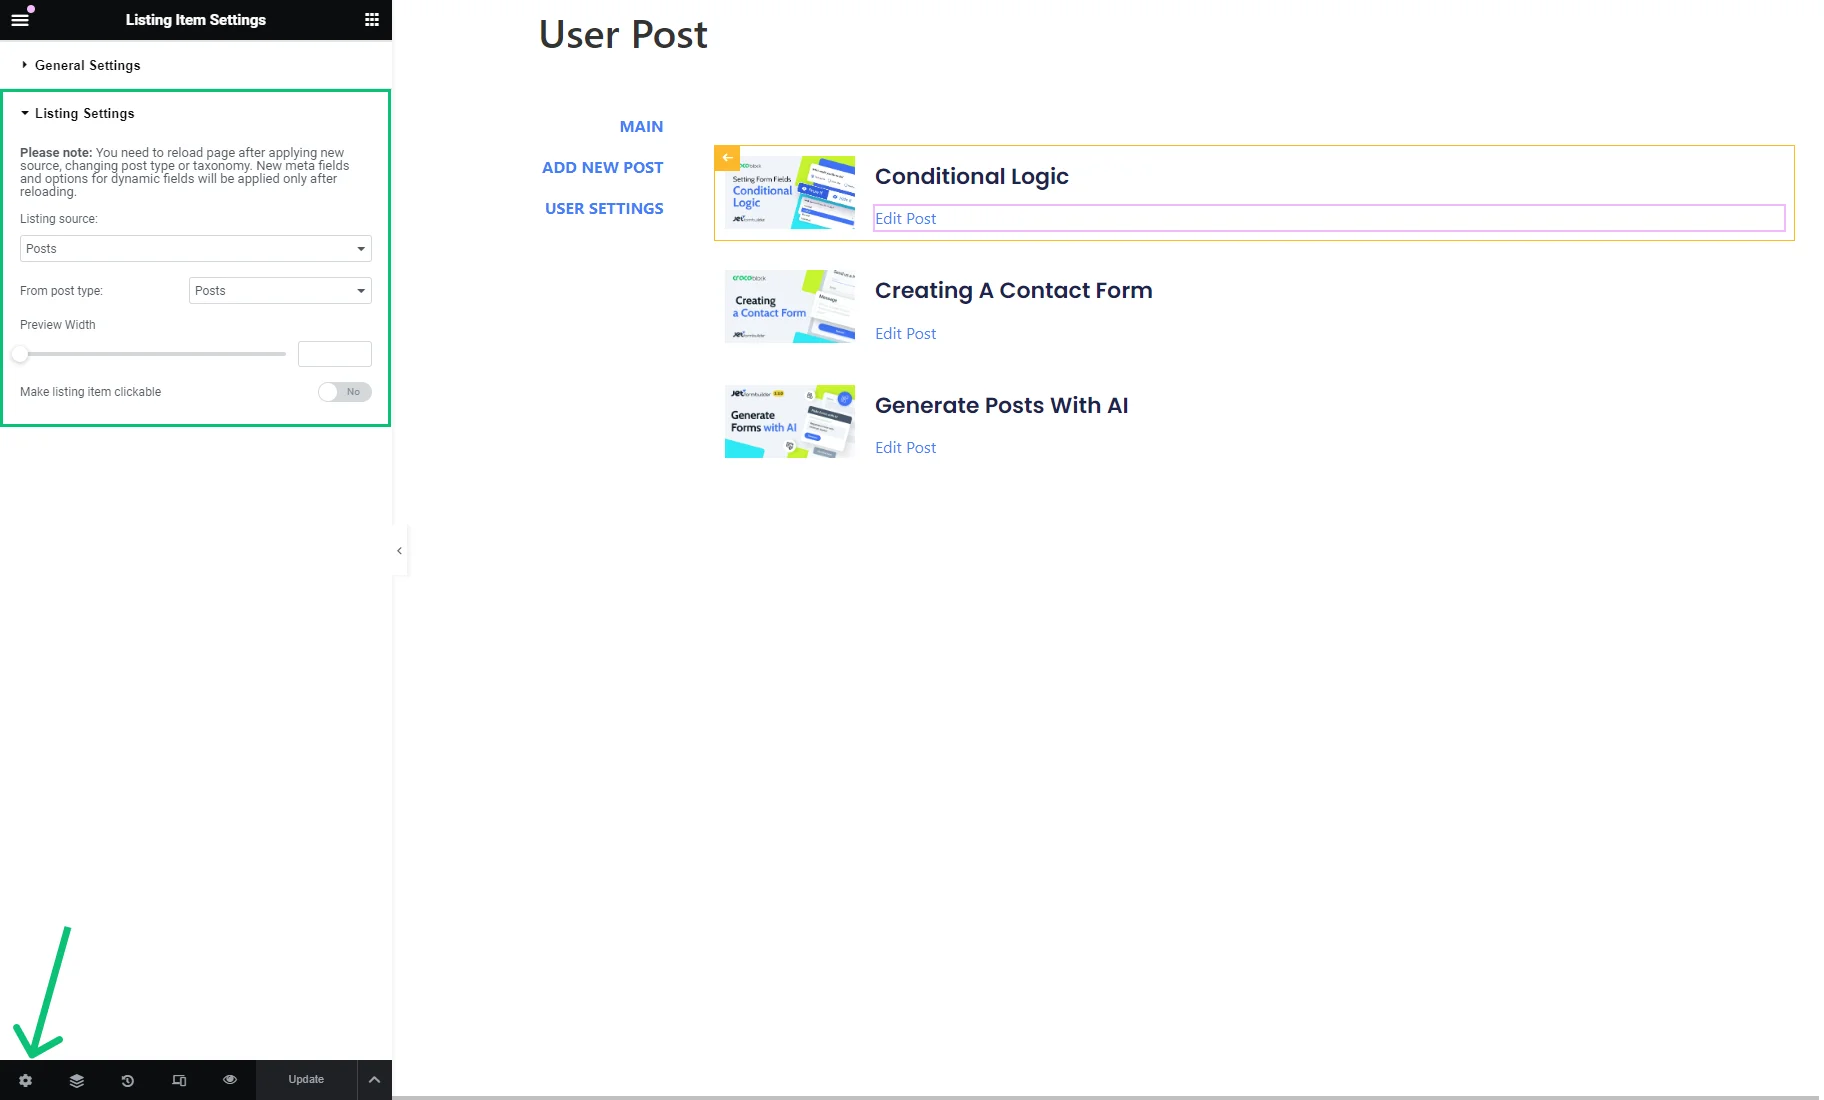
- “Posts” Listing source;
- “Post” From post type;
- Preview Width range with the default value;
- Make listing item clickable inactive toggle.
If needed, you can alter the settings.
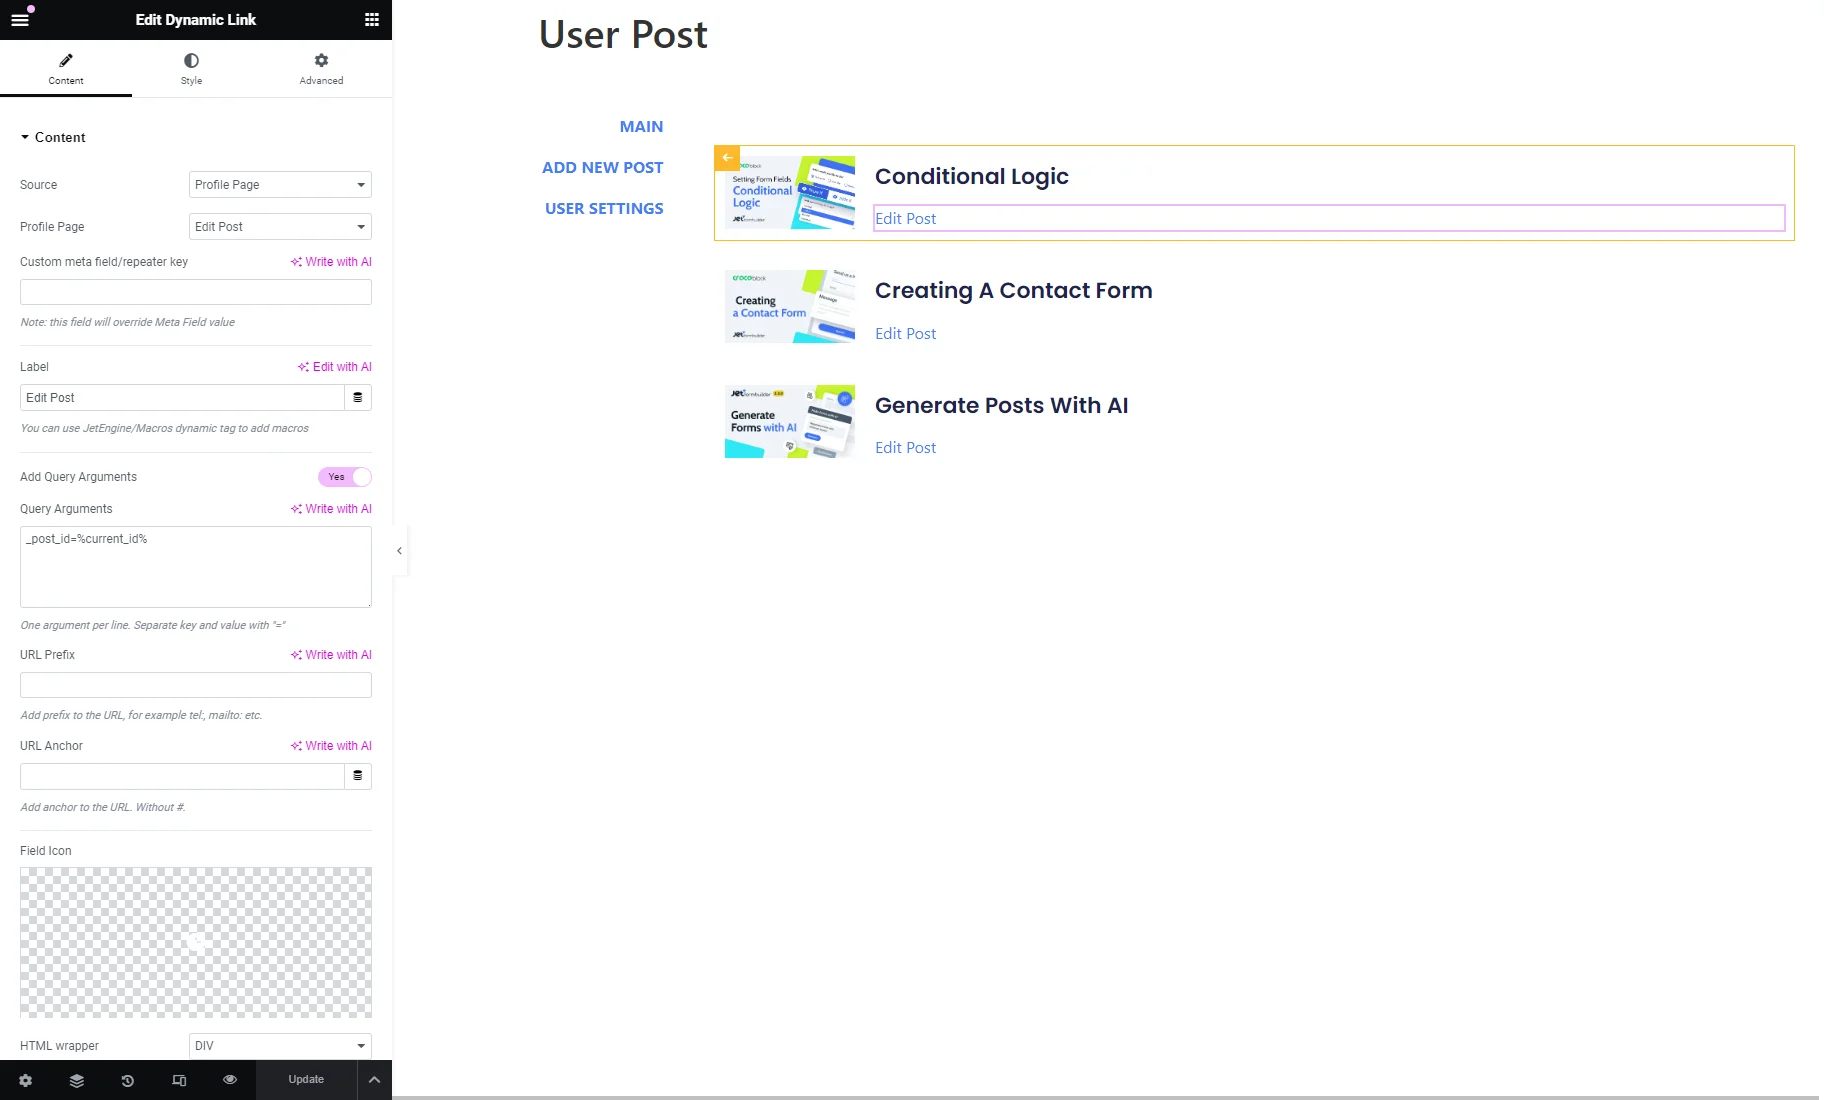
The Listing template contains such widgets:
- Dynamic Image with the “Post thumbnail” Source;
- Dynamic Field with the “Post/Term/User/Object Data” Source and “Title” Object Field;
- Dynamic Link with the “Profile Page” Source, “Edit Post” Profile Page, “Edit Post” Label, and “post_id=%current_id%” Query Arguments. That means after a user clicks on the Dynamic Link, they will be redirected to the account subpage with the form for the post editing and the ID of the chosen post transferred via URL.
The Listing template can be edited here or follow the WordPress Dashboard > JetEngine > Listings directory. Find the “User Post Item” listing and hit the “Edit with Elementor” button.

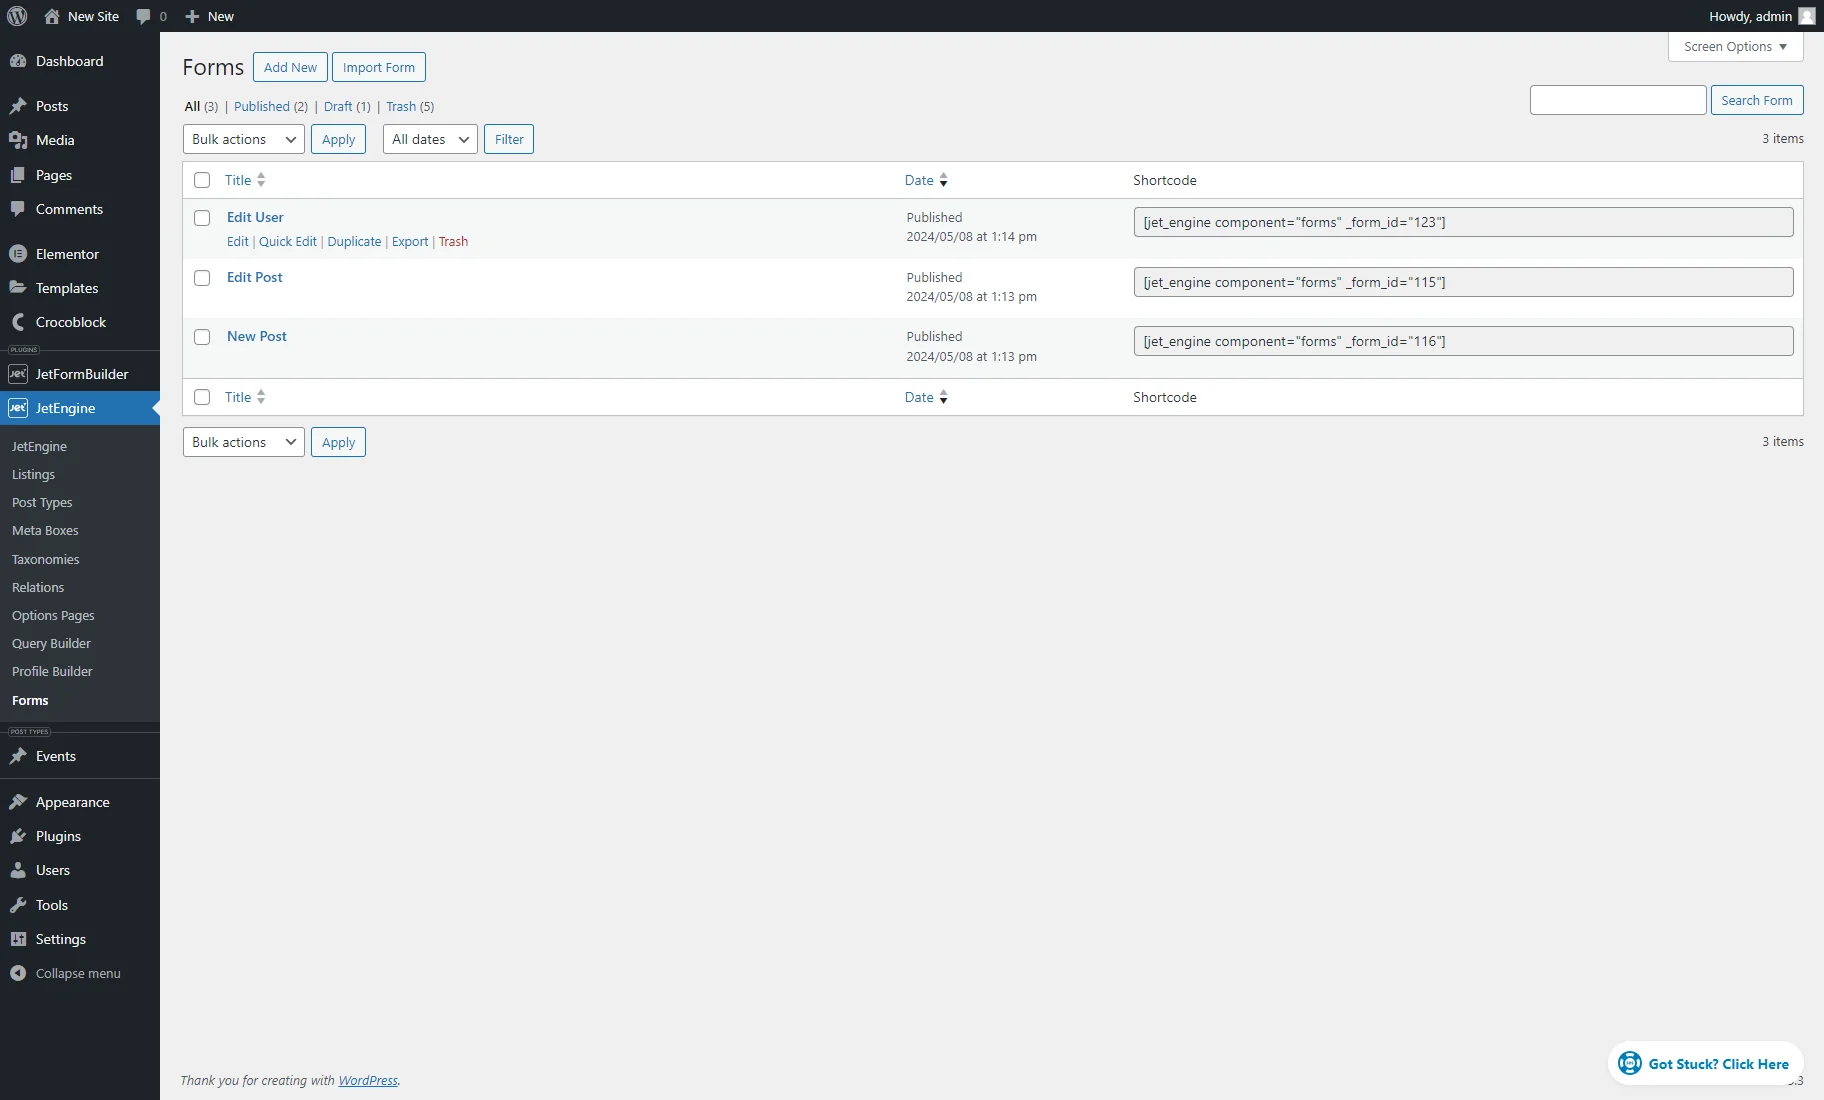
Examining Forms
To check the forms placed in the subpage templates, follow the WordPress > JetEngine > Forms path. Three imported forms are: “Edit User,” “Edit Post,” and “New Post.” To check their settings, hover over the needed form and hit the “Edit” button.
Check out these tutorials if you decide to re-create the form with the JetFormBuilder plugin:
- Update User and How to Change a User Role via Form tutorials to create the “Edit User” form;
- Insert/Update Post and Front-End Post Submission Form tutorials to build the “New Post” and “Edit Post” forms.
Checking the Account Page and Results on the Front End
Head to the WordPress Dashboard > Pages tab and find the Account page here.

If you set the “Content” Template mode, you should use the Profile Menu, Profile Subpage Content, and other widgets on the Account page to customize it. Also, you need to delete the Profile Menu widget from the “User Post” template to avoid menu repetition.
If you set the “Rewrite” Template mode in the WordPress Dashboard > JetEngine > Profile Builder > Pages tab, you cannot edit the page since the content is displayed from the Account subpage templates. If you hover over the Account page and push the “Edit with Elementor” button, you’ll get the “Sorry, the content area was not found in your page.” error. With this mode, no changes are required.
To observe the Account page, push the “View” button.
By default, the Account page shows the “User Post” subpage template that in the Profile Menu is named “MAIN.”
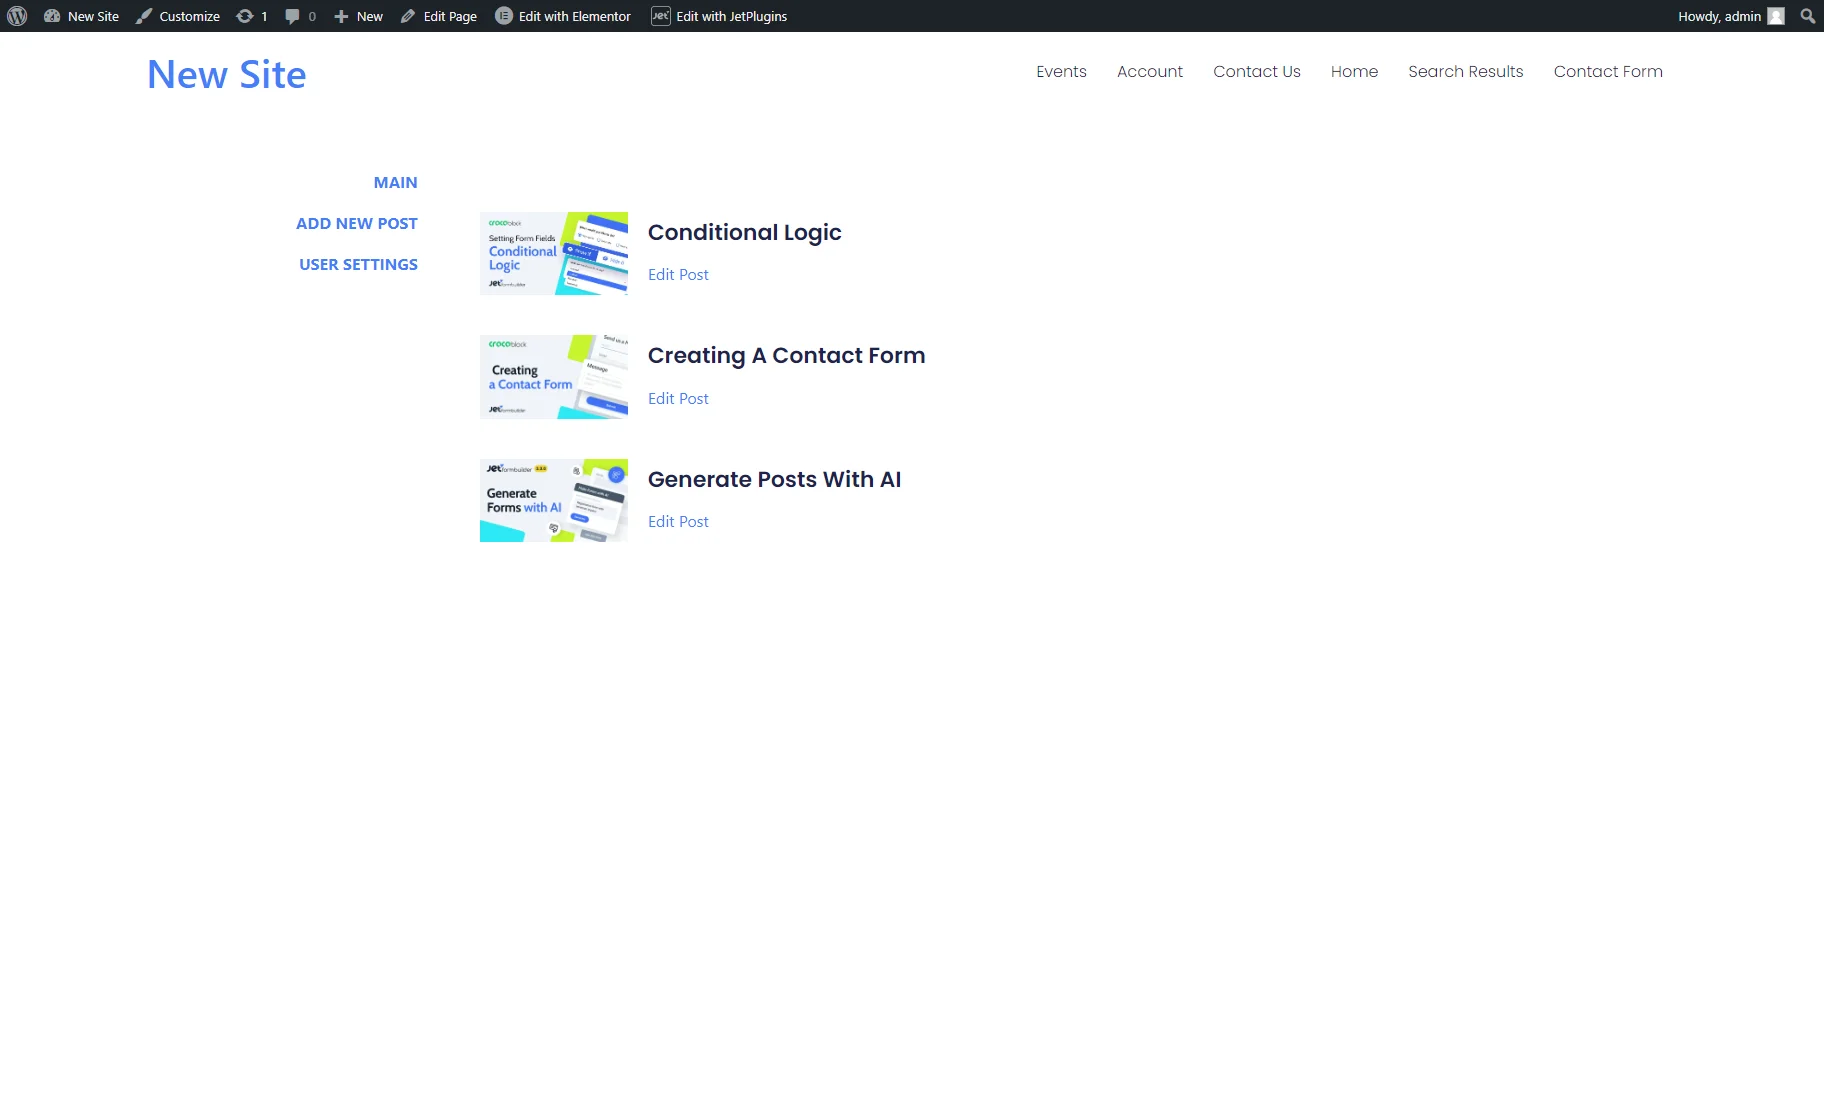
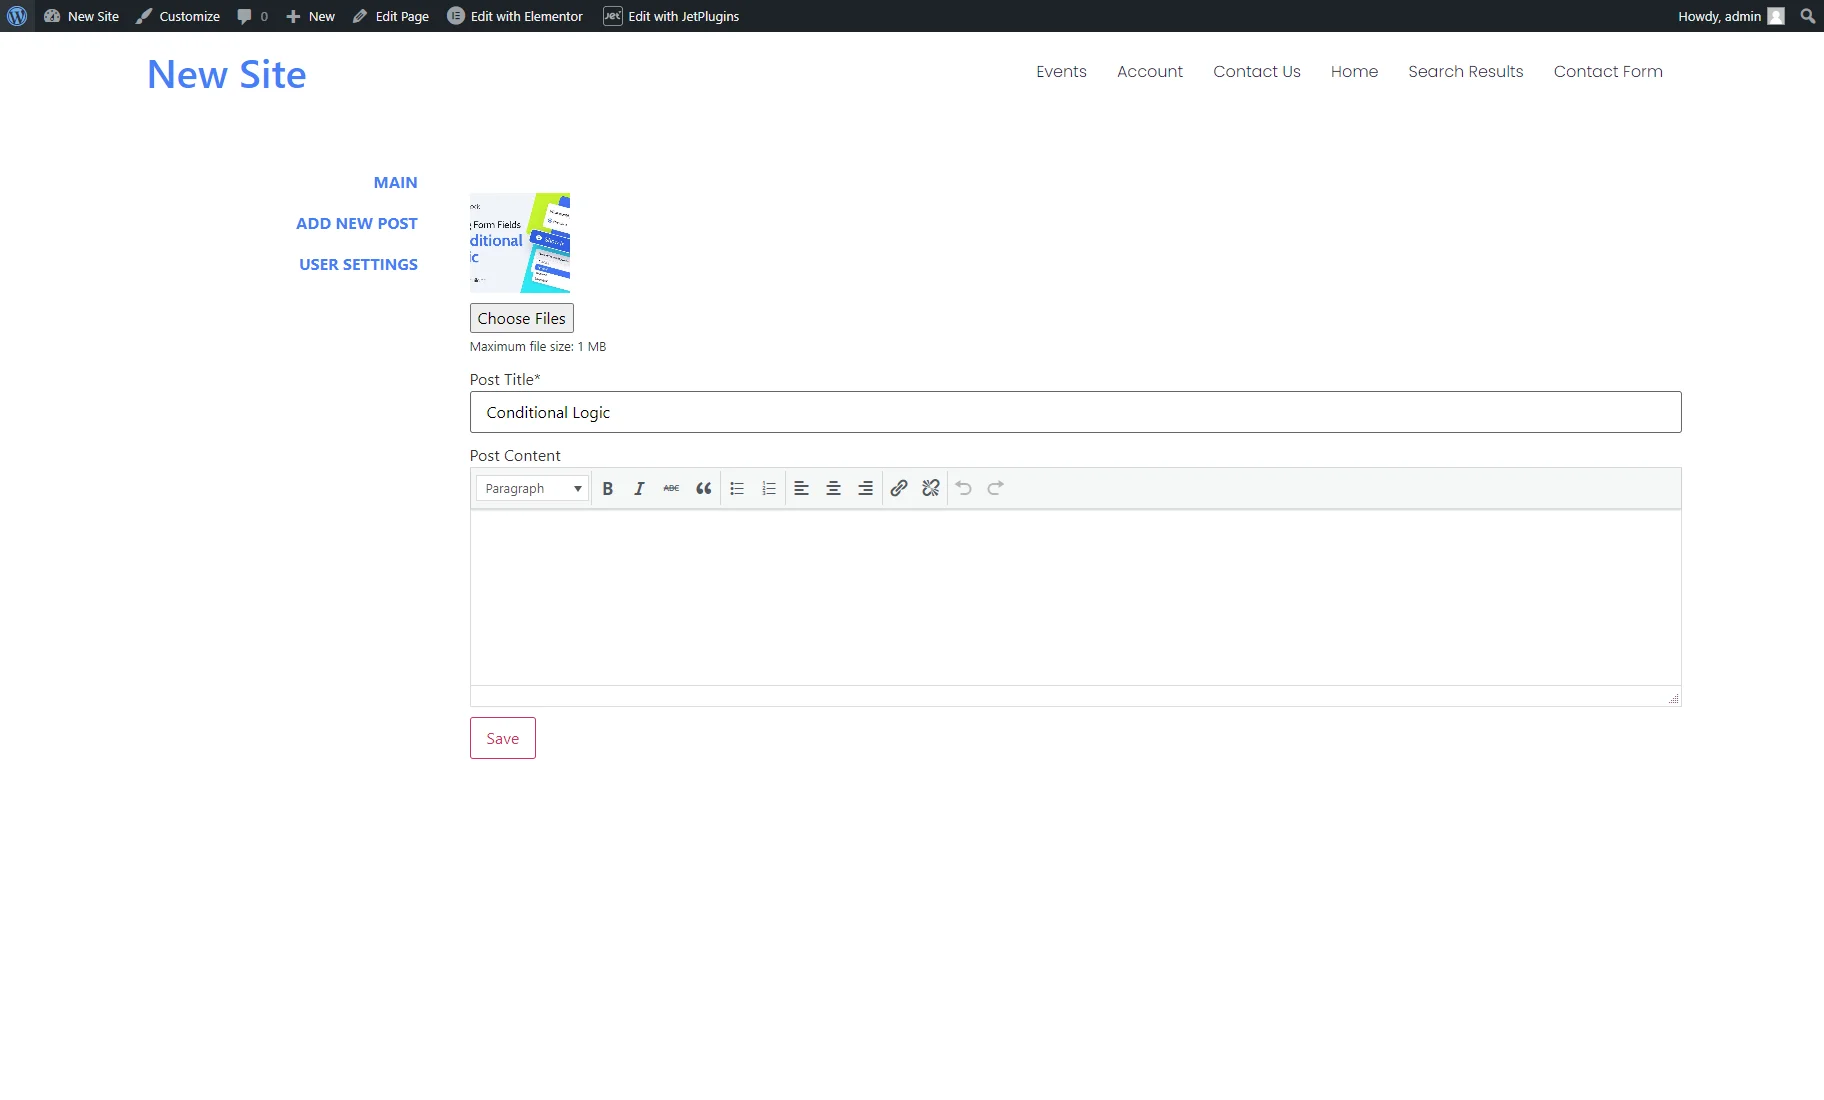
Clicking the “Edit Post” link under a post redirects to the “Edit Post” subpage with the corresponding form. The form preset auto-fills the form fields with the chosen post data so you can edit them.
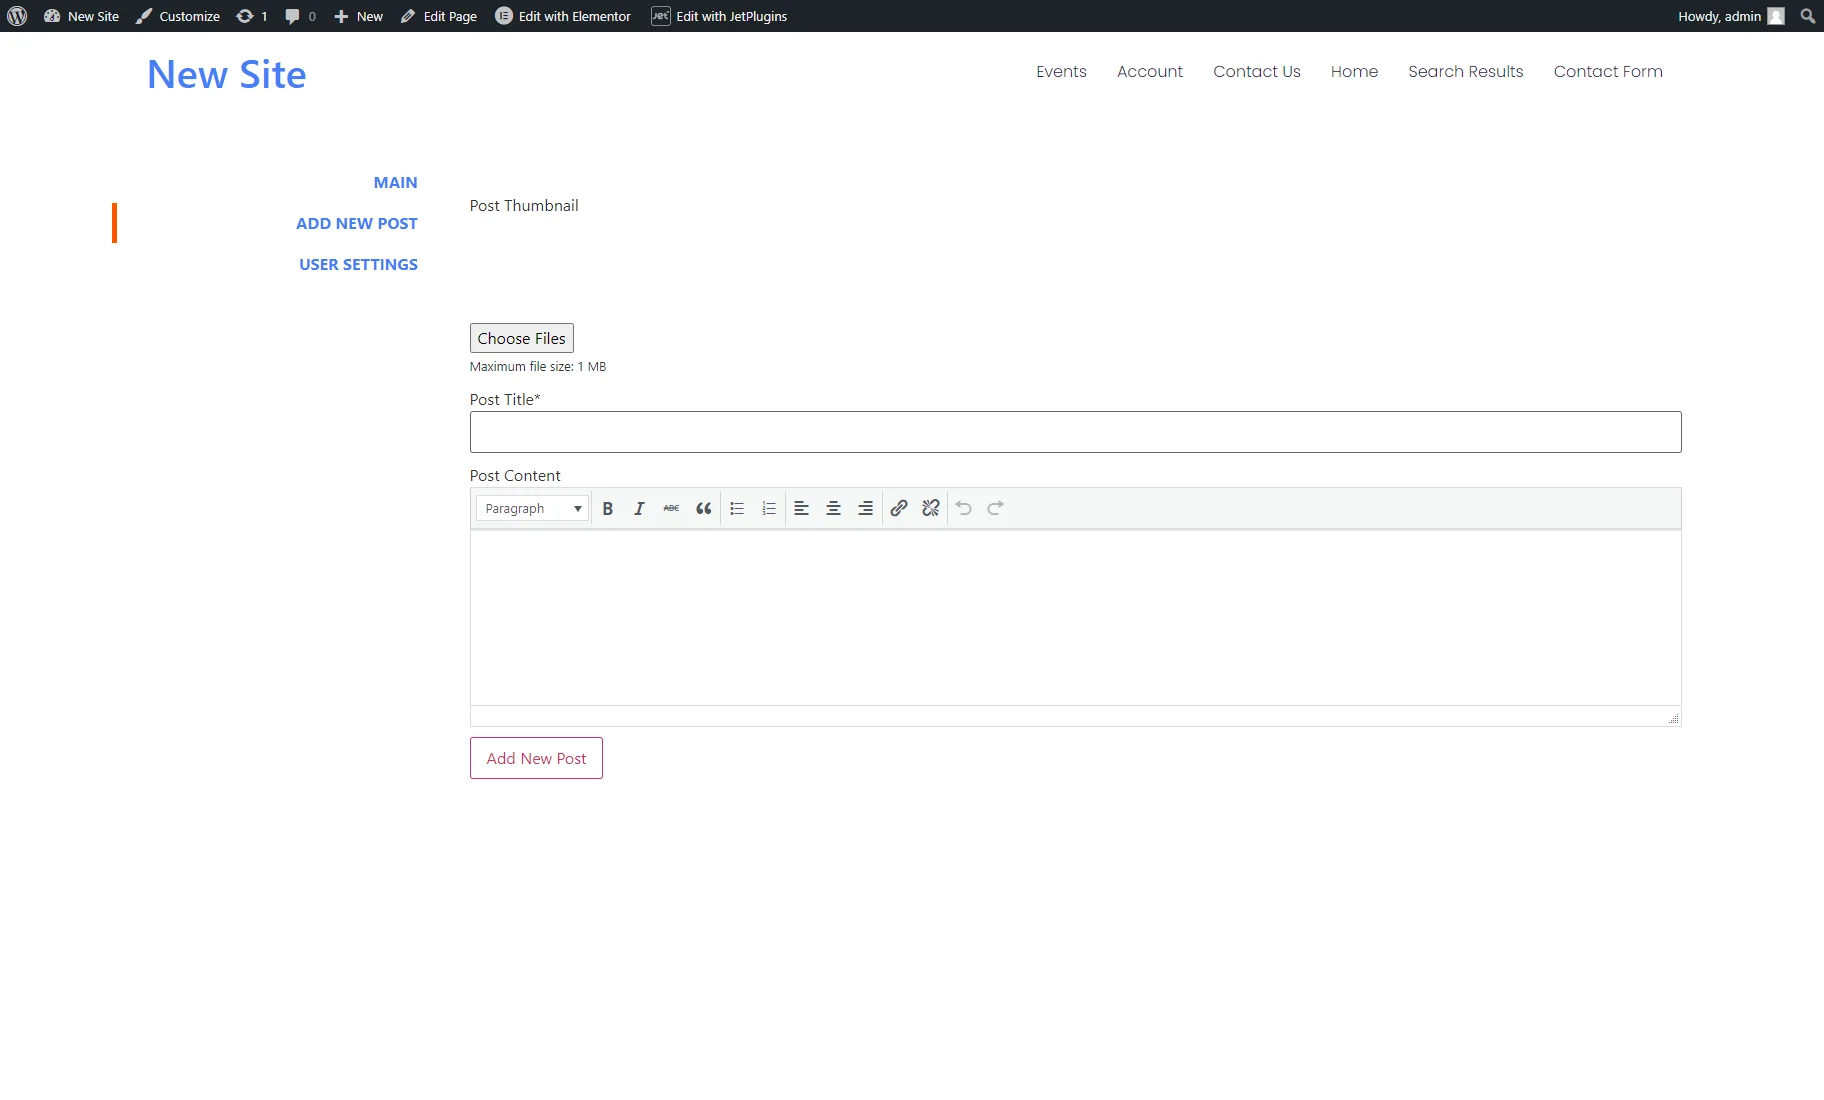
If you click the “ADD NEW POST” menu item, you’ll proceed to the form for the post creation.
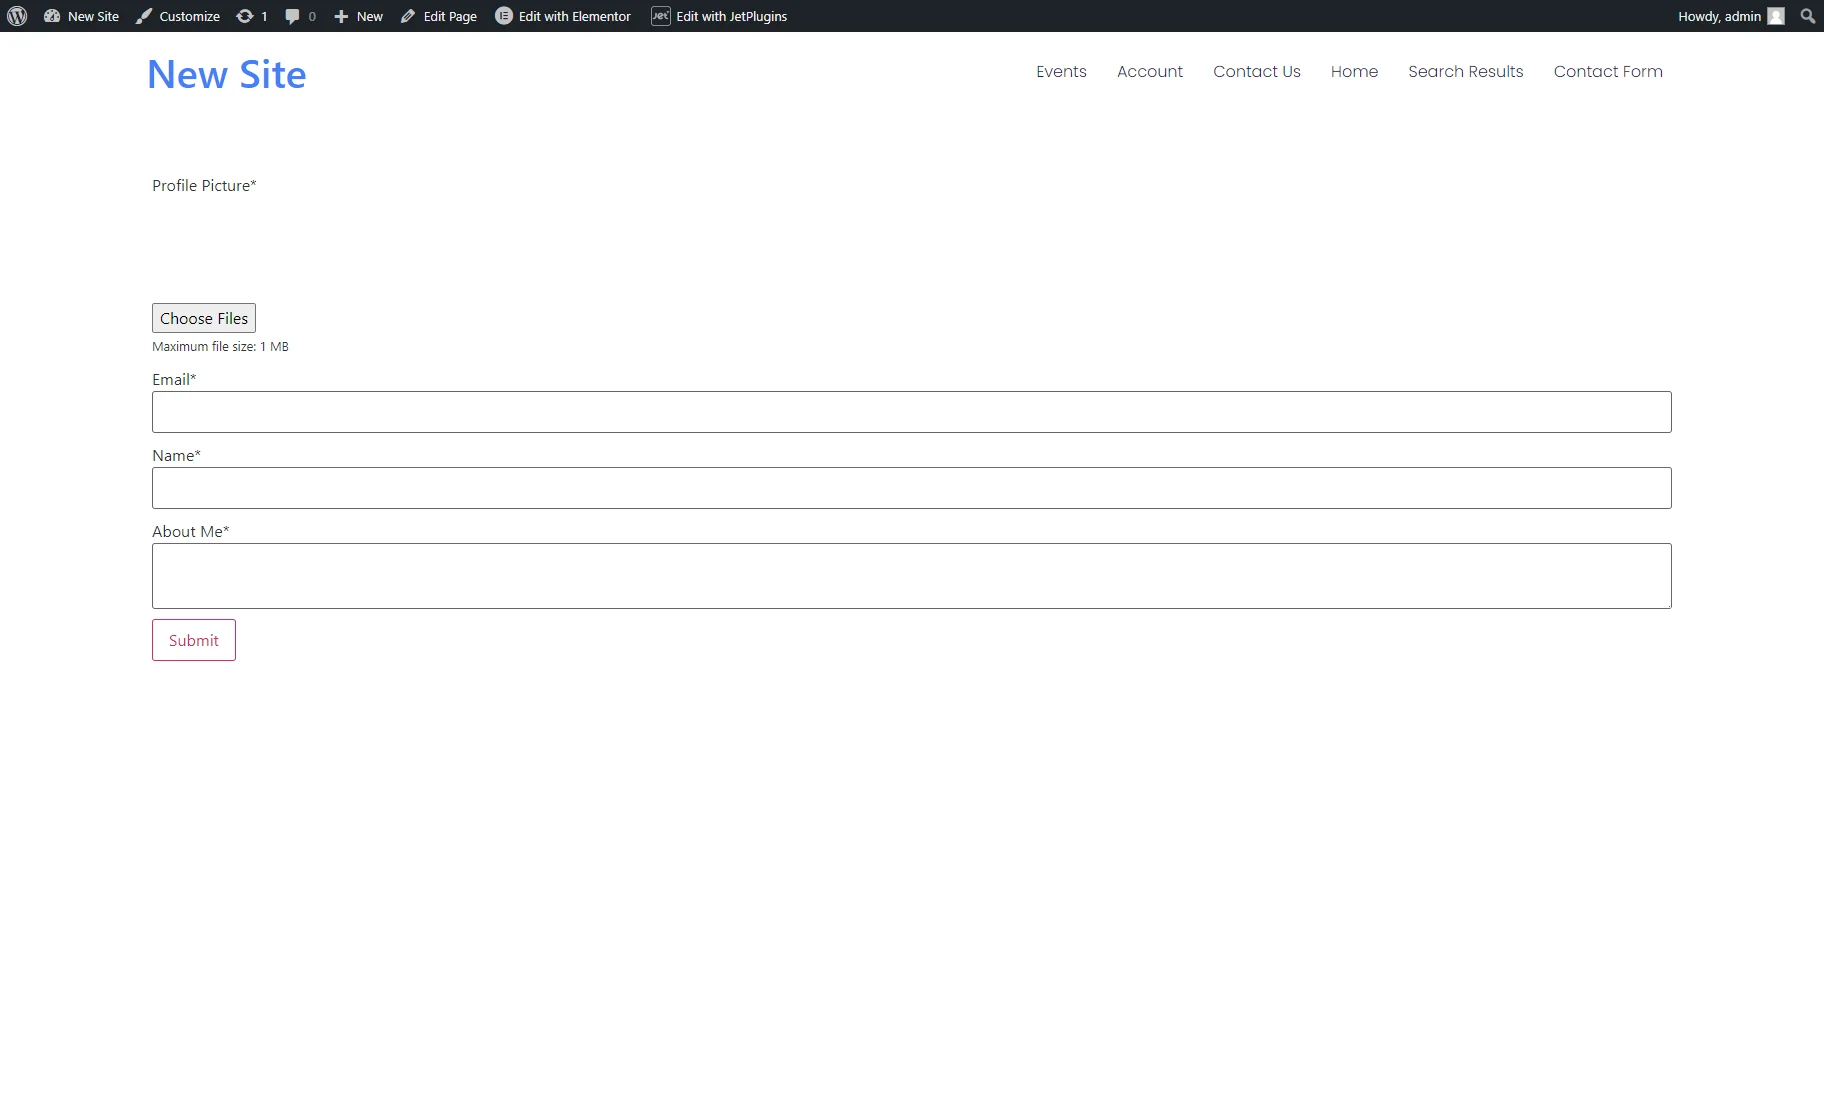
If you press the “USER SETTINGS” menu item, you’ll open the “Edit User” form.
That’s all. Now you know how to set up the User Account page using the JetEngine preset feature for your WordPress website. Feel free to edit it so the Account page suits your needs.