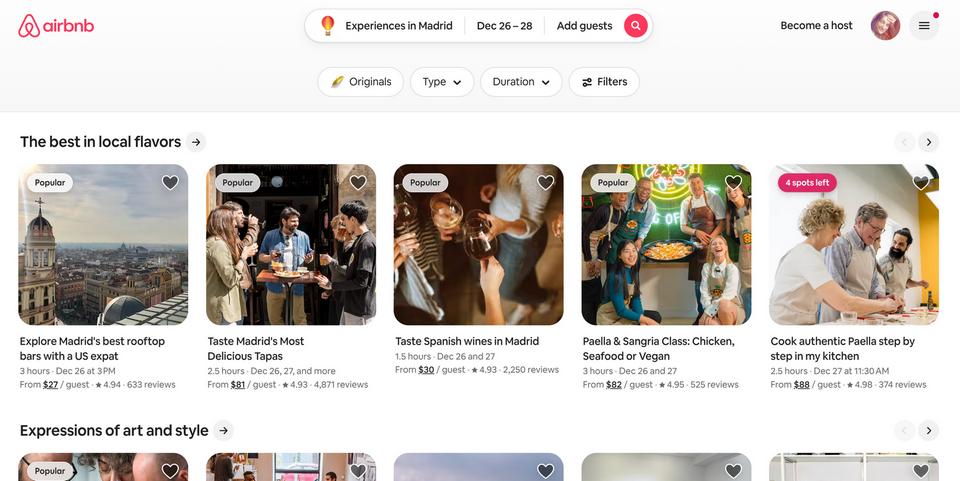
I really like the idea behind Airbnb Experiences – that lesser-known corner of a very famous platform that some people have never even noticed, and others absolutely love. The concept is simple: it’s a multi-vendor marketplace where locals can offer their services and turn a regular trip into something memorable, from professional guided tours to your grandma’s home cooking class.
What sets this apart from websites that just aggregate tour company offers is the freedom. Locals can offer almost any activity and set their own prices. Because of that, what really matters here is openness: honest reviews on the platform and the personal social media presence the host is willing to share.
You can build such a project using Crocoblock plugins:
- JetAppointment – for booking functionality. Alternatively, you can use JetBooking for daily-based experiences;
- JetEngine – for website structure, dynamic content, and membership functionality;
- JetFormBuilder – for powerful dynamic forms and dashboards;
- JetSmartFilters and JetSearch – to filter and search items;
- JetElements and JetThemeCore – for styling and templating;
- JetReviews – for rating and reviews.
From this guide, you will learn how to do it step-by-step.
WordPress Travel Experiences Platform With Crocoblock
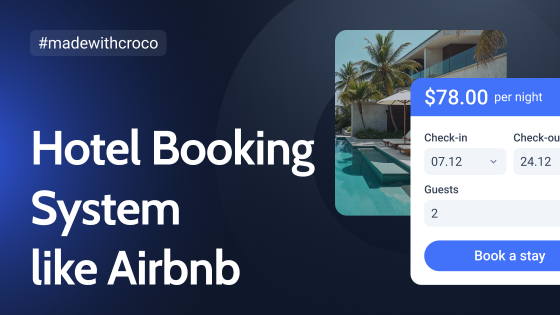
I’ve already made a big guide on building an Airbnb-like booking platform, and many elements will be the same here as well, so I will reference the sections of that article. Moreover, you can combine these two themes – rentals and experience booking – on a single site.
Here are the main workstreams for creating the Experiences Booking website:
- Time-based experiences booking functionality;
- User management;
- Design and UX;
- Messaging;
- Reviews and ratings;
- Payments.
Actually, the main focus here will be on the first one: the time-based experiences booking functionality, as the other five I’ve already described in the article about Airbnb-like apartment booking.
Creating a CPT for Experiences
Before implementing the booking functionality, let’s create a custom post type to showcase the service, with all the custom fields needed to showcase the Experience.
Go to JetEngine > Post Types, and there, you will find the full toolset for this.
I have created mine with such meta fields as Description, Location, Duration, Things to do, and Gallery:
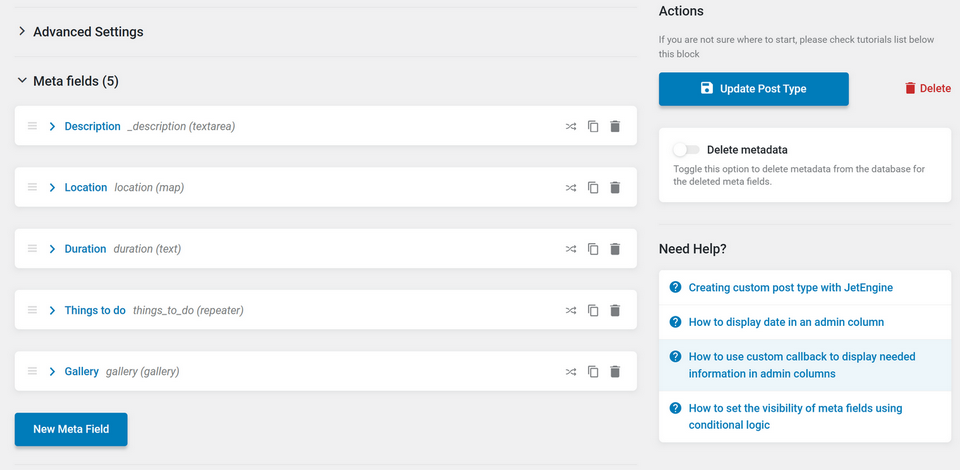
While Duration can and should be set in JetAppointment, I still added a field for display on the front end. In the next section, I will explain why.
After creating some posts with demo content, it’s time to set up one of the booking plugins.
I will discuss how to use either of the two – JetAppointment or JetBooking. Depending on your project, one of them may work better for you.
Booking Functionality With the JetAppointment Plugin
💡 Pay attention to this method if you have more than one activity per day, and users should select their time slot.
This is a great way to implement booking functionality for activities when more than one is available per day. But as of now, it has one restriction: if you run a multi-vendor website, the users (hosts who provide experiences) can edit the price and duration, but can’t edit their custom schedule using the front-end form. In this case, the admin needs to change it manually.
However, the Crocoblok team already works on multi-vendor functionality for JetAppointment.
The existing setup is perfect for a website that is actively moderated manually from the back end, so hosts can submit their experiences in a half-manual regime: they can add or edit a name, images, and descriptions for their experience, fill out other custom fields, and enter the price, but the custom schedule should be modified by the moderator. The reason is that this field is stored in the serialized JSON format and can’t be simply updated using the Insert/Update Post action by JetFormBuilder.
Let’s see how straightforward it is to set up JetAppointment:
Start with the Set Up Wizard, then polish all the settings and details in Settings. After that, you will see new controls in the editor of the post type you’ve selected as the bookable one. There, you can individually change:
- price;
- capacity;
- individual schedule.
The booking form was also created automatically by the Wizard. You can review this form and add some extra fields or add extra after-submit actions, e.g., the Send Email one to get extra notifications about bookings.
One more thing I haven’t done in this setup: I haven’t selected the Provider post type, as in my project, there can be only one provider for the particular Experience, so I don’t need an additional Selector field with just one provider (host, in my case), as it’s not very logical from the UX perspective – however, if Provider role exists, this field would be required. This Service+Provider setup is very useful for many other cases, such as salon or clinic bookings, as in this demo, but not for my case.
Instead, I will connect specific posts to specific users (hosts) using JetEngine’s Relations functionality. Thus, their listings can be displayed on these users’ profile pages – what I actually need. I will be back to this when discussing the User Profile functionality.
Post template with Appointment Booking form
Now, let’s display everything on the front end.
Using the JetThemeCore theme builder, I’ve created a template for Experiences CPT. Using JetEngine’s Dynamic Field widget, fetched most of the fields of my CPT.
And, finally, added the JetForm widget and selected the booking from the list.
To display pricing for Appointment booking, use one of these three field keys. Use the Dynamic Field widget, select “Meta Data” as a source, and then paste one of them in the field for the meta keys:
_app_price – price for the slot;
_app_price_hour – price per hour;
_app_price_minute – price per minute.
This is how the booking process looks:
You may have noticed that the final step is a WooCommerce checkout. I chose this method in JetAppointment’s settings because it can be handy for connecting all kinds of payment methods and different plugins that allow you to connect various payment methods and earn commissions. I still haven’t edited the checkout page to make it more user-friendly and remove extra fields, but it can be easily done with JetWooBuilder.
And certainly, you don’t have to use WooCommerce; just connect JetFormBuilder’s payment gateways.
Workflows
Notifications and reminders are so important in this business. JetAppointment offers powerful functionality, which you can find and set up in Settings > Workflows.
Since the end of 2025, you can schedule emails or other automations not just some days before the event, but some hours before that.
Booking Experiences Using the JetBooking Plugin (Multi-Vendor)
JetBooking 4.0 brought a big, important, and cool update – multivendor functionality. Now, hosts have full control over not just the number of items and pricing, but also the custom schedule. They can do it from the dashboard and using a front-end form, thanks to the new front-end widgets for editing settings.
While JetBooking was initially created for real estate bookings, it can also be used to book experiences and other activities. The only restriction here is that the host can’t offer a time picker, so the guest can choose from several time slots within one day.
However, even Airbnb doesn’t have such time-slot functionality – there is either only one activity per day, or, if there are multiple, they are treated as separate listings/activities.
That’s why JetBooking can be a great tool for posting not just accommodations but activities.
In the JetBooking settings, choose Booking Period – “Per Day,” enable one-day bookings, and set the maximum number of days equal to one.
Also, in your custom post type for Experiences, create fields for duration, start time, and other details to display on the front end for users. JetBooking still treats things like daily/nightly booking, but it doesn’t matter if you clearly show the timing and a price for the service.
NOTE
Don’t confuse JetBooking’s Timepicker functionality with slot selection functionality – Timepicker is made for more flexible check-in/check-out times and avoiding overlapping, but not for choosing a particular time.
I replaced the JetAppointment form with the JetBooking form. Let’s see how it works:
JetBooking vs. JetAppointment for Experiences/Activities Bookings
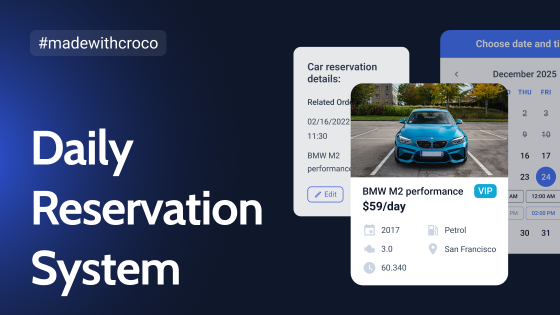
While JetAppointment and JetBooking overlap in functionality, each plugin is suited to different booking scenarios, so you can choose what suits best for your project or even combine them. In this article on car rentals, I’ve discussed how to use both on the same website, depending on the bookable item.
As of now, the biggest difference, if we talk about Airbnb-like websites, is the multi-vendor functionality. While JetAppointment is about to get this functionality in the near future, JetBooking already has it.
User Profiles, Listings, Messages, Reviews, and Front-End Representation
In this article, I wanted to focus on the specific features Experiences/Activities have when creating a booking platform for them, and how both JetAppointment and JetBooking can be used here.
But for the rest of the functionality, it’s not different from the settings of an Airbnb-like platform for property rentals.
From Profile Builder settings to displaying the listings of the particular host, it’s the same – just replace properties with experiences.
📌 Please read this comprehensive guide on setting up an Airbnb-like website with Crocoblock tools.
FAQ
Yes, WordPress is a solid foundation for building a travel experiences marketplace. With Crocoblock plugins, you can manage listings, bookings, payments, reviews, and user profiles.
Not necessarily. WooCommerce is useful if you want advanced payment options, commissions, or integrations, but JetFormBuilder also supports direct payment gateways.
Key features include flexible booking logic, user profiles for hosts, reviews, messaging, search and filters, and reliable notifications.
Wrapping Up
As you can see, Crocoblock tools are flexible and can be used in different scenarios, even without extra code snippets or complex customizations. You can also experiment with different tools to see what your customers prefer and, in the process, arrive at a really strong business outcome.