In today’s fast-paced digital world, a grid-like dynamic product display is more than just a design trend—it’s a wonderful opportunity to showcase your products in a fun and easy-to-navigate way! Whether you’re running an eCommerce store or a content-rich website, our suite of JetPlugins allows you to create product grids that automatically update with your latest inventory items.
Table of Contents
Further, we’ll explore what a dynamic product grid is, why it matters, and how to build one using Crocoblock plugins.
What Is a Dynamic Product Grid?
A grid presents your products (or posts) in a tidy and visually attractive format. When we say the grid is dynamic, we mean that it automatically fetches and displays products from your inventory. This dynamic listing capability means that every time you add or update a product, your grid reflects those changes immediately—no manual updates are required.
Key benefits of the grid dynamic product display:
- Within the grid, newly added products appear instantly.
- You can customize layouts and choose what product information to display.
- From a UX perspective, organized grids facilitate easier browsing for your visitors.
- Grids adapt to various screen sizes, providing a smooth mobile experience.
5 JetPlugins for Building Dynamic Product Grids
Crocoblock’s ecosystem of plugins offers various options for creating dynamic product grids, each tailored to different needs and workflows.
JetEngine (Premium, $43/year)
JetEngine is a powerhouse for creating custom content. Its Listing Grid widget allows you to design a page that dynamically displays any custom post type, including products. To make a product grid with JetEngine, we need to follow a few steps.
Create a query with Query Builder
Query Builder allows you to define exactly which products (or any custom post types) to display. You can filter your products based on categories, tags, custom fields, or any other criteria.
- Go to your WordPress Dashboard > JetEngine > Query Builder section.
- Add a new query by clicking on the “Add New” button.
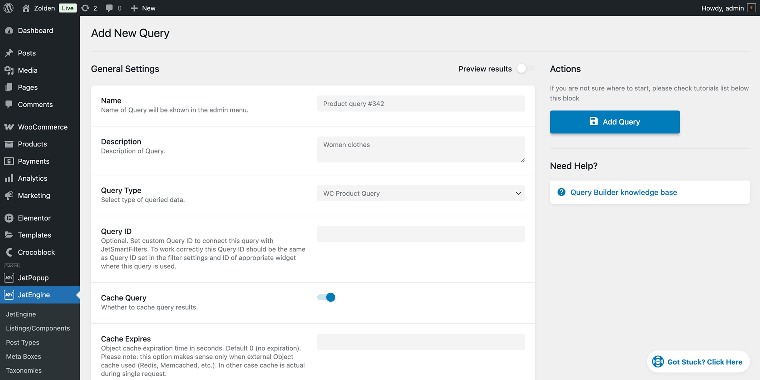
- In the General Settings section, you can define the basic settings of your query (including the name, description, and so on).
- In the WC Product Query section, define the settings of your query:
- set the criteria for selecting products (e.g., product category, price range, custom meta fields);
- adjust any sorting or ordering parameters to suit your layout needs.
- When done, click the “Add Query” button to save.
Once you’re satisfied with the configuration, you can proceed to the next step, which is creating the listing template.
Create a product listing template
The product listing template determines the design and layout of each product item within our grid. It is also where you define which elements to display, such as the product image, title, price, and so on.
- Go to your WordPress Dashboard > JetEngine > Listing/Components.
- Add a new listing by clicking on the “Add New Item” button.
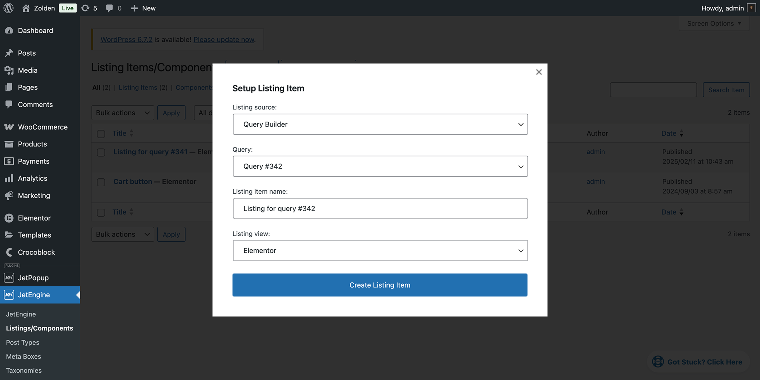
Since our listing will fetch the data from the query, remember to select Query Builder in the Listing source field. In the Listing view field, you can choose the builder type; in my case, it’s “Elementor.”
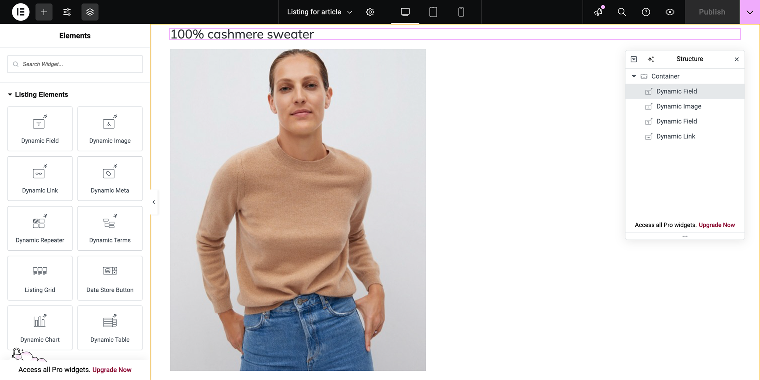
In the Elementor editor, you can design your product listing template using a set of dynamic widgets that are located under the Listing Elements section. Editing these listing widgets is very easy. For example, to display the product name in the listing template, we need to add a Dynamic Field widget.
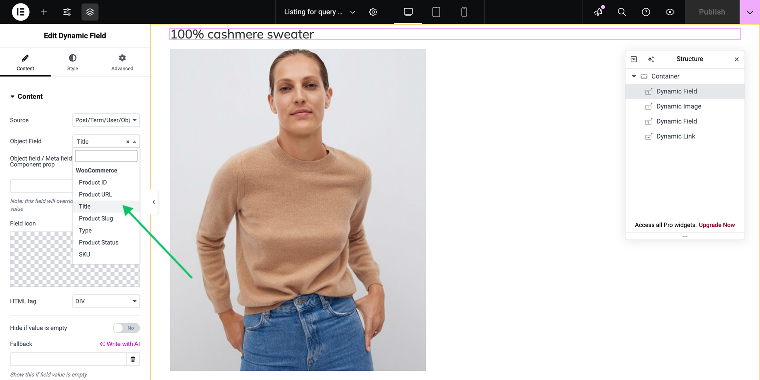
In the Source field, select “Post/Term/User/Object Data,” and in the Object Field, select the “Title” value listed under “WooCommerce.” The same logic applies to the other dynamic widgets. After customizing the template to your satisfaction, click the “Publish” button to save it. This listing template will serve as the blueprint for each product item displayed in your grid.
NOTE
Don’t close the tab with the listing editor because you may need to make minor adjustments to the listing template in the next step.
Add the dynamic listing to your page
In this step, I will integrate the listing template into a live page, creating a dynamic grid that automatically updates with new products. Navigate to the page where you wish to display your product grid.
Open it in your preferred builder, such as Elementor, find the Listing Grid widget, and drag and drop it into the desired section of your page layout.
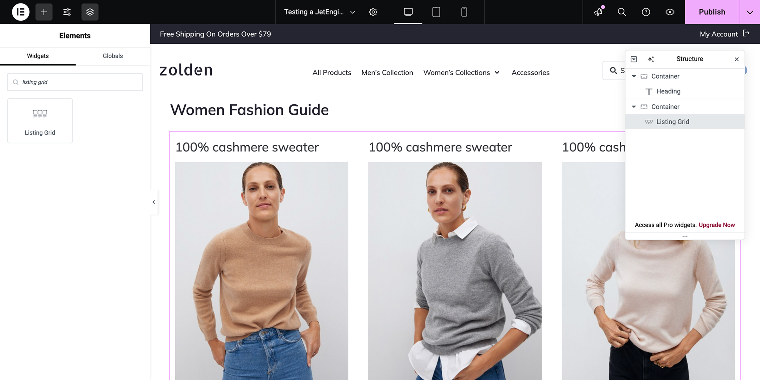
Configure the listing widget settings accordingly.

- In the Listing field, select the listing template you’ve built in the previous step.
- Adjust any additional settings if needed.
- Click the “Publish” button to save the page.
Preview your page to make sure the grid displays correctly and updates dynamically as you add or modify products in your catalog.

JetWooBuilder (Premium, $43/year)
For those running WooCommerce stores, JetWooBuilder is the plugin you need. It’s the fastest and most efficient solution for creating dynamic product grids to showcase WooCommerce products.
To add a product grid, open the target page in the Elementor builder, then go to the widget panel and type “product grid” in the search field, or scroll to the JetWooBuilder section where all the relevant widgets are listed.
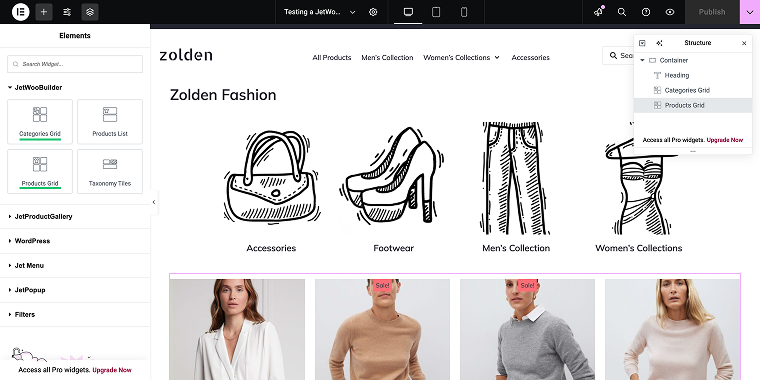
With JetWooBuilder, you can display both product categories and individual products using widgets like Categories Grid or Products Grid. The first one displays all the product categories available in your store.
Categories Grid
This widget has five presets that allow for displaying product categories in five different ways.
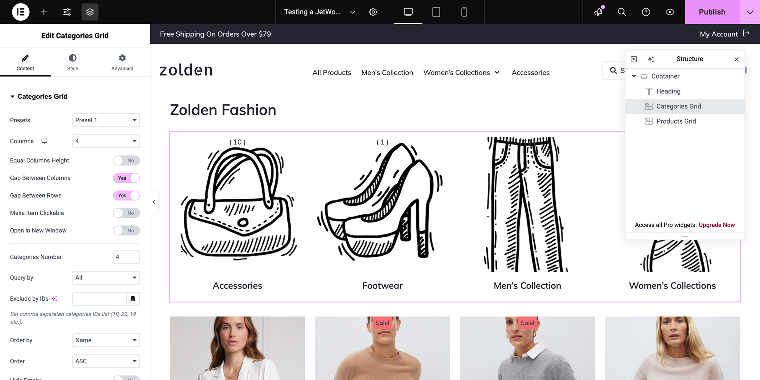
In addition to the presets, there are many other settings to fine-tune the output.
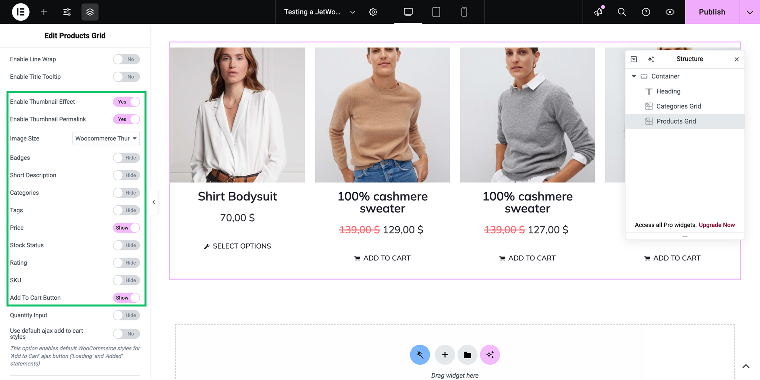
Products Grid
This widget features 10 presets that display the product grid in subtle variations. Therefore, you can customize its appearance to align with your page design or specific needs.
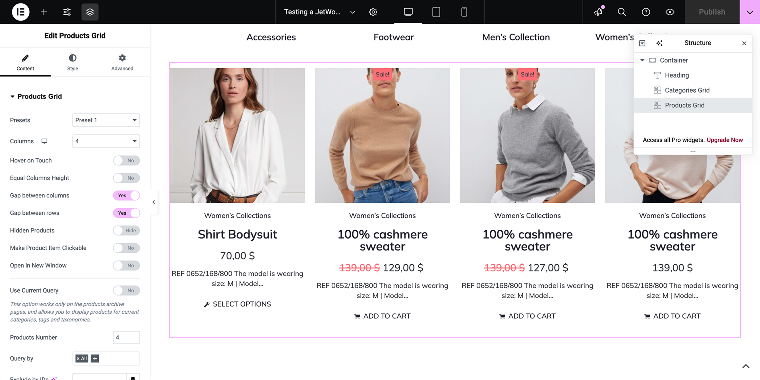
The Products Grid widget displays four products in 4 columns by default, but it also allows you to showcase almost all of your items in a grid of up to 12 columns.
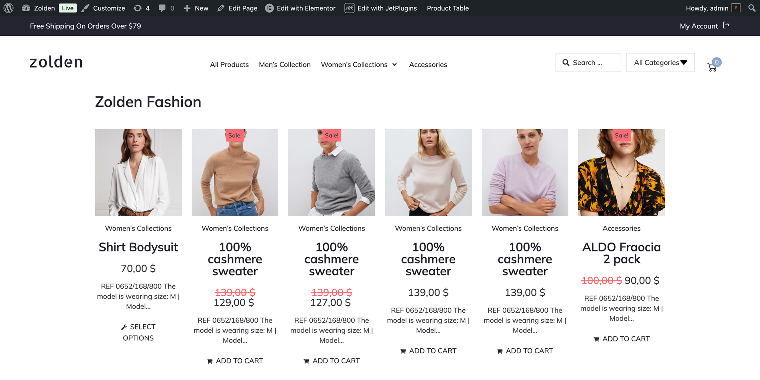
In the settings panel, you can add or remove product information, keeping only the most important details like the product title, image, price, and the “Add to Cart” link.
JetElements (Premium, $43/year)
The JetElements plugin broadens your design options by providing extra widgets for creating and styling dynamic grids. You can choose from various widgets to showcase products in attractive layouts. To locate these widgets, access your target page in the Elementor builder, open the widgets panel, and scroll to the bottom of the JetElements widgets section.
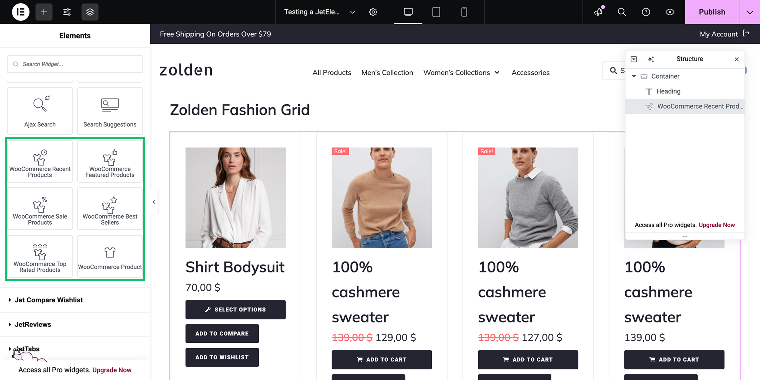
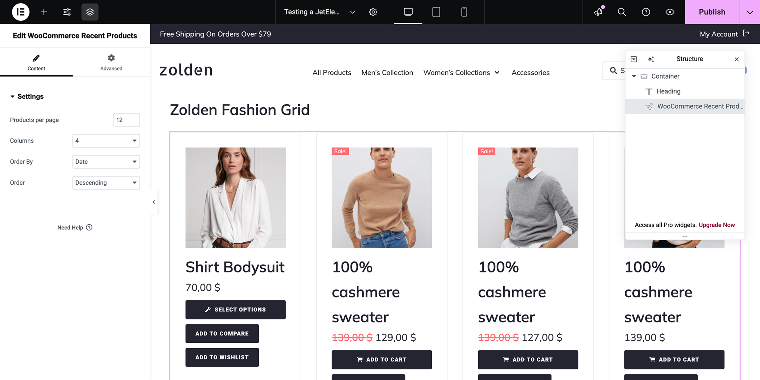
You can choose from WooCommerce Recent Products, WooCommerce Featured Products, WooCommerce Sale Products, WooCommerce Best Sellers, Top Rated Products, and Featured Products. These widgets share comparable settings, making it easy to customize the output.
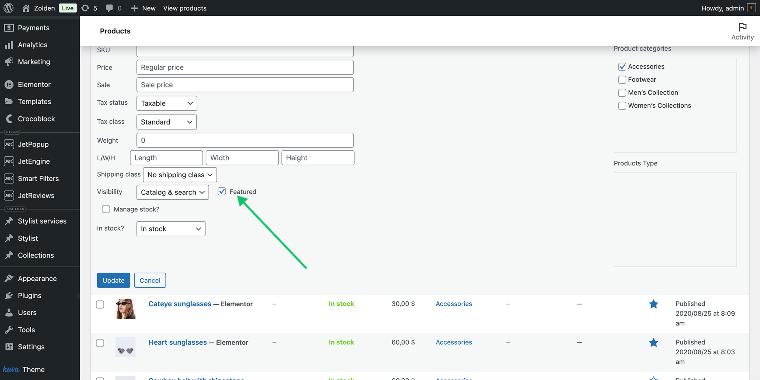
To be able to display products using WooCommerce Featured Products, you need to go to the WordPress Dashboard > Products > All Products, choose the product(s) you want to display, then click on the “Quick Edit” link and mark the checkbox Featured.
JetBlog (Premium, $23/year)
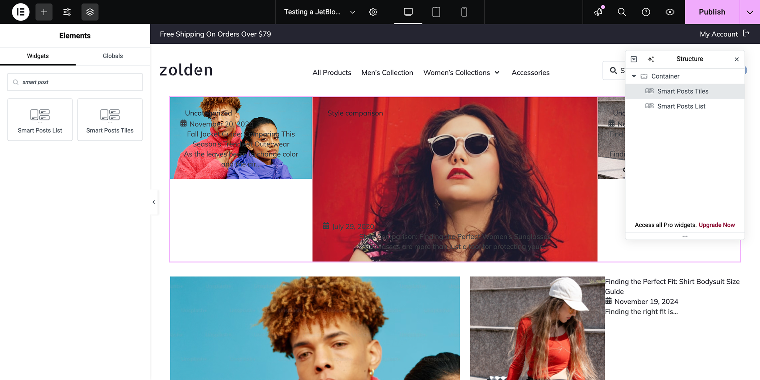
The next plugin on my list is the JetBlog plugin. While it’s primarily designed for posts and category listings, it can be repurposed for product grids in a few clicks. To add the necessary widget, go to your target page, open it in the Elementor builder, navigate to the widgets panel, and type “smart post” in the search bar. The search will find two widgets, Smart Post List and Smart Post Tiles.
Smart Post Tiles
To enable product display in the widget’s settings panel, navigate to the Query & Control section, remove the “Posts” value, and replace it with “Products.”
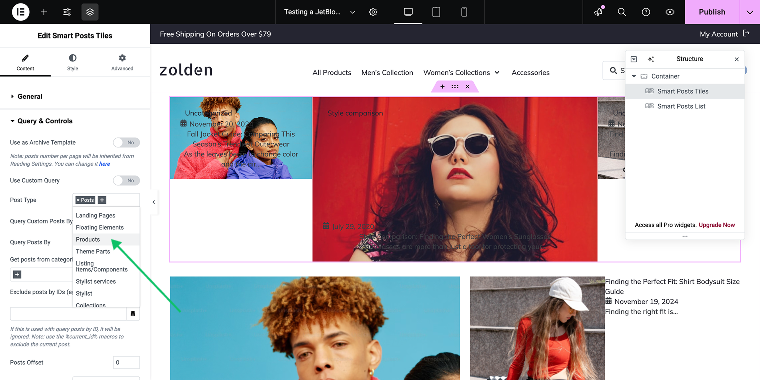
As a result, you’ll be able to display products with this widget.
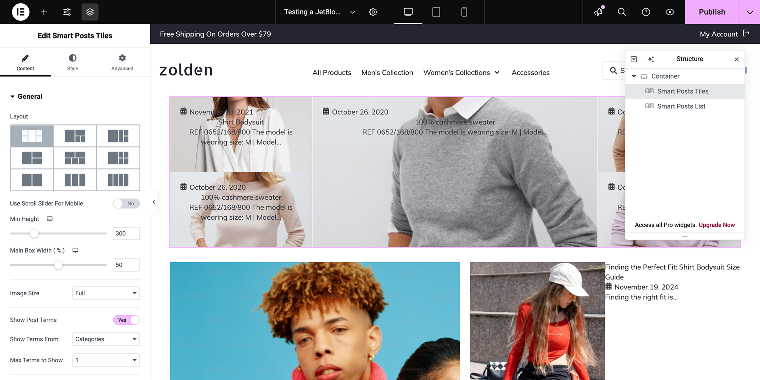
The widget has lots of settings to fine-tune the output, so feel free to play around with them.
Smart Post List
This widget has similar settings. In the Post Type field inside the Query & Control section, you need to replace the “Posts” value with “Products.”
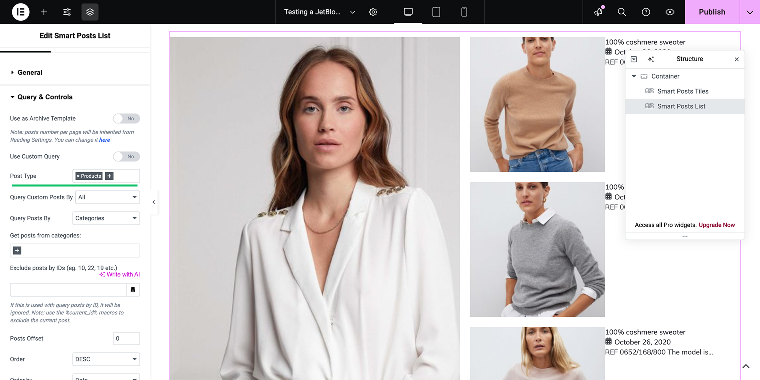
Although this widget’s output is ideal for presenting posts, it may also be suitable for showcasing products in some cases. Feel free to adjust the settings to achieve the best possible appearance for your product grid.
JetGridBuilder (Free)
If you’re looking for even more control over your grid layouts, our free plugin JetGridBuilder offers some interesting functionalities. After installing and activating the plugin, go to the target page, open it via Elementor builder (or Blocks Editor), then open the widgets tabs and type “grid builder” in the search bar.
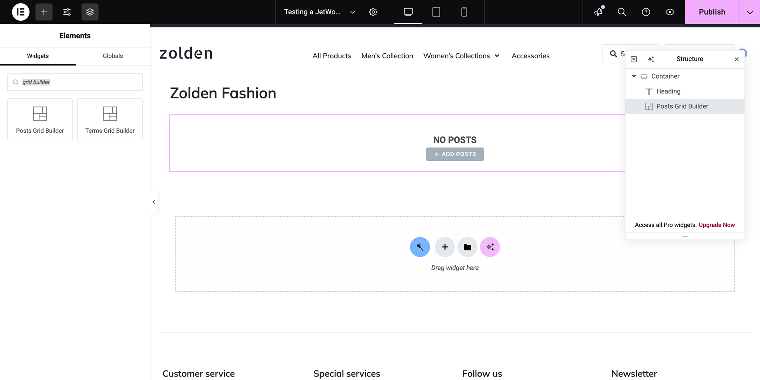
There are two widgets that you may use. The Posts Grid Builder and Terms Grid Builder.
The Posts Grid Builder widget displays all posts, custom posts, custom pages, products, and more.
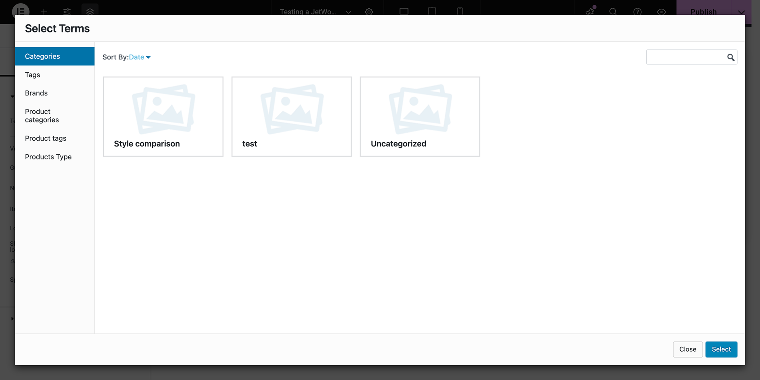
The Terms Grid Builder widget displays post tags/categories, product tags/categories, product types, and more.
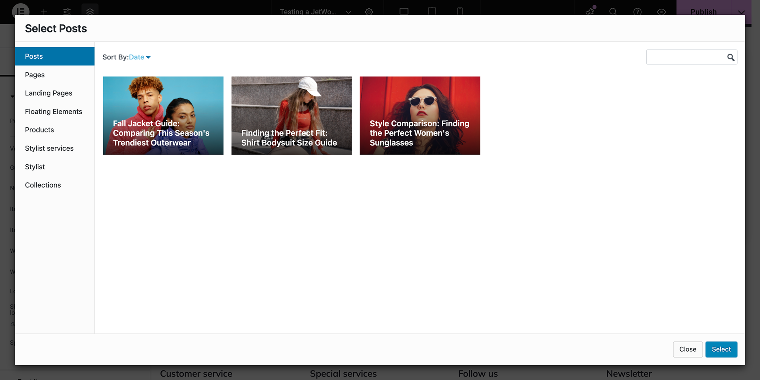
I’ll use the Posts Grid Builder widget to create a product grid. After adding the widget to the page, it will prompt you to add posts with a corresponding button, “Add Posts.” In the pop-up, click on Products to select the items you want to add to your grid.
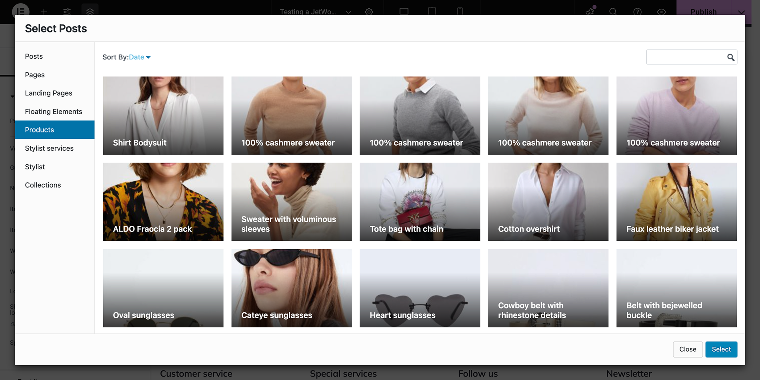
Since I’m going to add products manually, this method cannot be called a dynamic listing. What’s interesting about this plugin is that you can set the number of columns in the Number of columns field (located under the Content tab, Grid section), and then you can drag and drop the elements all around the page. You can even create an illusion of a broken layout.
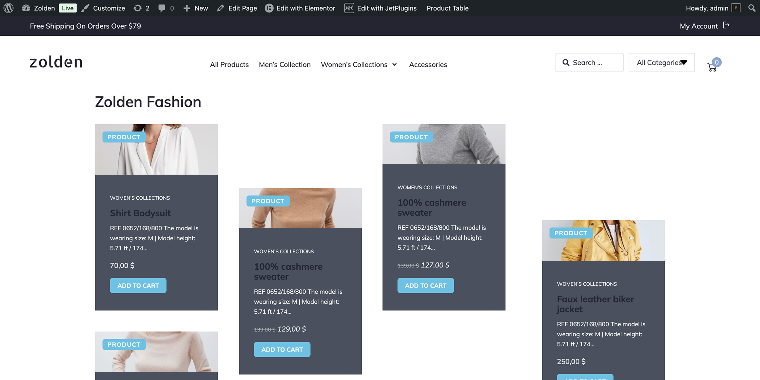
When I configure the columns to “39” and scatter the product tiles across the layout page.
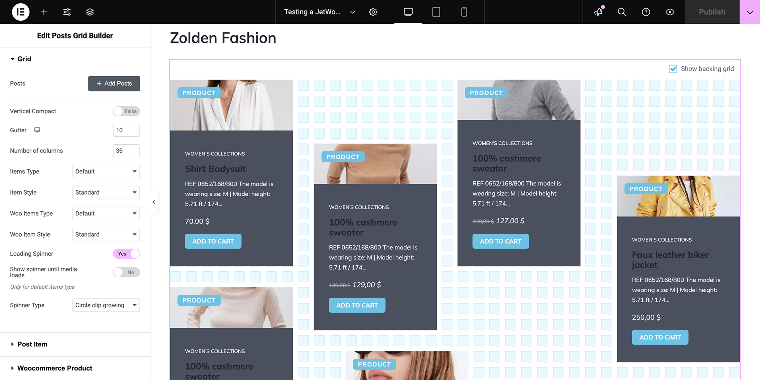
I may achieve an interesting look and feel on the front end.
FAQ
A dynamic product grid automatically updates and displays your products in an organized, visually appealing layout. This ensures that as you add or update products, the grid reflects these changes instantly, saving you time and enhancing the user experience.
Start by creating a query with Query Builder to define which products to display, then design a listing template in the JetEngine > Listing/Components section. Finally, add the dynamic listing widget to your page and configure it to use your query and template, ensuring your grid updates automatically.
You can use plugins like JetEngine for custom listing templates, JetWooBuilder for WooCommerce product grids, JetElements for additional design enhancements, and JetBlog for alternative content listings. Additionally, JetGridBuilder offers advanced grid customization options if you need more control over your layout.
Conclusion
A dynamic product grid is an essential tool for organizing and displaying your products efficiently. By utilizing JetEngine, JetWooBuilder, JetElements, JetBlog, and JetGridBuilder for advanced layouts, you can create a fully customizable and automatically updating product grid that meets your website’s needs.
With the right setup, your listings will remain up-to-date, visually appealing, and easy to navigate. Start today and improve how your products are showcased on your WordPress site.