Working with WordPress is usually simple and intuitive, but for beginners, even the installation process may seem complicated.
Today, thousands of websites are built with WordPress due to its flexibility in creating sites of various sizes and purposes, as well as its ease of content management.
If you’re installing WordPress for the first time and want to use it to create websites, this article will help you understand the process.
Previously, we discussed how to install WordPress on a LocalHost and Live Server.
Table of Contents
- How to Install WordPress Manually
- How to Install WordPress on cPanel
- WordPress Installation Using WP-CLI
- Automatic One-Click WordPress Installation on Managed Hostings
- What to Do After Installing WordPress
- Common Installation Issues and Troubleshooting Tips
- FAQ
- Last Words
How to Install WordPress Manually
Manual installation is widely used by cloud hosting providers or if you use virtual private servers (VPS) or dedicated servers, even on shared hosting. They might have no one-click installer, but even if they do, the process of how WordPress is installed is very important to understand, as it’s basic knowledge that can be used for debugging as well.
Another situation in which understanding of this process is required is when you have to migrate the website manually.
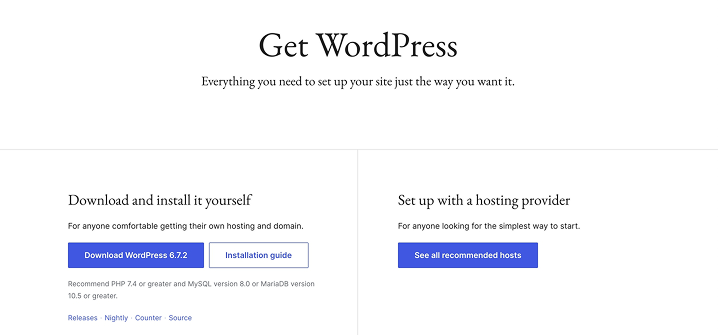
- Download WordPress from the official WordPress.org website.
- Unzip the downloaded file.
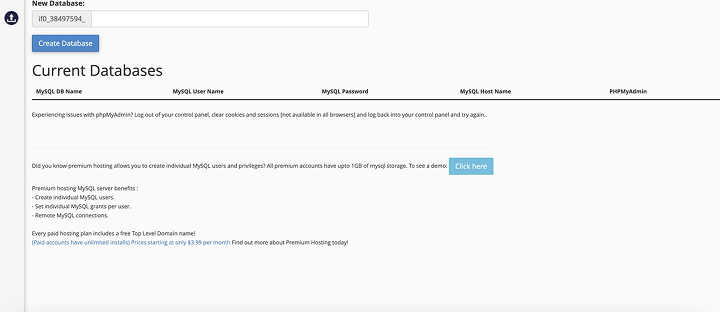
- Go to the hosting control panel and create a database. The particular interface may vary depending on the hosting provider. As a result, you will get your database name, user, and password. Save these details.
- Connect to your web space via SFTP. Use one of the FTP clients. The login and password for connecting can be on the hosting panel; as an option, they are sent by the provider to your email.
- Upload the downloaded and unzipped WordPress files to your hosting by dragging and dropping them to the required folder.
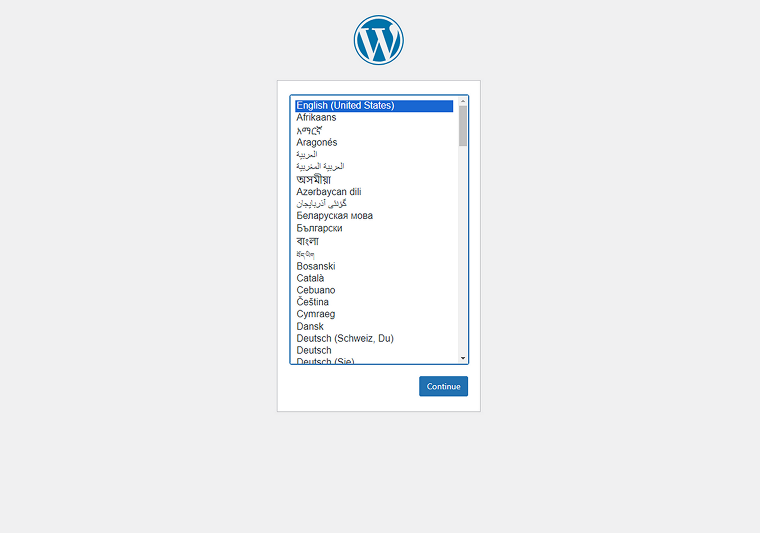
If you want to use WordPress on the main domain, find the public_html directory and upload the downloaded and unzipped WordPress files there. If you need WordPress on a subdomain, create a folder with the corresponding subdomain name and upload files there. - After the uploading process is finished, go to the browser and enter your domain or subdomain name. Go through the installation process in the installation wizard. WordPress will ask you to choose language, then database credentials and other login details. And after clicking on the “Run the Install” button, the installation will begin.
The purpose of this step is to connect the database and the WordPress admin login and password.
- If something doesn’t go as planned, you can connect a database manually by editing the configuration file via the SFTP client. In the root folder of the WordPress installation, find the wp-config-sample.php file. Duplicate it and rename the duplicated one to wp-config.php. Then open it and add these lines there:
define('DB_NAME', 'database_name_here');

define('DB_USER', 'username_here');

define('DB_PASSWORD', 'password_here');

define('DB_HOST', 'localhost');
Insert your database name, username, and password there. The host is normally “localhost” if the hosting provider doesn’t state something else in their instructions.
When the process is complete, you can log in and start creating your site.
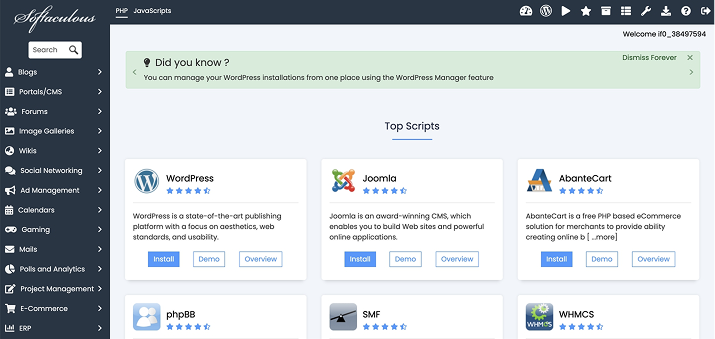
How to Install WordPress on cPanel
First, let’s briefly understand what cPanel is.
cPanel is a hosting control panel. Hosting providers usually offer one or more automatic installers, which allow WordPress to be installed without effort. Most shared hosting providers have an auto-installer with various CMS options, and WordPress will definitely be there. But if it’s not, check the previous section on how to install it manually.
However, if it is available, follow the instructions.
Depending on the hosting provider you choose, the interface may vary slightly, but the installation steps are generally the same.
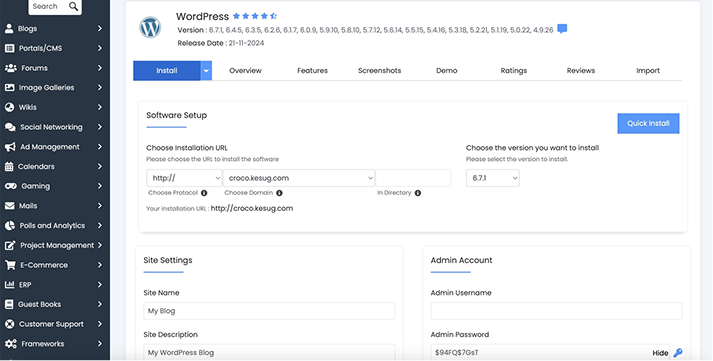
- Find the automatic installer for WordPress and follow the on-screen installation instructions.
- If you want to install WordPress on a specific URL, specify it in the Directory field. If you leave it blank, WordPress will be installed on your top domain.
- Enter the required details, such as the Site Name and Site Description. These settings can be changed later if needed.
- Choose a username and password for logging into WordPress, then click the “Install” button.
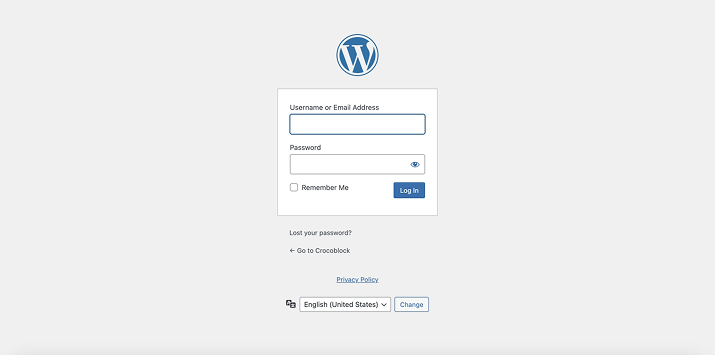
After installation, you can access the WordPress admin panel at domain.com/wp-admin, where domain.com is the domain you registered. Use the login credentials you set during installation.
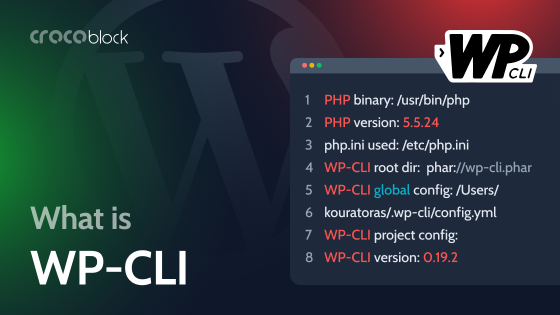
WordPress Installation Using WP-CLI
WP-CLI can also be used for WordPress installation, especially if it’s a bulk deployment where you work with some cloud hostings or dedicated servers or attempt to rescue a broken installation.
These commands will help you download WordPress, create the configuration file, and install WordPress:
wp core download

wp config create --dbname=your_db_name --dbuser=your_db_user --dbpass=your_db_password

wp core install --url="http://example.com" --title="Your Site Title" --admin_user="admin" --admin_password="password" --admin_email="[email protected]"
For more information about WP-CLI, read this article.
Automatic One-Click WordPress Installation on Managed Hostings
Managed WordPress hosting simplifies website management by offering a one-click installation feature. However, it goes beyond just installation – it also includes automatic updates for WordPress and plugins, security monitoring, regular backups, and troubleshooting tools to ensure smooth site performance.
With managed hosting, you get:
- one-click WordPress installation;
- automatic updates for WordPress and plugins;
- regular backups and easy restores;
- free SSL and SSH;
- enhanced security and performance optimization;
- expert support for troubleshooting issues.
Of course, managed hosting is more expensive. Still, it includes many essential services – such as security, backups, and performance optimization – that you would otherwise have to pay for separately with unmanaged hosting. This makes it a more cost-effective option in the long run.
What to Do After Installing WordPress
Congratulations on successfully installing WordPress! Now that your site is up and running, there are several important steps you should take to ensure your website functions smoothly and securely. Here’s a guide to help you get started.
Log in to the admin dashboard
Once the installation is complete, you can access your WordPress site’s admin panel by going to domain.com/wp-admin. Use the username and password you set up during the installation process to log in and manage your site.
Choose and install a theme
The next step is selecting a theme that aligns with your site’s goals and style. WordPress offers a wide variety of free and premium themes. You can browse and install themes directly from the WordPress dashboard by going to Appearance > Themes. It’s important to choose a responsive, user-friendly theme that enhances both the functionality and design of your site.
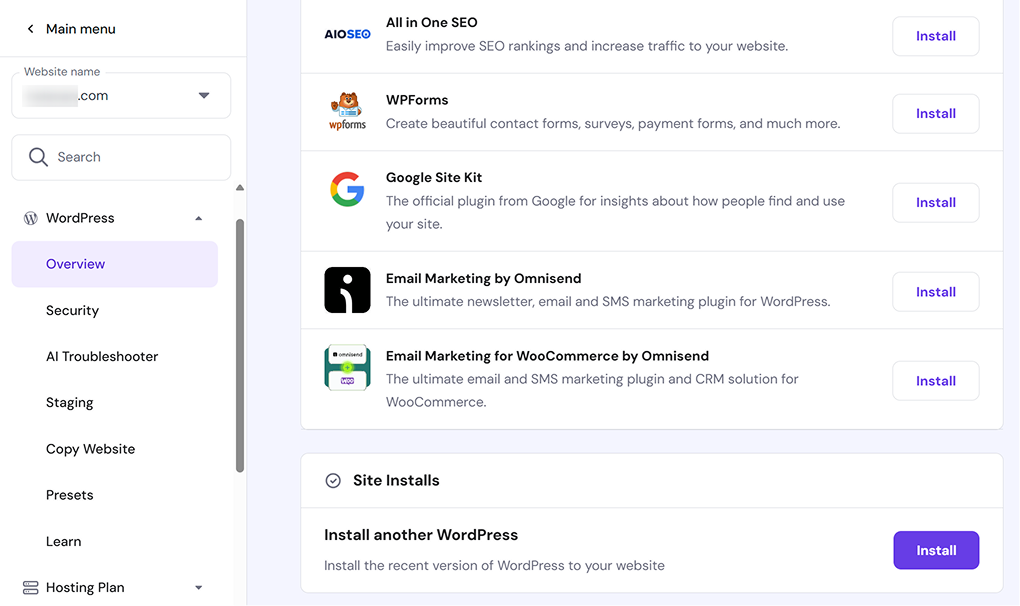
Install essential plugins
Plugins add functionality to WordPress, allowing you to extend your site’s capabilities. Some key plugins to consider include Yoast SEO for search engine optimization, Wordfence Security for protecting your site from threats, and Elementor for designing custom pages without the need for coding. To install plugins, simply navigate to the Plugins section of your dashboard, click “Add New,” and search for the plugins you want to use.
Set up your site’s settings
Head to Settings in the WordPress dashboard to configure important details for your site. In the General Settings section, you’ll be able to set your site title, tagline, time zone, and language. Under Reading Settings, you can decide whether you want to showcase your latest posts or set a static front page. Additionally, make sure to go to Permalink Settings to choose a clean URL structure for your posts, with the “Post Name” option being the most SEO-friendly.
Create key pages
It’s important to create a few essential pages at the beginning. These should include a homepage with a welcoming message or introduction, an about page that shares information about your site or business, and a contact page that makes it easy for visitors to get in touch. Also, be sure to add a privacy policy and terms of service pages to ensure your site complies with data protection regulations, such as GDPR.
Configure security settings
Security is crucial for any website, and WordPress sites are often targeted by hackers. To improve your site’s security, start by changing the default “admin” username to something more unique. Next, install a security plugin like Wordfence, which can help protect your site from potential threats. You may also want to enable two-factor authentication to add an extra layer of security to your login process.
Backup your website
It’s important to back up your website regularly to protect against data loss. You can set up automatic backups using plugins like UpdraftPlus or take advantage of your hosting provider’s built-in backup solution. This way, you’ll have a secure copy of your website in case of emergencies.
Start creating content
With your site properly set up, it’s time to create and publish content. Regularly updating your site with fresh content will keep your visitors engaged and improve your SEO.
Monitor your site’s performance
After launching your website, it’s essential to track its performance. Use tools like Google Analytics to monitor traffic, user behavior, and other key metrics. This will provide valuable insights to help optimize your site and make data-driven decisions that can grow your audience.
Common Installation Issues and Troubleshooting Tips
- “Error Establishing a Database Connection.” This can occur if the database name, username, or password is incorrect. Double-check these details in your wp-config.php file.
- File permissions issues. If you encounter issues with uploading or editing files, it might be due to incorrect file permissions. Make sure the permissions for the WordPress files and folders are set correctly.
- PHP memory limit error. WordPress requires a certain amount of memory to function correctly. If you encounter this error, you may need to increase the PHP memory limit by editing the wp-config.php file.
- Missing files after upload. If you find that certain files are missing after uploading to the server, check that your upload process is completed successfully and that you uploaded the entire WordPress directory.
- 500 internal server errors. This can be caused by a plugin or theme conflict, a corrupted .htaccess file, or server misconfigurations. Disable plugins/themes or regenerate .htaccess to fix this issue.
FAQ
The installation process itself is typically very quick. Using an automatic installer (like those available in cPanel and managed hostings), WordPress can be installed in just a few minutes. Manual installation may take a bit longer, around 5-10 minutes, depending on your familiarity with the process and the hosting environment.
Yes, you need both a domain name and hosting to install WordPress on a live site. You can use free subdomains with some hosting providers. Hosting is required to store your website files, and most providers offer WordPress-optimized hosting plans.
Yes, you can install WordPress manually, even if your hosting provider offers one-click installation. While automatic installation is faster and easier, manual installation gives you more control over the process. It can be useful if you want to customize the installation more deeply or learn more about how WordPress works.
Last Words
Installing WordPress can be an easy process, whether you choose the automatic method or prefer the manual installation. Both methods offer flexibility and control, with the automatic installation being faster and easier for beginners. However, understanding the manual process can help you learn how WordPress works and help you resolve issues that might arise in the future.
Always remember to keep your site updated, secure, and backed up to ensure smooth operation in the long term.