A well-structured category filter helps users quickly find what they need – they make large content sections easier to navigate. Instead of scrolling through dozens of items, users can select a category and see only what’s relevant.
When working with Elementor, there are two main ways to add category filtering functionality. The first uses Elementor Pro’s built-in tools, suitable for straightforward setups where a single taxonomy filter is enough. The second relies on filter plugins that offer a more advanced approach.
In this article, I will demonstrate to you how to add category filtering using the JetSmartFilters plugin – a powerful plugin from Crocoblock. It works perfectly with Elementor (free or Pro), offers AJAX filtering, multiple filter types, counters, and support for any data source created with JetSmartFilters, JetEngine, Elementor Pro, Bricks, Block Editor, or WooCommerce.
Both solutions solve the same problem, but on different levels. Elementor Pro handles simple category sorting, while JetSmartFilters handles complex scenarios, such as eCommerce product filters, Custom Post Type listings, and multi-criteria search pages.
But let’s get started so you can choose the method that’s best for you.
Adding Some Content
Before creating a filter, it’s important to understand that Elementor Pro and JetSmartFilters rely on different mechanisms. They both achieve a similar filtering result, but the structures behind each are different.
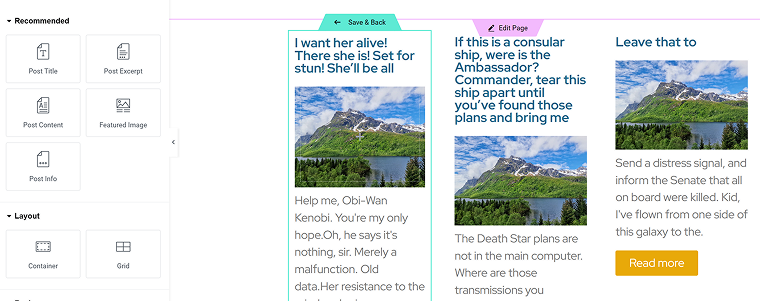
With Elementor Pro, the entire process revolves around the Loop Grid. The Loop Grid defines what content appears on the page and how it looks. The Elementor taxonomy filter works only with this widget. It doesn’t connect to legacy Posts or Archive widgets, WooCommerce Products, or anything else, so before adding any filters, you should have your Loop Grid ready.
That means creating a loop template for your post type. It can be blog posts, portfolio items, services, or any other default or custom post type (CPT), and ensure each item is assigned to the correct taxonomy. Categories, product categories, or custom taxonomies all work the same way here. The filter will simply read those terms and use them to narrow the results inside the Loop Grid.
JetSmartFilters, on the other hand, is far more flexible. It supports a wide range of providers, not just the Loop Grid. You can use it with its own Listing Builder (added in the 3.7.0 Release), JetEngine Listing Grid, native WooCommerce product grids, or those created with JetWooBuilder, or even Elementor Pro’s Loop Grid. It also works with the Block Editor and Bricks, but since we’re talking about Elementor now, let’s stick to it.
This makes it a better choice for more complex setups, for example, a WordPress directory with multiple taxonomies or a shop with several filters working together.
In both cases, you’ll need a clean content structure. Create your post type, assign the appropriate taxonomies, and ensure every post or product has at least one term. Filters can only work with data that exists.
How to Create a Category Filter with Elementor Pro
This method uses only Elementor Pro. You build a Loop Grid for your posts or CPT, then add the Taxonomy Filter widget to filter that grid by categories or tags. The filter works via AJAX, so the grid updates without a full-page reload.
Before you start, make sure Elementor Loops is enabled in Elementor > Settings > Features.
Elementor Pro Loop Grid with filters in 4 steps
Adding such a filterable grid is quite easy with Elementor Pro:
- Create or open your Loop Grid.
Open the page in Elementor and add a Loop Grid. Choose the loop template and ensure the Query displays the content you want by default. Keep the query broad; the filter will narrow it down.
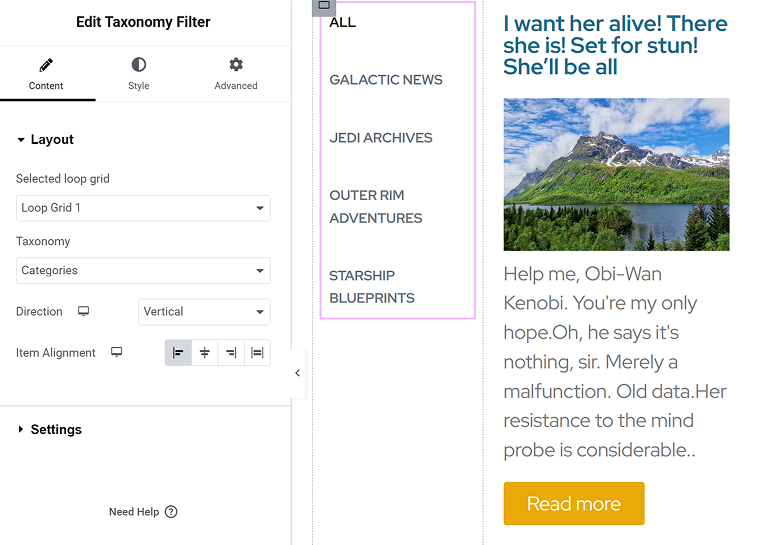
- Place the Taxonomy Filter.
Add the Taxonomy Filter widget above or beside the Loop Grid. In the widget settings, pick the taxonomy you want to filter by, for example, Category, Product Category, or a custom taxonomy. Choose the display style, for example, buttons, dropdown, or checkboxes. - Connect the filter to the grid.
In the filter’s settings, set the target to the current Loop Grid. Elementor automatically links the filter and the grid, then handles the AJAX refresh under the hood. If you want users to select multiple terms at once, enable multi-selection. This is available in recent versions of Elementor.
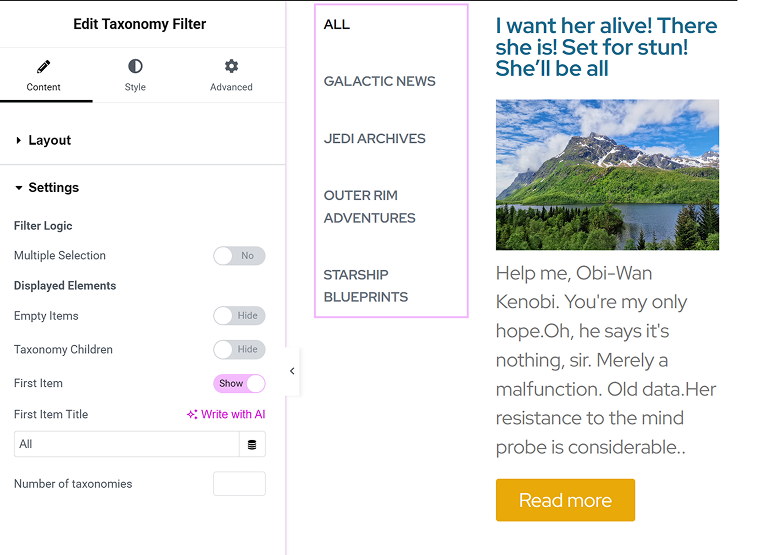
- Tune the experience.
Choose whether the filter shows or hides empty terms, supports multiple selection, children taxonomy terms, and other details.
That’s it. Now, test it; the grid should update immediately. If the grid does not refresh, check that you are using Loop Grid, not the legacy Posts widget, and confirm the filter is attached to the right grid instance.
How to add a category filter in Elementor using JetSmartFilters, in 5 steps
When you need more control, for example, multiple taxonomy filter WordPress pages with counters, active tags, combined criteria, and SEO-friendly URLs, use JetSmartFilters. It integrates with Elementor Pro Loop Grid, JetEngine Listing Grid, and WooCommerce product grids. You still avoid custom code. The UI stays within Elementor; the plugin handles queries and AJAX.
Adding JetSmartFilters in 5 steps:
- Create a filter.
Go to Smart Filters > Add New. Name it, pick the type, for example, Checkboxes, Select, Radio, or Visual. Set Data Source as “Taxonomies,” then select the taxonomy, for example, Category or a custom taxonomy. You can also select whether you want to add child categories, empty items, or what kind of relation you want. In case you want to filter it by meta, specify it. Publish the filter. - Choose the content block where the filter will be applied.
Now, you should decide what your filter is for: if it’s a simple selection of posts, you can use JetSmartFilters’ native Listing Builder in JetSmartFilters > Listing Builder. Follow this link for a detailed guide. But if you want a very particular selection of posts fetched using JetEngine’s Query Builder, use JetEngine’s Listings feature. Also, if you plan to apply this filter to WooCommerce product grid or table, Elementor Pro’s Posts or Portfolio widgets, or an Elementor Loop, skip this step.
You can choose several providers in the Additional Providers Enabled section.
NOTE
‼️ If you want to apply JetSmartFilters to Elementor Loop Grid, in the Loop settings, activate the filter “Is Filterable,” otherwise, there will be an “Error. Incomplete request” message.
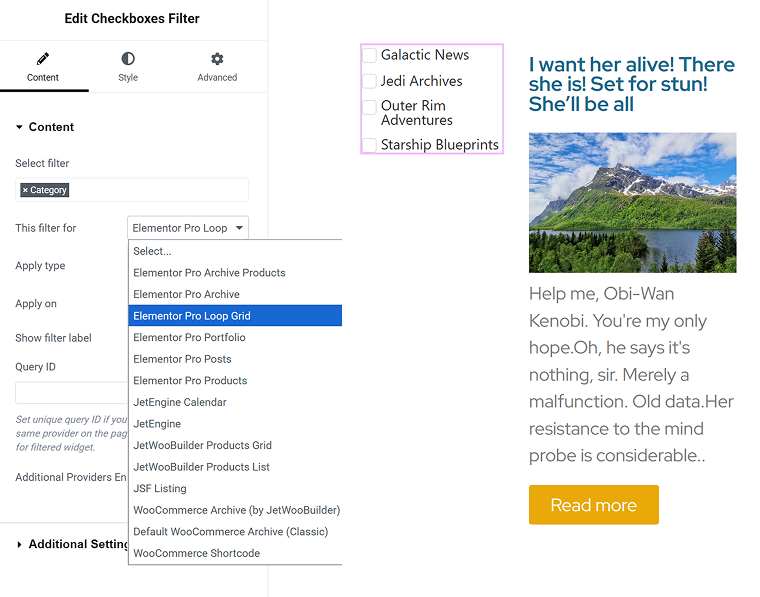
- Place the filter widget.
Edit your page in Elementor. Add the JetSmartFilters widget that matches your filter type near your grid. In the widget, select the filter you created, then set the provider to your grid, for example, Elementor Loop Grid or JetEngine Listing Grid. Now the filter controls the grid.
- Choose behavior.
Pick “AJAX” for instant updates. If you want shareable and crawlable states, use “Mixed” mode so the URL reflects current selections. This is useful when you build a blog category filter WordPress plugin-style page and want links that open with a preselected state.
If you want to add custom aliases for filter results, you can do it in JetSmartFilters > Settings. There are many other useful settings, so check this section.
To show result counters, activate the Indexer functionality in the Settings.
If you want to apply the filter to a particular content block, open the Advanced tab of that container and add a unique ID in the CSS ID field. Then, insert this ID in the Query ID field of the JetSmartFilters widget. - Additional settings and styling.
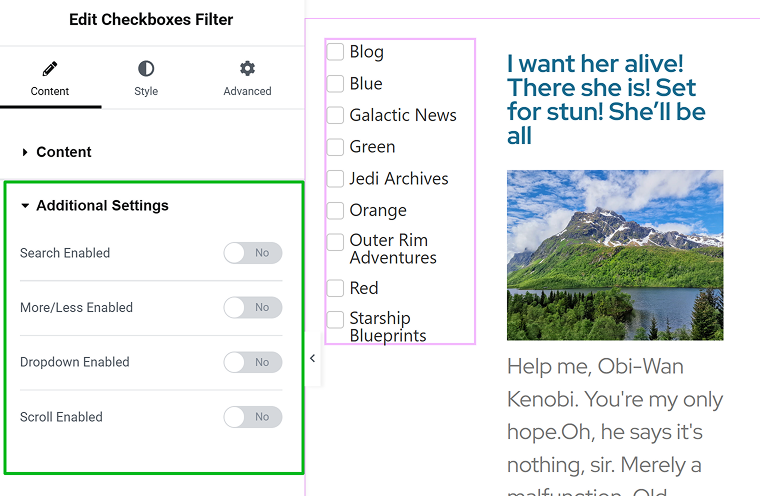
Check the Additional Settings section to add a search, dropdown, scroll, or make the filter panel expandable.
Style the filter UI to match your theme. Add counters, active tags, and an Apply button when you want users to set multiple criteria before updating. For a store, that often reads better than updating on every click. For a blog archive, instant updates feel faster. Also, don’t forget about pagination – JetSmartFilters has a dedicated widget for it.
Advanced tips
More features
If you want to add the off-canvas column (perfect for mobile devices), enable searching by post type and author, or add more cool features, check out this page with custom add-ons.
Custom category order
You can choose the order for your categories while creating or editing filters in the dashboard. But what if you want a completely custom category order?
You have a choice – either use a plugin for ordering categories visually, or use a method described in this video, where you order categories by meta field values, using JetEngine.
Elementor Taxonomy Filter vs. JetSmartFilters
Elementor Pro and JetSmartFilters both let you build a category filter in WordPress, but they solve different problems.
The Elementor taxonomy filter is direct and minimal. It works only with the Loop Grid, and that’s both its main limitation and its strength. You just drag the widget, pick the taxonomy, connect it to your grid, and it works immediately. AJAX is built in, so when a user clicks a term, the grid updates instantly. No setup beyond that, no extra features, and very minimal flexibility.
This method is ideal when you just need to filter posts by category in WordPress and keep things lightweight, like a small blog, a portfolio, or a simple shop page. It looks clean, loads fast, and doesn’t require any external plugins. The downside is that it stops at one level: one grid, one taxonomy. You can’t stack multiple filters or apply them across different widgets.
Also, while technically, it supports WooCommerce products, but only if they are displayed in the Loop Grid, which is a bit weird, so I would say it doesn’t support WooCommerce in the real world.
JetSmartFilters goes much further. It connects to almost anything – Elementor Loop Grid, JetEngine Listing Grid, WooCommerce products, maps, or custom queries. You can combine several filters: categories, tags, custom fields, or even date ranges. Everything works over AJAX, so the results appear instantly. It’s closer to how a WordPress category filter plugin works, but it stays completely visual.
This filter plugin is powerful, flexible, and has many settings for better SEO, performance, and functionality.
FAQ
Elementor’s filter works only with the Loop Grid and supports one taxonomy. JetSmartFilters supports multiple providers, advanced logic, counters, and combined filters, making it better for complex websites.
Yes. Elementor’s native taxonomy filter updates the grid via AJAX automatically. If you want multiple filters to work together, use JetSmartFilters, which also runs via AJAX.
Yes. It integrates with WooCommerce via JetWooBuilder or Elementor’s product widgets, allowing users to filter products by category, price, tags, or attributes in real time.
You can with JetSmartFilters. It supports multiple taxonomy filter WordPress setups, meaning you can combine category, tag, and meta filters on a single page.
Takeaway
A category filter isn’t just a design feature, but a usability tool that changes how visitors interact with your content. Whether you run a blog, portfolio, or WooCommerce shop, filtering helps people find what they’re looking for faster and keeps them engaged longer.
Elementor gives you multiple ways to handle it. Elementor Pro covers the essentials with its built-in taxonomy filter, while JetSmartFilters brings the power and flexibility for complex listings. The real goal is not to show off your content, but to make it easy to explore, and a good filter does exactly that.


