Query Builder Overview
This overview reveals detailed information about all the settings of the JetEngine plugin’s Query Builder functionality.
Query Builder is a tool that helps create lists of items picked up from the general array according to specified conditions. It allows you to query posts, terms, users, comments, SQL tables data, repeater, WooCommerce products, items received via REST API functionality, Custom Content Type items, and reviews.
Besides that, Query Builder allows you to query and display data that you wouldn’t be able to show otherwise, e.g., the information from your database tables.
Query Settings in the WordPress Dashboard
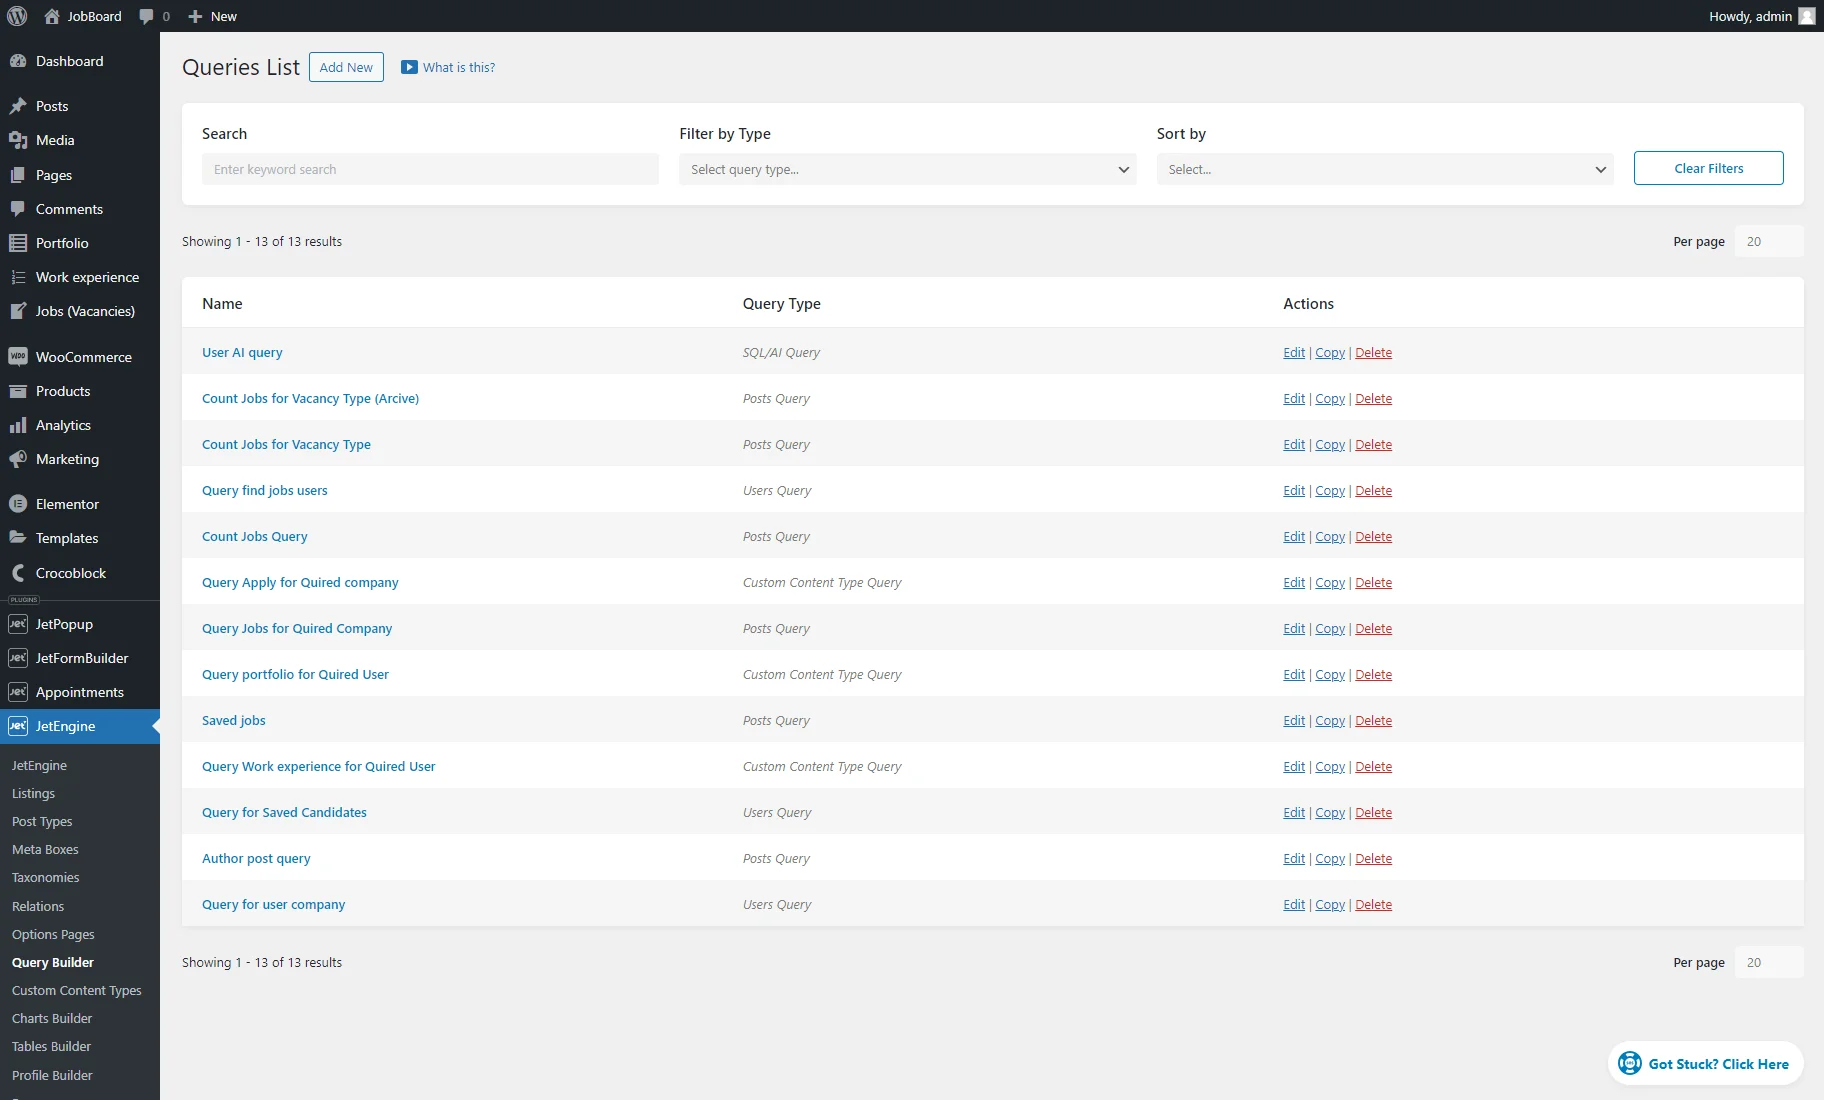
Query List, Filters, and “Add New” button
The Queries List is displayed in the WordPress Dashboard > JetEngine > Query Builder tab.
One can filter queries by entering keywords into the Search field.
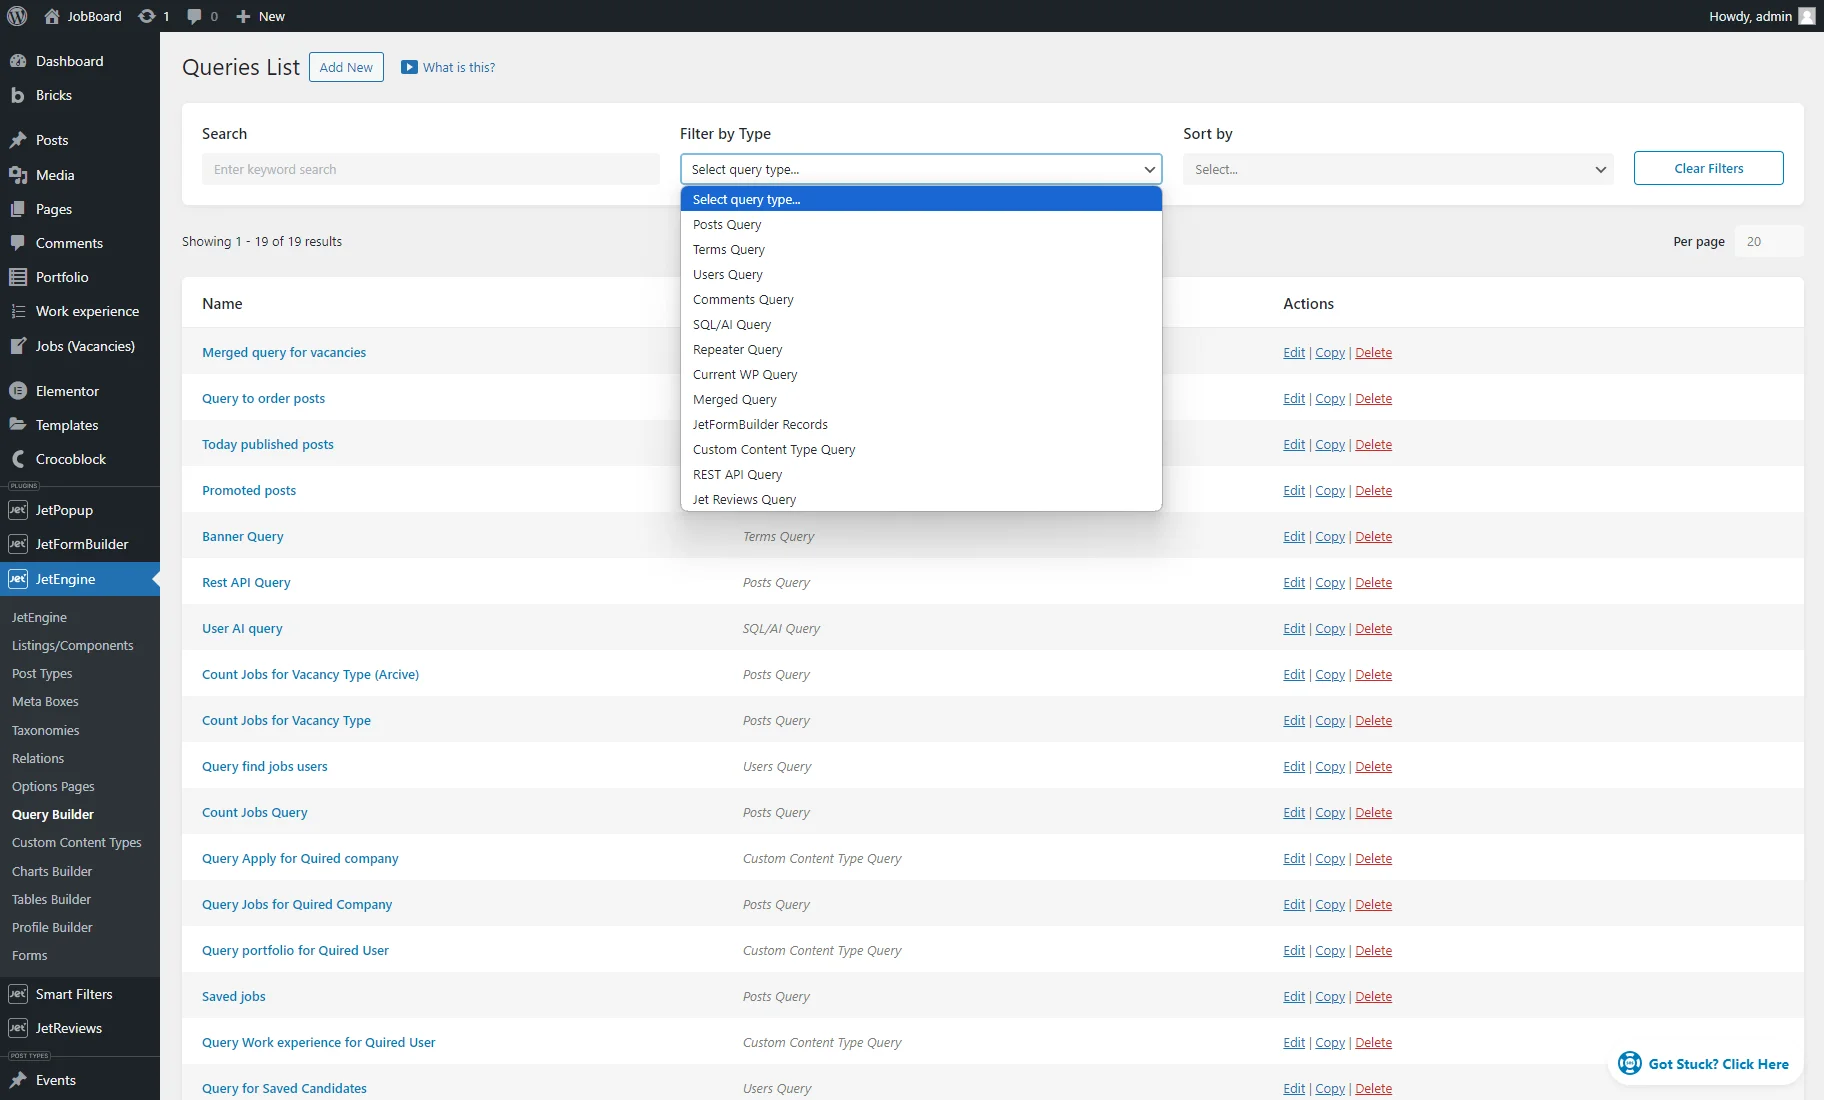
Also, you can filter by the Query Types (some options are available with some plugins installed and activated).
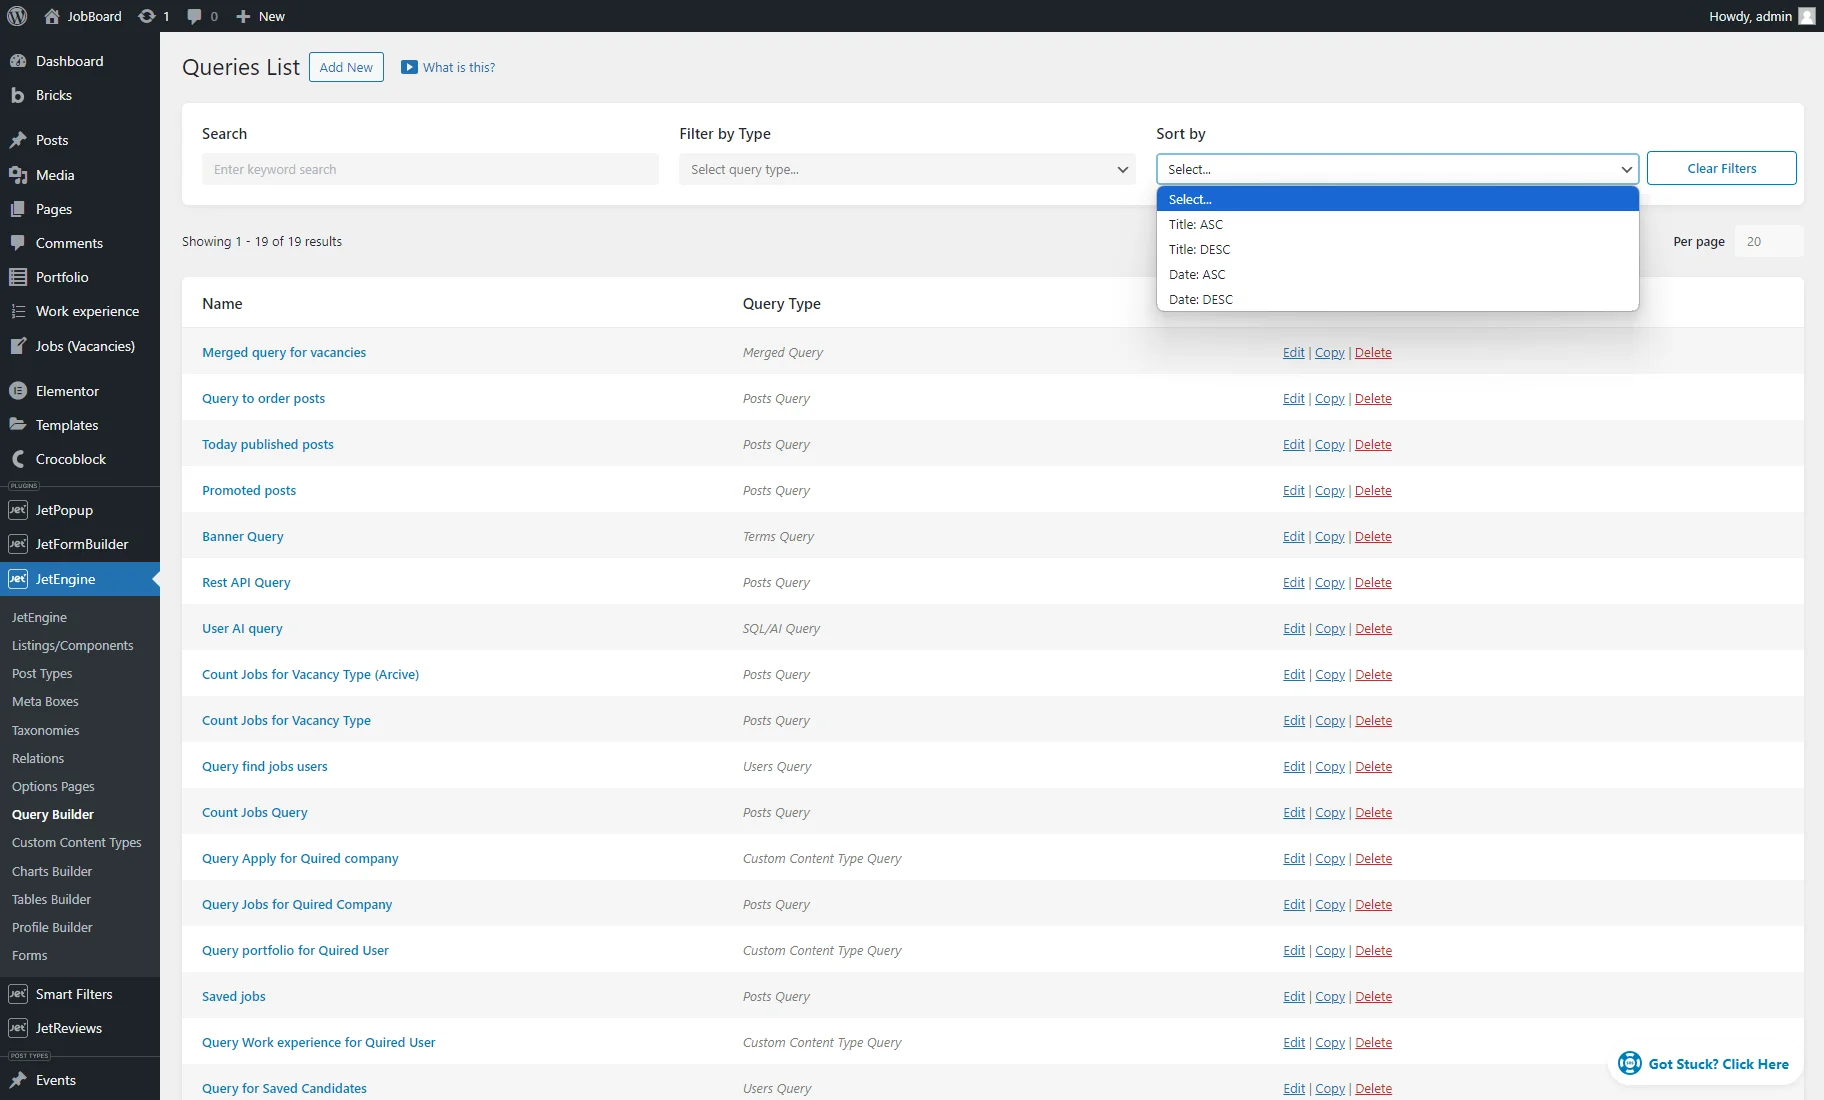
One can Sort by title (ASC or DESC) or date (ASC or DESC) as well.
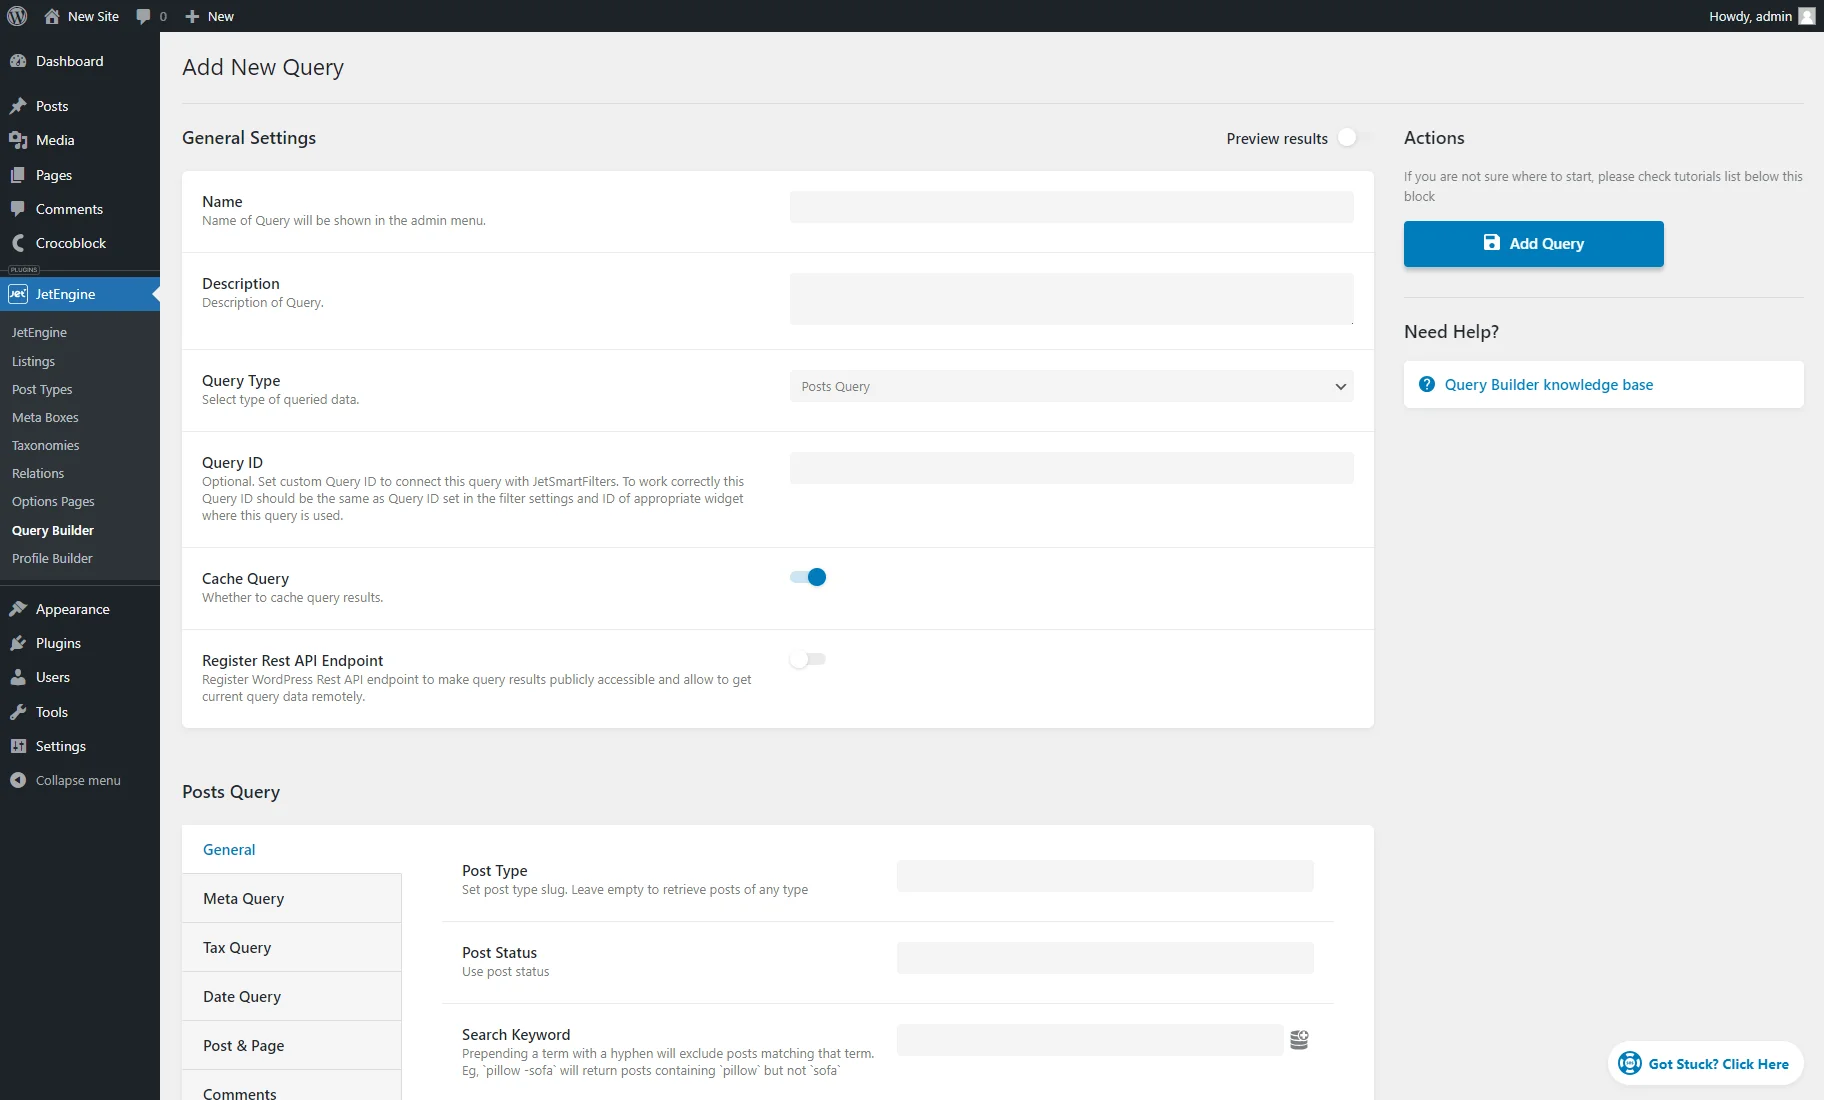
A new query can be added by pressing the “Add New” button.
General Settings
The next page displays the General Settings section.
The General Settings section has the following options:
- Name — a name that will be used for the current query;
- Description — a text describing a query. It will be shown in the Queries List and can be used for info systematization;
- Query Type — a list of options for the query source. The options will be described further;
- Query ID — an optional field that can be used to connect the query with the JetSmartFilters plugin’s filter. The ID set here should repeat the ID mentioned in the filter settings (Query Variable field) and the widget/block/element’s ID put in its settings;
- Cache Query — a switcher activated by default that caches this specific query. It can be deactivated if one faces issues with query operations (like incorrect query results);
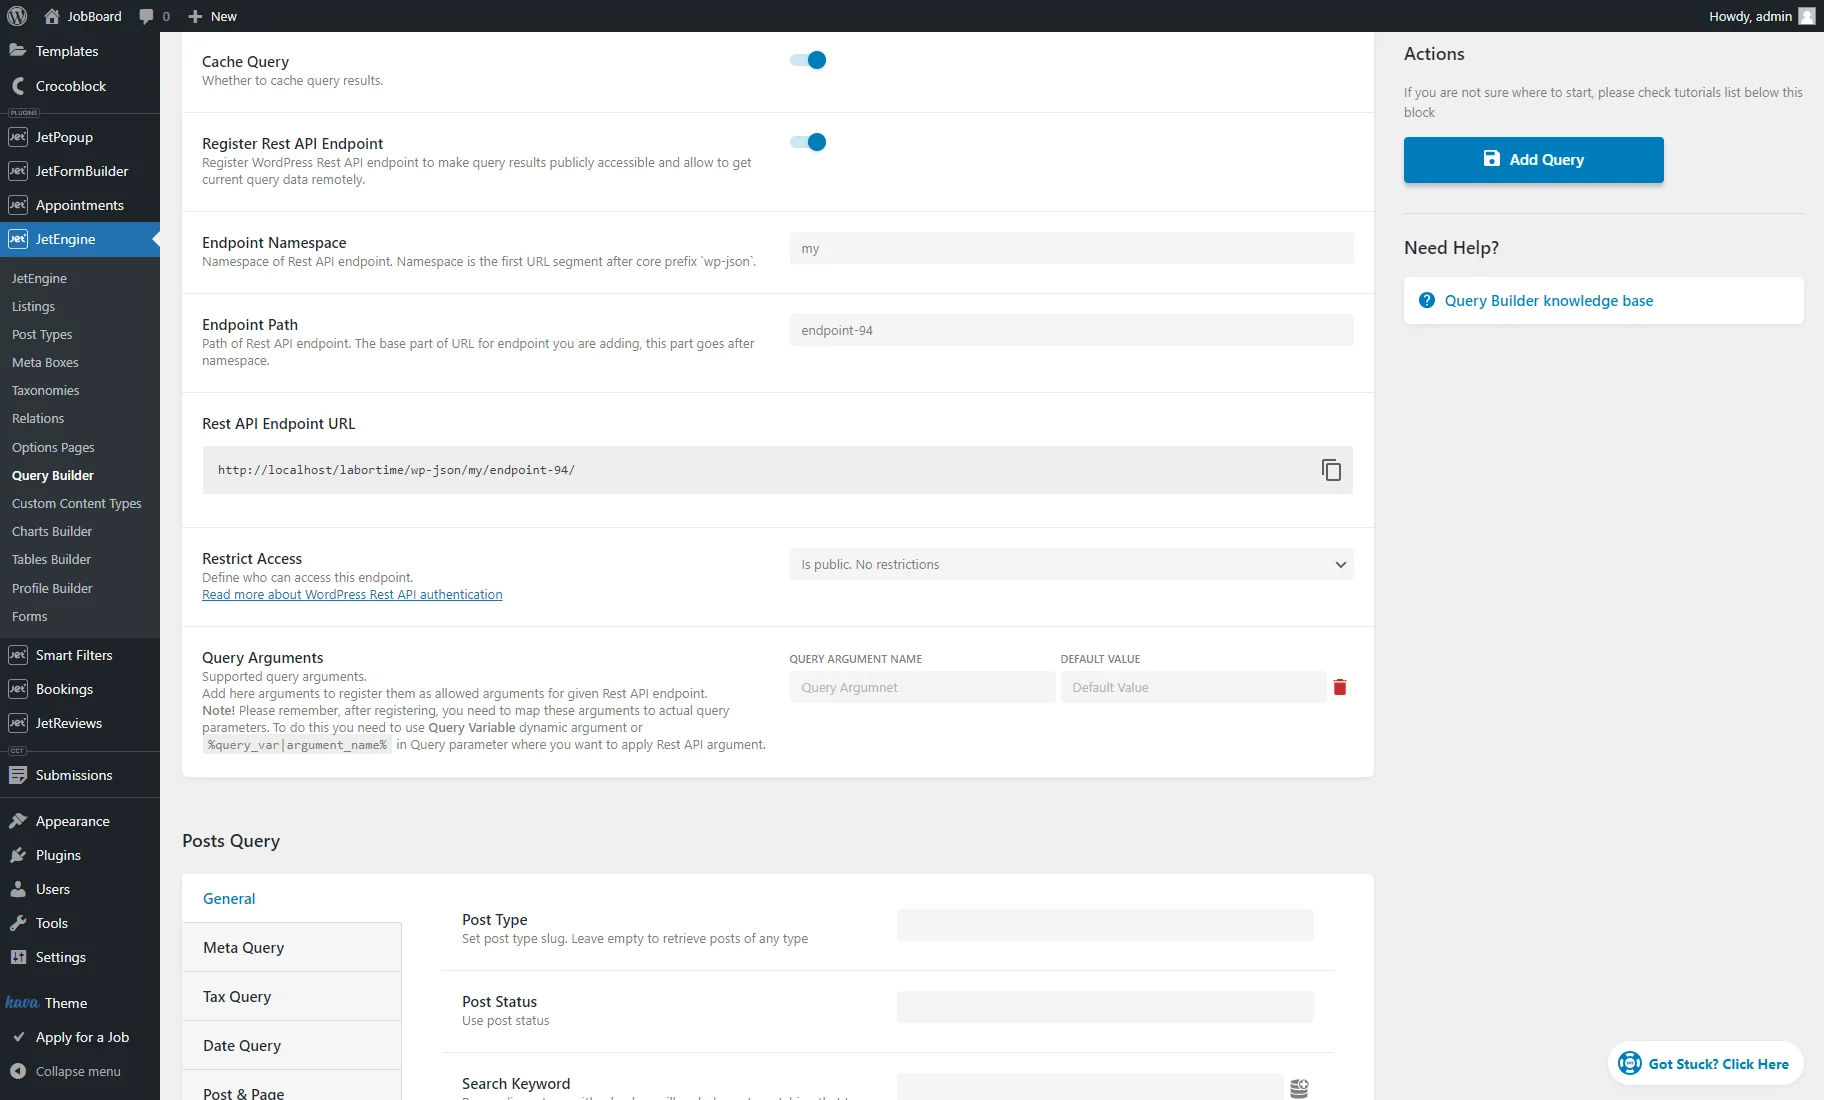
- Register Rest API Endpoint – if enabled, this toggle activates settings with which you can register a WordPress Rest API endpoint to grant public access to query results and allow remote retrieval of current query data. For example, you can use the endpoint in the Make.com scenarios or as the backend for mobile applications. All Register Rest API Endpoint options are explained in the next chapter.
Register Rest API Endpoint
The Register Rest API Endpoint feature has such options:
- Register Rest API Endpoint — if enabled, this toggle turns on endpoint registration for the current query;
- Endpoint Namespace — here, one can enter the namespace of the Rest API endpoint, which is the first URL segment after the ‘wp-json’ core prefix;
- Endpoint Path — here, one can enter the path of the Rest API endpoint, the second URL segment after the ‘wp-json’ core prefix;
- Rest API Endpoint URL — the generated URL of the API entry point that can be copied;
- Restrict Access — here, one should select how to limit access to the entry point: without restrictions, by user capacity or role. If access to the entry point is restricted, parameters for authorization need to be passed with the request, for example, through Application Passwords. Learn more about WordPress Rest API authentication.
- Is public. No restrictions — all users can access the endpoint;
- Users with selected capabilities — if this option is selected, the Access Capability field will appear, where you need to indicate the WordPress capabilities for which there will be access (e.g., edit_posts). If multiple capabilities are specified, one should separate them with commas. The user will gain access if they have at least one of the listed capabilities. If this field is left empty, the entry point will be unavailable for all users, but access can be obtained by passing it along with a request from any type of user;
- Users with selected roles — if this option is selected, the Access for Roles field will appear, where one should pick the user roles for which there will be access from the drop-down list. If this field is left empty, the entry point will be unavailable for all users, but access can be obtained by passing it along with a request from any type of user.
- Query Arguments — here, one can set the query arguments that are part of a URL used to pass information to a web server as part of a query. In a URL, query arguments are appended to the end of the URL after a question mark (?) and are in the form of key-value pairs separated by an ampersand (&). After registering query arguments, these arguments should be mapped to actual query parameters. One should use Query Variable dynamic argument or %query_var|argument_name% in the Query parameter where one wants to apply the Rest API argument;
- Example of Rest API Endpoint URL with Query Arguments – the generated URL of the API entry point with query arguments that can be copied. It appears if one adds at least one query argument.
Learn How to Configure the REST API Endpoint for Custom Query.
Query Types
Separate guides are available for the options presented in the Query Type list:
- Posts Query;
- Terms Query;
- Users Query;
- Comments Query;
- SQL/AI Query;
- Repeater Query;
- Current WP Query;
- WC Product Query;
- JetFormBuilder Records;
- Custom Content Type Query;
- REST API Query;
- JetBooking Query.
Depending on the picked Query Type, the further settings differ. So, the specific details can be checked in the tutorials presented above.
Query in Use
The Query Builder functionality can be used for different purposes. Here is the description of the widgets/blocks/elements where it can be applied:
- Listing Grid;
- Map Listing;
- Dynamic Chart;
- Dynamic Table;
- Smart Posts List (available with the JetBlog plugin);
- Smart Posts Tiles (available with the JetBlog plugin);
- Text Ticker (available with the JetBlog plugin);
- Advanced Carousel (available with the JetElements plugin);
- Advanced Map (available with the JetElements plugin);
- Query Loop (available with Bricks Builder).
Listing Grid
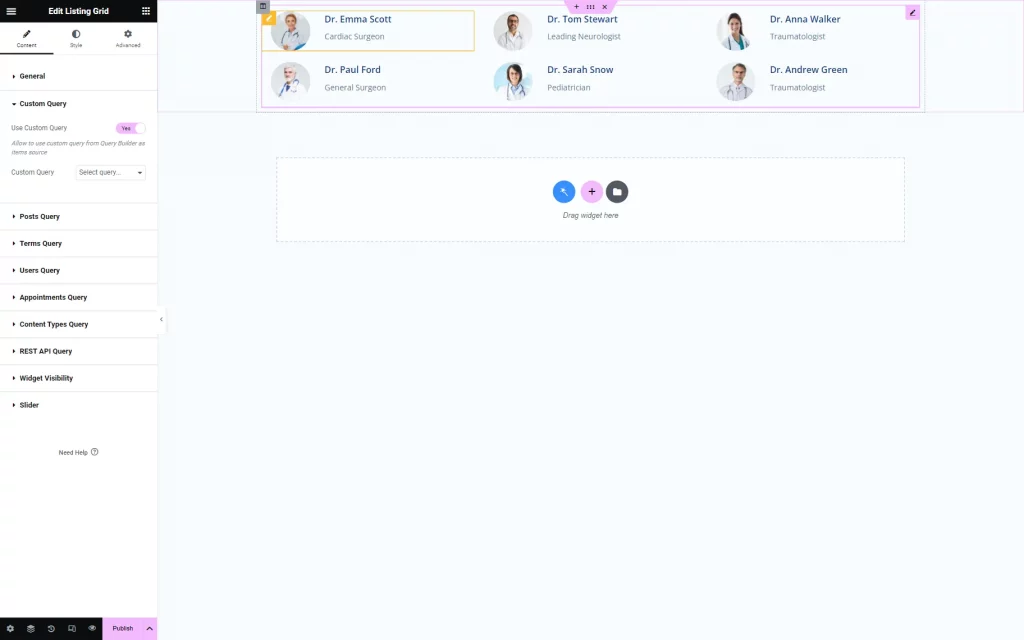
With the Query Builder functionality, many use cases can be implemented in the Listing Grid. For instance, here is a detailed guide on How to Display Featured Posts Using Query Builder.
Elementor
In the Custom Query tab of the Listing Grid widget, a Use Custom Query toggle should be activated. A needed item can be picked in the Custom Query field.
Gutenberg
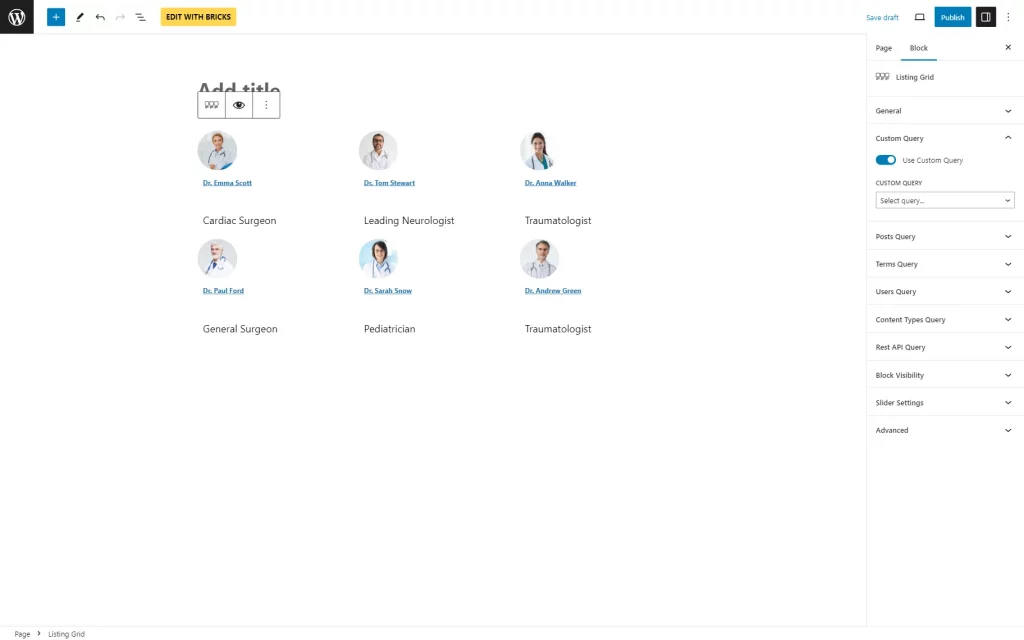
For the Listing Grid block, the same settings as in Elementor are available.
Bricks
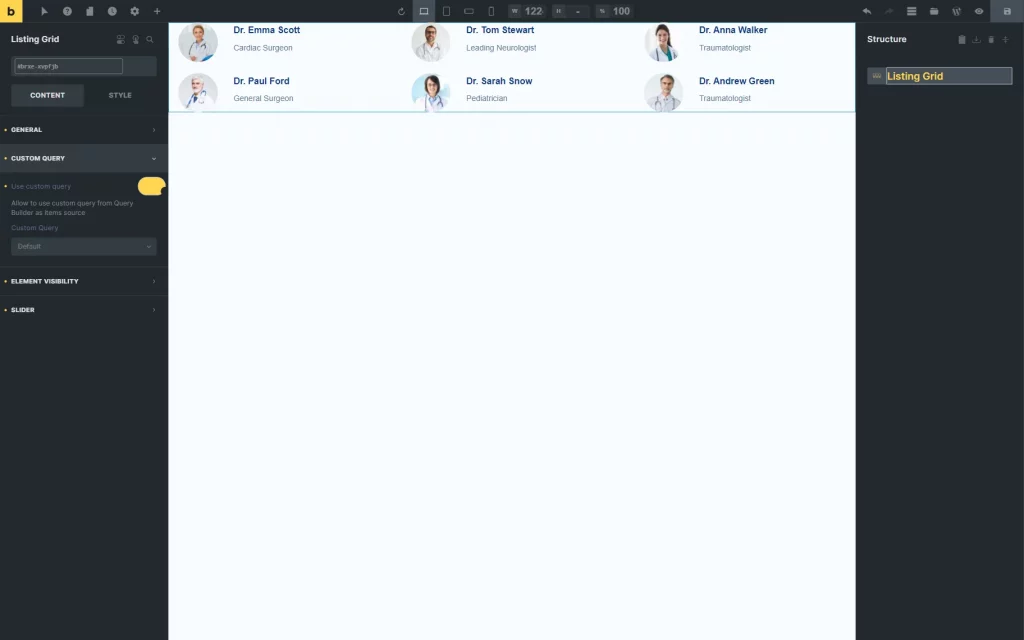
Bricks editor includes the same settings.
Map Listing
Custom queries can also be used for Map Listings. As an example, a map can be queried by some meta fields related to the content. For instance, if the item is set to “Available,” it will be shown on the map.
Elementor
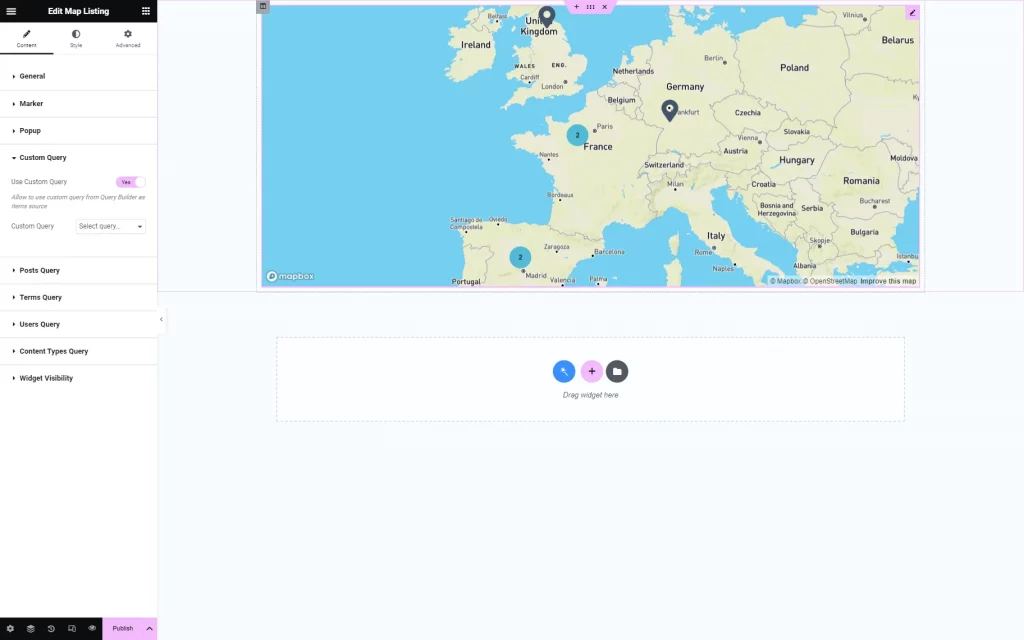
To work with custom queries in the Map Listing widget, one should activate the Use Custom Query toggle in the Custom Query tab. Then, the Custom Query field should be completed with the corresponding item.
Gutenberg
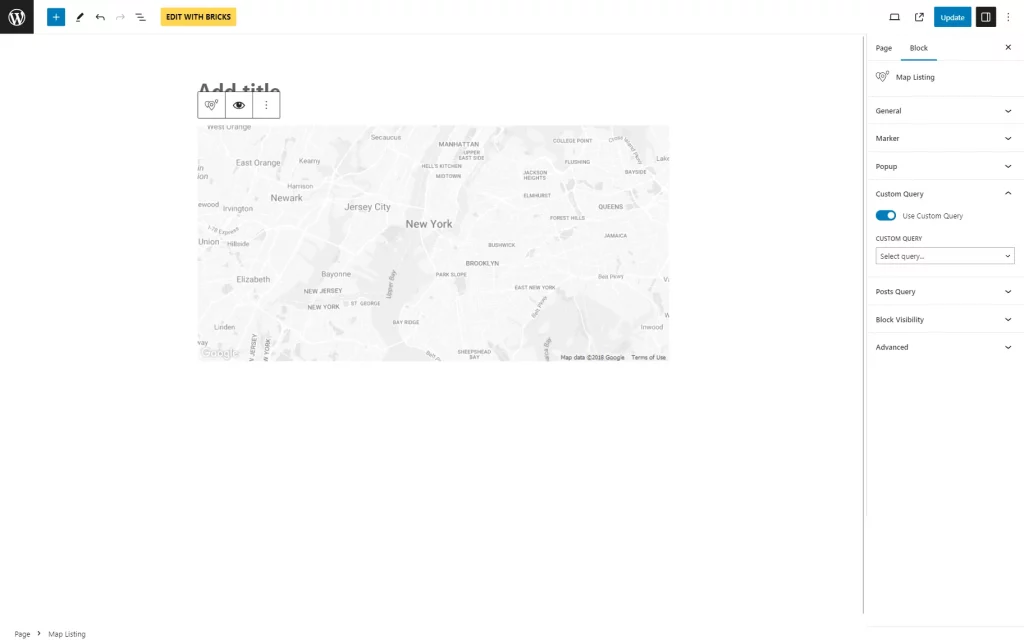
The Map Listing block has the same query settings as the Elementor’s widget.
Bricks
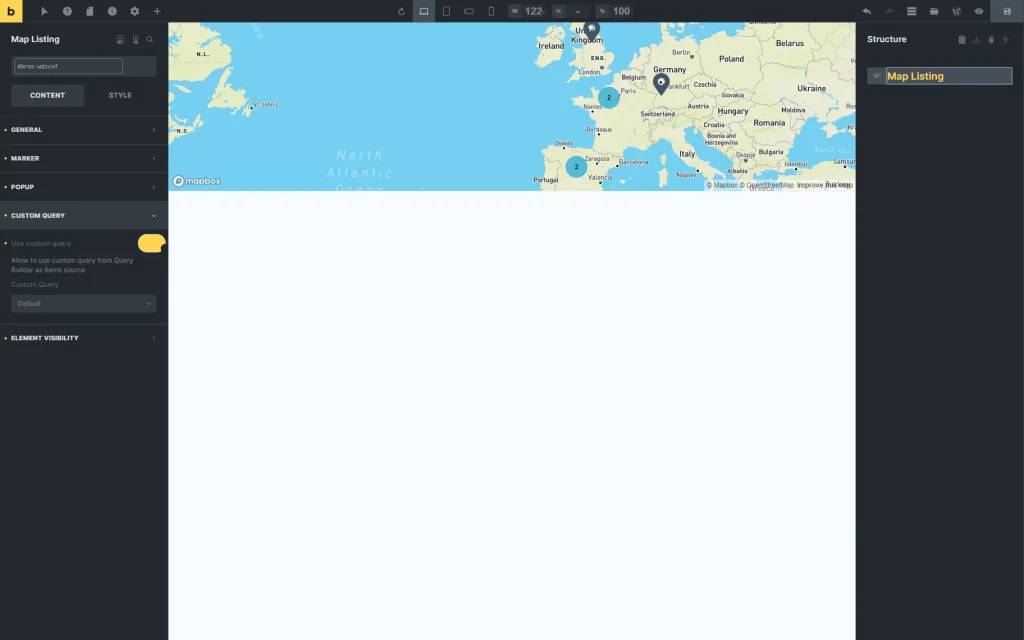
Bricks Editor also contains the same Map Listing settings as Gutenberg and Elementor.
Dynamic Chart
The query can also be added as a part of a Dynamic Chart functionality. For the Dynamic Chart, the most common “Posts” query can be used where the needed post type for the query will be specified.
Dashboard settings
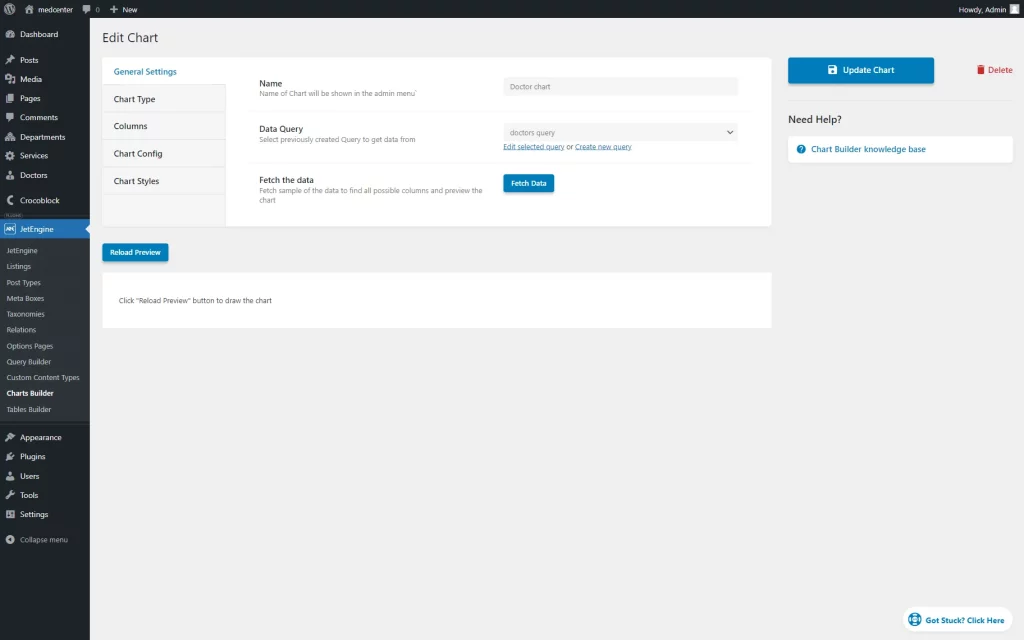
Its settings can be found by following the WordPress Dashboard > JetEngine > Charts Builder path.
The needed query can be selected in the Data Query field.
Dynamic Table
The How to Create a Dynamic Table Based on SQL Query article should be checked to determine how to build a suitable table for your needs.
Dashboard settings
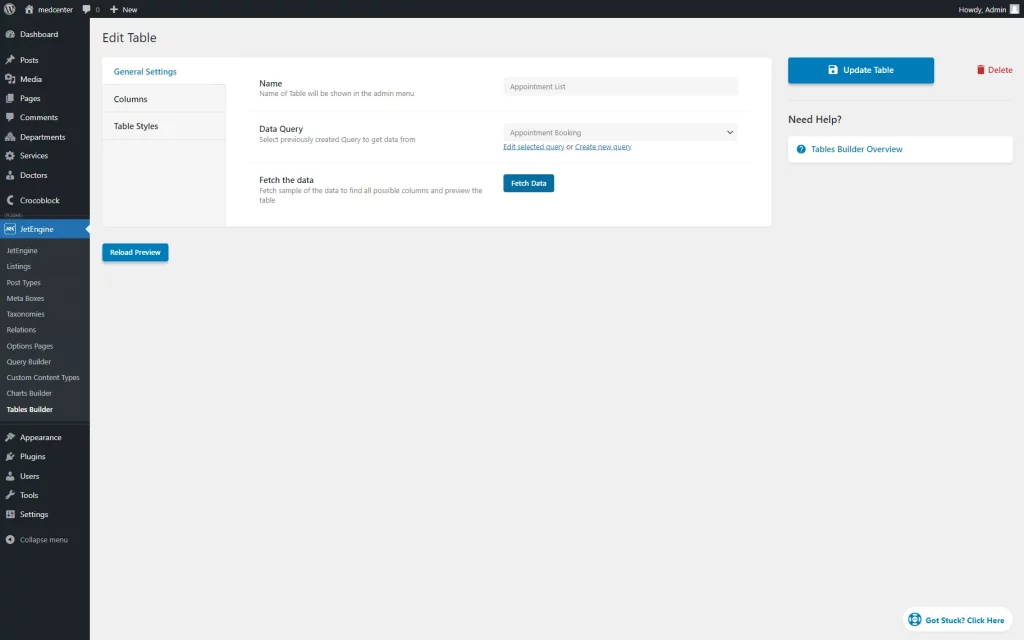
Dynamic Table should also be provided with a query beforehand in the WordPress Dashboard > JetEngine > Tables Builder directory.
The Data Query field here is for the previously created query input.
Elementor
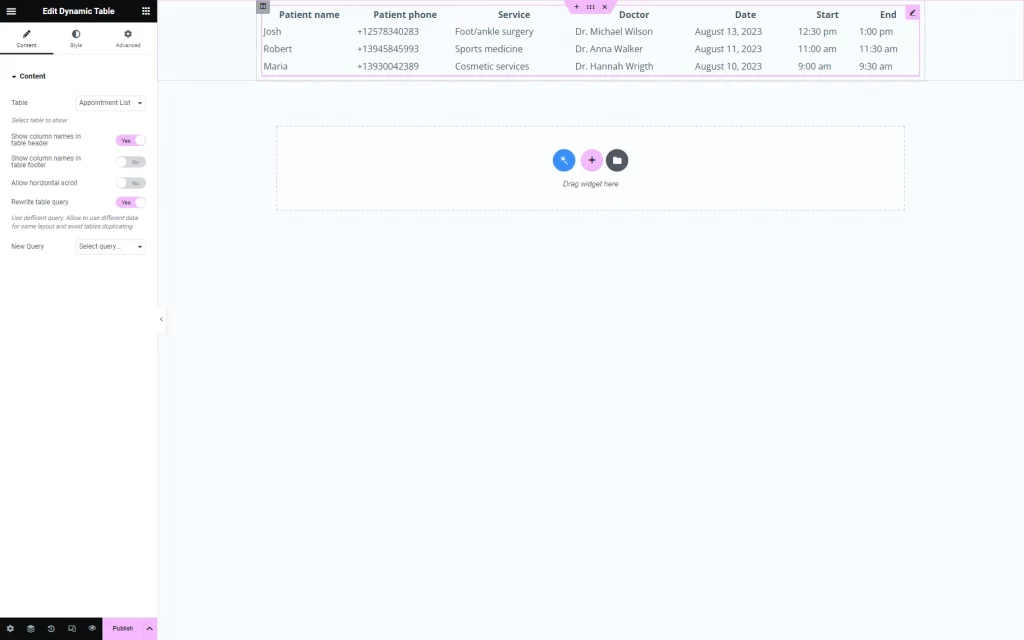
After creating the Dynamic Table, the rest of the settings can be adjusted in the selected editor.
Also, here, the other query can be set. To do so, one should activate the Rewrite table query. The New Query field should contain another query that has not been used before.
Gutenberg
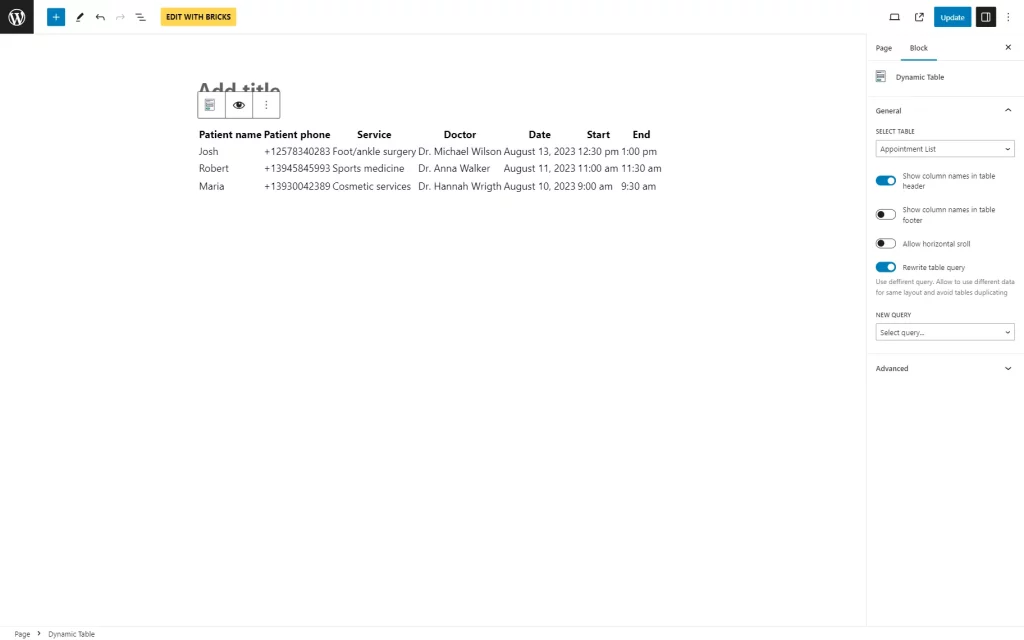
The same Dynamic Table settings are presented in the Block Editor.
Smart Posts List
Smart Posts List is similar to Listing Grid, so it can be queried in the same way. For example, posts can be selected based on their author.
Elementor
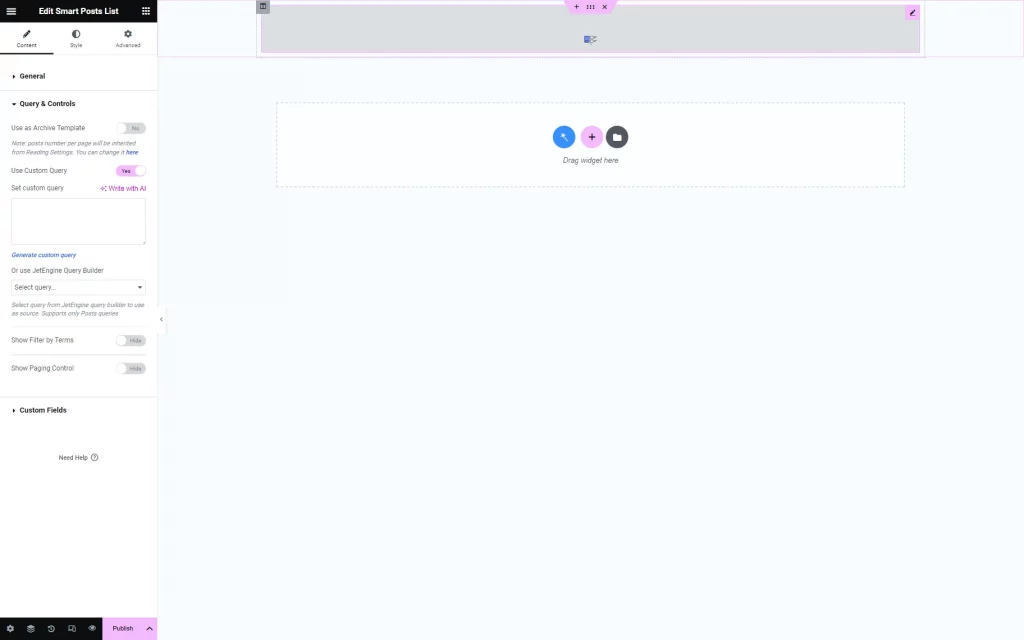
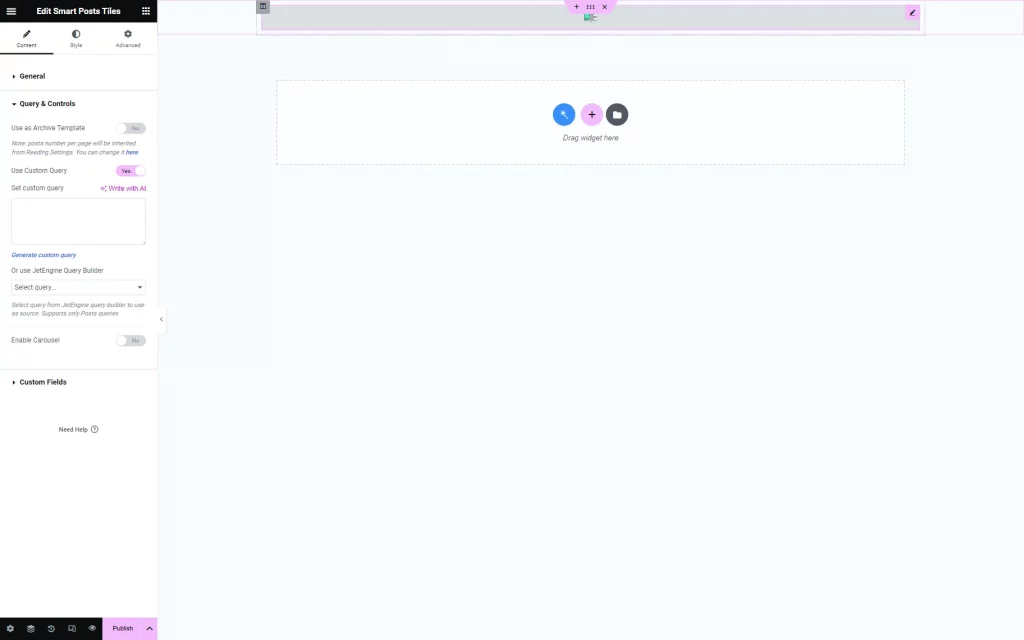
To set a query for the Smart Posts List widget, the Query & Controls tab with the Use Custom Query toggle should be opened.
A query can be made custom with the Set custom query generator field or selecting an already created query in the Or use JetEngine Query Builder drop-down list.
Smart Posts Tiles
The Smart Posts Tiles widget also allows various query options. For instance, its items can be queried and put in descending order by date.
Elementor
Smart Posts Tiles settings match those in the Smart Posts List widget.
Text Ticker
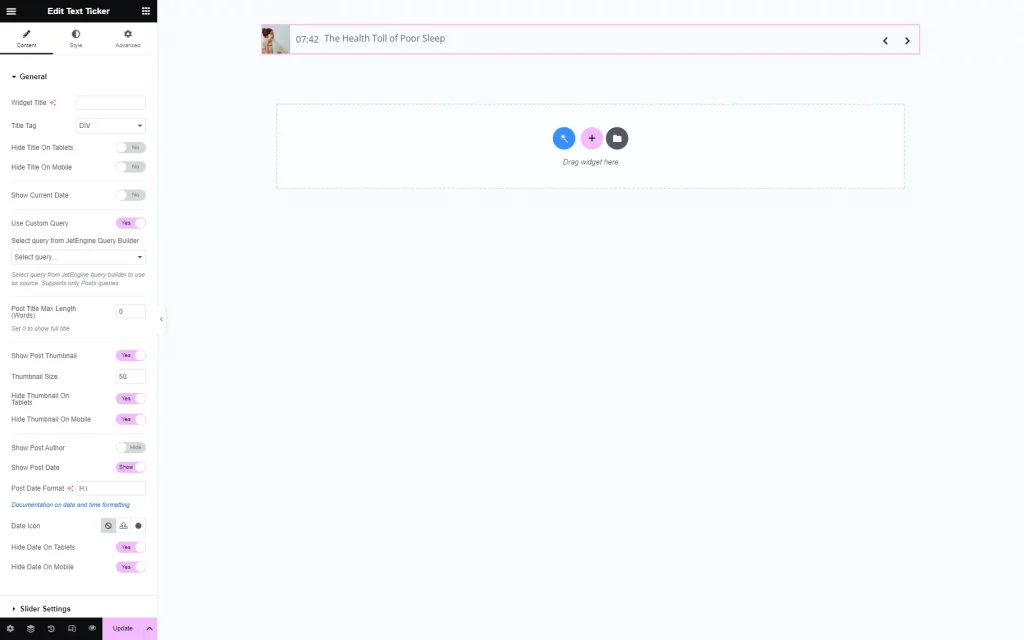
Text Ticker can be customized in various ways using Query Builder. For instance, the posts of the last two days with a particular topic (category) can be displayed.
Elementor
The needed query options can be found in the General tab of the Text Ticker widget.
The Use Custom Query switcher allows adjusting the needed item in the Select query from JetEngine Query Builder field.
Advanced Carousel
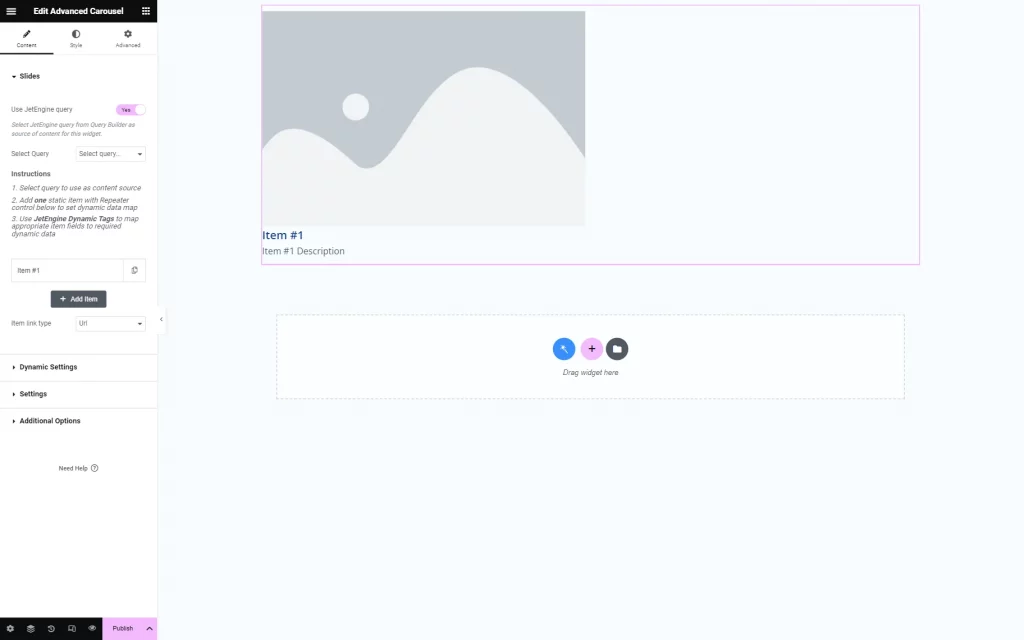
Advanced Carousel can be queried as well. For example, it can be used to display images, titles, and descriptions in a particular order.
Elementor
To enable a custom query in the Advanced Carousel widget, the Use JetEngine query toggle should be switched on in the Slides tab. The needed item should be picked in the Select Query field.
The rest of the steps are described after the Select Query field. The first item should be opened below, and the custom fields should be chosen with the Dynamic Tags button where available (next to the Image, Item Title, and Item Description fields.)
Advanced Map
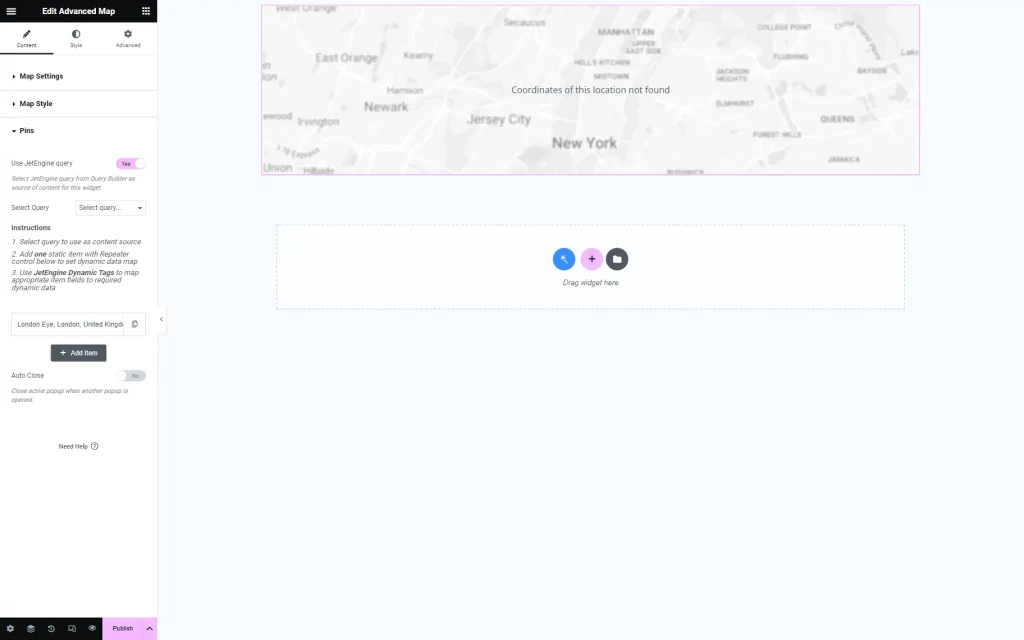
As for the Advanced Map widget, it can be adjusted and queried by “Repeater” meta fields.
Elementor
In this widget, the Use JetEngine query toggle is in the Pins section. The desired item should be picked in the Select Query field.
The Instructions section includes further information.
The Pin Address and Pin Description can be customized for the item with the help of the Dynamic Tags button. In the mentioned fields, the corresponding custom fields should be connected.
Query Loop
Custom queries can also be used with the Query Loop available with Bricks. For instance, they can be applied to the Query Loop and filtered.
Bricks
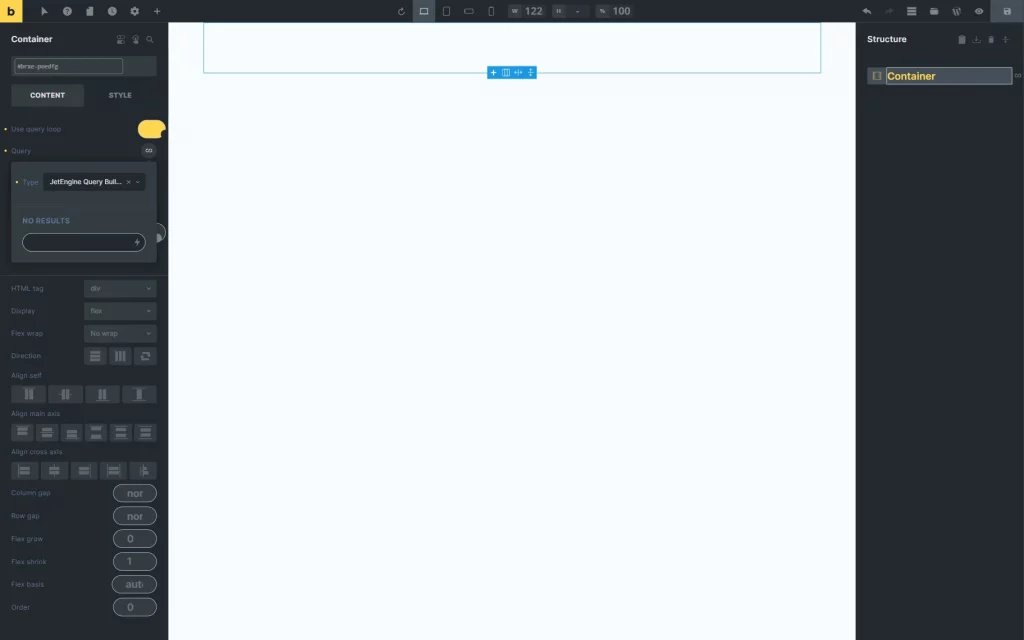
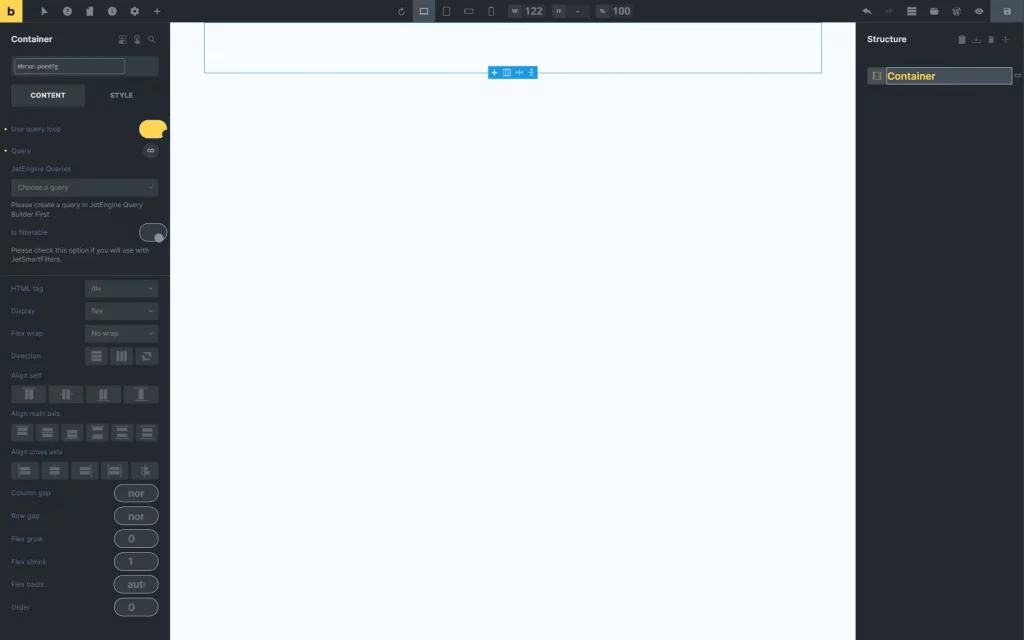
In the Query field, a “JetEngine Query Builder” Type should be selected.
Once the Type is set, the JetEngine Queries should be completed with a needed query.
That’s all about the Query Builder feature available as a part of JetEngine’s plugin functionality for your WordPress website.
